I have about a half dozen surplus sugar cube speakers but I should add that into the cost of an upgrade. Still it’s a bargain. I bought what I believe was Trainworld’s last DC Pennsy RS-3 this morning for $150. I also ordered an Econami 21 pin sound decoder for $70. Shipping was around $15. Add $10 for the price of a speaker and we are at $245 plus sales tax. I believe the Trainworld price is a closeout price. If I remember right, Bowser had listed the DC version at $200 and the DCC at $300. The new preorder price is $10 higher for both. If shipping costs are comparable I figure the savings by installing the decoder myself comes to about $80. That’s paying closeout price on the DC loco itself. If I paid MSRP at the current preorder price, I’d only save about $20 by doing the decoder and speaker install myself.
I was typing my reply as you were posting yours. Looks like we calculated the same savings of about $80 with a DIY install. For that price, it’s worth it to me to do the install myself as long as there is no difficult soldering that risks frying a decoder. If I had to pay MSRP for the DC loco, the savings wouldn’t be nearly as much and I would opt for a factory installed decoder and speaker.
It doesn’t look like the next pre-order line is going to have a Pennsy version so if I wanted Pennsy, I had to go with what is available now. Looks like I got Trainworld’s last Pennsy RS-3.
Even suggesting soldering seems a bit “off” since the engine has a lightboard with a 21-pin receptacle. You just plug the decoder into the receptacle. No need to use a Decoder Buddy that will do exactly the same thing the existing set-up already does, and requires extensive soldering to put in place.
If you can’t find the right size miniplug for the speaker connection, you might have to solder two wires from the speaker to a connection on the greenboard, but nothing gets soldered to the decoder.
 This is the small decoder buddy. The two pads mark sp are the speakers.
 This is sound traxxs version of decoder buddy. the NMRA 9 pin makes it easier to hardwire using the NMRA harness. The pads are for the extra functions the 21 pin has. On the right is the two pads for the speaks that have wires soldered on.
 Here a decoder is mounted on the motherboard.
Shane
Plus the first run has the trainphone already installed. That saves you about $20 in Cal scale parts plus all the fuss to thread the brass wire, paint, and make everything look nice.
Hopefully I’ll be around to see the E-L and Nickel Plate ones.
Cheers, Ed
Another vote for the Decoder Buddy. A very useful product.
If I anticipated buying more locos requiring a 21 pin decoder, I might consider Decoder Buddy but for one loco, it doesn’t seem to be a wise expenditure. All I wanted to know was whether there would be any difficult soldering to attach a speaker. Apparently there won’t be.
I already have more locos than I need and this latest purchase is one more. I didn’t need it but I wanted it. In the future, I anticipate most of my efforts will be to add sound to existing locos that currently don’t have it. These have a variety of different decoder types. With some of the older locos, the challenge will be finding space for even a sugar cube speaker. Also needed will be replacing the headlights with LEDs on the older locos.
If the locomotive board has an easily identifiable pads for attaching the speaker wires, then I agree with you. Some boards use plugs for the wiring and it isn’t that easy to identify where the speakers attach. I use TCS Wowsound decoders and there are no places to attach the speaker wires on the decoder itself. If you want to add a keep-alive then the Decoder Buddy is really necessary. All of my locomotives have Keep-alives attached.
Nevin Wilson
The OP is looking at buying a locomotive that has a lightboard with a 21-pin receptacle already installed. He is asking if he has to do a lot of soldering to connect it up. The answer is NO you don’t need ANY soldering. You plug the decoder into the 21 pin socket. PERIOD. Why is everyone advising him to take the board with the 21 pin receptacle out and replace with a Decoder Buddy that does EXACTLY the same thing as the board he’s taking out?
The engine also has a place for a two pin plug to connect the speaker. That’s why I suggested he look at the Bowser website, as it might be easier to get a speaker with the correct plug already attached.
About three year ago I bought Keep Alives for several of my locos that tend
I’ve installed several capacitors in BLI Paragon decoders. I don’t know about having space inside an SW7 unless there’s room in the cab?
https://www.youtube.com/watch?v=IdOzEN03P60
 BLI_K4_cap2 by Edmund, on Flickr
On some Paragon 3 decoders, I had to write 2 to CV 221 if the engine has a smoke unit or 0 to CV 221 for engines without smoke in order to make the stay alive active. Also, CV 11 will allow you to choose how much time the motor sees the capacitor output.
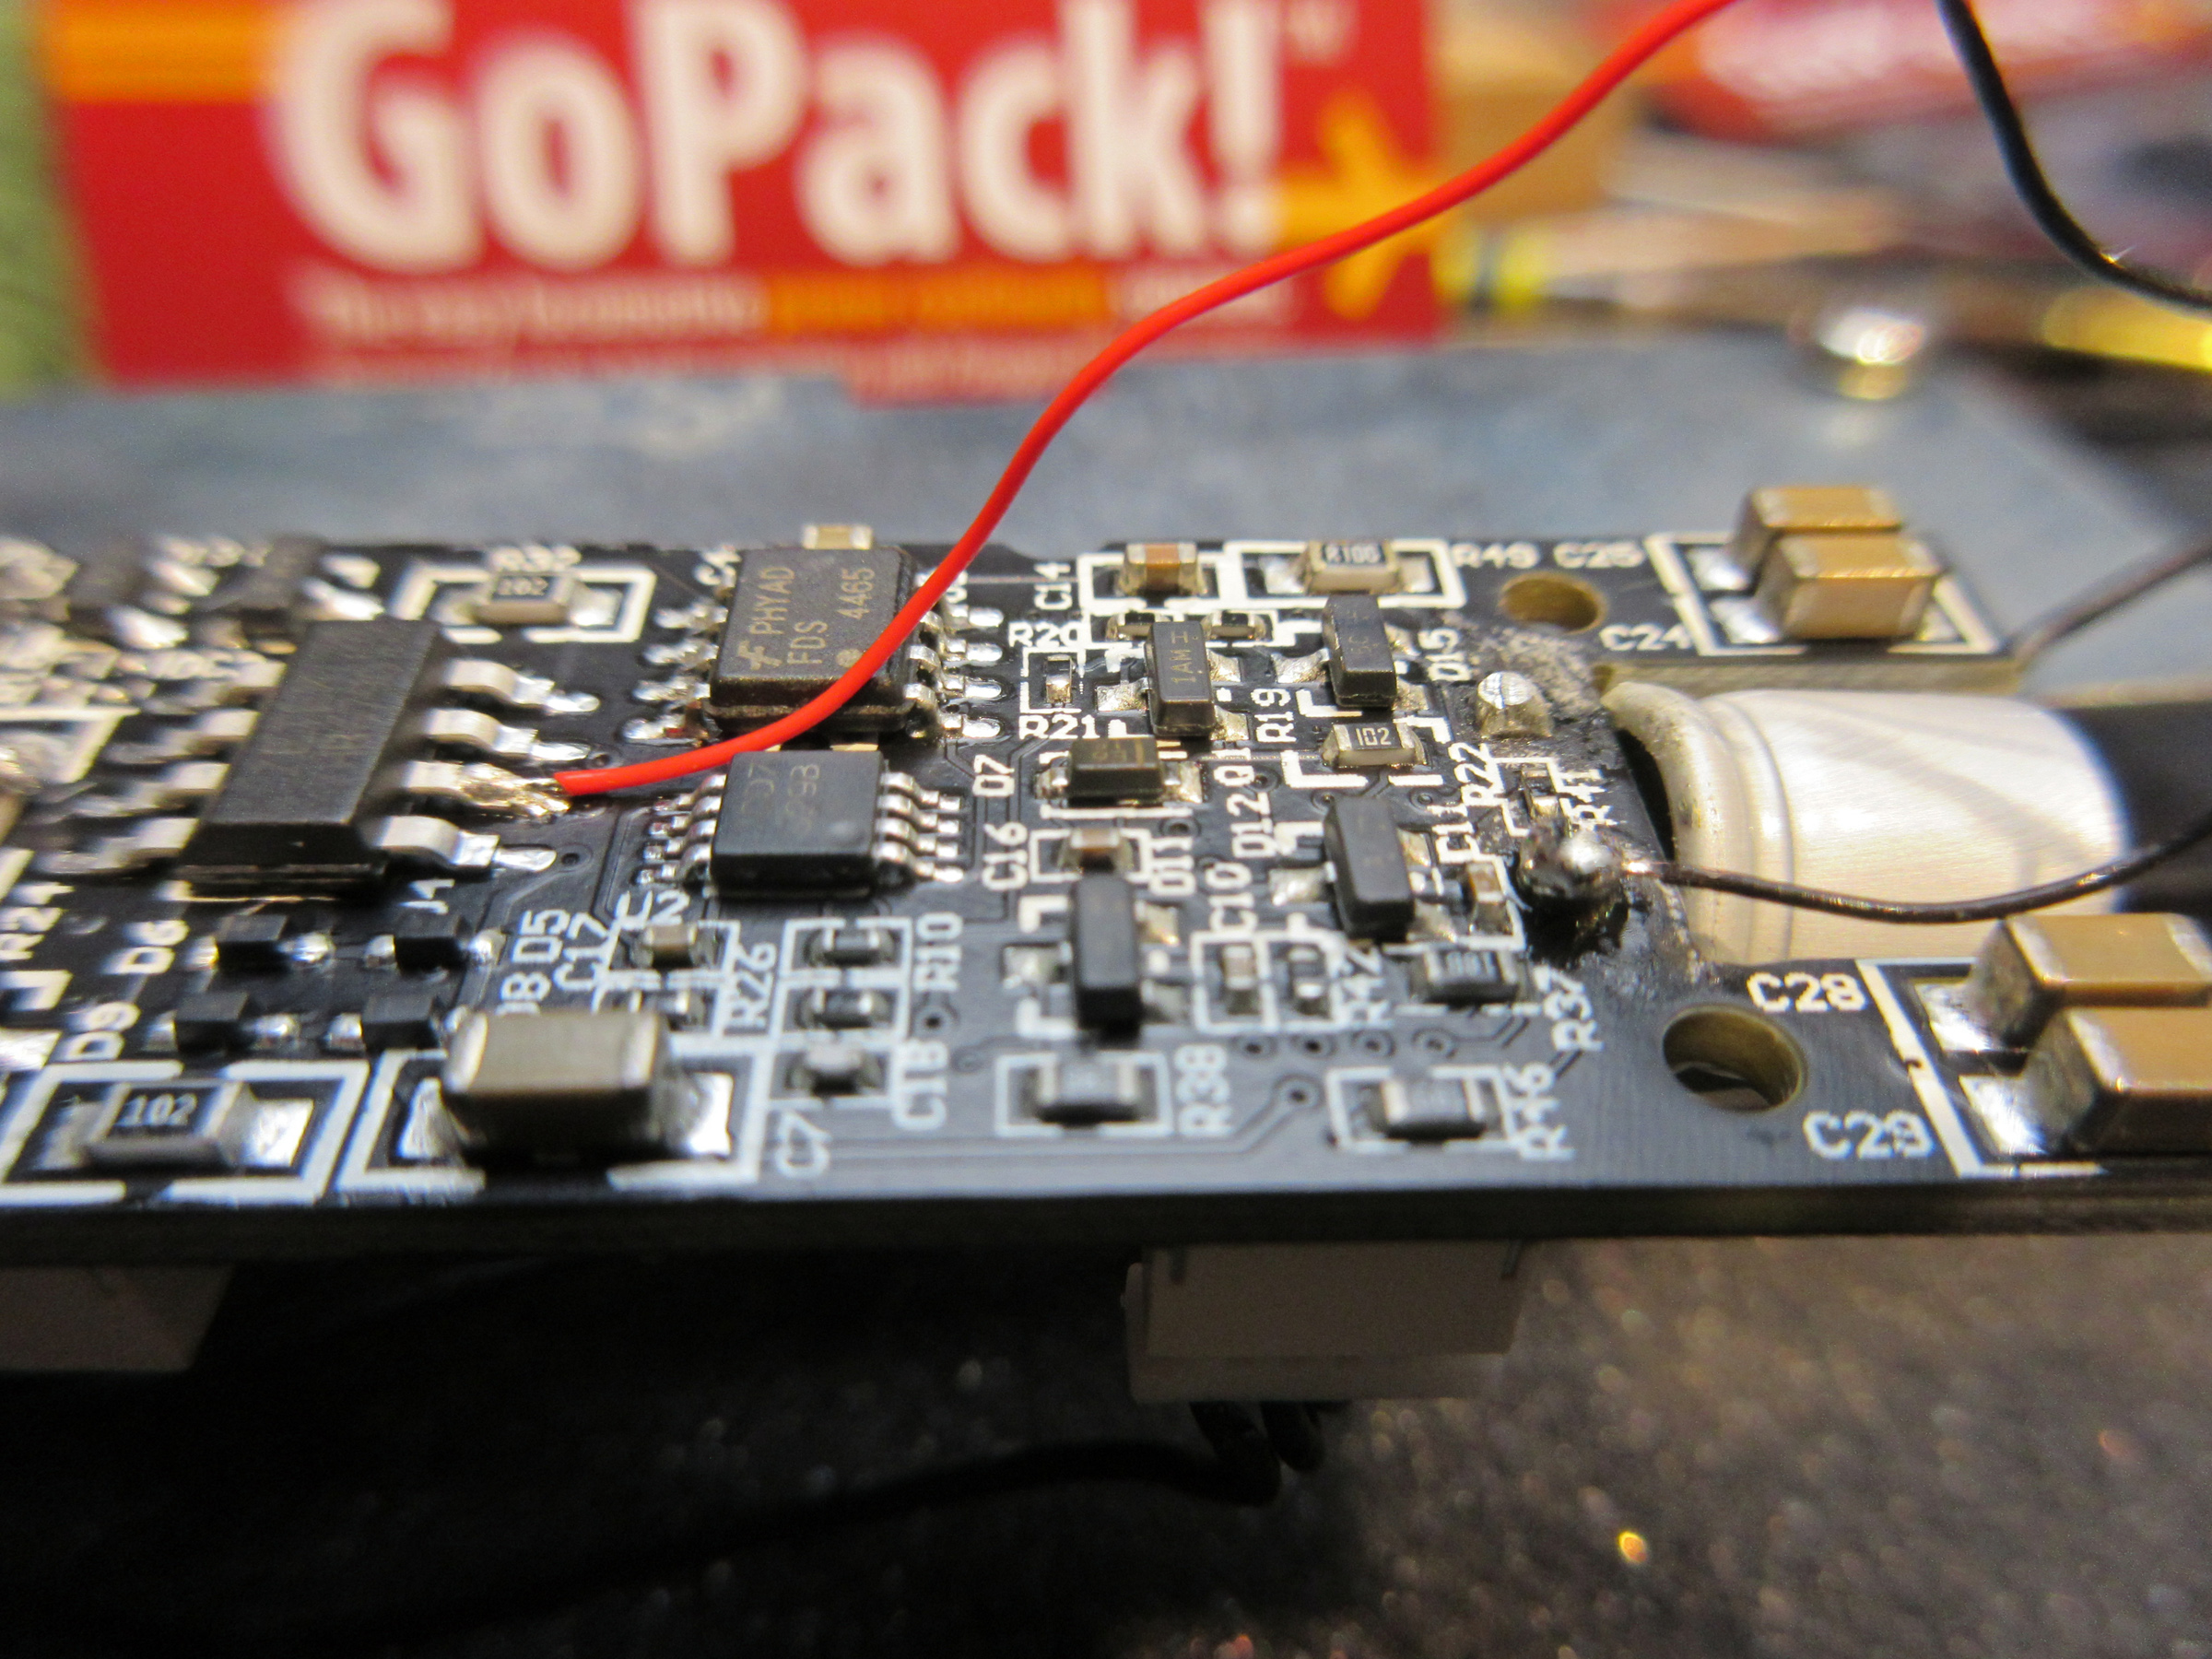
I’ve used TCS and Soundtraxx capacitor packs as well as the BLI “Go Pack” with good results from each.
Good Luck, Ed
A separate keepalive will be soldered onto two specific solder pads on the decoder or motherboard. They are “charged” from track power and can discharge into the decoder if track power is interrupted. The instructions would have to be with the decoder specific instructions. So in a sense there is no simple method for adding these to any decoder but it is supposed to be fairly simple to do for any specific decoder if the keepalive function is designed in.
A keepalive can be included with some motherboards.
Unfortunately, my two SW7s and K4 Pacifics were the first locos I bought with factory decoders and sound and this was in the early 2000s. As I recall, these are QSI decoders. I did find this on Tony’s Train Exchange for attaching a Keep Alive to a QSI Titan U Type decoder.
This explanation may assist:
https://tcsdcc.com/productnotes/keep-aliver-decoder-compatibility
What you are looking for won’t exist as a generic install instruction.
It all depends on the decoders you have.
Here’s another explanation with diagrams:
http://www.sbs4dcc.com/tutorialstipstricks/mrcstayaliveinstallation.html
The Decoder Buddy is designed to be installed in an engine that does NOT already have a connection for a 21-pin decoder.
Like if you wanted to install a 21-pin decoder in an old engine that had an 8- or 9-pin receptacle - which was common before 21-pin connections started being used around 2015.
If you buy an engine that has the 21-pin plug-in connection - like the one you’re talking about - you plug the decoder into the connection. No soldering, no Decoder Buddy!
The engine you want to buy has a 2-pin connection on the lightboard to plug in the connection to the speaker. If you buy a speaker from Bowser, you’re sure to get one with the right plug that will plug right into the board. So you plug the 21-pin decoder into the existing lightboard, plug the two-wire speaker plug into the 2-pin speaker receptacle, and you’re done.
Now that’s the kind of “soldering” I can handle.
The loco arrived Saturday. I ordered a 21 pin Econami decoder at the same time but it didn’t arrive. Yesterday was a holiday so I’m hoping the decoder arrives today.
If I’m understanding you, I need to get a plug-in speaker. I found this on the bowser website and it looks to be the case.
I received the Soundtrax Econami decoder yesterday and today attempted to install it. It has not gone well. I first test the loco in DC mode and it ran smoothly in both directions. The I removed the shell and looked at the boards that were installed. I found an online tutorial for installing a 21 pin decoder into a different model of Bowser loco. I followed the instructions on the decoder package and the tutorial. I removed the DC 21 pin recetacle and then oriented the #1 pin per the instructions. There is only one way to orient the decoder and line up the #1 pin properly. I required a bit of pressure but I got the decoder pushed all the way down on the pins. With the shell still off, I took it to the programming track and attempted to assign the loco number as the address. A blue light flashed on the decoder but my Lenz LH100 displayed ERR 02 which is the standard message I get when an addressing change doesn’t take. I attempted to display the decoder address and got the same ERR 02. I put the loco on the layout and attempted to run it under the new address and also address 3. Not only did neither work, but the system locked up whenever I attempted to enter either address. I double checked to make sure the decoder had been seated properly on the 21 pins. All looked good.
Since the loco ran as a DC loco, that seems to indicate there is a problem with the decoder. I remember when sound decoders came out my basic Lenz system could not program them without adding a Power Pax to the decoder track. This is the first time I have attempted to program a 21 pin decoder so I’m wondering another accessory is necesary to program these newer decoders.
Other than possibly having a defective decoder, I have no idea what could be wrong.
if you are still using the PowerPax remove it and try programming without it. The PowerPax does not play well with newer Soundtraxx decoders.
Not sure what you mean by ‘DC 21 pin receptacle’? Was there a dummy plug you had to remove?
Only thought I have is double-check that all the pins got inserted, it can be easy for one or two to get bent and not fit in the holes in the decoder.
Yes, although I don’t think it was a dummy plug. It appeared to have electrical components. It had the same 21 hole configuration as the decoder.
I did double check the pins. After the first install failed, I reinstalled the original board and checked that the loco still ran. It did. When I removed it the second time, I noticed that the 1 pin was bent. The instructions tell you to pull straight up so as not to bend the pins. That sounds good but the problem is neither the original board nor the decoder pops out easily so as you are pulling straight up with some pressure, the tendency is for one end to come free first and that causes the board to flip over to the side that’s still attached which bends the pins on that side. I was able to straighten out the pins and when I switched from the original board back to the decoder, I made sure I inserted it on that side first to get those pins in the proper hole, then carefully pressed down to the other side, making sure the pins on the far end also got in the proper holes. Once I saw the pins were properly seated, I slowly pressed down until the decoder was fully seated. If any of the pins had not gotten into the proper hole, it would not have been possible to press the decoder all the way down.