Hi there. This is what I got when I purchased the 90’ turntable - or was it the roundhouse??? Anyway, it says that this applies to both the modern and regular Walthers roundhouse. I can’t find it on the Walthers Website. Maybe the model was changed or there was a mistake… Anyway, here it is:
This may be what Brent was referring to. I have the original 130’ non-DCC turntable, and there are no distance measurements from the turntable to the roundhouse.
Yes, this is what I got as well, I did not have to use my poor B+ grade 12 math skills. Just remember the track goes to the pit edge, not the edge of the lip so that is likely how I ended up with 30cm, pit centre to front edge of the RH.
You may have been closer than that, Kevin, since that measurement is from the outer lip of the turntable, but the connecting track needs to reach the pit to connect to the bridge track. So, the connecting track would be about 5.775".
Just a reminder to other readers trying to use all of this information: 7/16" is basically half an inch. That’s a big gap.
And approximately isn’t going to work when actually fitting the track. I fit my joints pretty much with no gap at room temperature. No matter how accurately you try to cut and fit there will always be a bit of a gap somewhere big enough to accommodate thermally induced rail length changes.
Use the same techniques to cut and fit roundhouse connecting track as you would for any track fitting. You don’t need to know how long the track needed is, just use a piece long enough to cut to fit. You could cut all the pieces from just one instance. They all should be exactly the same but only if you’re very accurate in your placement of the roundhouse and turntable. Mind you, using lengths of connecting track all cut exactly the same from the one example should orient your roundhouse to the turntable very accurately.
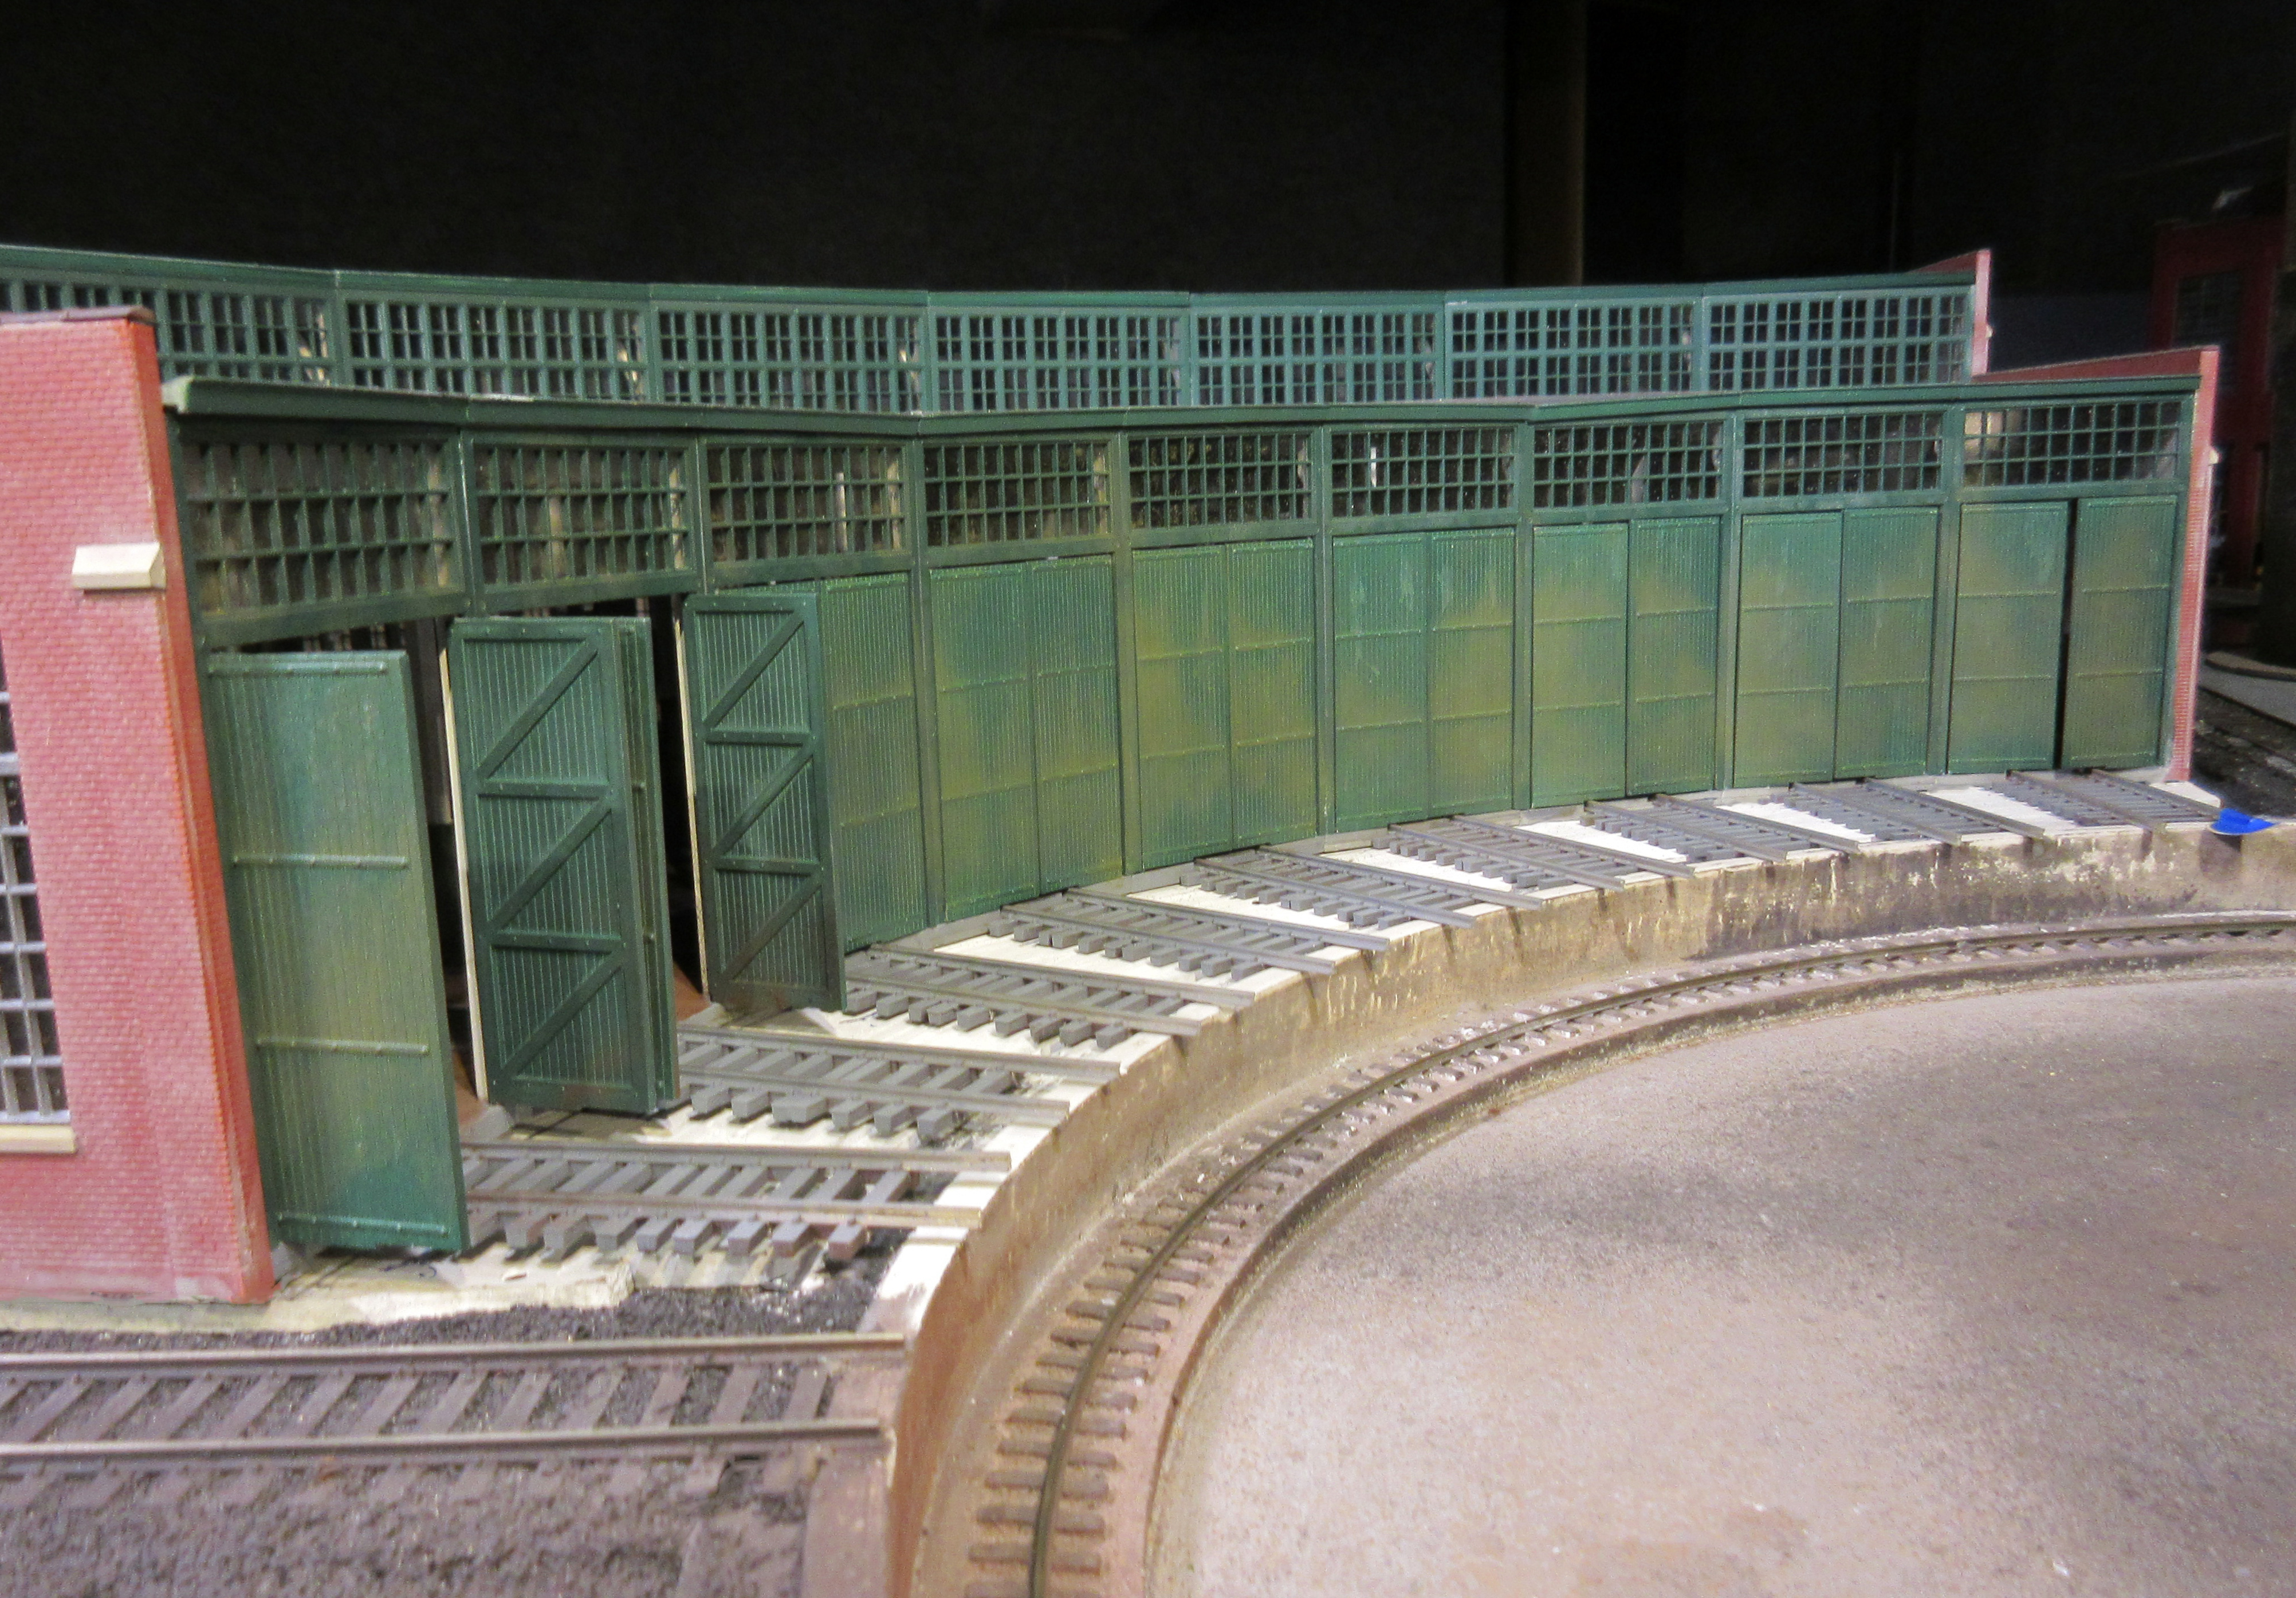
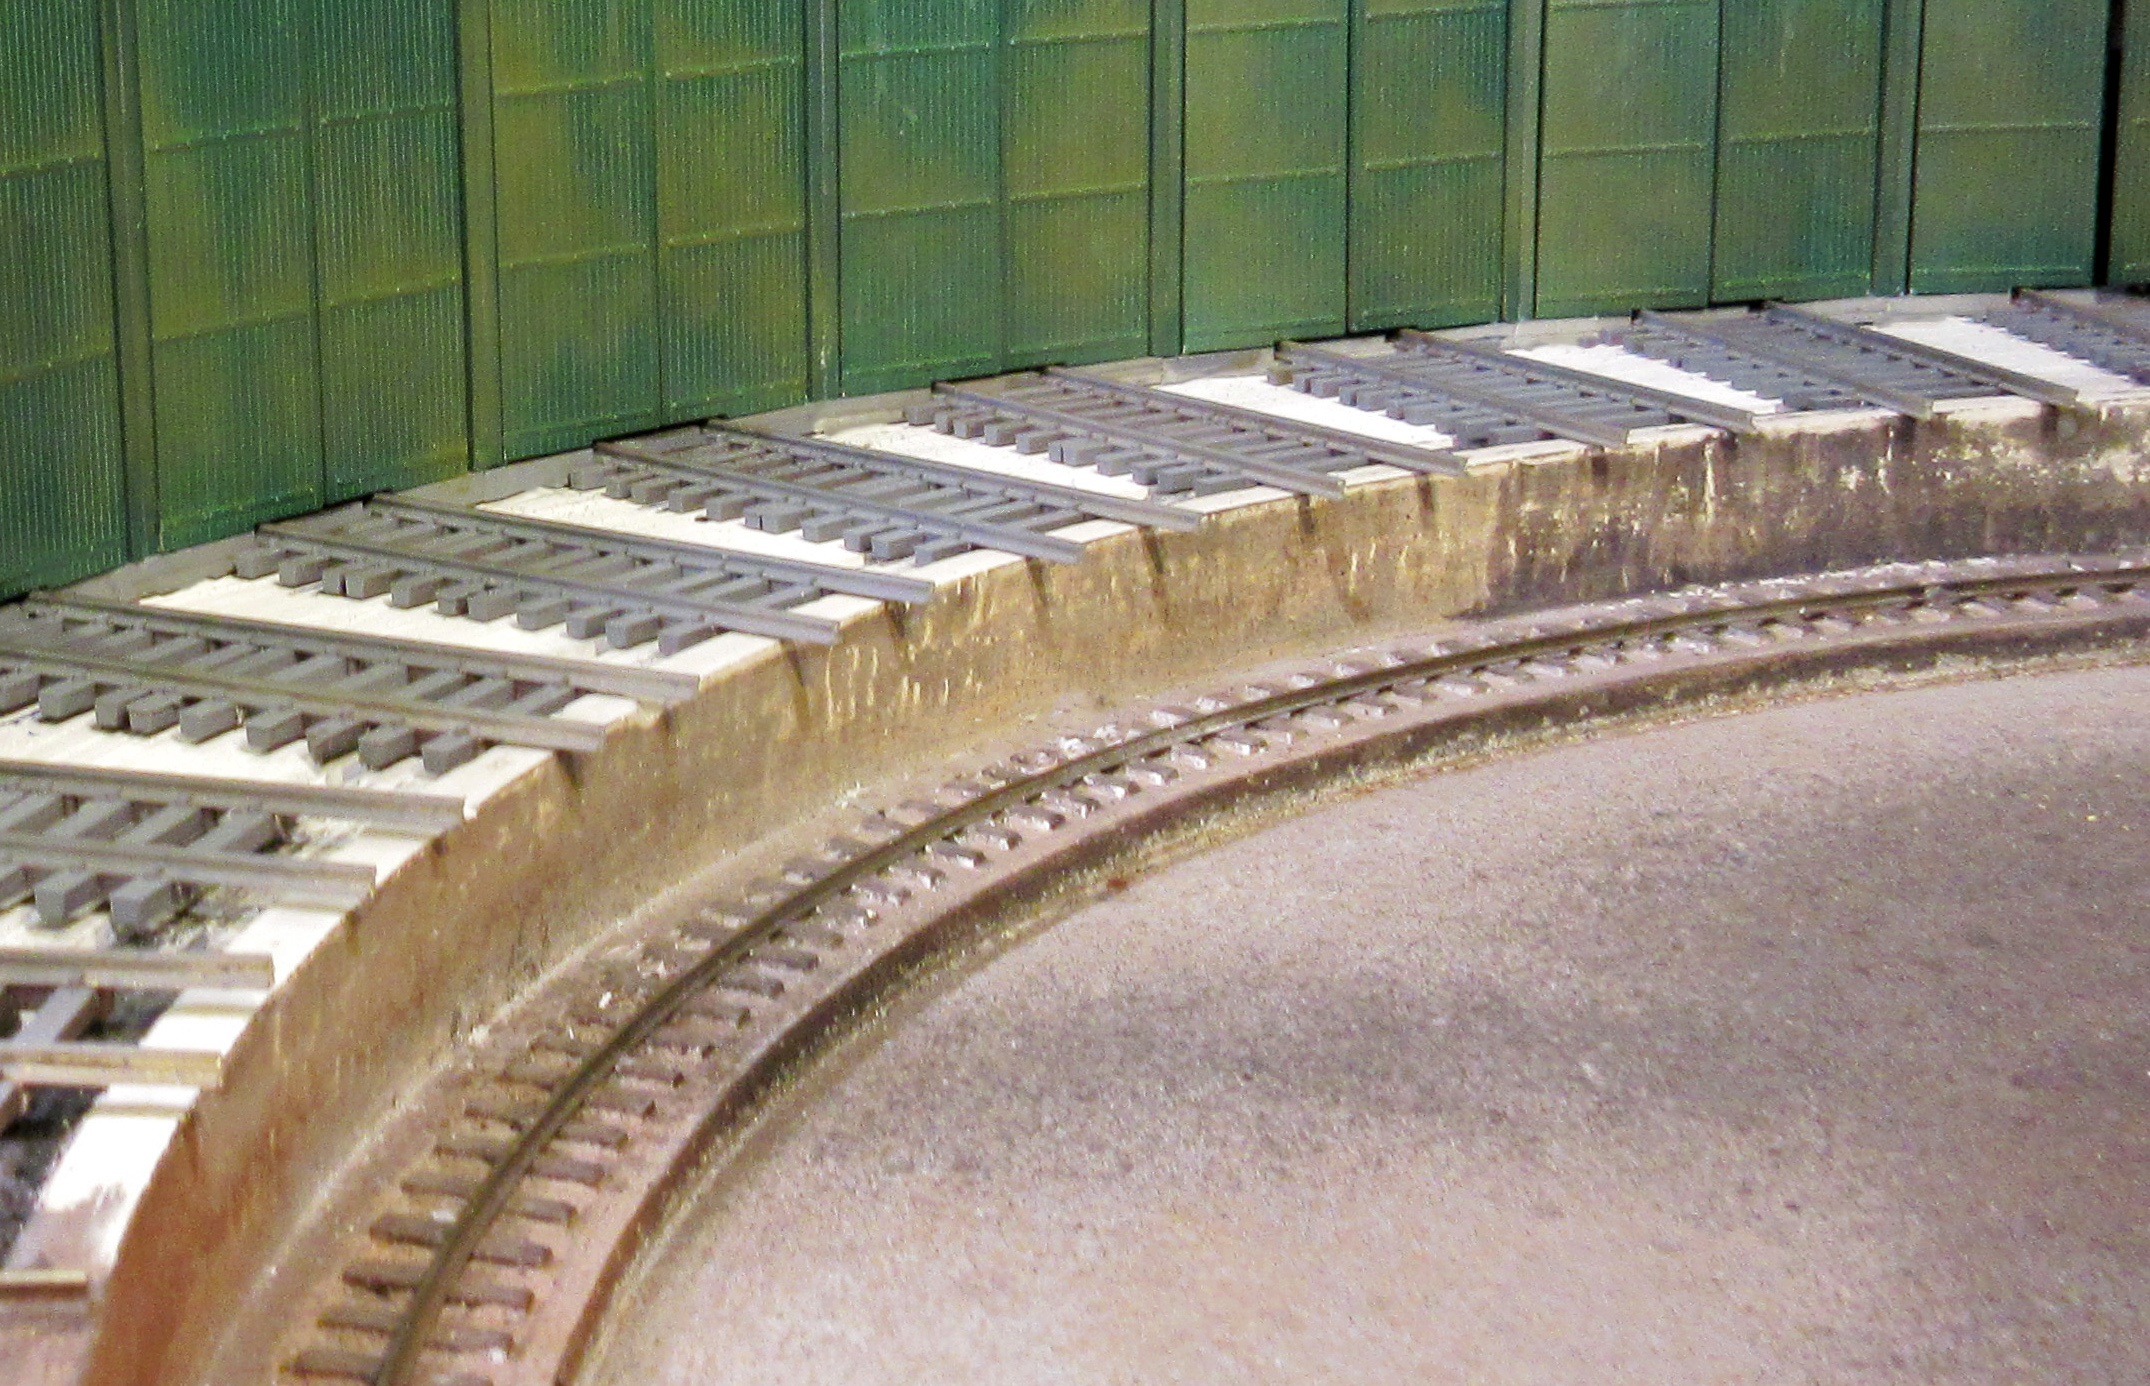
Once trimmed and filed I set the base of each rail into a dab of epoxy. This is my second, nine-stall roundhouse at this location. The turntable and original Heljan roundhouse was installed in 1995.
You can see that there is a bit of a gap in the closest track. This was easily pulled down (weighted) once the rail ends were trimmed and filed (a slight relief was filed into the gauge-side of the rail head) and a bit of epoxy was applied.
The ‘new’ roundhouse has been in place since April of 2018 and has not shown any signs of misalignment or thermal activity.
Before we all get lathered up about a 7/16" gap, let’s recall that the 7/16" measurement was a guesstimate between Pruitt’s indication that the dimension from the center of the turntable to the doors is 11 15/16".
Kevin indicated that the 90 foot turntable bridge is about 13" long, or 6 1/2" to center. That should give you about 5 1/2" of track between the turntable and the roundhouse.
Turns out, the exact distance was 5 1/16", or 7/16" difference. Not bad for a guesstimate. After all, JDawg’s original estimate was 12". That’s the beauty of the formula - - exactness.
And that is why the forumula is so useful. It tells you the exact distance between the edge of the pit on the turntable and the front floor of the stalls.
In fact, once the formula provides the exact distance, that measurement can be used to perfectly align the roundhouse with the turntable.
Each and every connecting track will be the exact same distance whether the outermost stall or the middle stall or any other stall in between.
The shortcoming of your two-line theory is that it fails to identify that exact distance.
My point was about the size of any rail joint, not at turntables specifically. The rail gap between the turntable and connecting track has to be wider than would otherwise be correct in order to accommodate the swing of the gauge. The base of the ends of the rails on the bridge will conflict with those on the connecting tracks. That gap needs to be accurately made.
Sure, if you can measure accurately, allow for the necessary gap and cut all rails exsctiy the same and then position the roundhouse exactly correctly you might use a formula to calculate the cut length of your connecting tracks.
I remain sceptical. I plan to use my simple method to install my turntable and roundhouse. I’ll let you know how that goes if and when we get around to it. So far we just have two paper templates. One circle and one wedge shape.
Truth be told, there will always be a gap between the bridge rails and the rails on the connecting track, no matter how infinitesimal. If there weren’t, every time the bridge track rotated across a connecting track, it would snag unless the cut were so exact that only a slight gap of paper width were made at the end of the connecting track.
Here is a good takeaway when installing a turntable and roundhouse.
Once you determine the length of the connecting tracks by using the formula, you now know the approximate space required to install the turntable/roundhouse complex.
Then, you can install the turntable. Once that is done, you can finesse the roundhouse into place by aligning both ends of the front of the roundhouse to the exact distance determined by the formula, after taking into account the fact that the connecting tracks need to extend over the lip of the turntable to the edge of the turntable pit.
Next, you can install the connecting tracks, all cut to the exact length determined by the formula.
Finally, you can test the rotation of the turntable bridge to see if the ends of the connecting tracks need to be filed to permit proper rotation of the turntable bridge.
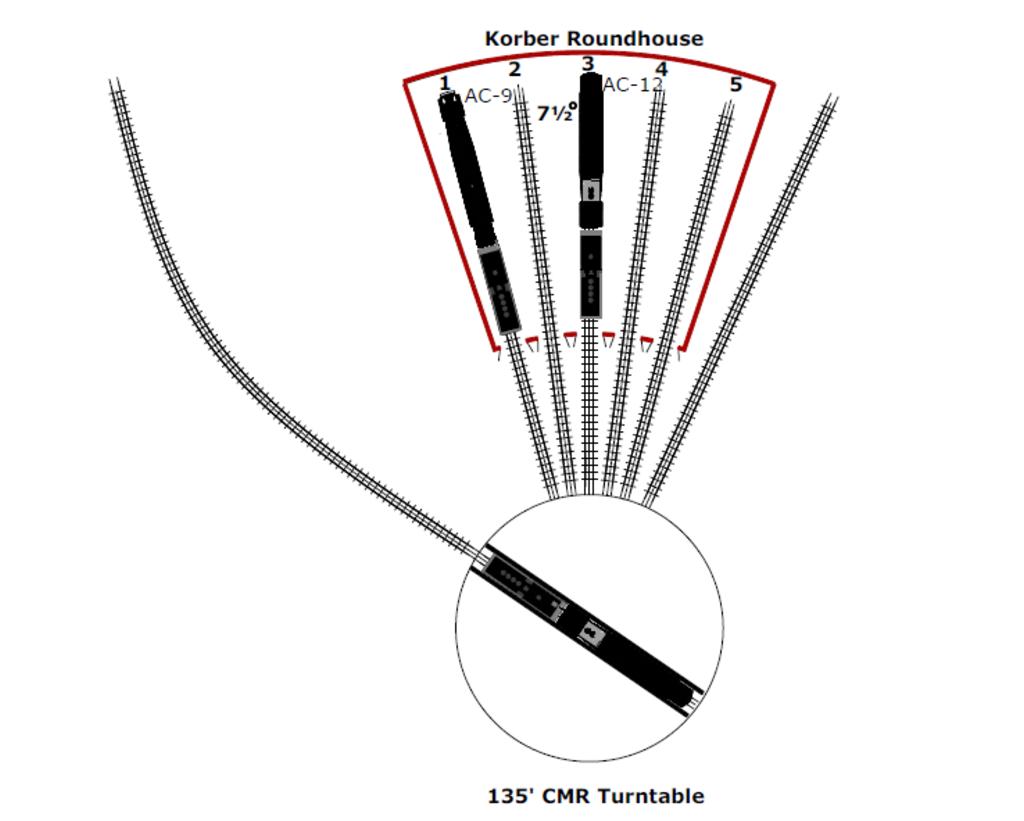
I want to thank you for this topic!!! That gave me the incentive to draw up a couple of to scale top view drawings of my articulated locomotives. I’ve been wanting to do that for several years.
The two locomotives are 18”+ and fit my kitbashed/lengthened Korber Roundhouse nicely.
Remaining skeptical is a good sign in that it indicates that you might be persuaded otherwise. So, we look forward to learning the results of your approach.
Since you indicate that you have two paper templates, a circle and a wedge shape, you have already improved upon the two-line approach by adding in the radius of the turntable pit.
I assume that the wedge shape is the stall floor and that the circle represents the circumference of the turntable pit. Without that circumference, you don’t know the radius, so you don’t know how far to place the roundhouse from the turntable.
My view is that the roundhouse is located first. Messing around with the two templates revealed this to us. You don’t actually need a turntable template. A tape or meter stick will tell you if there’s enough room for the turntable. We cut the turntable circle template not realizing we didn’t need one. You do need to allow for the turntable approach track(s). We quickly discovered that the length of this approach track is the most likely limiting factor for fitting in a roundhouse.
Place the roundhouse, draw two lines (or three if you’re a woodworker, always three) and that marks the center of the turntable. Cut your turntable hole using that center for whatever circle cutting guide you are using.
Presto, the length of the required connecting tracks can be measured directly on the layout.
Allow a fudge factor of say 1/2" to finally locate the roundhouse after you actually cut the hole for the turntable allowing for cutting errors. The stall angles require the roundhouse to be exactly x" from the turntable. Cut those connecting tracks to fit leaving the required larger than usual gap between the bridge track ends and the connecting track ends. I think Walthers recommends tapering the inside edges of the turntable ends of the connecting track rails to facilitate transit of the locomotive wheels across these gaps.
I’ve built five turntable/roundhouse combinations over 50 years and installing the turntable first works out far better. Four were scratch built turntables.
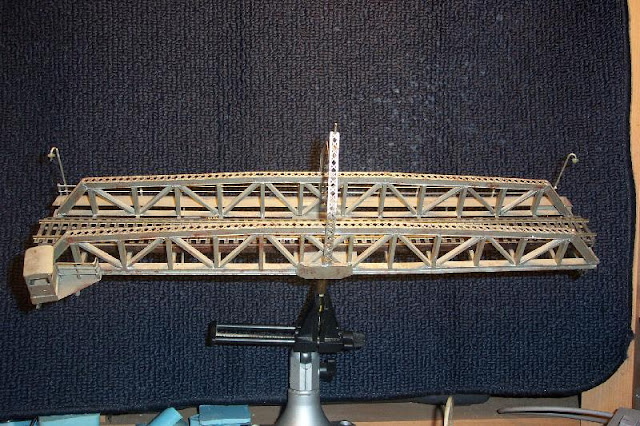
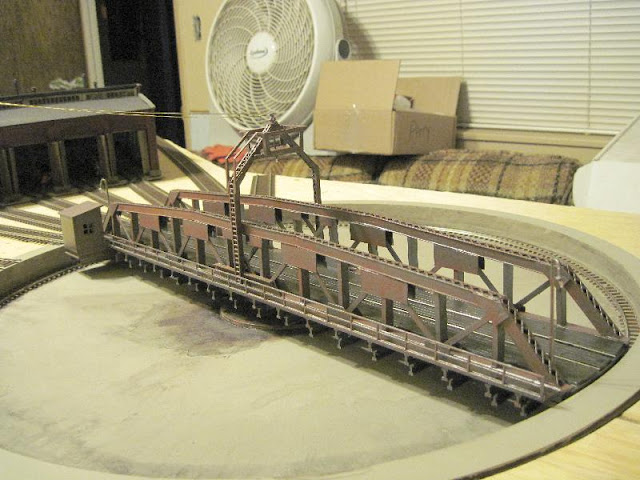
This is my last scratch built turntable bridge & superstructure in 1992.
My final turntable is a 135’ CMR kit which really works great.
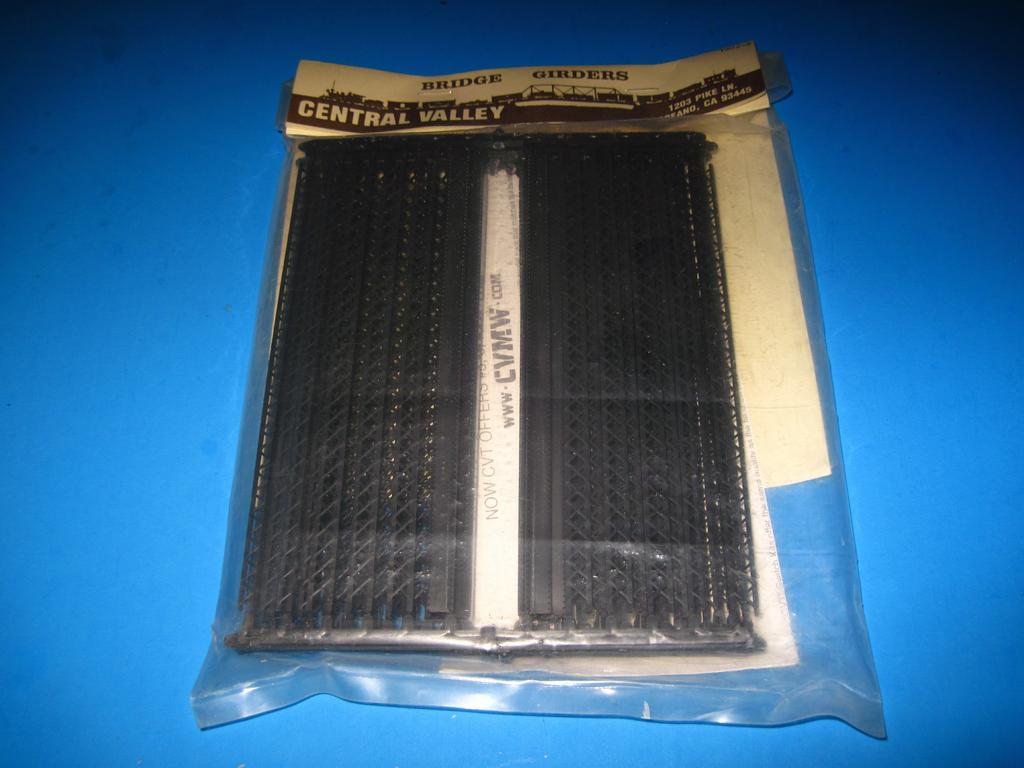
The CMR turntable did not come with the superstructure so I did my scratch build thing using a Central Valley Bridge & Girders 1902-5 kit.
 Walters 90 footprint on Flickr