I tried using Micro Mark rivets for the first time on my second scratch built bridge. All things considered I am pleased how the rivets turned out. I can only expect to do a better job next time. Thanks to Chad for all the pointers.
Top of girder capped with styrene. Micro Mark Rivets installed on the right.
After painting.
Bridge is on a grade and a curve, so had to build my own. Not quite finished.
Micro Mark rivets were worth buying and installing as they made the bridge just that more realistic. I give them a big [tup].
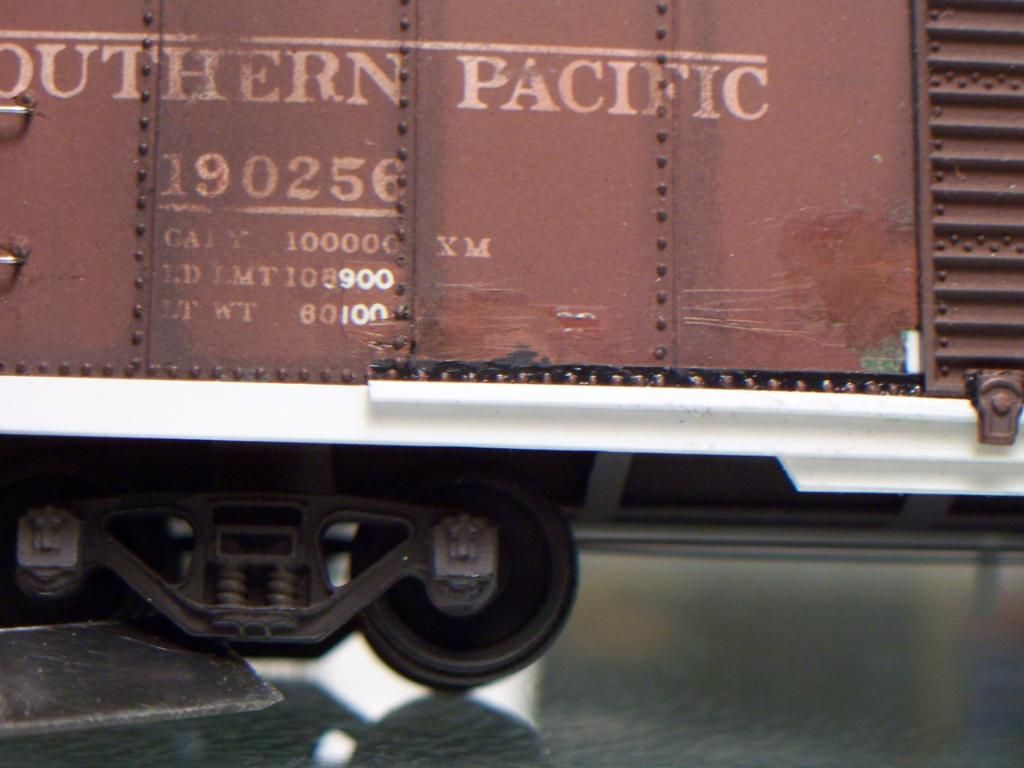
I recently purchased a couple of sheets of MicroMark rivet decals, but haven’t tried them yet. I have used the Archer rivets, though, and was pleased with the results - it certainly beats shaving rivets off donor cars, and trying to transplant them in a sorta-straight line as shown here:
Once the car is painted it doesn’t look too noticeable [:-^]:
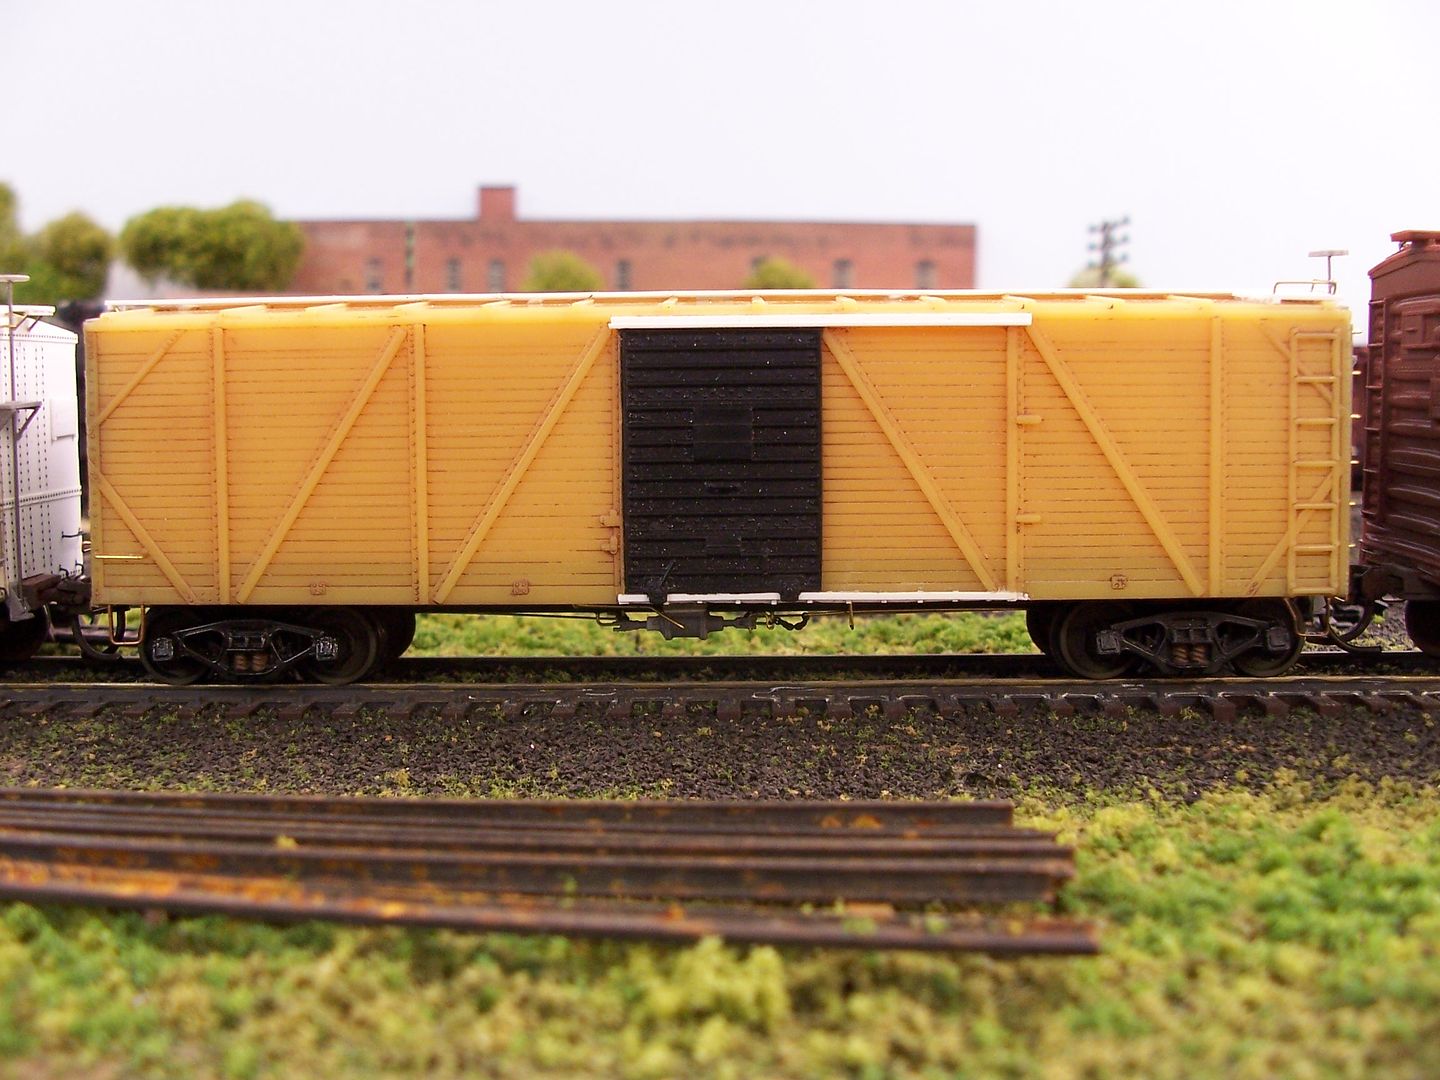
With the Archer rivets available, I was able to remove the tack board from this old Train Miniature car…
…then modify the car slightly and add the missing rivet detail along the left side of the door:
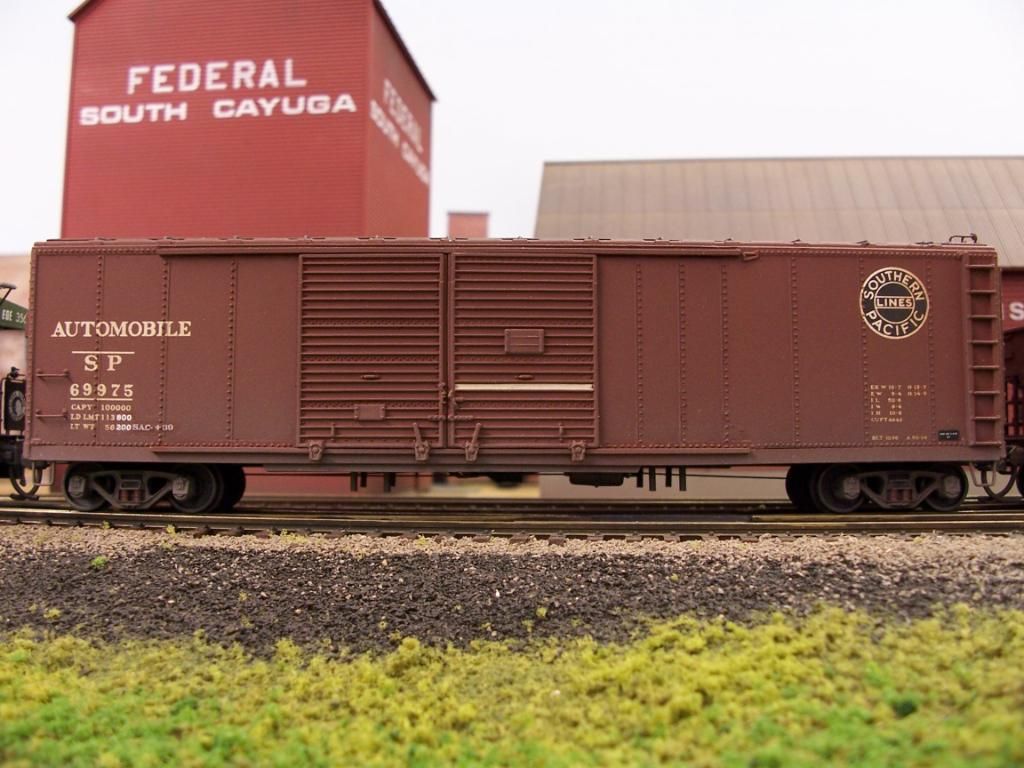
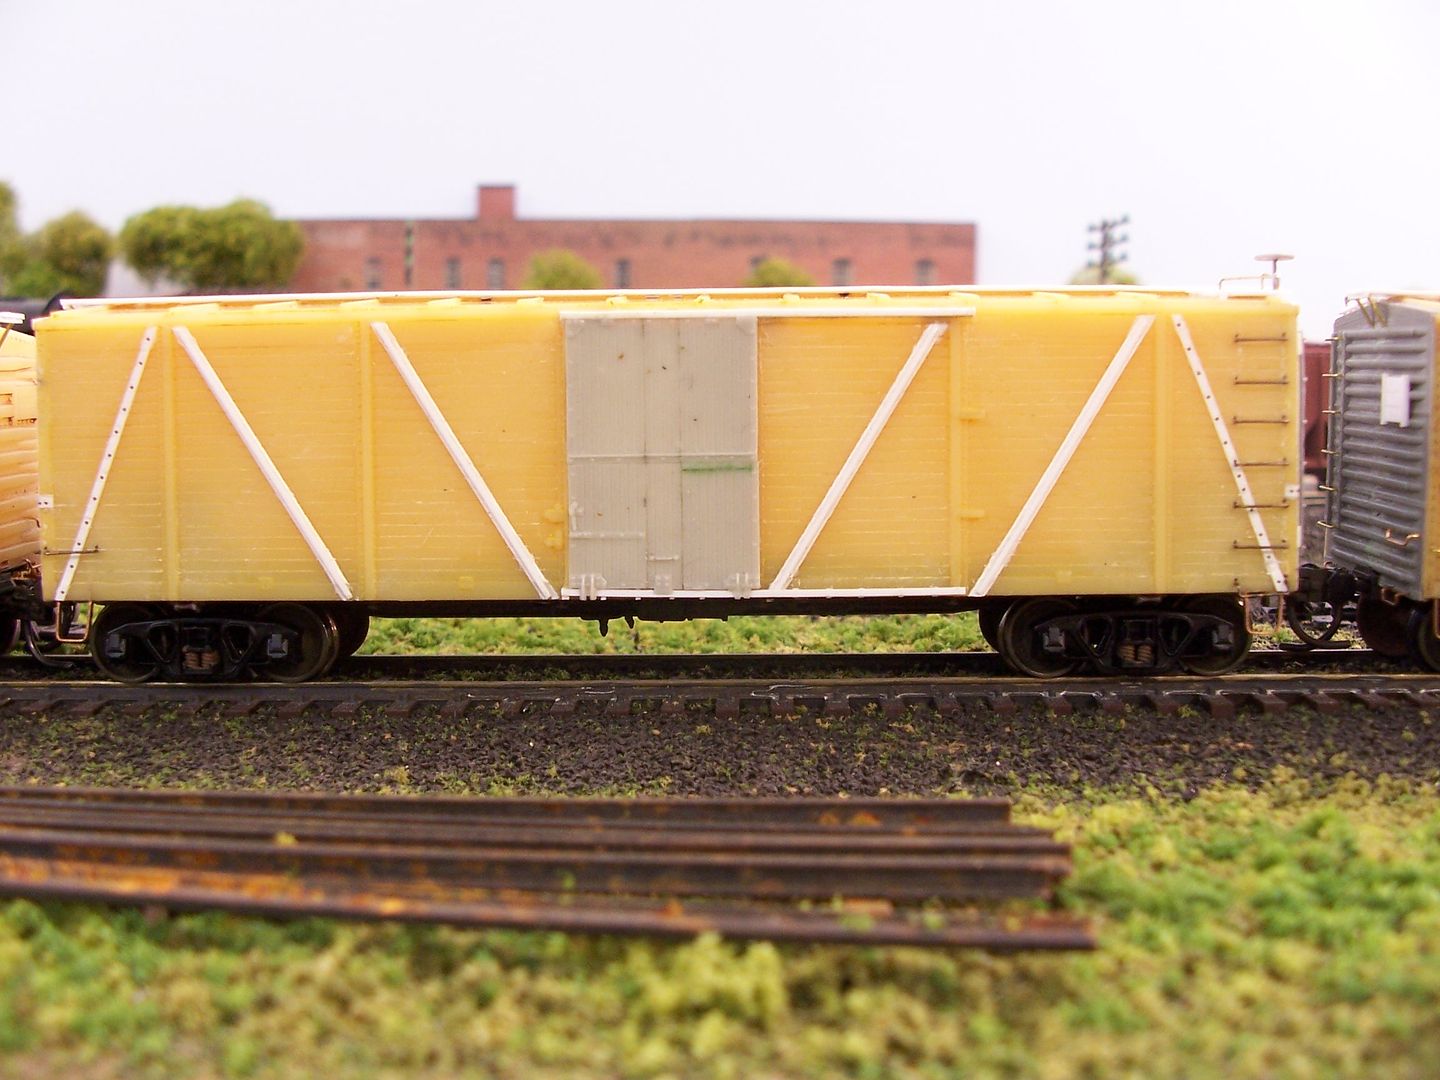
A Train Miniature car similar to this one…
…had its exterior bracing modified…
…then rivets were added to the flat diagonal braces on the car’s end panels. Because the prototype’s rivets aren’t applied to all boards, I cut a strip of the required number of rivets, then lightly sliced through only the decal film between each rivet. By placing the decal paper strip on the car’s side before w
Wayne, that is some finicky work you have done with those rivets. After my first experience I’m impressed. One does seem to get a few going AWOL and a steady hand is required to replace just the one or two that have disappeared.
A couple more shots of my new bridge. Still have to get the mid span support done and then it should be ready for installation.
I am a Bridge Guy/Fan, & really like that, what you have done there…
Did you Scratch build the Box Girder section from some common parts, Like teh Central Valley ones, or some other manufactures? I really dig the overall look!
Thanks,
The laced girders are indeed Central Valley. I also used Micro engineering and Atlas parts along with a bunch of styrene sheets, strips and beams. There are some very good websites on building prototype bridges if you go a few pages in on Google and really start digging. Nothing bugs me more than seeing a obviously under engineered bridge on a MRR. This bridge is close to one on one of the websites I saw. The addition of the heavy laced beams underneath the girders required because of the length of the unsupported span. The diagonal smaller laced supports were not required at all because of the heavy beams going across perpendicular to the girders. I just like the look, so I put them in.
I am going to put a mid span support in, even though the bridge I more or less copied didn’t have one. I think it will just make the whole scene better.
Rich.
I think casting rivets and trying to place them individually would be a nightmare. They are really very small. I had a hard enough time replacing the singles that fell off the Micro Mark decal sheet. You may have the hands of a Surgeon but I am sure past that point.[sigh][(-D]
On this bridge where I used styrene sheets I found some long sharp thingy majiggy’s in my late mothers sewing table to push into the sheets. That worked well as far as raising little bumps on the other side. They actually look really good but the process was so slow I opted to try the Micro Mark rivets.
In the past I have made rivets by putting teeny tiny little dabs of five minute epoxy down with the pointy end of a needle. After the epoxy dried, a ligh
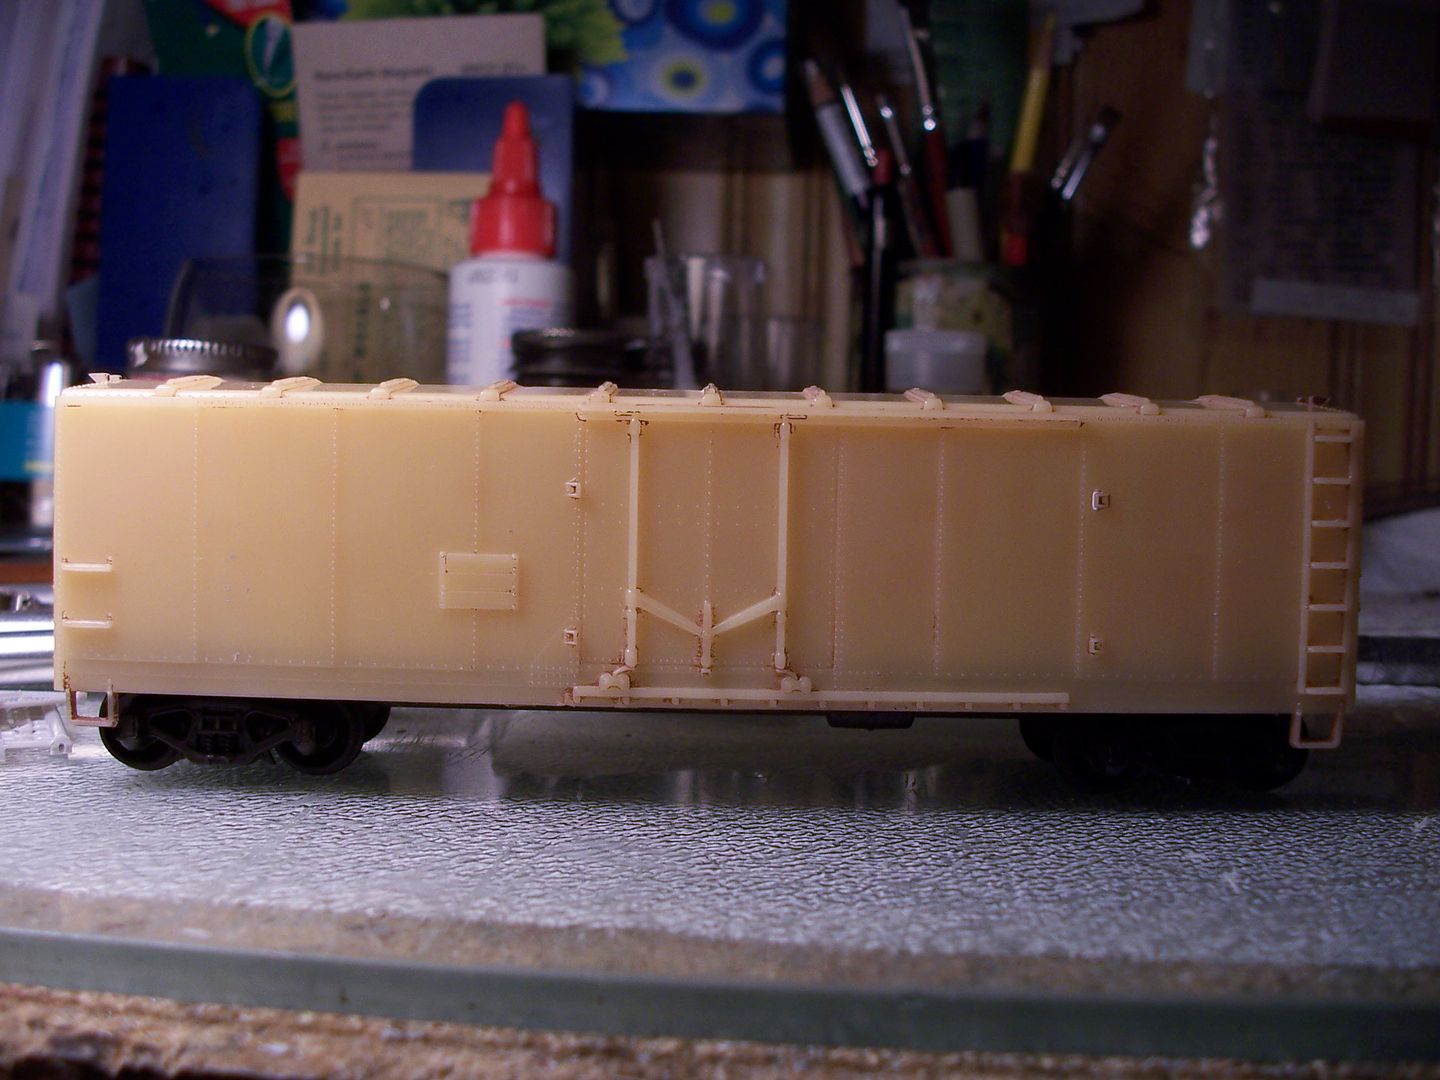
Resin-decal technology has indeed made adding rivets and weld lines a lot easier than before. The only real problem is the Archer decals sheets are rather small for the price you pay.