You’ve got to be a geezer like me to remember this but back in the old TV days of channel changing by knobs the contact points in color TV knobs were made of gold. Not big nuggets mind you, but just large enough to provide reliable conductivity and durability. I remember one color TV manufacturer (RCA maybe? It’s been a LONG time!) even advertising the fact.
3 Likes
That doesn’t suprise me–gold is actually a great material for contacts, not because it’s a great conductor (copper is better, if I recall correctly), but because it takes longer to oxidize than it takes me to get out of bed on cold mornings!
1 Like
100% correct. Unlike other metals gold doesn’t tarnish or corrode.
2 Likes
Technically, it does, it just takes an imperceptibly long time.
1 Like
Guess what came early today?
My new Type VW!
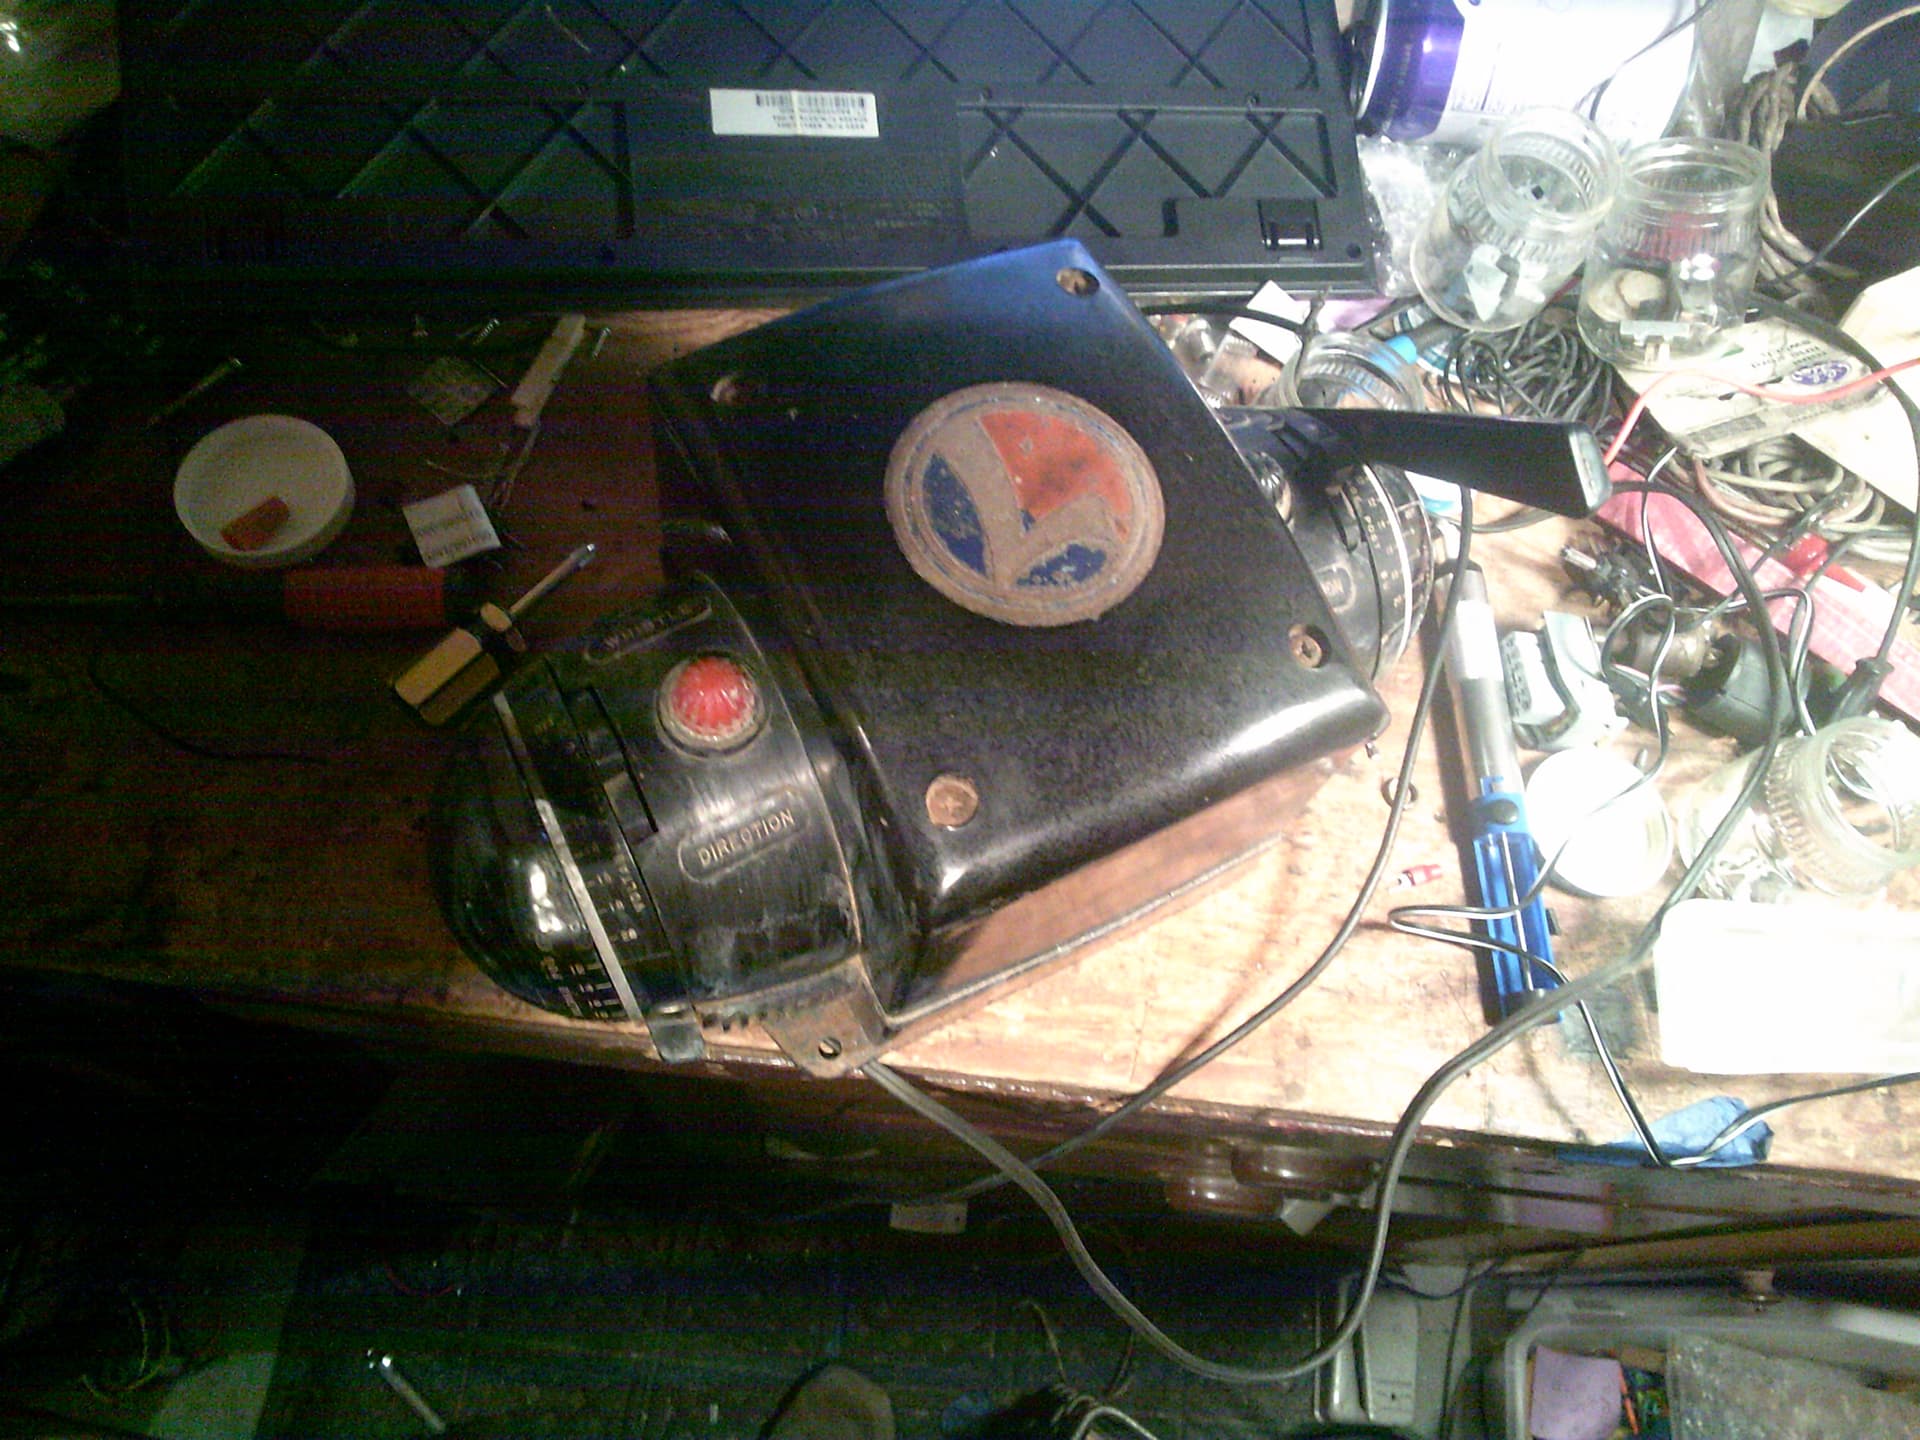
My full ramblings thereon are here: The Mobile Railroad! - #6 by Engine_1988.
4 Likes
Bad news–the $20 18B I ordered arrived today with the top staved in. It’s bad enough that the case is probably not salvageable. But, I’m a cheapskate, and so I don’t want to just junk the thing. As it turned out, the transformer itself still functions. But it doesn’t work even without the case, as the variable outputs rely on the case for mounting of the handle and the wiper. What to do? A replacement case costs too much. But, I happen to own a 3D printer. A large 3D printer. Large enough to make a new case! And while I’m at it, who says that I can’t make the transformer better than before?
2 Likes
Not me! You’ll have to show us the finished product when it’s done! ![]()
2 Likes
Alrighty!
I will go over the plans here.
- Actually make a case that holds the handles so that it actually works.
- Include a voltmeter and ammeter.
- Include a DC power output (this transformer will be for the workbench test track, likely).
- Add two additional variable outputs.
That’s the plan!
2 Likes
Just bang the case out until it’s straight enough – use Harbor Freight bodywork tools if you need to. Not like the attachment points were precision-machined from the factory!
2 Likes
The Bakelite case?
1 Like
Using bodywork tools on a Bakelite case will not end well.
2 Likes
Yeah…
That’s what I was thinking too.
1 Like
If it’s Bakelite and ‘staved in’, I’d push the ‘flinders’ back straight and pour a small amount of epoxy over the back side to hold them. Tap gently if necessary before gluing.
Or make a piece out of suitable plastic, cut and mill out the broken section, and reinforce with a ‘fillet’ inside; that will give you a flat insulating support for the pot or switches as necessary.
You might craft the repairs to look ‘original’ or stylish – but this was a functional purpose at minimum cost. Making a whole enclosure would likely be more work… unless the damage is like what happened to my old Weller gun that landed on the cement basement floor.
2 Likes
I actually am thinking that maybe I can get it back together. Probably I’ll build a reinforcing “frame” that I’ll install internally to add more strength.
1 Like
[quote=“Woke_Hoagland, post:33, topic:418518, full:true”]
I’d push the ‘flinders’ . . . .[/quote]
Now, THERE is a word I haven’t read since the last time I taught Twain! Thanks for that little brain jog!
2 Likes
Shet de do…
2 Likes
Here’s the 18B. It’s pretty bad.
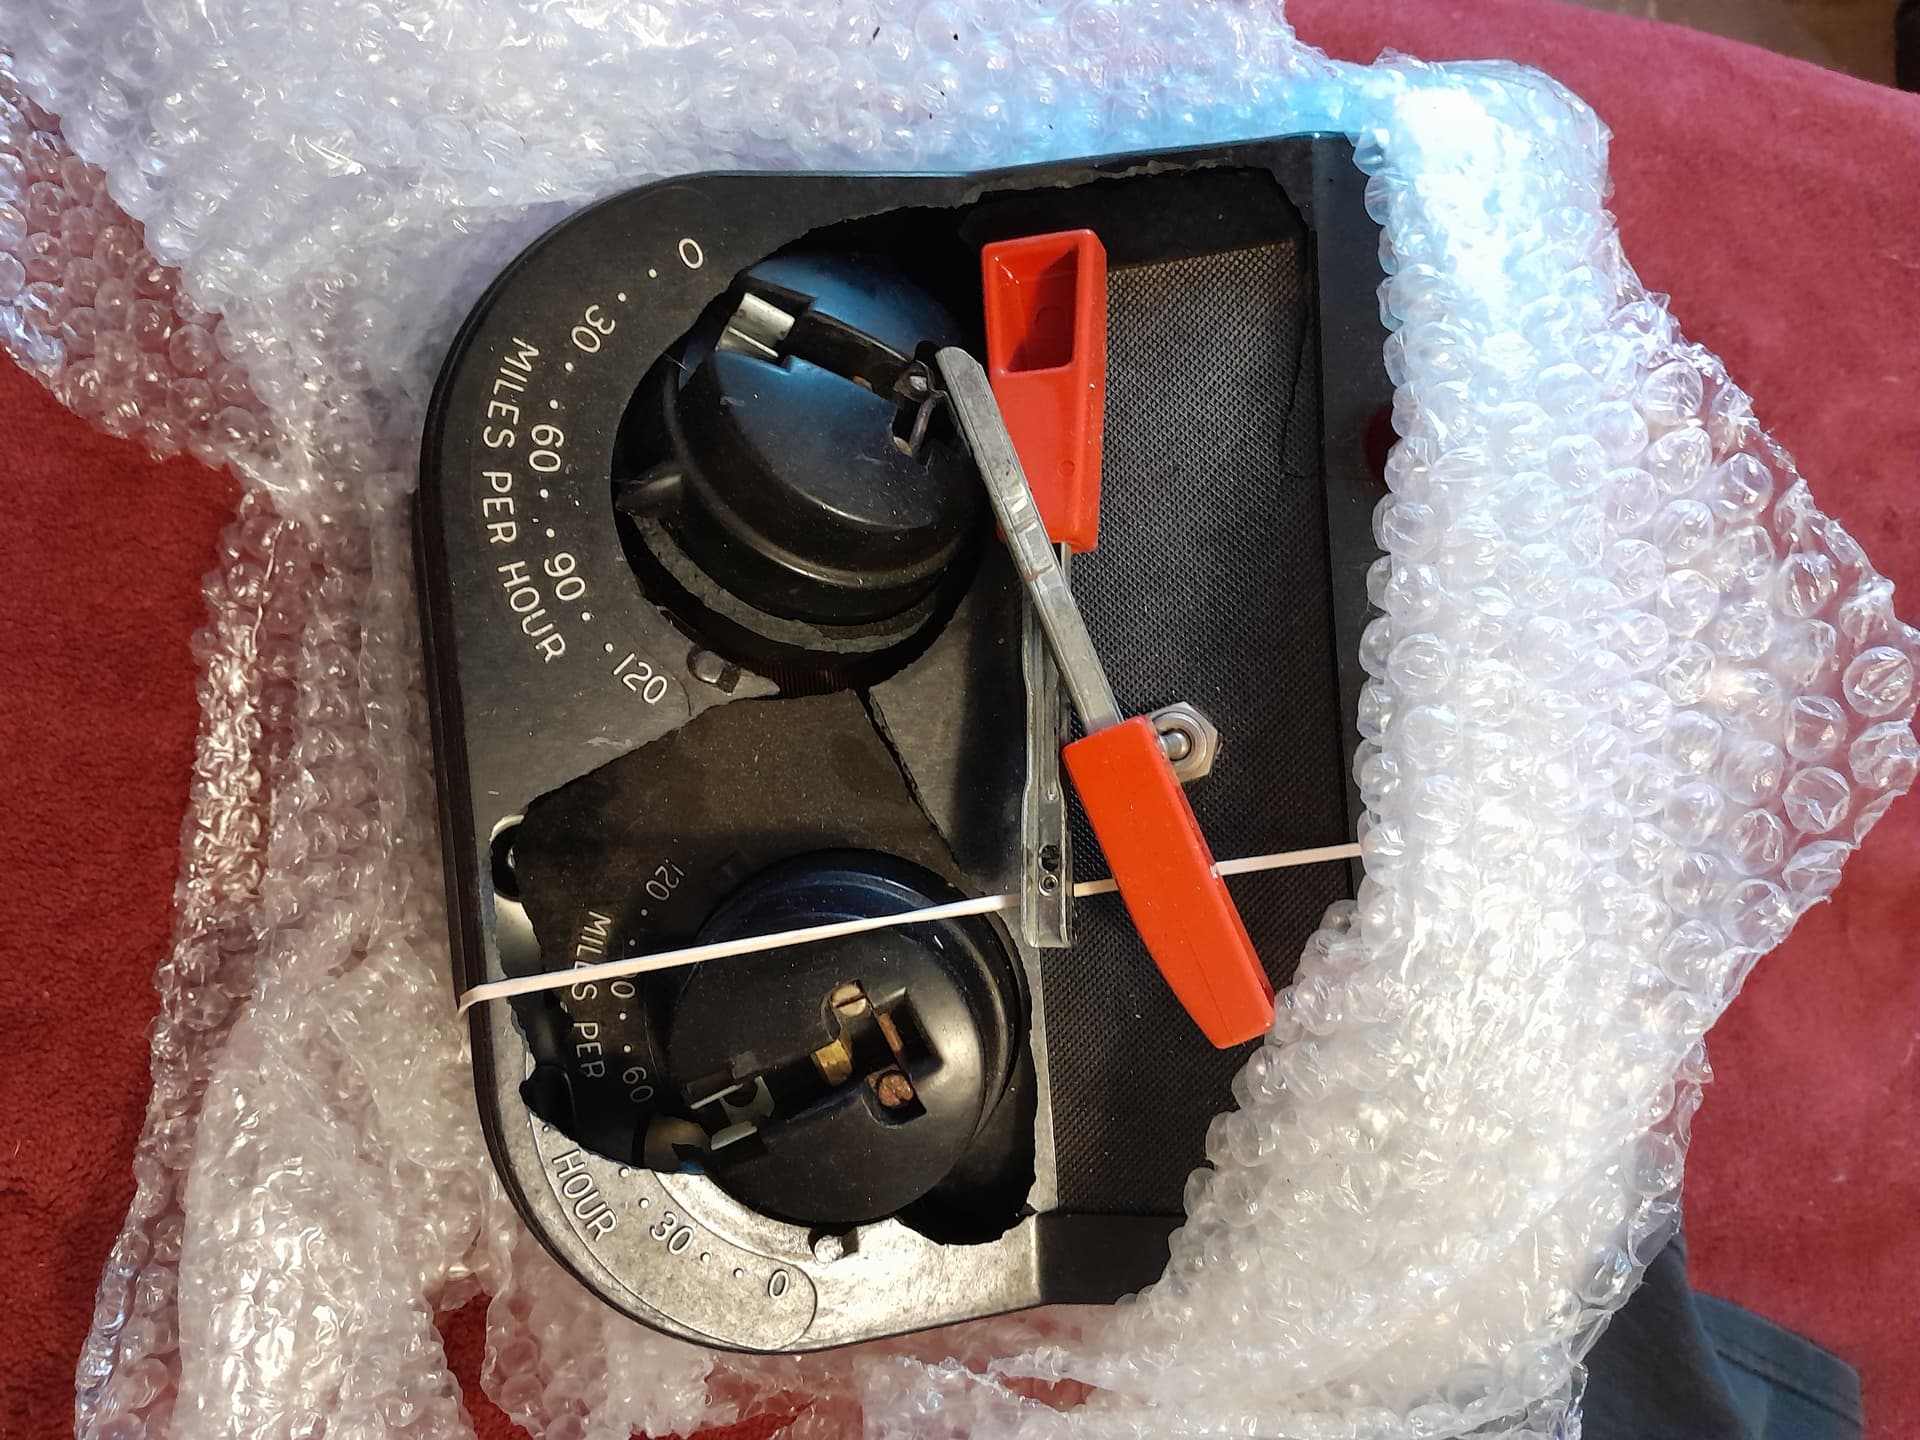
I’m beginning to think that I maybe can fix it alright, probably with some internal wood block supports.
2 Likes
Bad? That looks like a cinch. Something hit the knob and pocked out a divot.
I’d glue the pocked-out pieces back with something like gap-filling cyanoacrylate – there should be little distortion of a broken thermoset so the gaps will be tight, and that rules out adhesives that depend on a thicker film to have strength.
Then back the seams up with a good two-part epoxy so you won’t re-pick it if you inadvertently hit the knob again.
If it were mine, I’d put a hole for the pot in a piece of reasonably heavy brass (or tough plastic) sheet, cut it and perhaps bend the edges a bit to fit, and use epoxy to reinforce the entire deck. Be sure there’s enough ‘nose length’ on the pot for the added thickness.
3 Likes
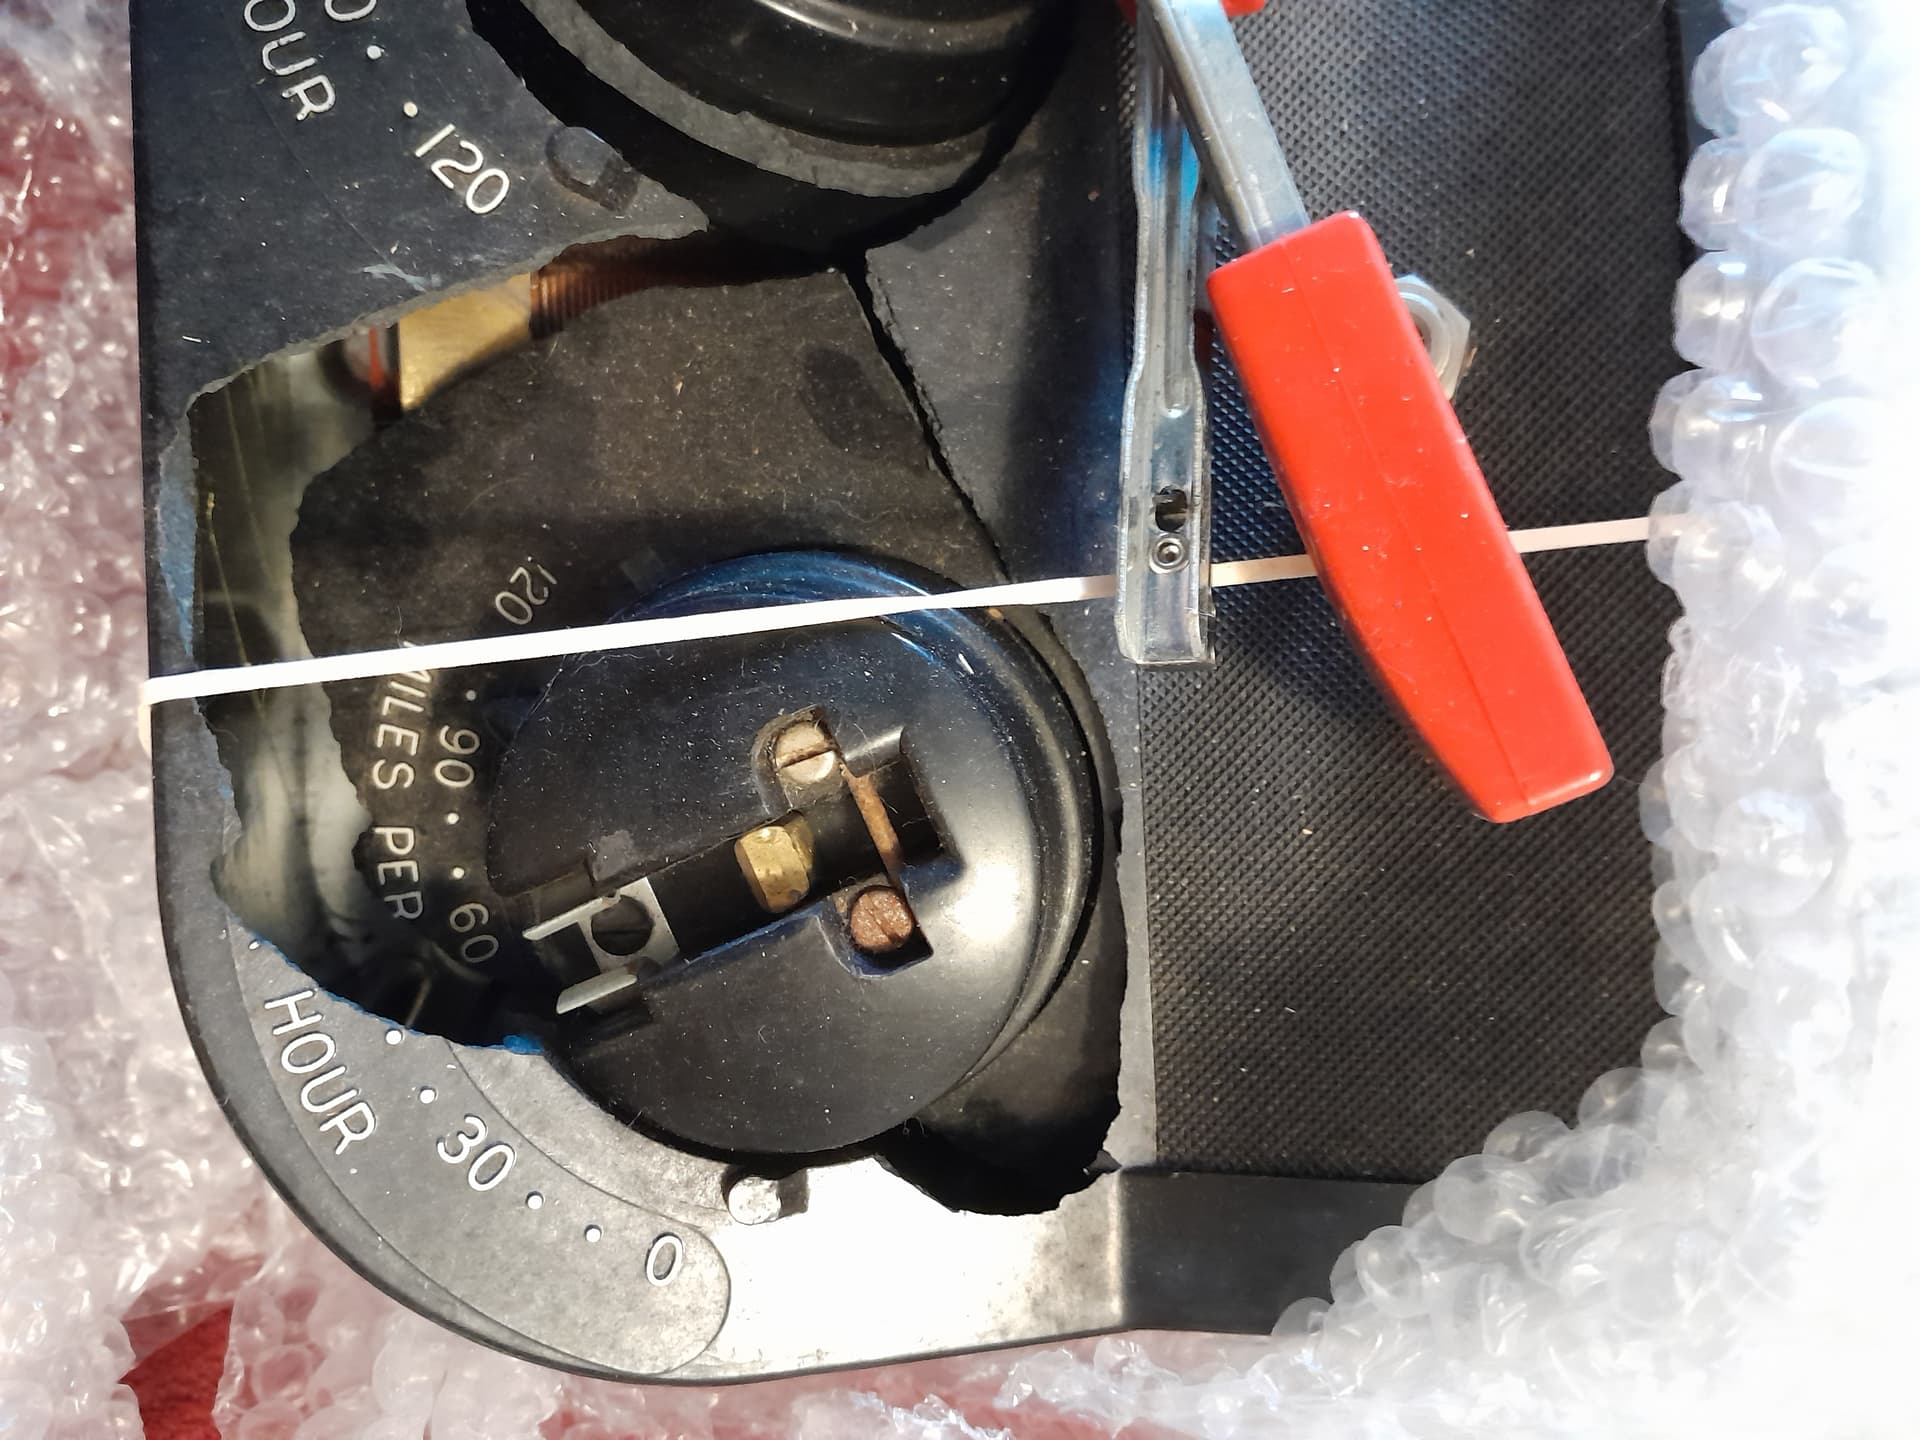
That’s the issue–it’s so tight that I actually have to sand it down to get it back together. It’s nearly impossible to get the pieces back in alignment! But why do you keep referring to a potentiometer (since “pot” is sometimes a shortening thereof)? This is a variable transformer; there’s no potentiometers involved!
This is sort of like my plan, except, since I own a sizable 3D printer, I can print the part itself! In case you hadn’t noticed, I keep going between this and reinforcing it with wood blocks because I’m an indecisive idiot.
My plan is to use epoxy where there’s the more sizable cracks as well as on the back, and E6000 glue for the finer cracks. Does that sound reasonable?
1 Like
I don’t think E6000 is the right adhesive for tight-fitting cracks. It’s too thick, and its thin-film bond strength may not be great in that application. I have not tried to thin it for application.
The pieces of fractured thermoset aren’t going to go back in as ‘the reverse of how they broke out’ – so you may have to bevel the edges of the opening and the pieces toward the inside, so you can replace the ‘divots’ reasonably flush with the outside but leave enough gap to use an adhesive like two-part epoxy that relies of a thicker ‘glue line’ for strength. I think that is what you’re describing as a plan. Make a jig that holds the pieces in the correct alignment from the outside, firmly, and then apply strong epoxy from the inside. I would heat the initial curing.
Where I say ‘pot’ read ‘rotary control’.
2 Likes