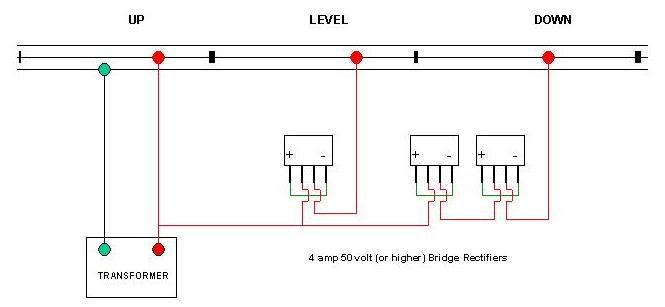
Hi Dave, Here is how I control the voltage to differnet blocks on my elevated layout. Use isolation pins to separate the layout into 3 blocks - UP, DOWN and LEVEL. Bridge rectifiers are the easiest, least expensive and most reliable way of dropping the voltage. Bridge rectifiers contain 4 diodes and if you wire them as in the diagram there will be a 1.2 volt drop across each bridge. So in this diagram the UP block will receive full voltage, LEVEL will receive 1.2 volts less and DOWN will receive 2.4 volts less. By adding or subtracting bridges, you can control how fast or slow the train is going in that block. If you need further clarification, let me know. You can find bridge rectifiers at All Electronics or Radio Shack. Here is a link to 6 amp bridge rectifiers from All Electronics for 85 cents.
A big advantage of the scheme that David has described, to my mind, is that it doesn’t involve unsafe shorting together of transformer outputs as the train crosses the gaps.
You can save on rectifier modules by using a single string and tapping into it at different points for the various voltage drops you need. For example, the voltage for David’s level block could have been tapped from a point between the two modules that he shows for the down block. For a finer adjustment, you can use the point where the + and - terminals of each rectifier are connected together as a half step.
The voltage drop that this scheme produces is about 90 percent of the forward voltage of each diode, multiplied by the number of diode pairs in series.
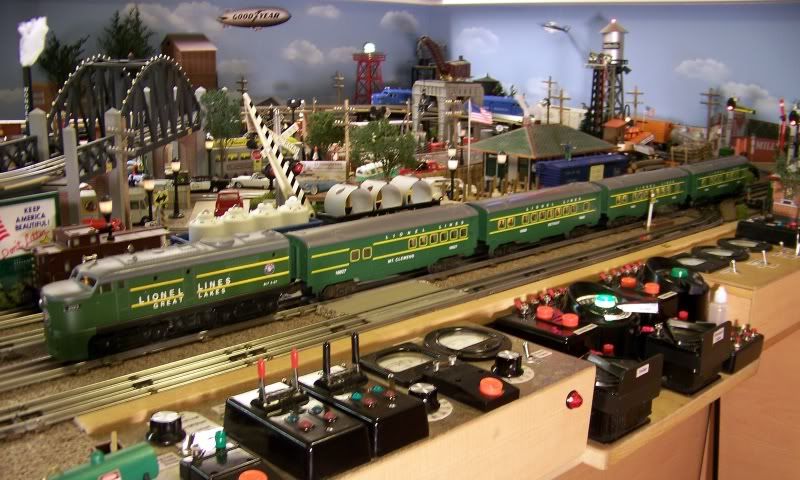
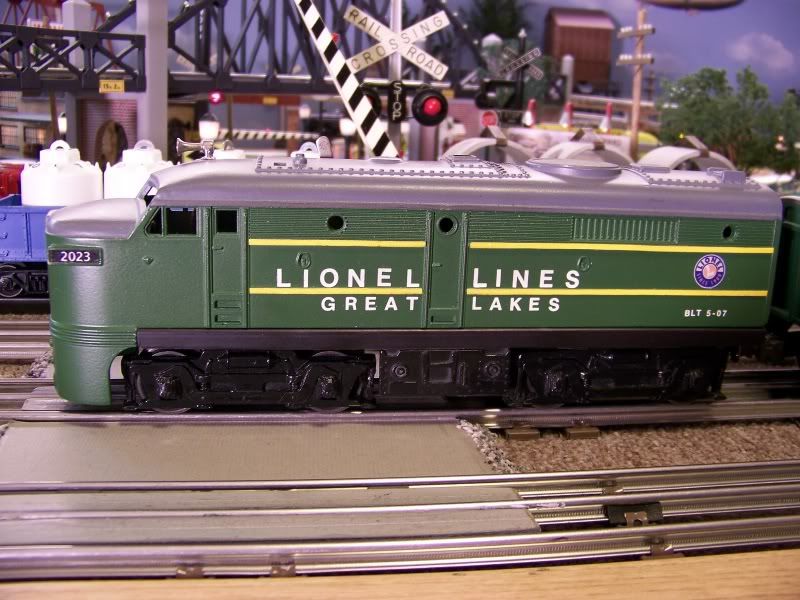
Don, I have the 4 green reissued Lionel passenger cars but not the gray steam engine from the set, so I repainted a 202 postwar Alco to the approximate paint scheme of the cars. Here is information on the whole set. Lionel 11712 Great Lakes Express Steam Passenger Train set. This was the Service Station Special (SSS) set from 1990 that was only sold to service stations, not the regular dealer network. This is an interesting set since with the passenger cars having the same green and gray paint scheme as the 2400, 2401, and 2404 postwar passenger cars. This one comes with a #8611 Locomotive and Tender, and four passenger cars: #16028 Detroit, #16029 Lansing, #16030 Chesterfield, and #16027 Mt. Clemens.
I changed the lighting in the cars by switching to 2 superbright white LED’s in each car. I also added an electrolytic capacitor across the LED’s so that the light is always steady, even when going across switches. Each car has dual electrical pickups and I removed one of them because only one is needed with electrolytic capacitor in place. Since LED’s tend to be very directional, here is what I did. I used the same sockets that the 2 lamps were origionally plugged into and aimed the LED’s straight up. On the roof of the car I glued white cardboard to reflect the light downward. This also allowed the light to be dispersed fairly evenly throughout the interior. Since regular white LED’s have a harsh bluish tint, I solved this by placing thin cardboard on the bottom of the interior that was printed out on my inkjet printer with a orange/yellow color. The result was a nice yellowish regular lamp color.
David: I am a little late in commenting, but I am quite impressed with that layout. Your explanations of how you controll the speed are excellent. I am an electrical engineer, and am impressed whith what you have done. I saved the links to your videos, and intend to steal some of your ideas. I really can not tell from the video, but it looks like the climb up is less steep than the descent. Is that correct? Whether it is or not, I will probably use that feature on next year’s redesign.
Thanks for posting that circuit diagram on dropping the voltage to certain blocks.
One more favor, …can you also post a diagram for the constant lighting circuit you are using for your passenger cars? I have a 6 passenger car Amtrak train that I would like to modify.
Much appreciated!
Dave
PS - Here is video of my 027 layout. You will have to copy n paste.