I have found a plan for a trackside unloading platform, like would be used on a team track. Problem there is no indication of spacing between the deck planks. Would the planks be touching or have a space? I know how to insert a spacer between planks when I am nailing them down in real life, but I think that the spacer would get glued down too, in this case. Waiting for the glue to dry on one plank before gluing the next one in place could make this simple project a lifelong one.
Second question is, would a 20’ long platform be long enough for a small town team track?
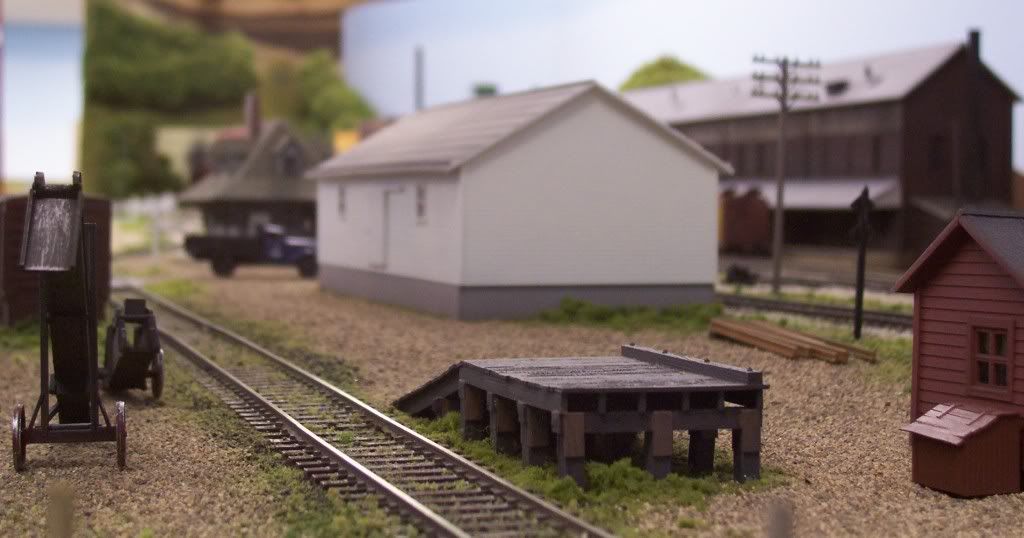
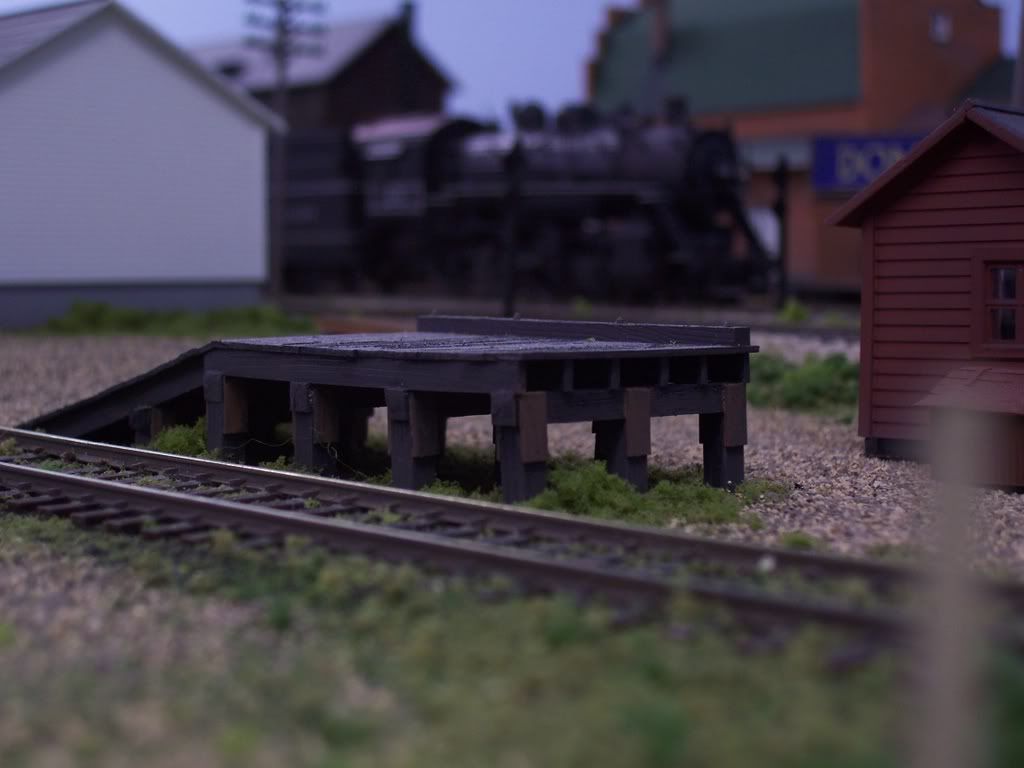
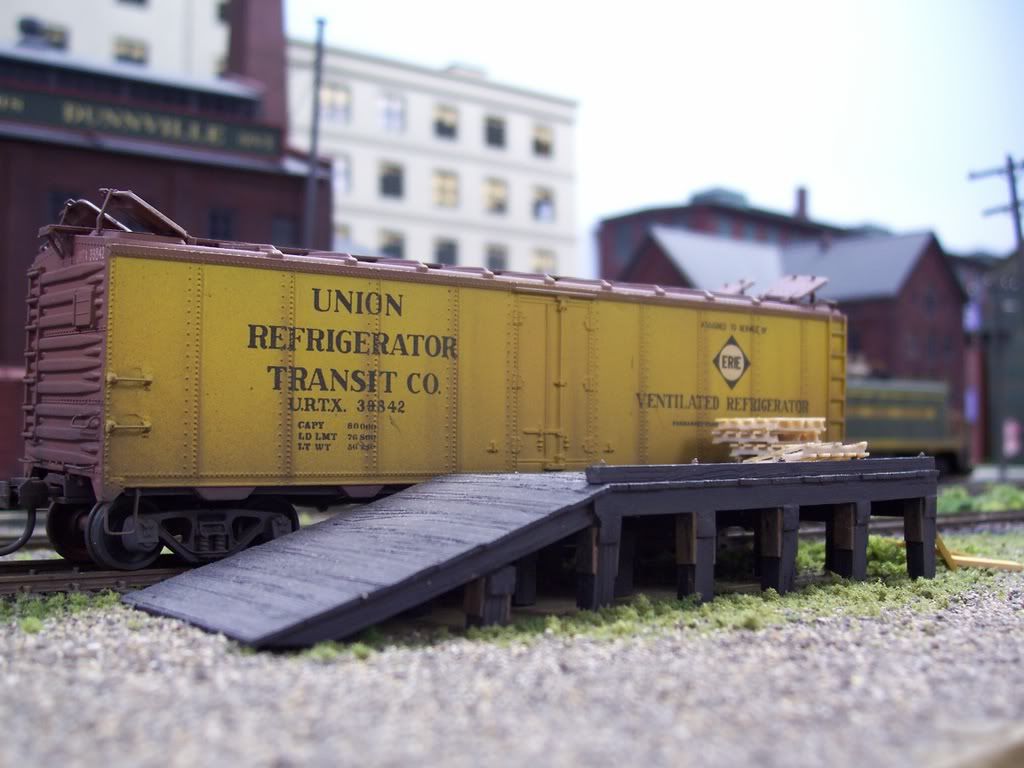
I built several such platforms for my teamtracks, using styrene instead of wood. I used 3"x10"s for decking, and butted them together - any gap would likely be too small to notice in HO. I pre-distressed all of the timbers and planks by dragging three different razor saws along the lengths of all faces of the uncut strips, then used my Chopper to cut parts for all three platforms. The randomly-selected “lumber” gives enough variety in “woodgrain” to look decent. Mine are fairly short, 10’ wide and 15’ long, with an additional 14’ long ramp at one end for unloading automobiles and farm machinery.
I neglected to add nbw castings to the “iron” plates tying the main crossmembers to the pilings, though, and may go back and add that detail. [banghead]
All of the plank platforms I ever saw had about 1/4 inch spacing between adjacent planks - pretty much the same as decks on houses that have them. In HO, that would be 0.073mm, or about 0.003 inches.
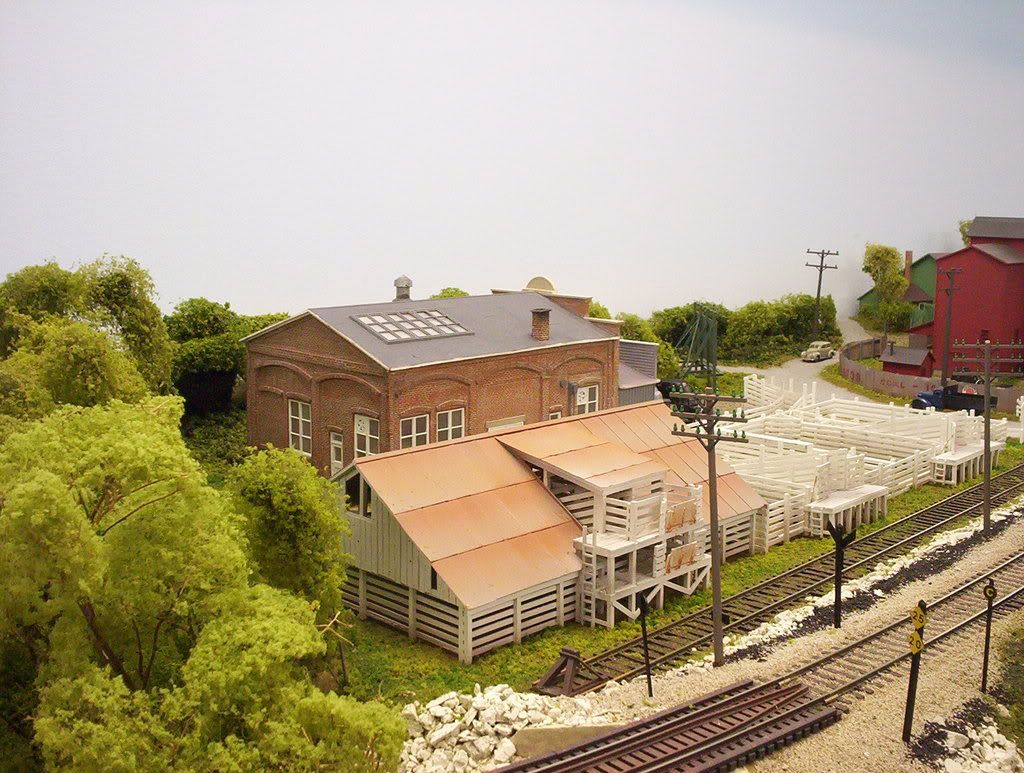
Good question, Richard, and I couldn’t recall how they were installed until I looked more closely at that third picture. If you look at the far posts (under the platform), you’ll notice that some of them don’t touch the “ground” (plywood in this particular scene) [:-^]. I’m guessing that the ramps were simply put in place, then ground cover (ground foam, gravel, and dirt) was spread around the scene and fixed in place with the usual wet water spray followed by an application of diluted white glue. For a styrene ramp, this seems to work well enough - I should be able to remove those ramps to add the nbw castings. [swg] However, for a ramp made of real wood, I’d suggest “planting” the posts, either all or the ones at the corners, into the scenery - this may help to prevent warping over time.
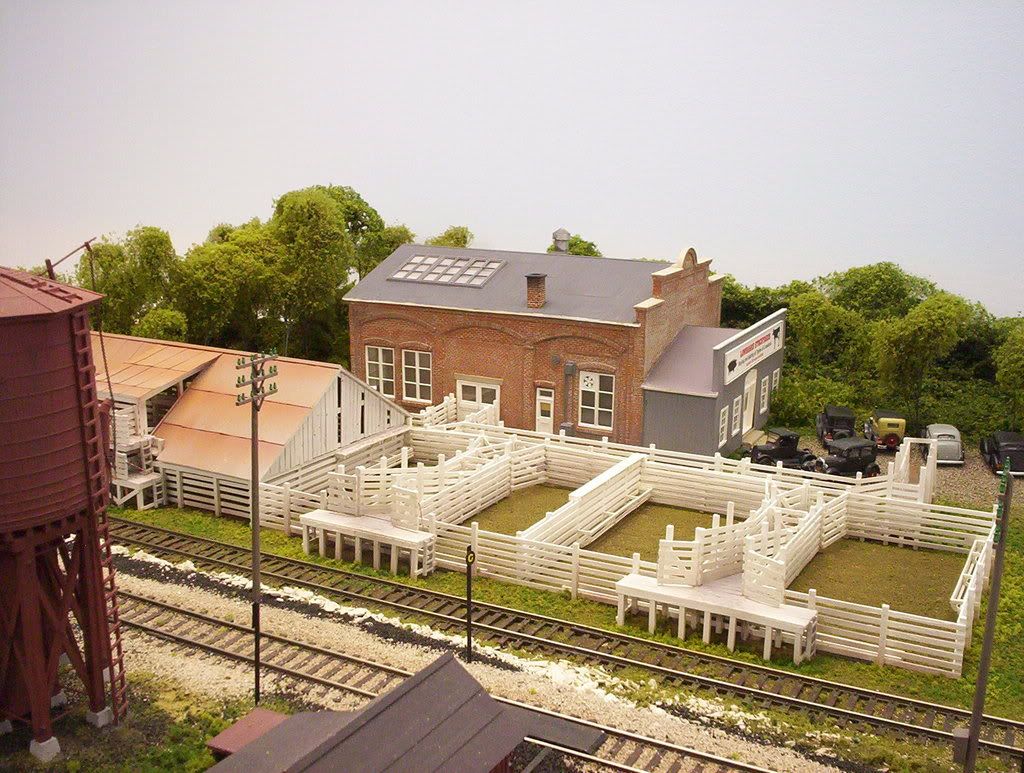
Even though I used styrene for the stock pens shown below, I planted the corner posts and some intermediate ones on the longer runs to help hold everything in place. Each side was made as a unit on the workbench, with the bottoms of the necessary posts left longer. I then took each side, in-turn, to the layout and marked out the posthole locations (this structure is partially on plywood and partially on plaster over screen). When all of the walls had been built, I planted them on the layout, then cemented them together. While I’ve since added ground cover, theoretically the pens should be removeable as a unit.
Noticeable gaps in HO scale would be out of scale and would be a caricature. A weather-worn, decrepit deck, however, could have some visible gaps, or even missing/broken boards.
I would think if you put the whole deck together as Wayne did pre-weathered etc. and weren’t happy with the tight fit or as Mark suggested wanted to give it a more worn down look simply take the sharp new hobby knife blade and run it down the seam between the two planks making it bit wider the gap.