Have you read Track Planning for Realistic Operation by John Armstrong? That’s the bible, and has extensive discussions of every layout building topic.
Sounds like its time to put up the benchwork, unless you want to do some carpet running to get a feel for things. At my age, I’m past carpet running, too much bending over and hands-and-knees work.
Your two choices are a table in the middle of the room, or an around the walls layout. A table in the middle of the room is simpliest, but is kinda limited to 4 * 8, mostly cause you can only reach in a couple of feet from the table edge to rerail trains, erect structures, paint and scenick. And you have to have clearance all around it, if you push one side up against the wall, you find you cannot reach stuff. Four by eight is small, but plenty of fine model railroads have been built on a four by eight table. Someone called the four by eight the haiku of model railroading.
The other approach is a round the walls layout. This will give you a lot more railroad in your 10 by 11 foot room than a table will. It will also make greater demands upon your carpentry skills. There are more legs, more pieces, more cutting to size, more work in going clean around the walls. My layout is around the walls, but I am a pretty fair carpenter and I have things like a radial arm saw.
For around the wall layouts, there is always the problem of the door. If you run tracks across the doorway it’s hard to get in and out of the room. I built a liftout section, it works, but it takes a lot of fiddling to get it to lift out or plunk back into place. Humidity changes from summer to heating season swell and shrink things, it is loose in winter and sticky in summer.
Alternatives. Don’t run track across the doorway. Do an end to end layout where the ends
By reading your old and new forum I suggest that you create a two door layout. Make sure the doors is 3 feet by 80. You don’t need a run around shelf layout. It will leave enough room for your desk and window without problems. You can always add more space by adding another section when needed. Plan it out first you can easily make it a 3 to 4 diesel train set in Canada in no time. The length of train can easily be 18 to 20 cars with 2 diesels. With an easy DCC system powering up to 20 different locomotives. &n
for a realistic perspective i suggest you read Learning from Experience in the March Model Roader by Pelle Soeborg. I was surprised how simple his latest railroad is and, as he discusses, the shortcomings of his previous one.
So get started and learn as much as you can, so you can start planning your next layout.
I had a layout as a kid and then I haven’t had one since (about 35 years now). I have an HO empire of older equipment that was my grandfathers and my own stuff. I have been having fits & starts the last few years. When we lived in Tennessee I started some modules and had them connected together and could run 1 train at a time. I ballasted part of it and built a loading dock and started some scenery, but then we moved. Me to Pennsylvania, her to Colorado. I have had no where to build or run trains in a year so I have been hitting the local hobby shop and getting supplies for when the day comes I can actually build again. By the end of March we will both be moving to Nevada and I have no idea what I will have for room for a layout or how close the nearest hobby store will be (Las Vegas will be 120 miles away!). Now I am wondering if I won’t have to switch over to N scale due to space constraints.
You have been given some excellent ideas here and it seems you know what you want. All you have to do is get to work. Check at the local hobby shop and see if there are any guys (or ladies) who might be willing to give you tips or hints on anything you are having trouble with. Some are willing to guide you along, some aren’t. In the event someone does help you along, show them your appreciation for the help.
Don’t start; keep reading. Or get out & have a life.
Because, once you start, it will never end. You might think it’s almost done, then someone will come out with THE perfect whatever, perfect for your layout, if you just get some more track & re-light those buildings and run a tunnel through there…
One major thing we train lovers all have in common is WE ALL LOVE TRAINS! Since I was 8 years old I’ve wanted a model RR, I am now pushing 50, My wife and I bought a home with a double car garage. That was 10 years ago, In the spring of 2013 I put my RAIL down! Honey, this garage is mine! I jumped in head first and now I am proud to say after 41 years of procrastinating,wishing and wanting I am running trains!!! Point is, if you truly want to run trains- you will get it done!
There is A TON of useful and instructional videos on YOU TUBE, in fact that is where I get inspiration, motivation and all kinds of great ideas on everything from layout planning and benchwork to track laying, dc/dcc, structure building and weathering. There are super working layouts to simple switching layouts. Decoder installations to making plaster castings and foam rocks. You tube is a very valuable resource
Jump in head first! don’t be scared! this is the GREATEST HOBBY IN THE WORLD! I was very reserved before I jumped in, how? where? can I?, Once i jumped in it was quite easy! In fact the only real challenge is trying not to quit my job so I can work full time on my layout! I would love to be a full time model railroader! Once it gets into your system it becomes an addiction, at least for me anyway. I’m looking forward to reading about your progress
You are right to read and read first. Plan second. Build only slowly and with a predetermined ultimate goal based on reading and planning. I am in your boat currently. I have built a decent amount, but may start over or at least have a major rework. This is normal as no matter how much you read and plan, new and better ideas come quickly and by building slowly you can alter things with a minimal amount of effort required to alter your plans, but never your goal.
No one can advise where or when to start, that is your decision, but don’t wait too long or you might lose your inspiration. Once you get something down even if undecorated, RUN some trains, even if just forward and back again to keep you moving and thinking.
Thanks everybody for answering my post and helping me getting started. Here are my replies to each one of you.
Yes last mountain & eastern hogger you are not the first one that tell me to start doing something instead of always thinking and planning. Planning is good but I will need to start soon.
I just measured the 50 inches like you said and it’s not high enough. I mesure 5’9 and I will knock my head all the time whil
It’s ok, it would be a little bit hard. You would probably have to do point-to-point switching, and use building flats or low relief buildings. But it could work.
My reply was meant as a mild jest - of course it’s a fun hobby!
I also have a layout built around the walls - but 8 feet up in the air (10 ft. ceilings!), so I avoid all the doors - but not all the windows - in this 130 year old building. Most of the track is on a shelf 7" wide; the widest portion is only 22 inches wide (my yard); the station area is a little smaller. I’m using 3/4" wood as my base & the whole thing is held up by regular shelf supports. Remember, with model trains, you’re not going to be standing on it so they can be really light.
There’s pics of it in my ongoing post in the ‘Layouts’ forum, called Up in the Air: the Continuing Story etc. etc…if you’d like to see my progress.
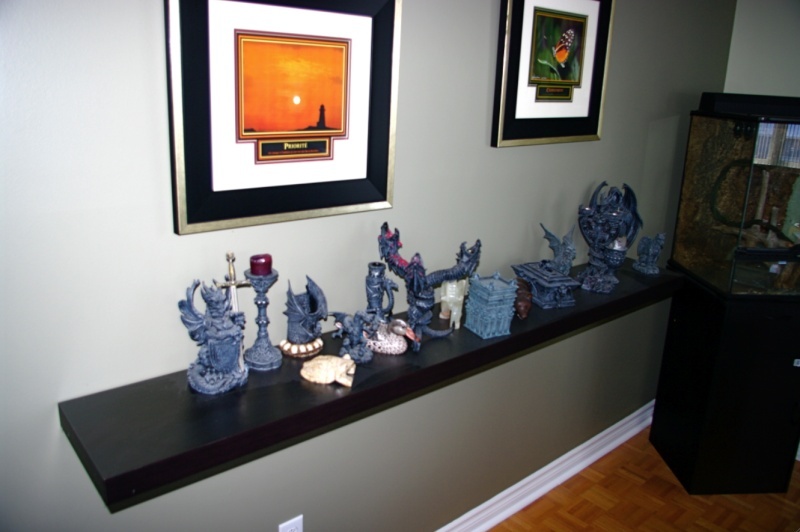
The shelf might be OK for a display, but there’s not much space to do any real operating. Also, it’s pretty low. I’d be afraid somebody would bump into it and send your models crashing to the floor unless you put some kind of protection around them. Maybe it could work for static display if the shelf were raised to chest level.
Here’s how I started planning. I picked a scale ratio, in my case one inch equals one foot. Then I cut scale radius guides out of cardboard, one for 18", 21", 23" and so on, or use software. Eventually my whole layout was on a sheet of 8.5X11 white cardboard, but go bigger if desired. Then the fun part–I duplicated the plan in double size on thicker cardboard and elevated the roadbed, adding mountains made of tissue paper to see the lay of the pike. A wonderfully fun experience. Easy to modify too before the first track gets laid down.
Another problem I see is that it appears you would have to have your wires on the surface, since that appears to be a finished, solid top.
You could frame a piece of plywood to set on top of that. It would give you a place for wires and not disturb your current decor. Could also add scenic elements to take ot a step above plywood central.
It does look like a small switching layout is all you can put on that. However, if planned right, it could easily be added to when you have space. You could look at some of the switching puzzles to keep you busy in a small space.
CSX Dixie line is a good website, it is all N scale. log on to you tube and search N scale model railroading, from there You just click on whatever it is you want to know, you can subscribe to all sorts of channels! GITR DONE!