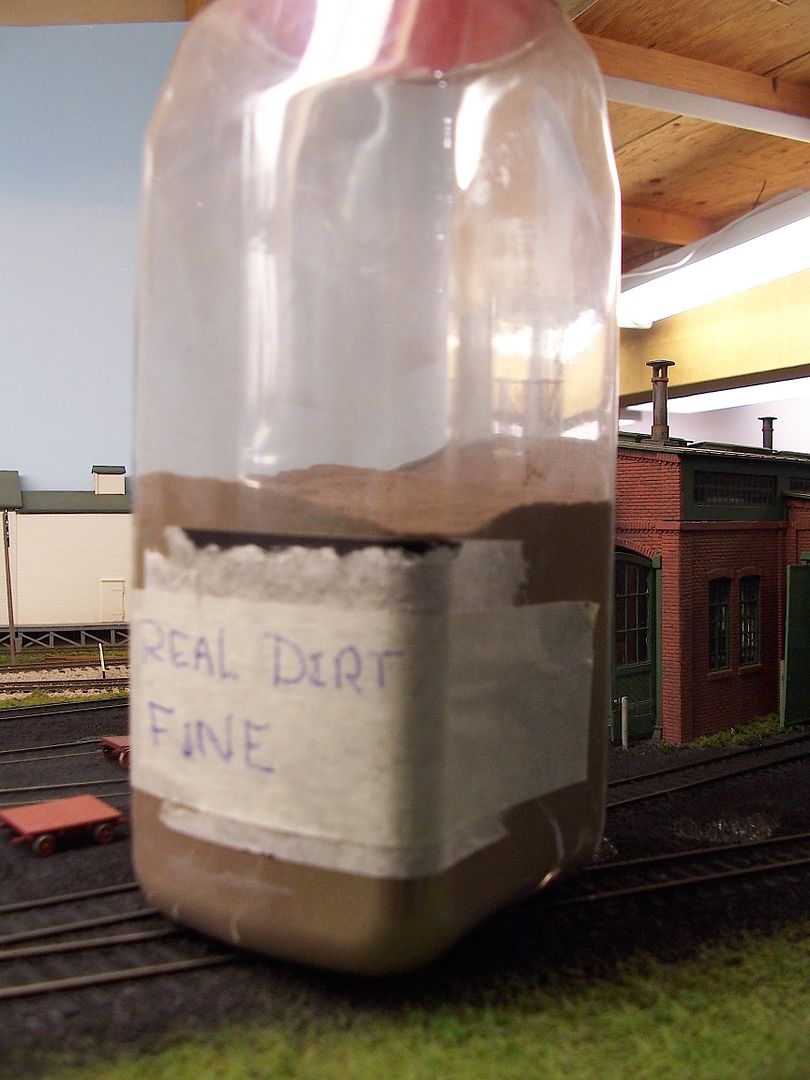
I’ve been using real dirt all along. We have clay soil here. I break it up, crush it into smaller bits, then I run it through an old electric coffee grinder until it is dust. It has worked great for me all these years.
To use it, I sprinkle it where I want it, I use tape to keep it off where I don’t want it, then I mist it with a fine spray of “special” water, then apply diluted Elmer’s glue.
I started using real dirt for my scenery a few years ago and the results are so realistic I can’t imagine doing it any other way. I followed the advice of Lou Sassi and Jeff Wilson I believe.
I go out to the backyard and scoop some dirt into a large container. Then I use a piece of window screen to sift out the stones and large debris. This fine dirt is then sprinkled between my fingertips onto wet paint on the layout scenery base. I sometimes mix it with WS fine cinders to create an awesome muddy railroad yard look. You can then put whatever ground foam you want on top of that. (I use coarse turf almost exclusively)
The real dirt adds great texture, allowing you to use ground foam more sparsely. In my opinion, having the dirt show through is highly realistic for railroad right-of-ways, industrial lots, and alongside roads. I love the look of bare dirt ground. Not everything should be a perfectly manicured lawn! No grass mats jeez.
At work, some years ago, we were shipping ingots to another company by truck, rather than rolled products by train, as was the usual process.
This took place at the north end of our mill, with smallish ( 10 or 15 ton) ingots being placed on the ground beside the tracks, with room for trucks to back in between the piles, which were two or three ingots high. This went on for several weeks.
When that finished, I took a stroll down to the area and noticed that the ground was pulverised into dust, both from the weight of the ingots and the flow of trucks in and out. The next day, I brought an empty Woodland Scenics shaker container to work, filling it with the dust .
I later ran it through a couple of seives to remove any stuff that was too big.
I have about a little less than half of it left…
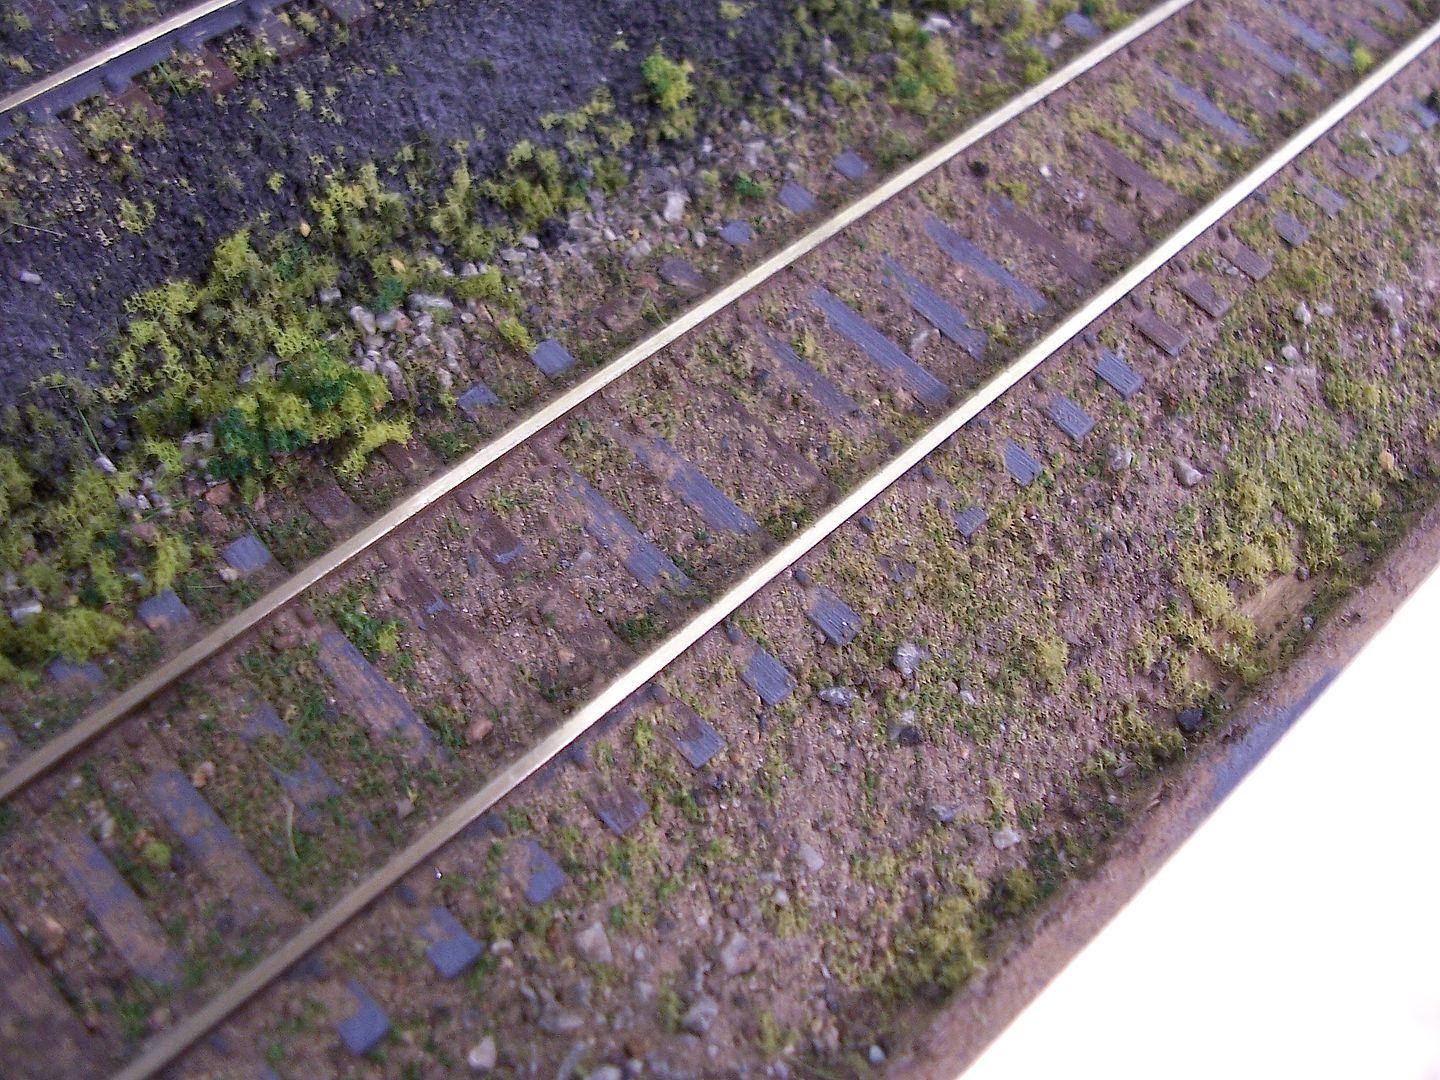
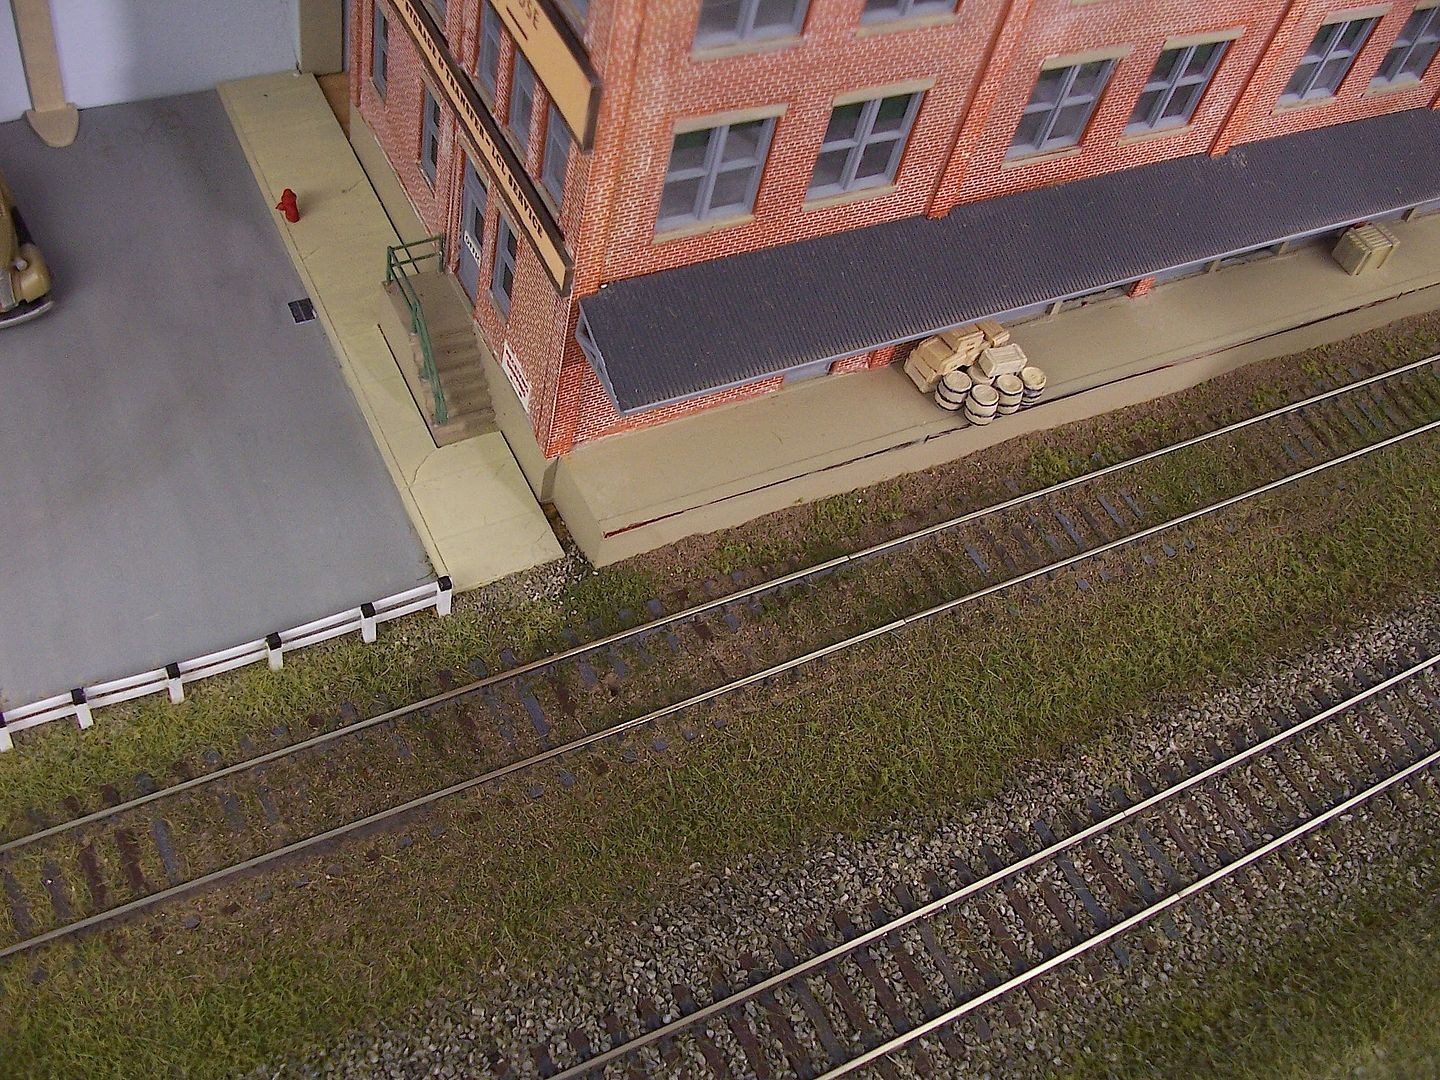
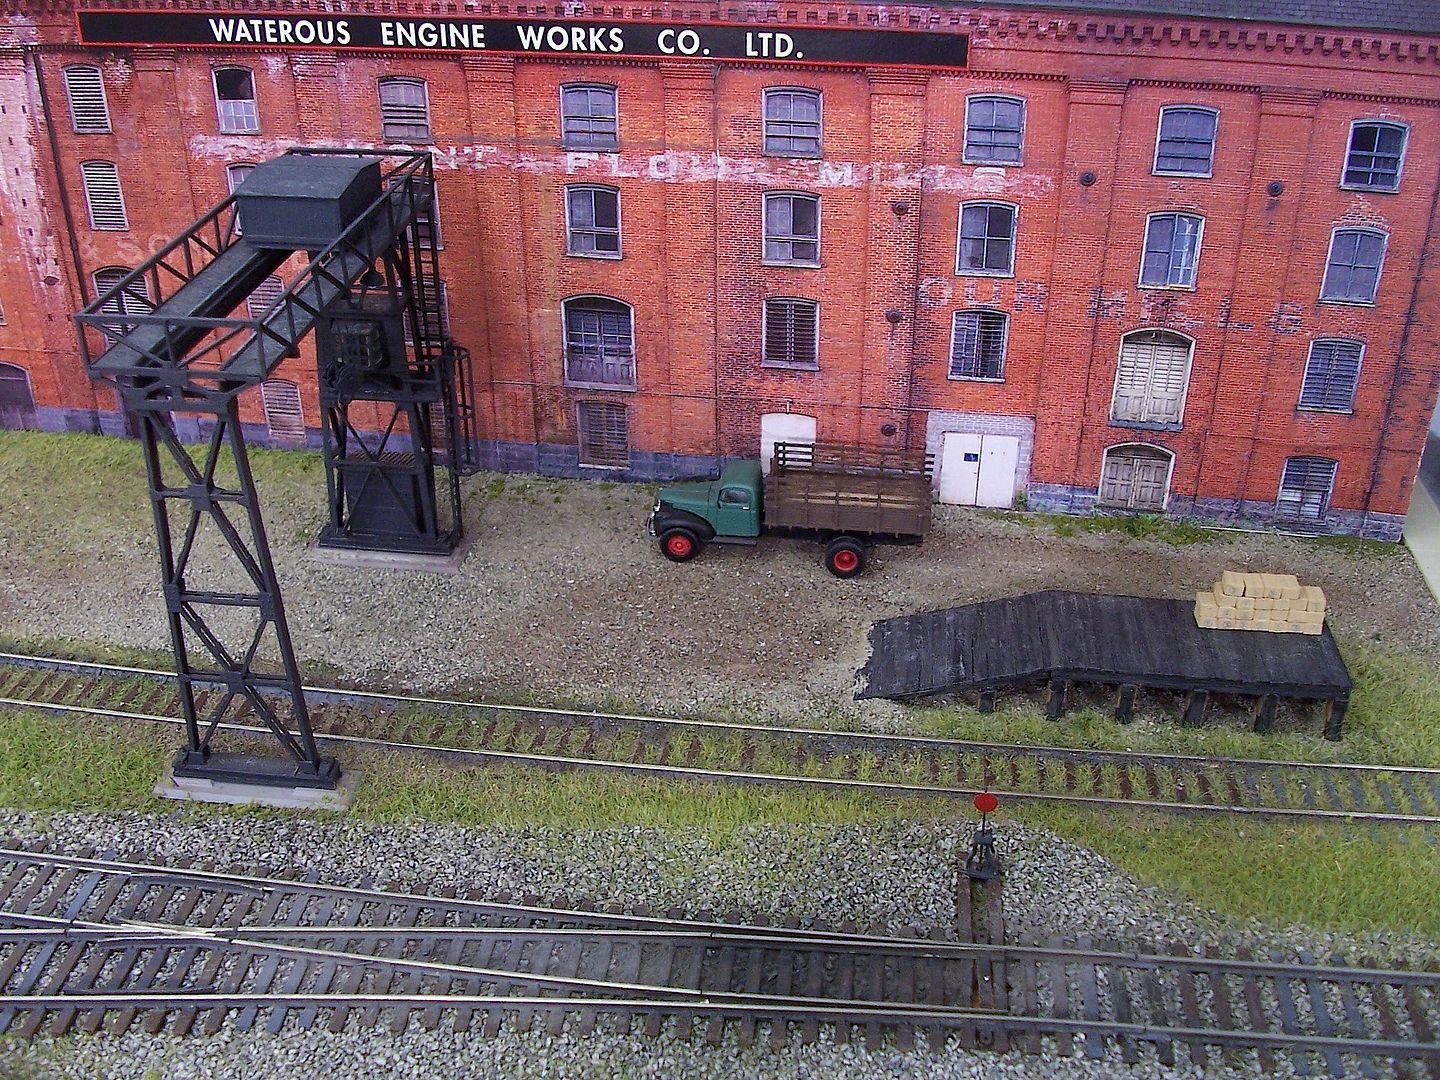
as I used it here…
…and on this siding…
…and at the nearby team track parking area, mixed in with some real limestone gravel…
I utilize as much home grown items as I can but effort vs. results, at least for N scale soil, I opted for Senic Express fine natural soil & dirt. One quart averages $11. It is light brown and looks great. I can see the quart lasting a lifetime. For very fine applications (N scale), thin base layer of glue, then I took an empty spice container, one with the shaker holes in the cap, and stretched a piece of fine shear nylon sock under the cap and tap on the bottom to apply a very fine grain layer, powder consistency. You can apply with spoon but found it clumps and you get a mix of fine to larger grains. Once down, secured with standard scenery eye dropper glue technics, slowly. Don’t spray with glue, will get craters.
I cannot access my copy, but in the Kalmbach book Building A Model Railroad With Personality by John Olsen, I believe there is information about collecting and using real soil on a model layout.
The narrow gauge branch of the hobby has been using real dirt for many years. There is lots of info in that community on the process.
I have at least 20 bags of different colors and sizes of dirt and fine gravels that I use.
Here is a quick run down of the techniques I used with real dirt to create the look in the bottom photo.
I found some dirt whose color was close to the area I am modeling. I sifted it down to fine powder. Biggest issue here is color of the dirt after glue application. Most dirt dries considerably darker after gluing than the dry material that you start with… Some testing will be needed to get the color right. Get a shade of light grey (powered pigment, or dirt) and mix with your dirt until you get the right formula.
I applied the dirt in layers. For the first coat I applied the dirt to the track and tried to get it as perfect as I could. This was sprayed with wet water and soaked with a diluted white glue solution. Remember to point the spray up and let it rain down as mist until the area is soaked. The last part is to spray (lightly) water over the area to wash dirt off of the sides of rails etc…After drying there will be voids, etc in this layer.
The next coat is a fill coat that is applied and wetted and glued to even out the base coat.
After drying the area should be well covered with no holes. The finish coat is done by sifting the dirt into glue applied to the dirt surface. The glue must be carefully placed so that it doesn’t wick up