Last layout I started with foam and caulk and switched to Homasote and spikes halfway through.
I’m never going back. I know I’m “against the trend,” but phooey on gluing track down, and double phooey on foam board.
And I don’t use a hammer, a needle nose pliers works fine for the spikes. I can lay a yard in an hour or two, wire it, and run on it the same afternoon.
Jim, this has been discussed before. Most folks who use caulk use the latex caulk product, not silicone. Latex caulk can be easily removed from track with water and a gentle scrubbing without damaging the track…and that’s considering that the caulk tends to not come up with the track at all, if a thin enough bead is used.
We have and I haven’t changed my tune - I stand by my arguements based on my own experience on 3 layouts so far. I really like my methods and don’t like my track being glued down during early phases. It’s just too easy (if there can be such a thing) to tweak or revise. No muss no fuss.
Firstly, no water and no scrubbing necessary (no mess) with track nails and spikes, no “risk” even of damaging even some of it lifting up. No clean clean up. No fuss.
Its about as easy to damage track uplifting it from caulked roadbed as it is to damage track when installing it with nails and a hammer.
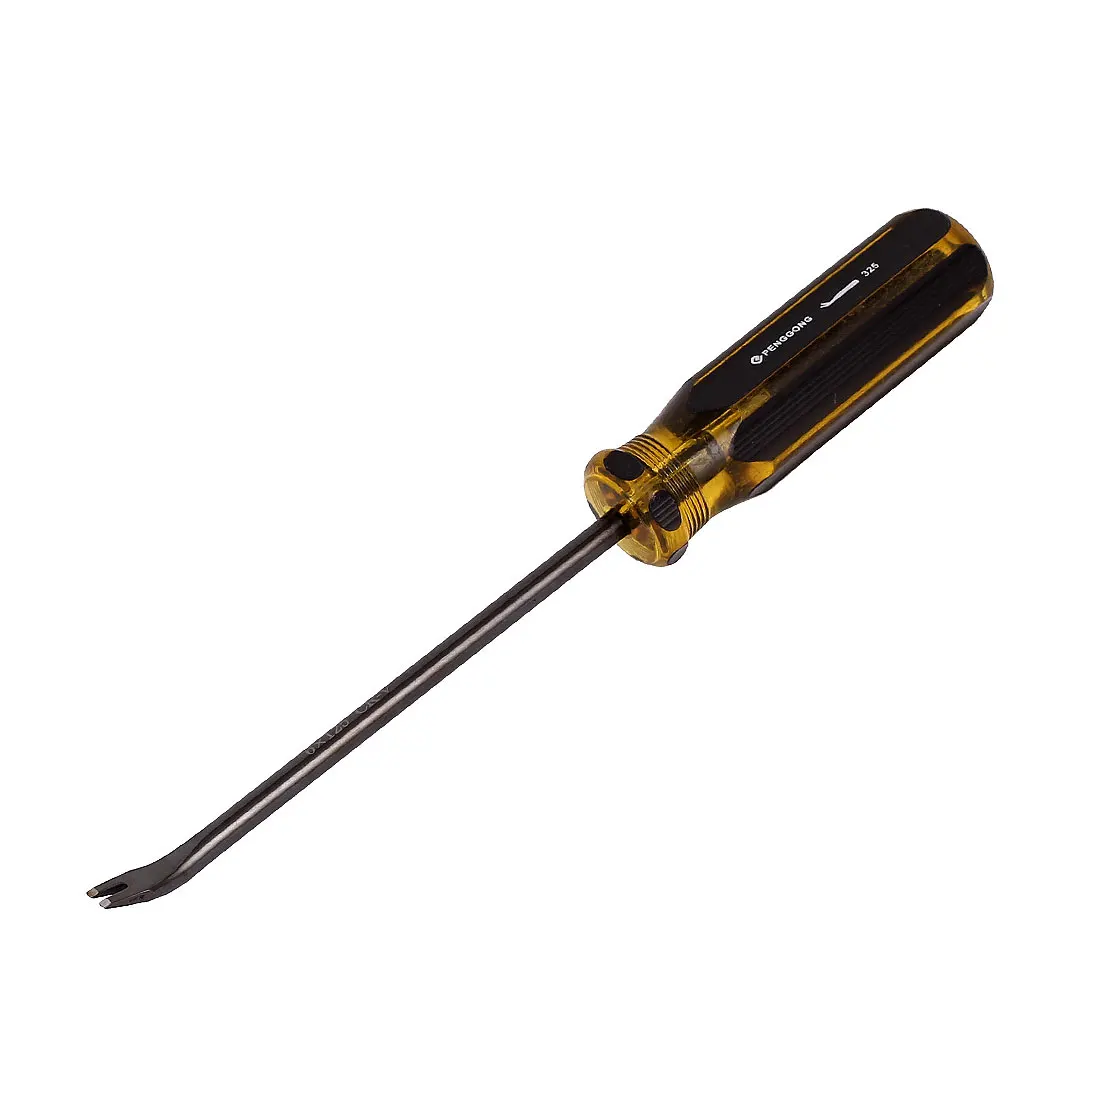
No, absolutely not. Hammer with a nail set you will not damage track or ties. I’ve never done it in 3 layouts and I am clumsy. To pull out, simply grab the head of the nail with needle nose pliers and pull. If it’s stubborn and you can’t get a grip, take a very fine flat head screw driver to pull it up a bit and then pull out with needle nose.
How do you drive spikes into 3/4 ply to secure your roadbed to the ply? Do you hit the spike really hard with the hammer, cuz I can barely drive anything into 3/4 ply or 3/4 MDF without bending it.
I know track to roadbed is different, but as far as taking it up and changing radius or correcting mistakes, you have to move the roadbed too, so you have to renail the roadbed.
I use 1" x 12" x 12’ top grade finished pine board for my ISLs without roadbed. I use five or six inch needle nose pliers to spike with since the 1/2 inch spikes sinks easily into the pine…
Now,I spike nothing in place until I am happy with what I see and if I want a change I just pull the spikes out. The scenery and ballast comes after two or three operation sessions.
This thread is the first time I’ve ever heard of anyone using a hammer to drive track nails. I use full-size blunt-nose pliers, and simply push the nails into place, whether the track is on cork, soft pine roadbed or plywood.
On the original portion of the layout, I put down the cork using yellow carpenter’s glue, then lightly tapped in 2½" nails every 6"-or-so. The next day, the nails were removed, usually by-hand.
When I added a partial second level to the layout, I used contact cement to put down the cork, and where flex track and ready-made turnouts were used, track nails. In several places, I also used Central Valley tie strips, and put them down using contact cement, and also used it to secure the rails to the ties.
All rail joints were soldered (the rail for the tie strips into 12’ or 15’ lengths prior to installation), then any necessary gaps cut later using a cut-off disc with a flexible shaft tool.
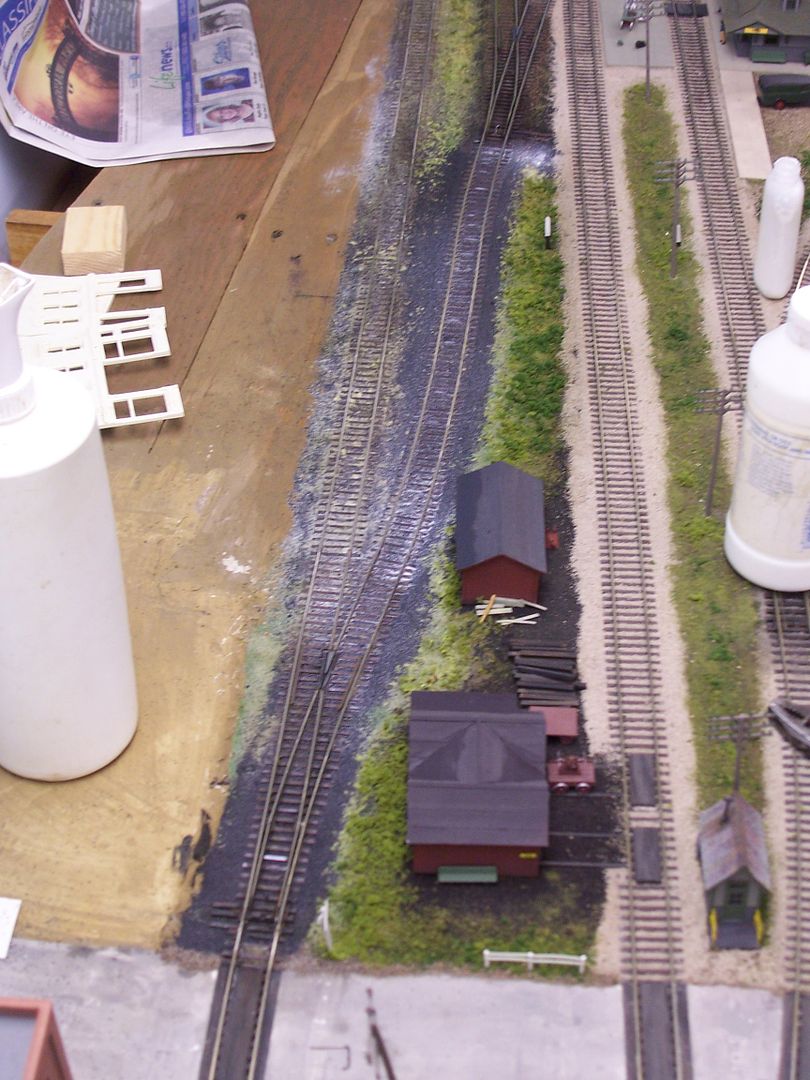
Even track that’s been soldered together and ballasted is easy to alter or remove simply by pulling the track nails using the same pliers that installed them, then re-heating any soldered joints and pushing the rail joiner past the joint. The area can then be sprayed generously with wet water, and after a few minutes, the track and tunouts lifted using a suitable scraper or putty knife. Any excess ballast stuck to the track can be washed off, and the track re-used, as illustrated below…
I don’t use nails anymore, but when I did I held them with a pair of needle nose pliers and whacked them with a tack hammer. As long as the jaws are thicker than the height of the rail, the hammer will hit the pliers before it can hit the track. After making sure the track was aligned the way I wanted it, I’d finish with a nail set.
These days I’m using caulk to hold the track to the Homasote roadbed and wood glue to hold the roadbed to the plywood subroadbed. I lay out center lines on the plywood and carefully glue down the roadbed. Track is held for curing with Ribbonrail alignment gauges. Do it right the first time, no adjustment needed.
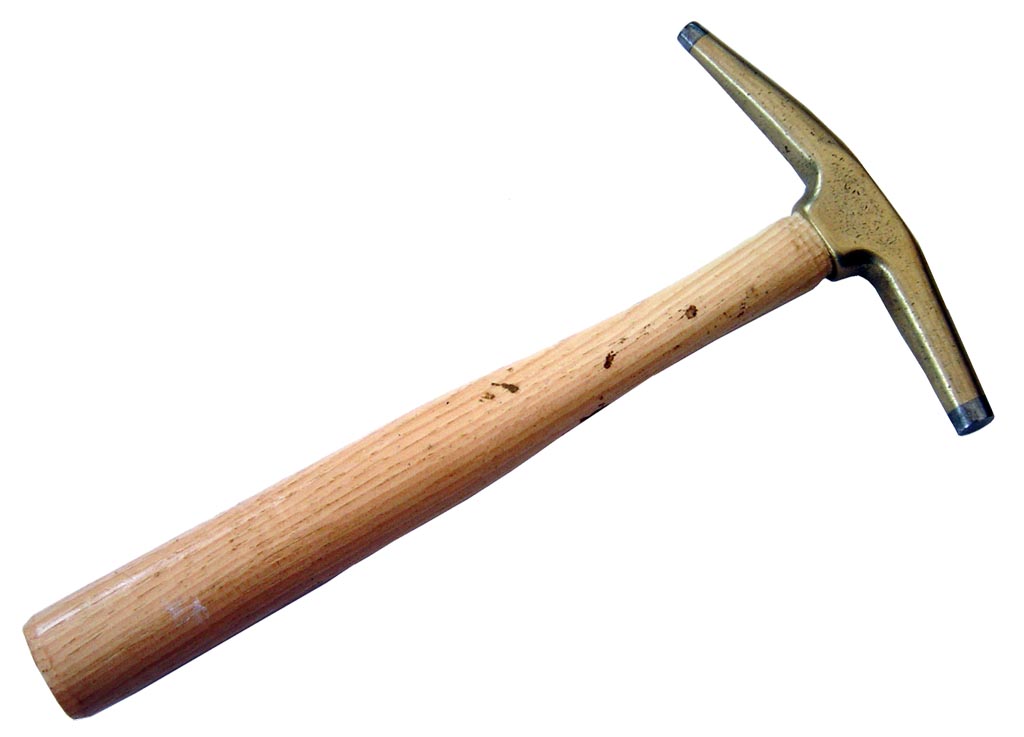
Never heard of nailing in the spikes? I’ll have to see if I can find and post a picture of the tool that is olde rthan me that I used back in the days when I nailed my track in. It’s like a nail set except that it is grooved to fit over HO spikes. We used to lay a lot of the track right on the plywood, and my Dad used it to hammer in spikes and I just followed along. The ony time I didn’t need to hammer spikes in was the one N scale layout I built on Homasote - that one I could just push them in. There’s no way I was just pushing spikes into plywood without a hammer (a small hobby one, not a big framing hammer). The Homasote layout I could jsut push them in by hand (and pull the track right up without first removing the track nails, I will add. I guess my definition of ‘holding’ is different than some people’s - any fastener I can just pull out isn’t ‘holding’ in my book). All the plywood based ones, HO and N, needed some tapping with the small hammer. The nail set tool kept the hammer away from the rails and prevented damage, the only danger was over-driving the nail and deformign the ties, but that wasn’t hard to avoid.
The hammer I use is a small tack hammer used for upholstery. I have no problem driving nails into plywood or MDF. Like my old boss in construction said, “Hit it like you mean it!”
Use a nail set so you don’t smash your thumb.
The nail puller I use is similar to this one:
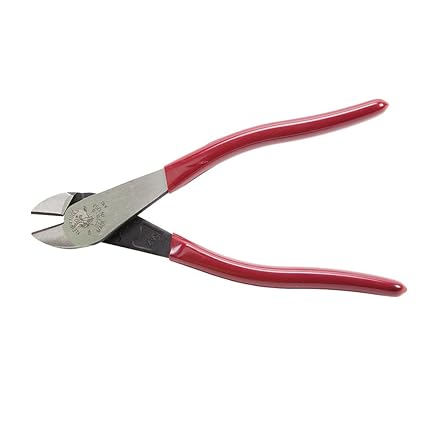
Also instead of using needle nose plyers to remove nails might I suggest you use dykes because they might give you a better grip on the nail.
I use small tacks and a tack hammer to secure the Homabed. I can pull the tacks out with a needle nose pliers, and if it makes a little gouge in the Homabed so what, the ballast will cover it.
And for yards and industrial areas I glue a sheet of Homasote to plywood to cover the whole area. I laid an industrial park with 15 industries and 20 car spots in an afternoon.
I used to have a small narrow head hammer that worked great for track nails. It got lost among many moves from California to Indiana to Texas to Indiana to New York, back to Indiana, tack to New York and finally to Virginia. whew
One hammer that did survive is a small ball-pein hammer that is just right for hammering in Atlas track nails. I like that method so much continued using it on my most recent layout constructed 2014-2017. I typically hammer the nails in part way, and then use a nail-set with a small head that works perfectly for the Atlas track nails, to drive them to just above the tie surface.
When secured that way, the flex track has a slight bit wiggle room so I can sight down the rail and push it slightly this way or that to make sure it is aligned just the way I like it. Of course when ballasted and the ballast is glued, the track won’t shift any more and I can pull out the nail so there is no visible nail head. A tiny bit of filler can be put in if any holes are visible and after the track is weathered you can’t tell any offensive track nails were ever used. Spikes are also used but those look like they should and stay put.
I like nails because track is instantly secured and yet still slightly adjustable. I don’t have
It looks like at least they still have parts for it?
I have heard of the tool that has the groove but I’ve had good enough luck using needle nose and/or a nail set to push spikes in but mostly I use them on Homasote area’s so far. They hold well enough. I ran trains on all that rack no issues and track stayed put just fine. Will it hold up under Hurricaine Irma? Proabably not, but it holds fine while testing and shaking down and if you want permanent, after track i
Randy, I have a tool similar to that which you mention, and it was what my dad used when he built my first layout when I was a kid. However, it has a wooden handle and was not intended to be used with a hammer, so no hammer was involved in the track laying, which was Atlas code 100 brass rail on fibre ties. Most of the turnouts were Atlas, too, built-up from kits - I still have the templates and instructions. He did scratchbuild a very nice #8 turnout, too.
The layout was only a 4’x8’, with a central control panel. All turnouts were manually controlled from the panel via cable, with working switchstands - I wish I still had the layout if only to see the mechanism for that in detail. Uncoupling was also remotely-controlled mechanically, using Kadee K-type couplers.
I have a fairly good collection of hammers, including tack hammers, ball peens in various sizes, framing hammers, trim hammers, metal-working hammers, and sledges, but any used on the layout would have been only to frame the support structure for the open-grid benchwork, as it’s mostly 2"x4"s and larger…it was conveniently “left-over" when I built the house. I also managed to accidentally over-order select pine 1"x2” when building the kitchen cabinets, which proved useful when building the open grid sections, although most used 1"x4"s. [swg]
I just now looked for that track nail pusher, but can’t seem to find it amid the clutter.
I guess the conversation veered off without me realizing it. Somewhere upstream, somebody mentioned pulling up nails and reinstalling them to realign track during construction. I realign things during construction too. However, I never find myself in a situation where I’m ONLY realigning the track on the roadbed, and not realigning the roadbed ALSO…track and roadbed together. So pulling up and reinstalling nails into 3/4 ply or MDF would be a little more work than what I would want. Especially if it takes a few iterations. With caulk, I use a putty knife to pry up, and even just wet the caulk and it gets sticky again, or use a little bit of caulk, and it carries the flex track to the new angle it since its still affixed to the roadbed.
That was my point of view. Reinstalling roadbed to
I use Liquid Nails to glue Kato HO Unitrack to the pink insulation foam, then scenic around it.
As compared to later Shinohara sectional curved track that I installed on the black foam Woodland Scenics roadbed when enlarging certain curves, the Kato Unitrack is actually very quiet once the scenery around it is glued down with white glue.