Great pictures everyone! You folks are an inspiration! [tup]
This week’s work has consisted of finishing the new modules put together last week. There are four new ones, but only one has been painted. That’s the garage project this weekend!
As each is finished it will be added to the end of the line. Here is the new track work in progress on the latest section. The first photo is the rough track alignment.
And the addition of the foam mountains and streams. This is basic land form evaluation. If it goes well with the module to the left, then it will become permanent.
I hope to add six more feet over this long weekend.
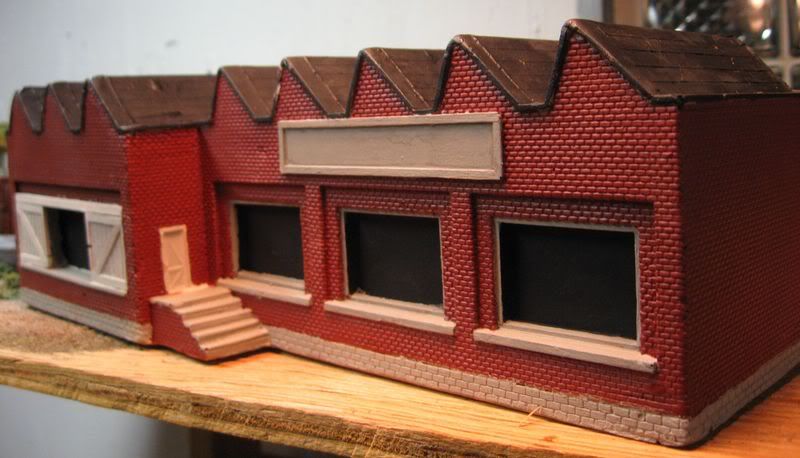
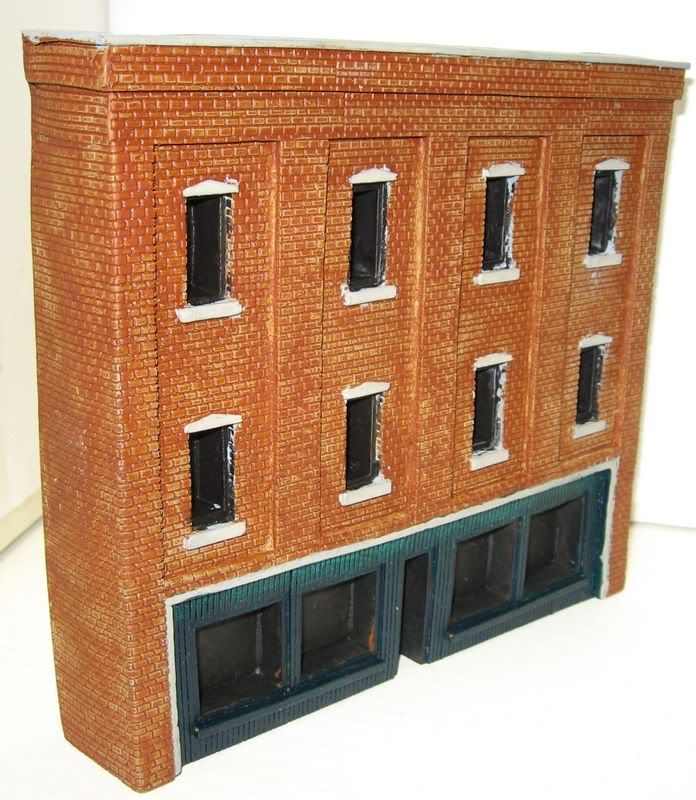
Here are two Mountains in Minutes cast foam buildings (Factory & General Store) that I got at our clubs last swap-meet. At $3.00 for the pair I figured I could paint them & find some background spot on my new track plan for these flat buildings. I have put the first coat of paint on, so I still have to go over & touch up a few areas plus add weathering. Also I need to add some windows as I did not get the ones that come with the kits.
This factory will become a small machine shop or repair shop.
The other building will be a retail store, maybe a shoe store…
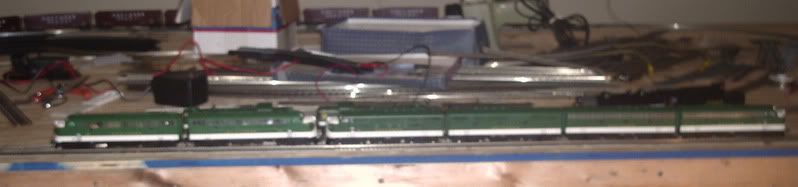
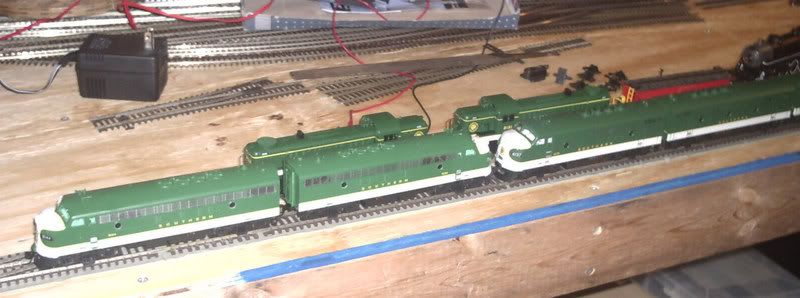
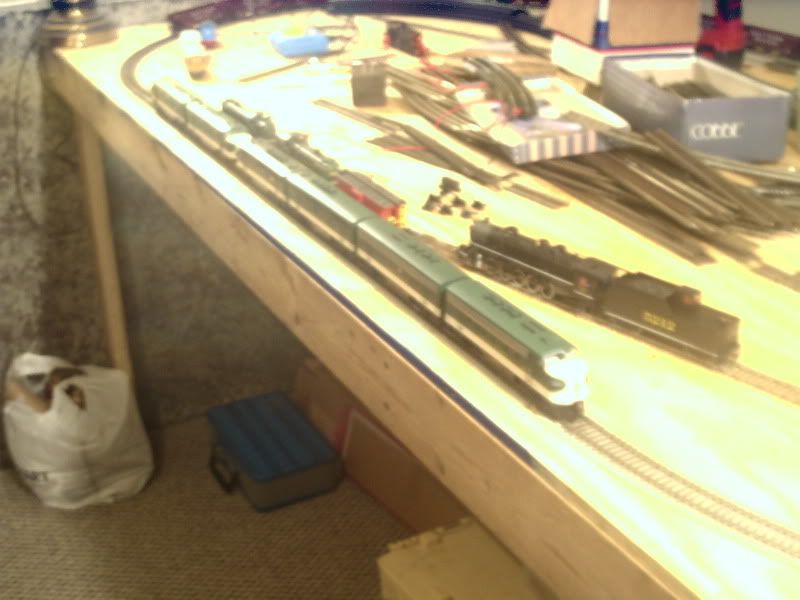
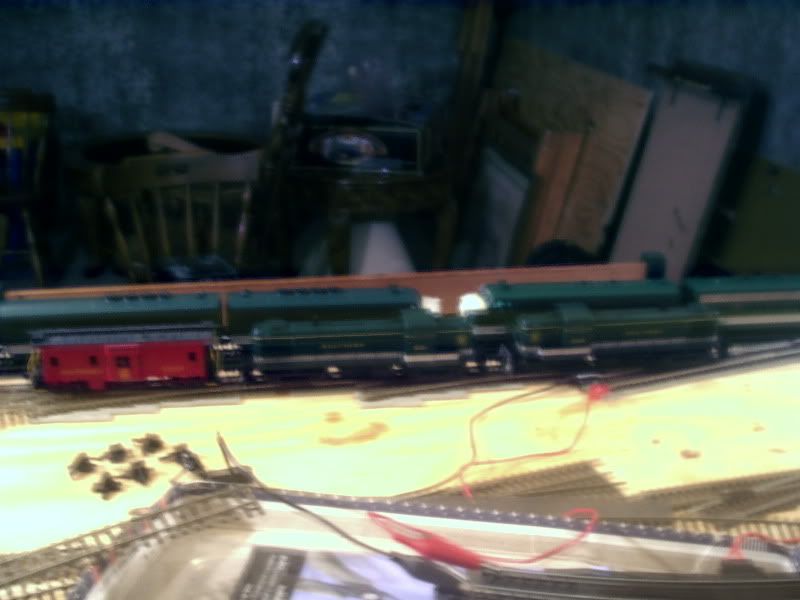
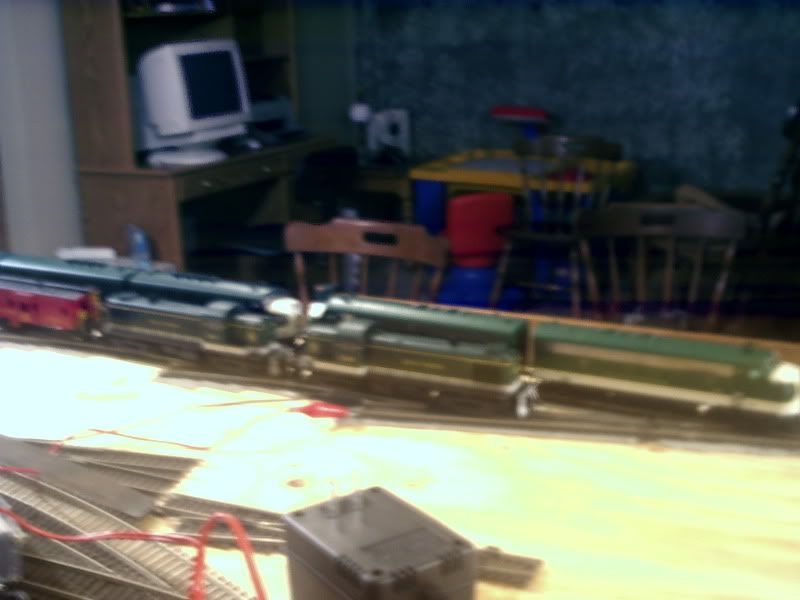
Finally! Photos are here. Sorry some are a bit blurry, someboby doesn’t have such steady hands.
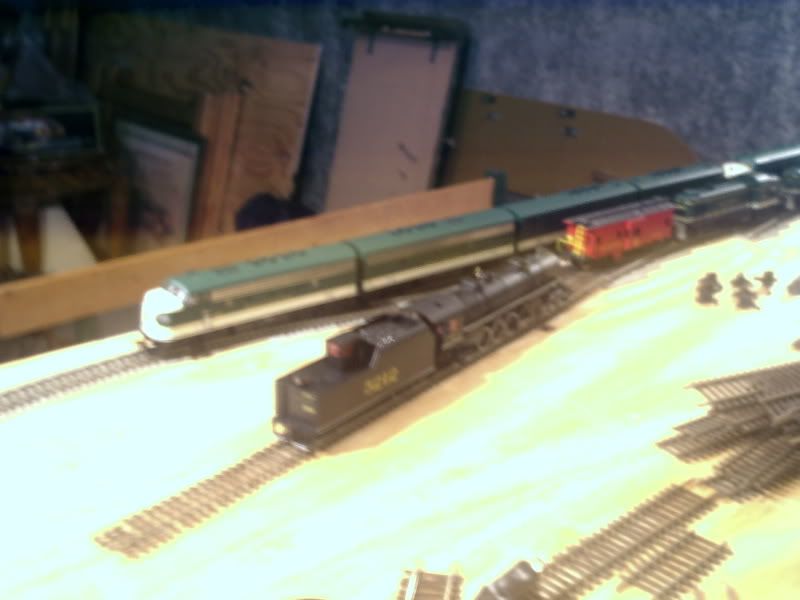
6 F units pose for a pic along with a pair of RS3’s The F’s are recently shopped and are being inspected, after which they will be inaugurated for return to service. The RS3’s hang onto a caboose and are awaiting their next assignment. The steamer is a 2-10-2, and is out of service.
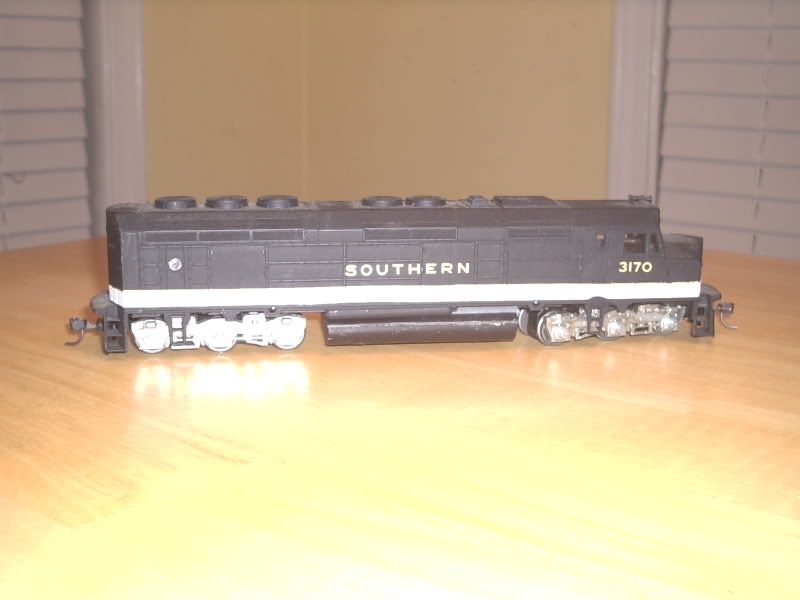
What do you see wrong with this picture? Never mind the setting, I’m referring to the model itself.
Hey tstage, like the ball signal. I have the same Tichy jib crane outside my roundhouse/machine shop I just finished - a big PIA to put the pulleys and chain spool together if you ask me, so I haven’t finished it yet.
Thanks, Eric! Yea, that Tichy jib crane is both a challenge to thread and spool the chain around the hub. But hang in there, Eric. You’ll eventually get it. It’s definitely worth the effort. Now that I have mine put together, I really need to paint it sometime…
Wow! some of you guys have been busy!! I haven’t done much i’ve just moved the layout from it’s old place to the other side of the garage, where in the next week or two i’ll remove the old plywood on the benchwork, build a bit more benchwork and put a new top on. I’ve gained more room and now will have a Queensland (Australian) themed ‘U’ shaped layout. I will order some track soon [:)] and have it all underway. progress pics as we go along.
Great pictures everyone, here’s my offering. I’m part the way through scratching my first freight car - based on the Dolly Varden type used in the 1900’s.
Well, long time is gone since my last contribution here. I´m working on new modules right now and finished one yesterday. Its called “Winnetou´s Resort”, named after the famous american indian.
Here´s the man who gave it its name:
Work on my junction is going slow, i just added some scenery here and there:
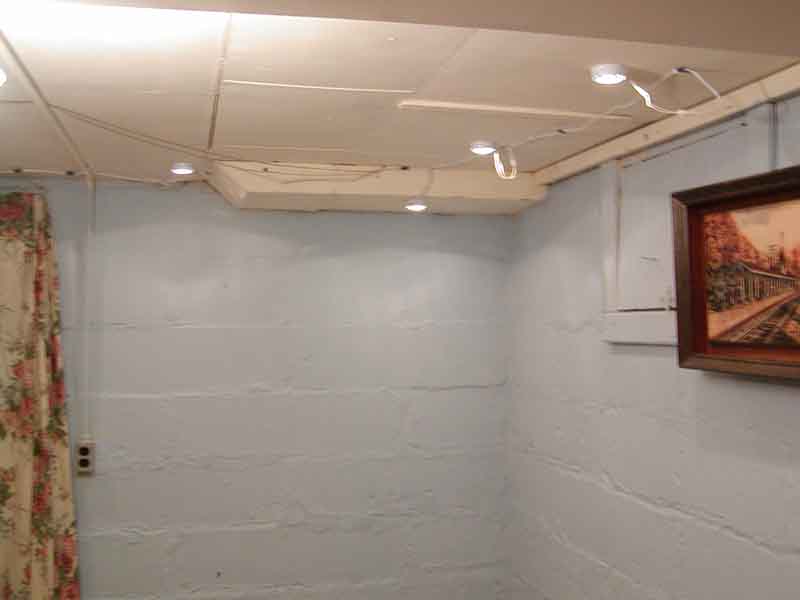
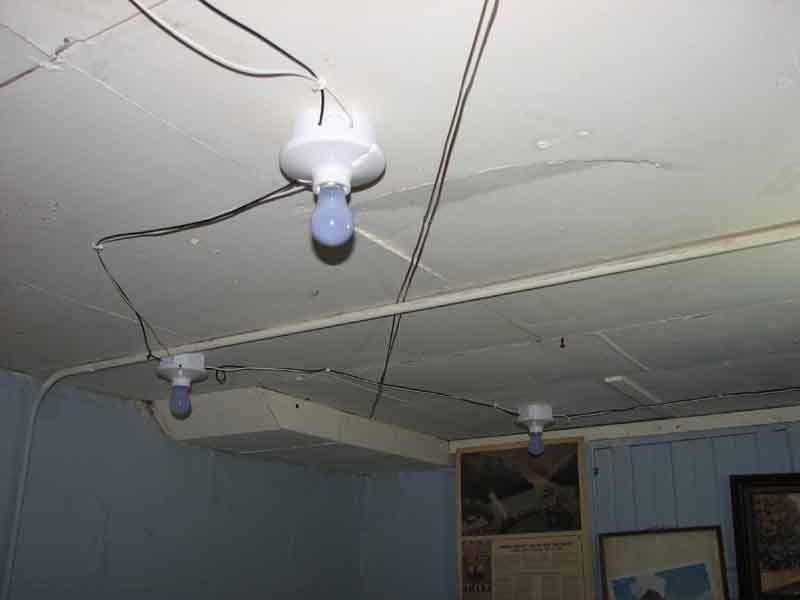
The halogen lights interfere with your wife’s radio because they are powered by an electronic switching power supply, which creates a lot of RF hash. You could run them off of a transformer, but it would have to be a large one to handle the current. I had a heck of a time tracking down just a small transformer wall supply for an old multiband radio. The switching supplies are compact and inexpensive, but they destroy AM and shortwave.
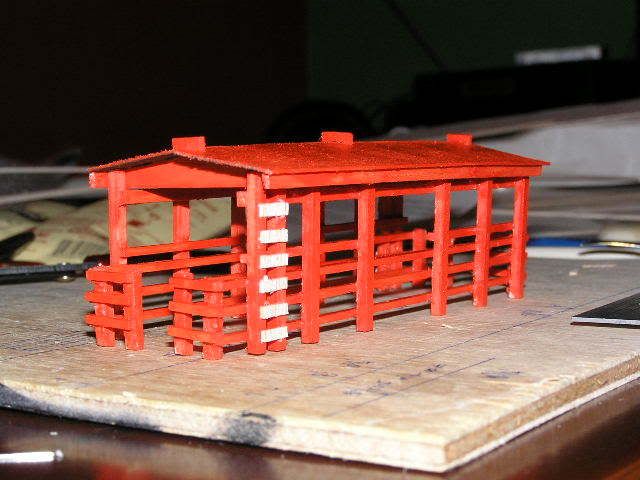
Well, it’s missing its porch railings, which are listed on the Athearn site as follows:
If you watched this post last week you saw that I was building a platform. The one I had was pretty wimpy. So I scratch-bashed a new platform out of popsicle sticks.
The freight station had no platform and the door was too far from the tracks.
The passenger platform was several feet too high and Bette had to jump over two feet to board.


 Click picture to enlarge