Jamie, what engine house is that you have? Is that the Walthers Cornerstone one?
I’m pretty sure it’s a Walthers Cornerstone. I bought it at a show for about $5, already “built” but in rough shape (missing some windows, the orignal roof, ect.). I figured it would be better to buy a fixed-upper rather than the $40+ Walthers kit that I think it is.
Great job everybody! Howmus, thats hard board by board construction, but it looks great, Robby, really nice shot, and Tyler, way to go on getting projects done, just to name a few.
Well, the family went down to Arizona last week, and so I didint get much done on my RR. Now hold it! That doesnt mean I was devoid of trains! Far from it!
First, we went to a Wild West attraction, and guess what was there? A Train
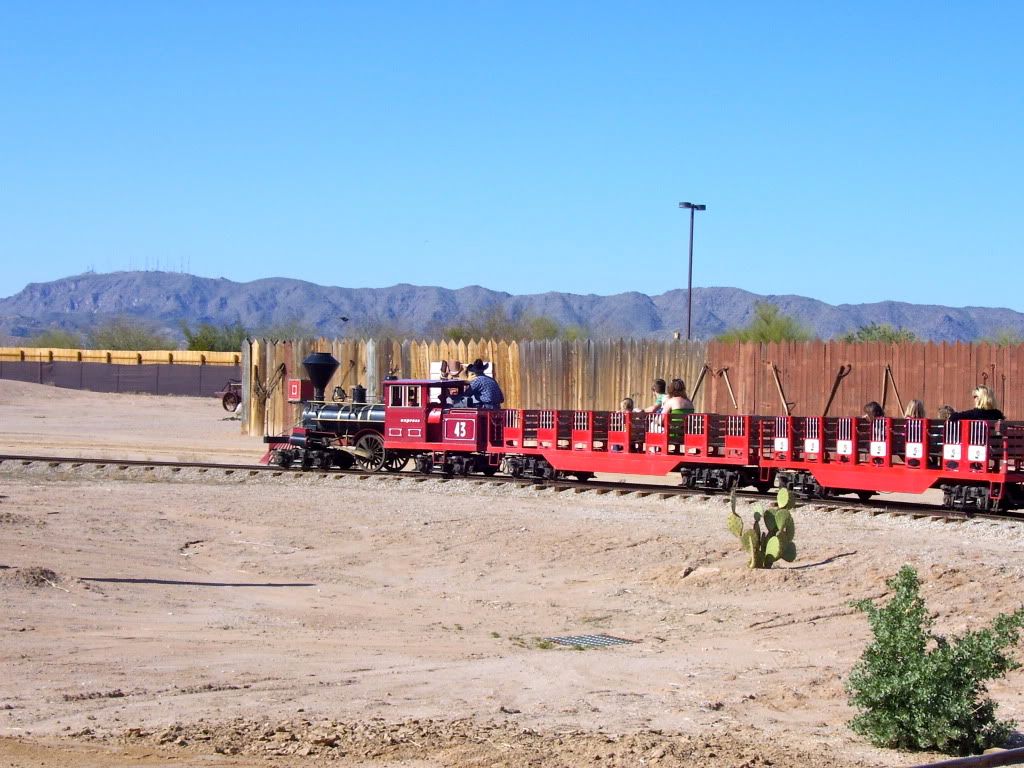
This is ‘supposedly’ a 1/3 construction of a loco from the 1860s
Then we went to downtown, and guess what was there? A Train
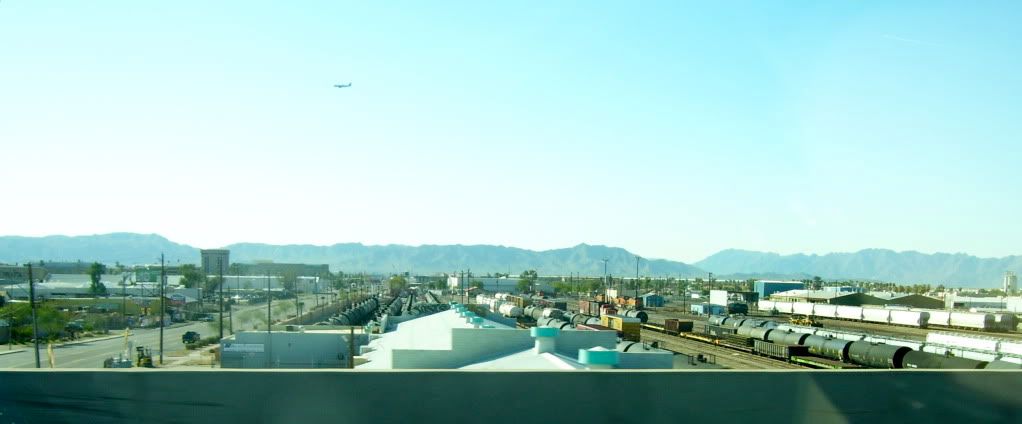
This was a huge railyard. Sorry for the quickly snapped photo.
Next, we went out to a National Park, and guess what was there? A Train
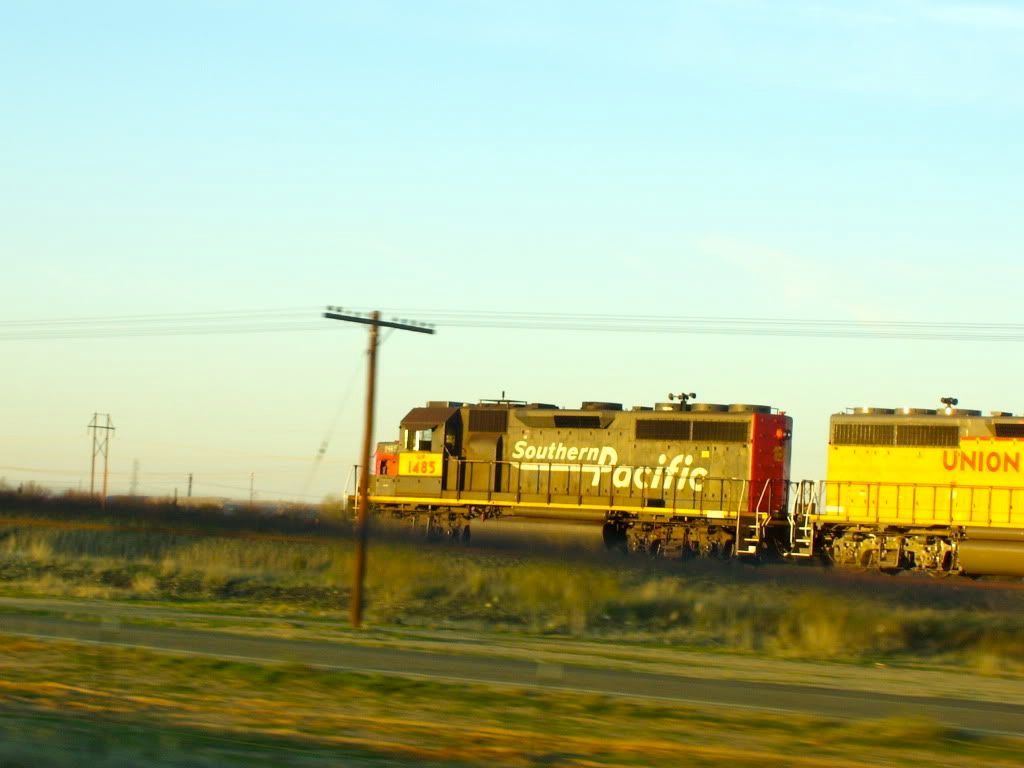
An old SP SD class, running a local (?) on an old branch (?).
Finally, we returned home, and guess what was there? A Train
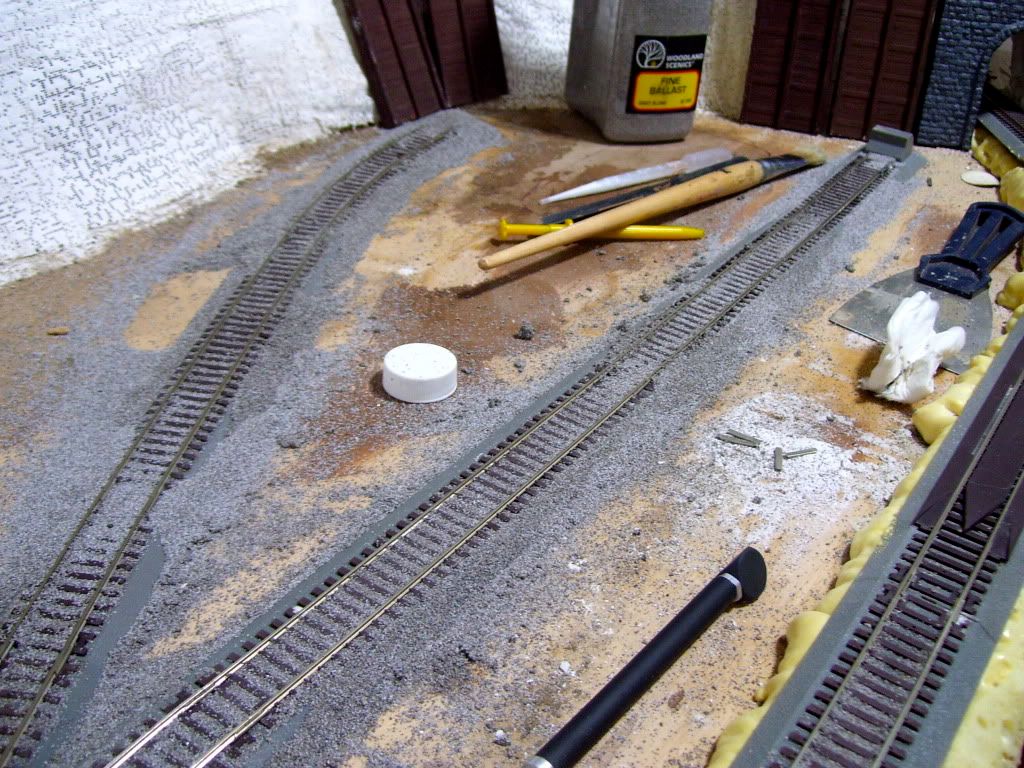
I finally started ballasting again!
Great work everyone. It’s nice to get back online after a series of heavy snowstorms here in Ohio covered by internet satellite dish and knocked me off line for 10 days. I was able to get to the library computers but was given only an hour of time and that was just enough to catch up on banking, bill paying, and a few other pieces of business. I missed the last two WPFs and I’m too lazy to scroll through the archives. Earlier this week I rigged up a hair dry to two wooden poles that gave me a combined 12 foot length which was just enough to reach the satellite dish from the top of the ladder and melt enough ice and snow to get me back on line. Today we are getting our first significant melt. The last I heard, we might be getting another major storm around Sunday. The hair dry is still attached to the poles.
I am in the midst of a major scenic project, my first largely residential area using techniques from Lou Sassi’s excellent book. It’s been slow going but I’m finally making some headway and hope to have the area photo ready in a couple weeks. I know a lot of modelers post in-progress photos but for some reason, I like to have my scenes relatively complete before posting them. In the meantime, all these excellent photos are keeping me inspired.
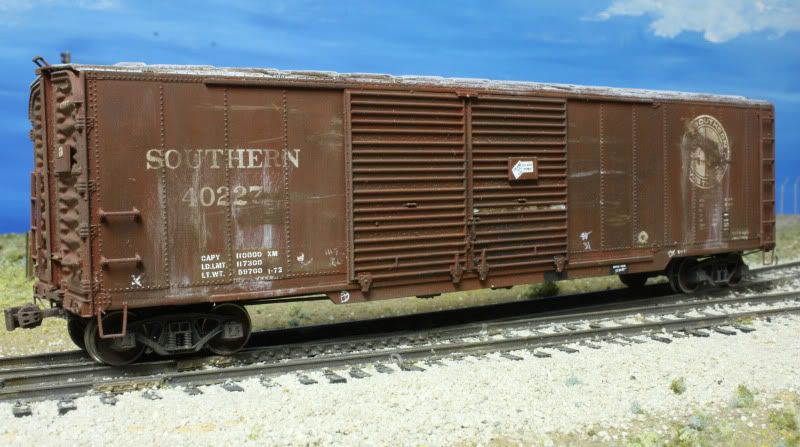
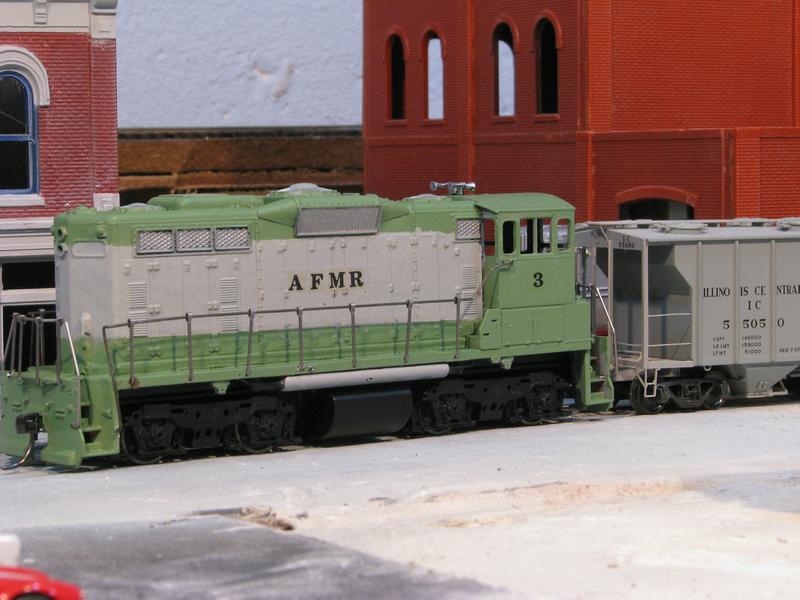
I love the paint fade. It looks so real. I want one.
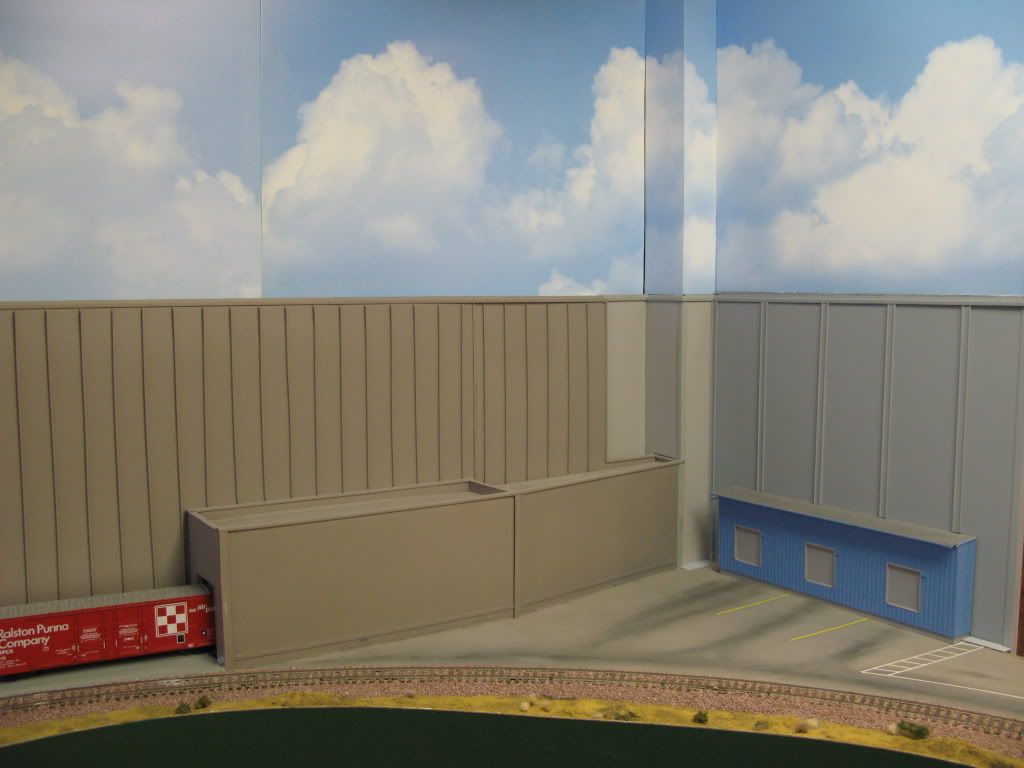
Here’s a few pics of my scratchbuilt Ralston Purina plant using foam core and strip styrene. I have yet to add details. So this is just a plain canvas for now…
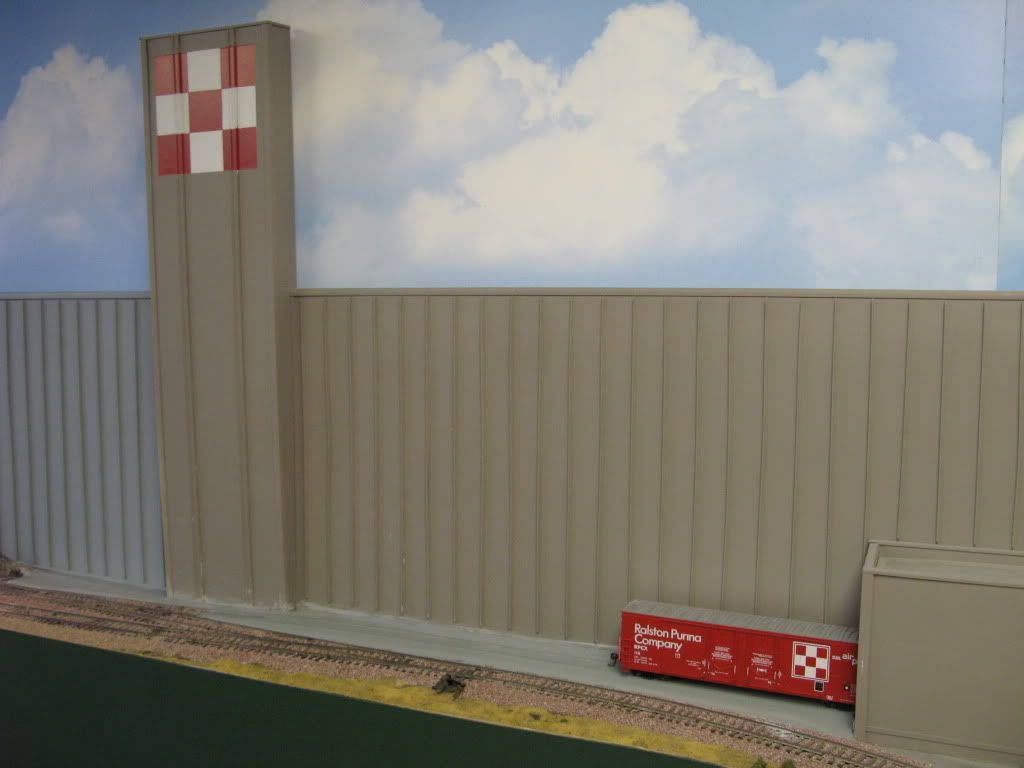
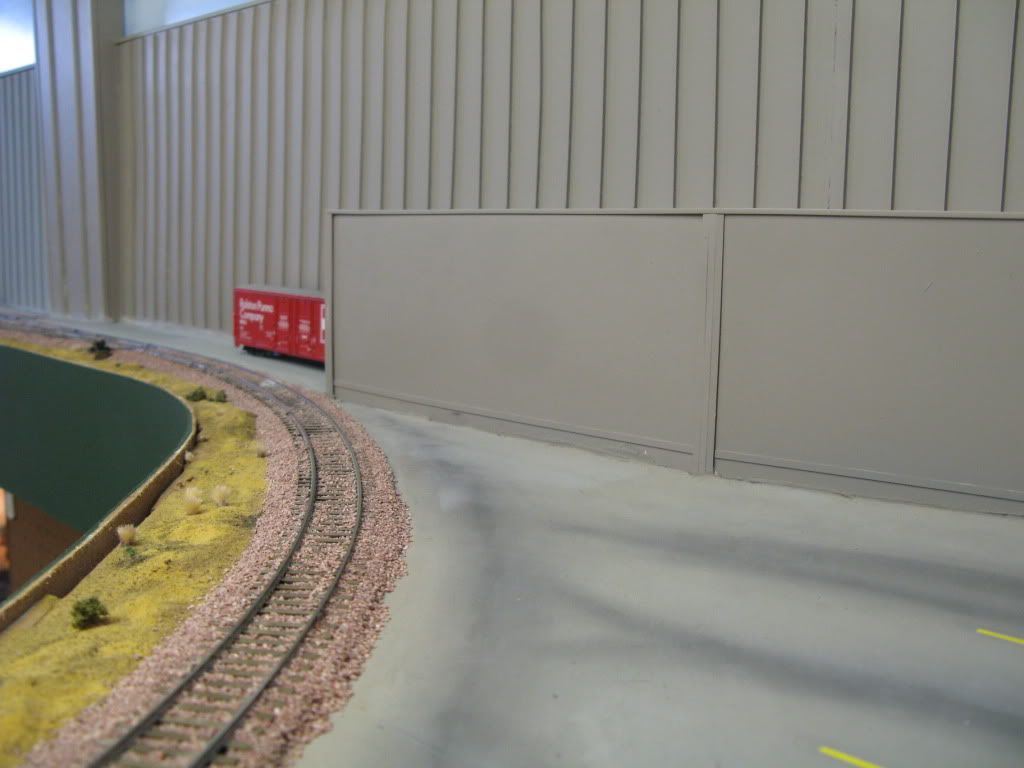
All weathered and ready to ride the rails


And a custom painted Locomotive I did for a customer…

Now THERE’S an example of a model railroad industry large enough to support rail service! [:)]
Silver Pilot: Beautiful work there! [bow] Even the windows have real glass![:P][bow]
Okay what is up with those clouds? Are they painted or photos because I really like them.
Here’s is the only thing that I have done so far this weekend. I put together this slideshow of all the random photos that I had on Photobucket. This link is down in my signature. Just click on the photo. The slideshow moves pretty fast so I recommend stopping it and moving through it one by one.
Hi from Belgium,
This is my contribution to this WPF.
I have published some pics of a broken old engine house in last WPF.
This was a very old Arnold Rapido model, I construct in 1973 ( I am 50 now!) in Nscale.
This engine house was a gift of my late so loved father for christmas.
It was my first attempt to detail and to try weathering techniques.
For some unknow reasons, this model was never used on any of my layouts.
It was stored in a scrap box in a very bad condition and some parts were destroyed or missing.
Because this model have so much memories for me, I restored it and rebuild it this week in a decent condition.
Parts of the roof were rebuild, the clestory is repaired,news doors were constructed, new colors, a few details inside, new chimneys, leds lighting and a new small shed on the side is also reconstructed.
Many new details were added; the glazing is full Micro Scale Krystal Clear.
As usual I added some scenery around the base so the model will become parts of the engine facility on my under construct yard.
The two first pics are the “before restored”.
Good week end.
Marc


A while back, I was browsing through Railroad Picture Archives.NET when I stumbled upon this creature. It’s called a “sweep.” It combines the chassis/cab of an SW1200 with the hood of a GP9. Since the image is copyrighted, here’s the link.
I decided I had to have one, right now. Since I didn’t have an SW1200 I substituted an SW1500 which I had purchased last summer simply because it was so inexpensive. I also had a dummy GP9. Here are the victi… er, uh, volunteers.
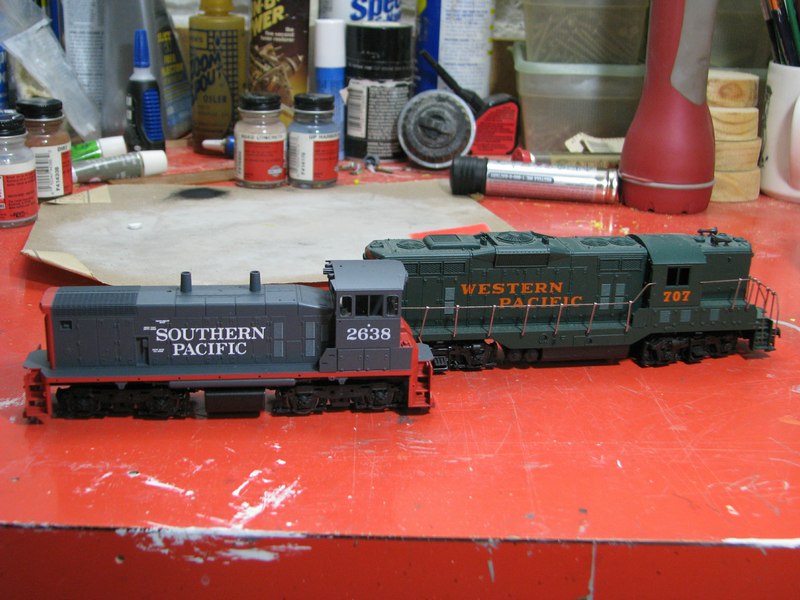
First I removed a portion of the front of the SW1500 and chopped the stacks off. You’ll see the reason in a moment. I also cut off a portion of the hood from the GP9.
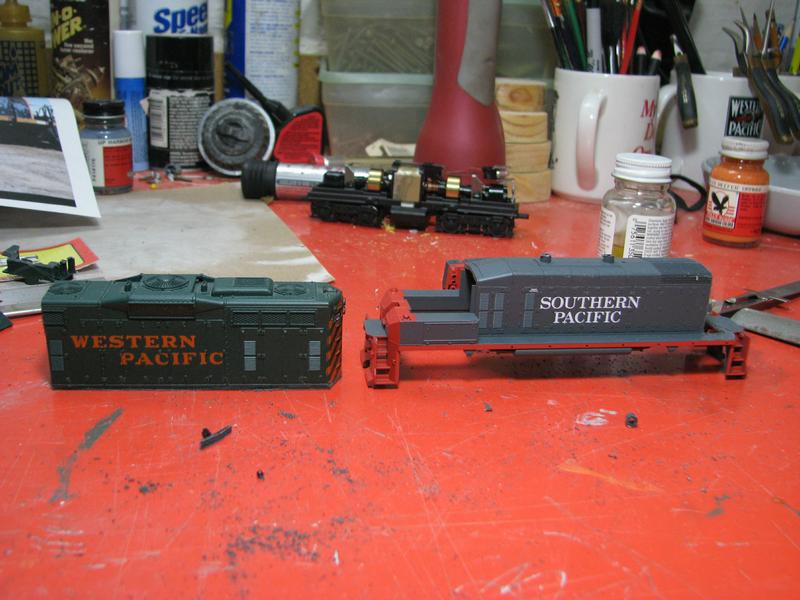
Here’s the time-saving step. The GP9 was an old Athearn wide body. Without the stacks on the SW1500 I was able to slip the hood of the GP9 over the hood of the SW1500. This saved me quite a bit of time since I didn’t have to remove the hood of the SW1500. It also maintained a great deal of structural integrity.
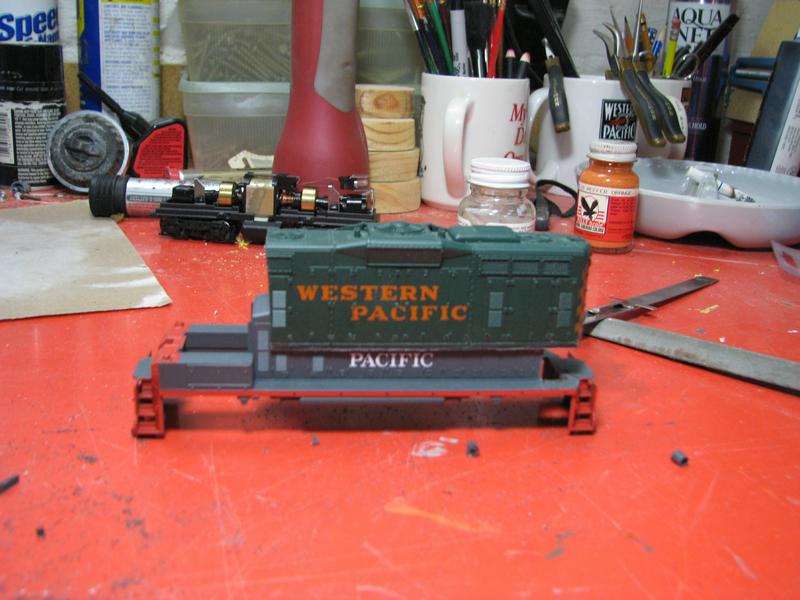
Then I notched out the hood on the GP9 to allow for the steps on the SW1500.
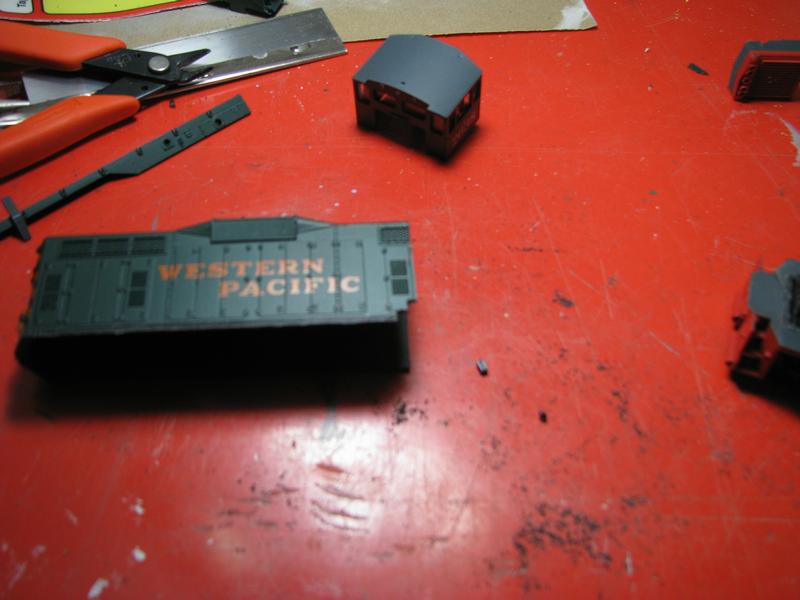
Next is where I made a mistake. All of my trial fittings had been on the body only without the chassis installed. Once I had the chassis installed, I discovered that I needed to mill off a small triangular portion of the frame to allow the body to fit. If you do this project, you may want to cut the GP9 hood just a little longer. On the other hand, cutting of portions of the frame only added about 5 minutes to the project.
[img]http://ww
Great stuff again this week! Keep them coming.
I’ve been doing some scenery on the BRVRR this week. It is one of the parts of model railroading that I don’t like to do.
I decided to work on the back-lot of my engine house. Time to cover up the dirt colored paint that has been the ground cover for years.

The first step was putting down some small brown ballast and various shades of ground foam over the general area. Here the Elmer’s is still pooling. The track grid at right is for spare wheel sets.

Here is the nearly finished scene. The crane and compressor are from a LifeLike Scene Masters grouping. I still have to letter and detail it. The shed/shop is a bashed portion of the house from a Bachmann Steam Whistle Freight Station. The wheels are old plastic sets painted rust brown.
The spare rails are parts from old pieces of flex track and the ties I made from scale square beechwood, cut to length and colored with a Sharpie. I don’t remember where the truck came from. The figures are Woodland Scenics or Bachmann I think. Still a little work to do to dirty things up a little, but I’m pleased with it for now.
All work and no play make for a dull railroader, so I did operate a train or two. In keeping with some of the earlier shots I made up a coal train and shot a little video. If I have time, I’ll post some of it on YouTube this weekend. In the mean-time here’s a still of the locos as they pass near the Berea Tower.

Leading the lash-up is NYC GP-40, #3083, an Atlas model with a Soundtraxx DSD-101LC decoder. Next is NYC GP-40, #3075
The first rail is now installed on my layout, two switches built only about 11 more to go. I hope to have a complete loop of track to start running on in the next week.

Chris
Lancaster, CA
Very nice. Please post again when you have the details to your liking. Looking forward to seeing them.
Hi,
You say “two switches” are built…Did you handlay them or did you use ready to run turnouts?
Good weekend.
Marc
Just from the picture, it looks like both his switch(s) and the track is handlaid.
-George
They are all built from Fast track jigs, and the track is from central valley tie strips. I would consider that more handlaid light.
Chris
Lancaster, CA
Well, I got it done, such as it is. Here’s my “sweep” switching a car into Puppy’s Pet Products.
Lessons learned:
-
Use a good quality tape and make sure it’s snug against the surface when masking off areas for painting.
-
Paint is not a hole filler.
-
Accu Flex #16-601 is not flat. It dries to a nice gloss which would make a nice surface for applying decals.
-
I wish I would have known about step 3 before I put the decals on.
-
Do NOT use 40 year old decals. They have turned yellow. Buy some new ones!
-
Do not blow on decals while they are still wet with solvaset. They will disappear at hypersonic speeds.
-
Don’t rush the painting. Take time to follow the steps above.
-
Using Pearls Drops or other gritty tooth paste really does smooth out an Athearn drive. It also leaves the drive train minty fresh.
Tom
1. Use a good quality tape and make sure it’s snug against the surface when masking off areas for painting.
Tom,
Here is a neat trick I learned a few years back about masking…
Spray your first color. After it dries do your masking. Once your masking is done, spray along the edges of the mask with the first color again and let it dry.
Now, spray your second color!
Works like a charm!
-George