Great rust job Robby.
Here is an eastbound coming through Carbo

A set of Southern locos leads another eastbound across the Clinch River

Great rust job Robby.
Here is an eastbound coming through Carbo
A set of Southern locos leads another eastbound across the Clinch River
In the past few days installed the completed New River approach span at Hawks Nest


Charles
[:-^]
Hi Robbie,
I just love your weathering. For what it’s worth, I know you use some of these photos on e-bay as well.
Just think if you got yourself a piece of EZtrack and weathered it up to the nines as well and use that to set your weathered cars on how much more professional it would look either in WPF of on the Bay.
I think it would really be worth it. What do you think???
[:#] Well what do you know ? I never saw your mention of a diorama the first time I went through here, that would be great.
Johnboy out… for now
Charles, looks good. I especially like the walkway cantilevered off the side. Is that the Micro Engineering 80ft deck girder?
Thanks,
Mike MacLatchy
Johnboy… I have some stuff here to make one, but just to lazy to do it. I know it will make the cars look better. Maybe this weekend I can start on something. I have a good diorama but I left it in PA. It was built in just a hour or so. I need to make that one again. Thanks for the comments also!!
Very nice
Great shot
Mike - yep, the bridge proper is the Micro Engineering 80ft girder girder, The walkway, exclusive of the supports, is from various Central Valley wood fences. Finding prototype photos of the walkway side proved to be a bit elusive.
Charles
Great pictures, guys.
It’s been a while since I posted on WPF. Over the past year-plus I’ve changed jobs, relocated, sold a house, bought a house, and got married; it’s been tough to squeeze much layout work into my life. Things are settling down, so I’ve done some train work.
Today I have a photo sequence of the transition my layout has made over that same period.
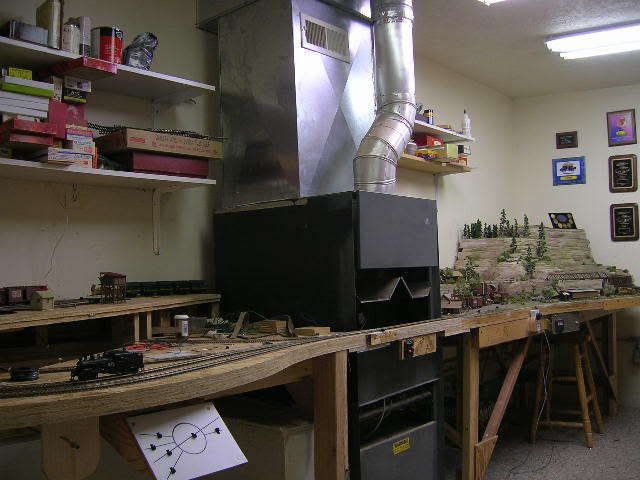
Back in my old house, my layout was really two modules with a furnace in between. I made bridges to run track in front of and behind the furnace:
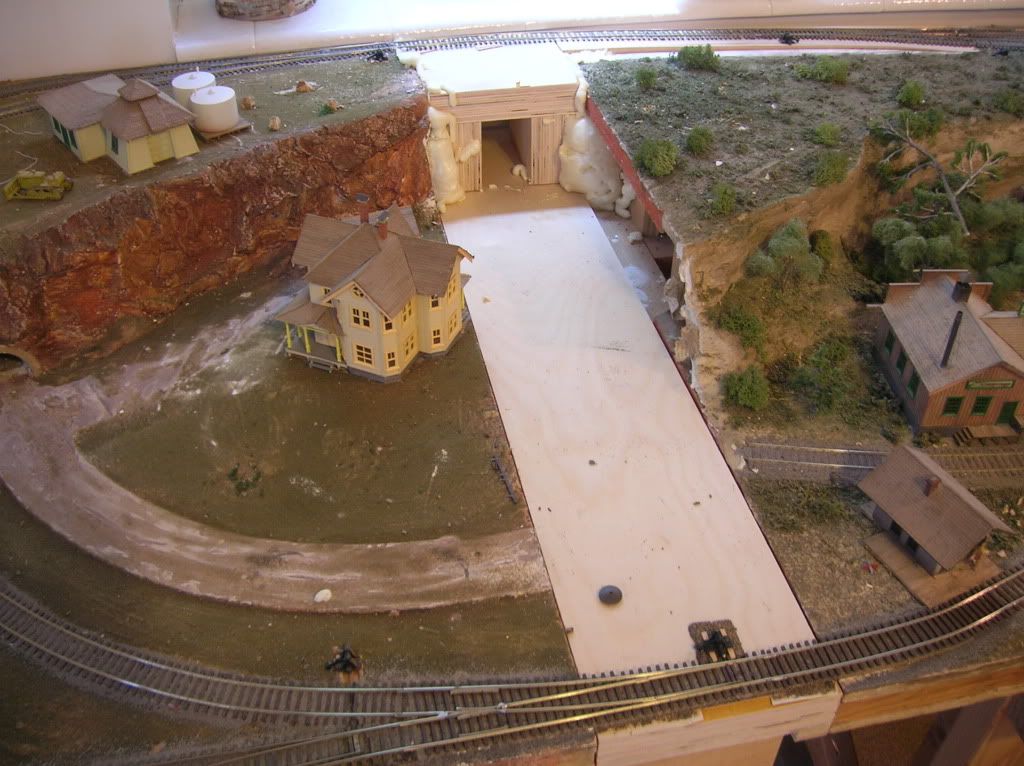
When I moved I left the furnace behind, and positioned the two modules close enough together to allow space on the left end for some expansion. [:D]
Since thins seemed a little too crowded when the pieces were butted together, I separated them, leaving room for a transitional “patch.”

Next, I built a patch and laid the track:
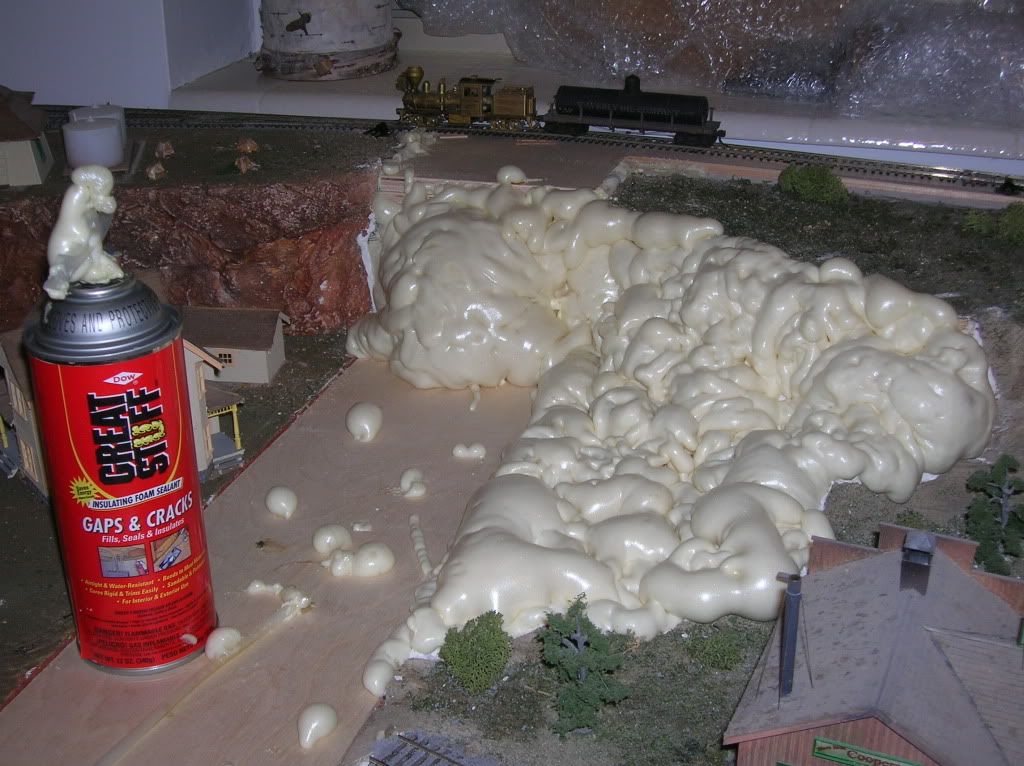
I decided to experiment with the use of Great Stuff (aerosol urethane foam) to “sculpt” some terrain:
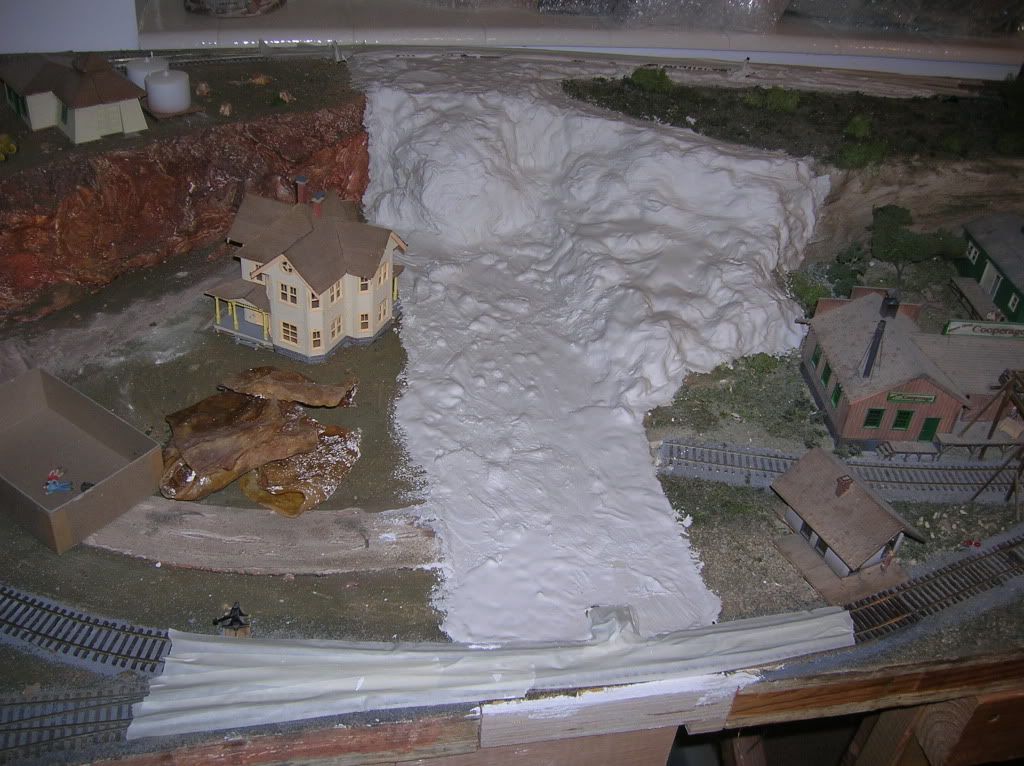
This was followed with a coat of plaster and rock castings:
And finally, color and texture. I still have trees, etc. to add, but I feel like the transition worked out pretty well:

It feels good to have it all connected together, again.
Alas… Someone has shown how to make bluffs & hills grow with “Great Stuff” thanks Phil. It is a creative modeling medium! Your pictures should be on the intro of 'This Old House" !!
Great Work!
(Gotta go DullCoat my entry to WPF, as I am late in the game, -geez! )
MABruce
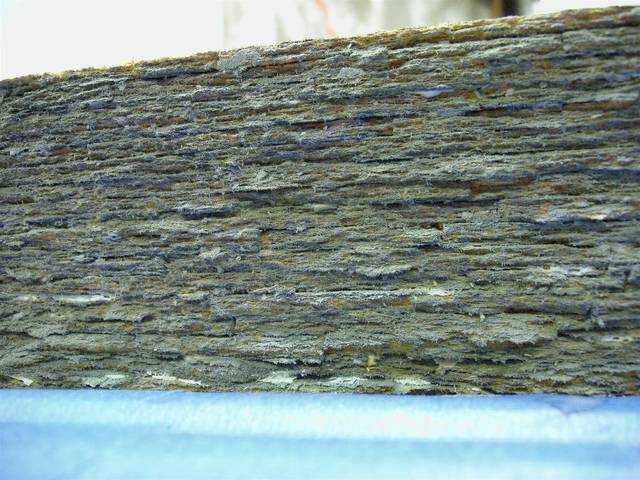
Did you break the boards to give a ragged edge?
Base coat of paint?
What colors did you use for your wall?
It looks great!
Jarrell
[quote user=“MAbruce”]
sfcouple:
ChadLRyan:
MABruce,
I really like the rockwork in that shot, please tell me how you did that, I think it is excellent!
Me Too ! That rock wall looks really good.
Wayne
Thanks guys!
My method is pretty much the same as stacking broken acoustic ceiling tiles, except I used a product called “Whipserwalk” by Pergo. It’s a thin fibreboard underlay for Pergo floors (to deaden sound) that I had leftover from a flooring project. Since I model in N-scale, I thought that this would be thin enough to better work to scale. It also accepted paint washes very nicely.
Here’s a shot of the wall shortly after painting it up and adding in some detail. It’s about 20 layers high in staggered joints (some joints are noticeable):!http://www.trainboard.com/railimages/data/500/BelmarRen113.JPG
I also used it for a smaller wall:
!http://www.trainboard.com/railimages/data/500/Belmar2014.jpg
I’m pleased with how well this stuff worked. Not sure if this product is still available. Mine came from Home Depot over 10 years ago in bulk packages - which is way more than you’d need for this type of application.
Thin masonite when broken will also work. I just primed it after I broke it up with Kilz, then stained with washes.
Trestle at Rock Tunnel

Wolfgang
Thanks.
Yes, I did break the fibrerboard to create a ragged edge. It wasn’t easy as this stuff can get unwieldy. I think I broke sections off over a straight edge - which helped keep it reasonably straight. Even still, it didn’t always cooperate. It’s one of those things you perfect as you go along.
The sections were pieced together and glued in place with matte medium (a higher quality glue). Don’t get too liberal with the glue or it will squeeze out onto the rock face. Then it can get in the way of the paints.
I used watered down acrylic paints. A medium gray as a base and I then brushed in darker and lighter shades in random spots, with some white highlights. I also used a little moss green in places.
Once I got everything looking as I desired, I sealed it with a clear acrylic matte spray. Bits of brush and ground foam rounded out the details.
I’ve been working on this thing forever:
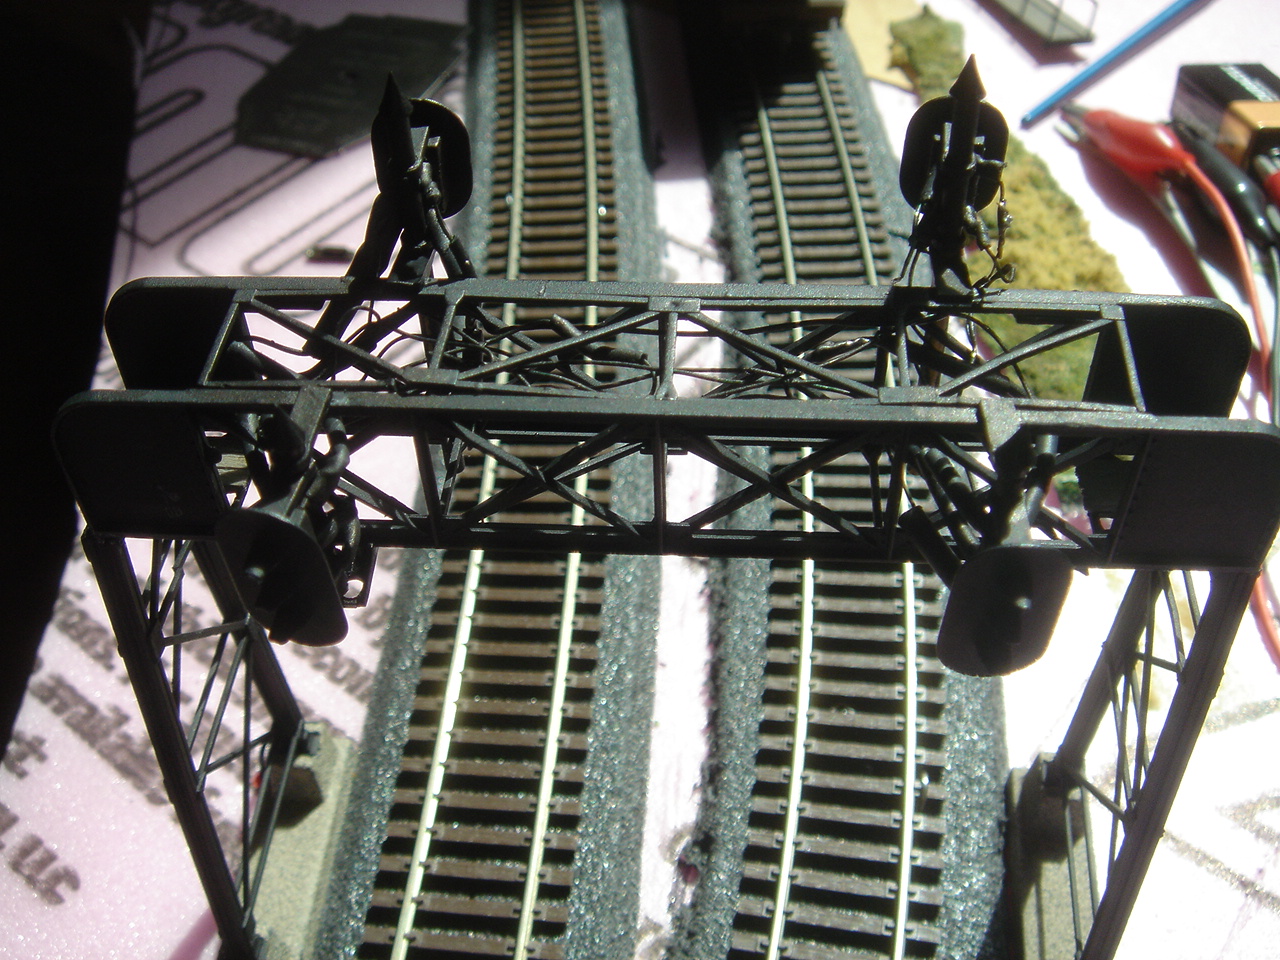
I’ve had a couple of threads on Layouts and Electronics on this. There are 10 LEDs in the 4 targets, so I was faced with a lot of wires. Someone suggested magnet wire, and that turned out to work very well. I found through trial and much error that the only way to do this is to wire combinations of lights in series, not parallel. I routed the wires to the top, where they are hidden by the catwalk.
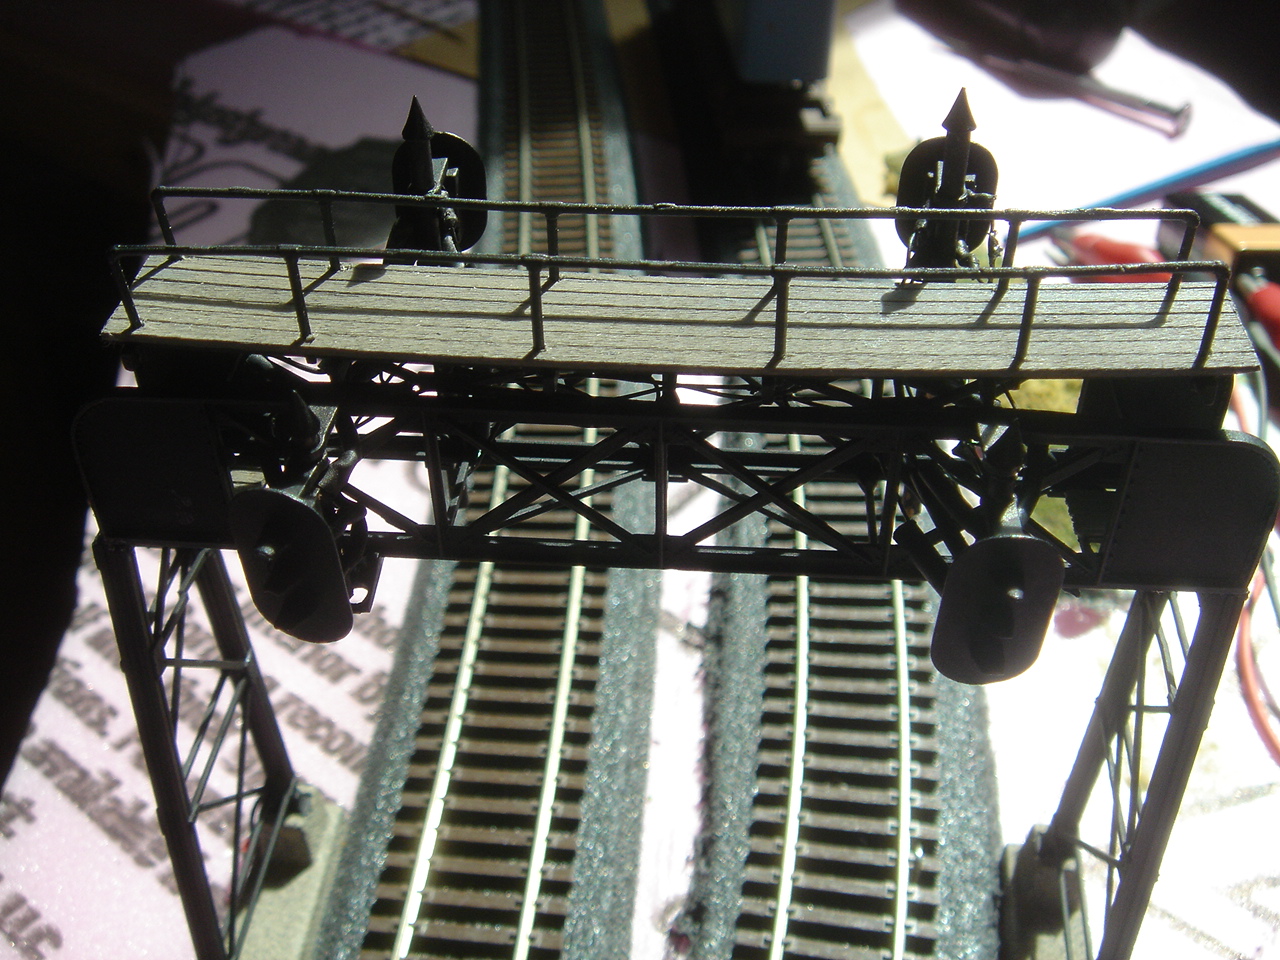
I used real wood for the catwalk, and in the weeks since I put it together, it’s warped enough to bend the plastic frame beneath it. So, it will call for stronger glue when I fasten it down.
MrBeasley,
You did a real nice job hiding all that electricfication that is in there. Without a description one would never know the craftsmanship that went on there. Very nicely done, a very ‘clean’ look to a serious working unit! Great job!
Here is Dig Doug, clearing summer silt from the spring & early summer rain runoff…


The grass in the gon finally started to clear a bit, so here is the photo I really wanted to show.
Norscot CAT 320D
Tichy GSC Flat
ExactRail Gon
All of which were excessively ‘Chad-ized’

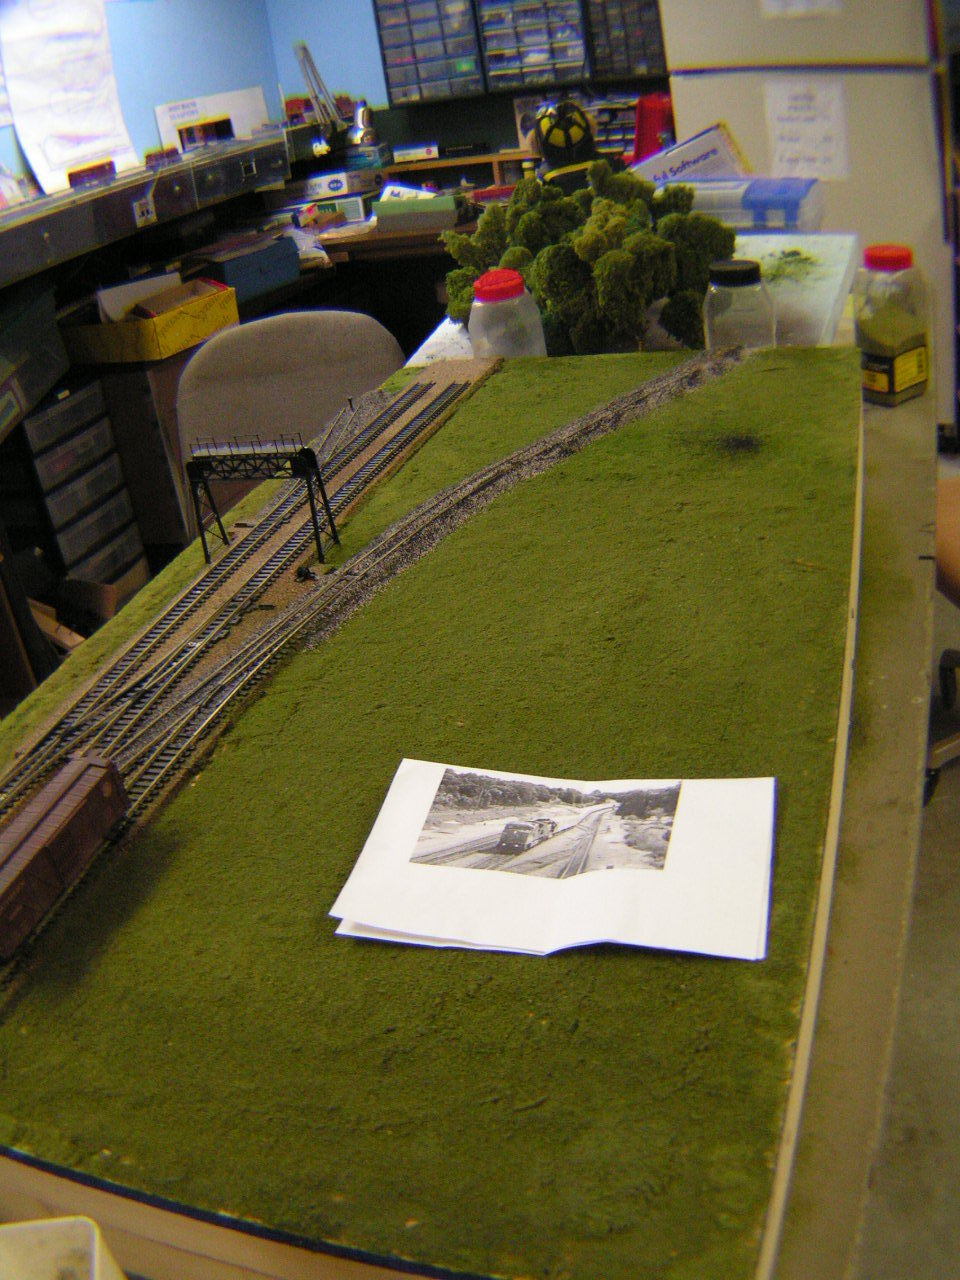
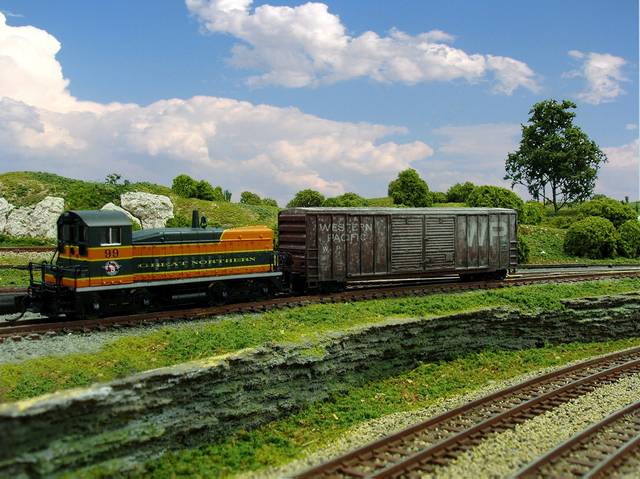
Presenting, my second major scenicking. This is a module from the Naptown & White River’s portable layout. I can’t claim the trackwork, the stock car, or the signal mast, but I can claim the green stuff and the abomination that is the ballast. I had done a hill on the main layout, forgot about that.
I’m quite happy with how the grass turned out, considering. But I need more experience in shaping ballast.
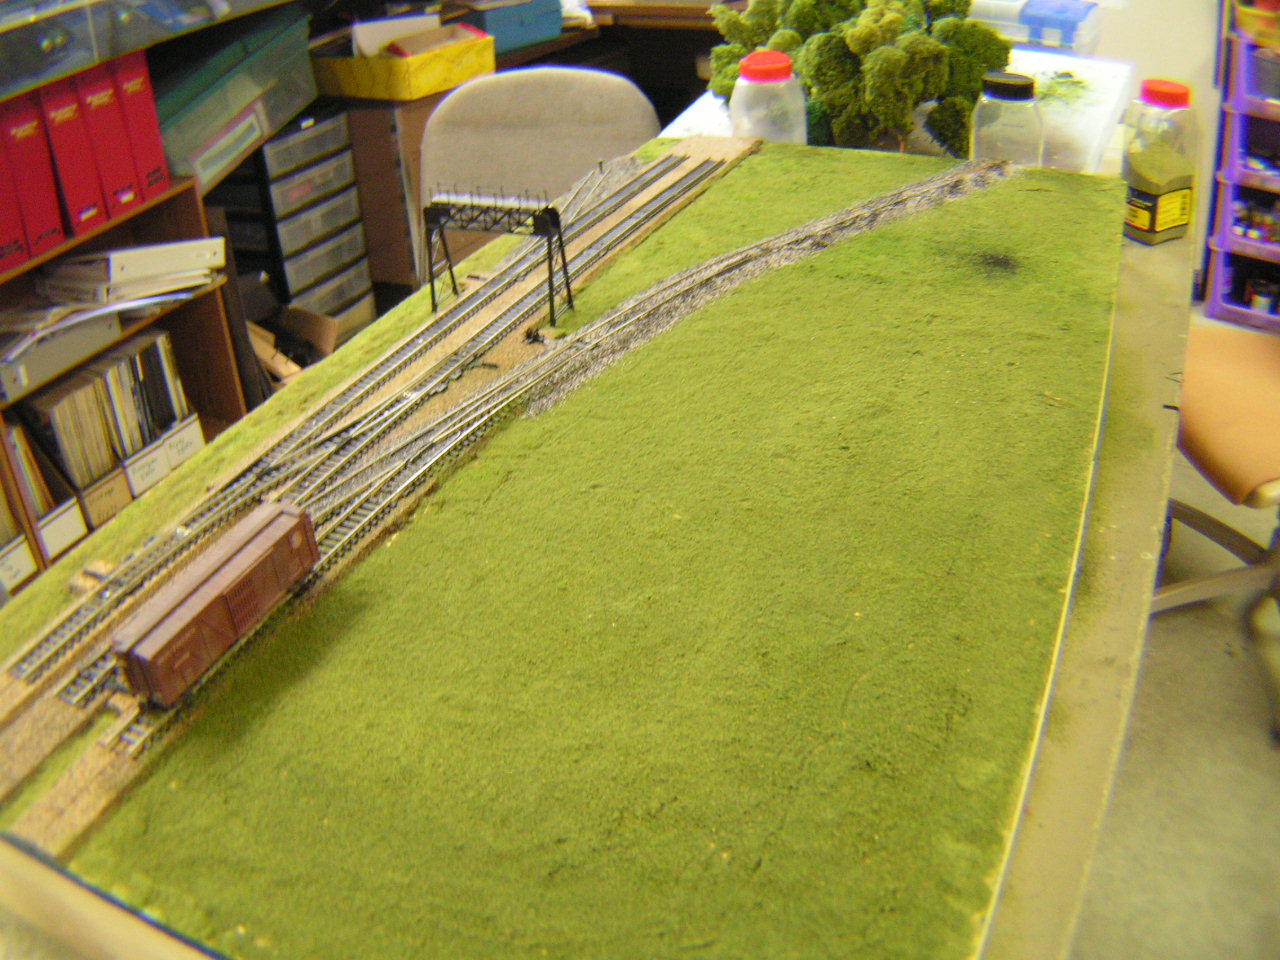
Thisd si an approfimation of lafeyette junction. This shows the module, and a balck and white of what I want to achieve. I still lave plenty of detailing to do, like switch heaters, the control shack, a road, and other assorted greenery. The signal mast will probably go back to where it came from.
More MOW… I did some Railfanning on a trip to LaCrosse, WI a couple weeks ago. There is a BNSF Double Mainline along Highway 35, & I spotted this!
This is a BNSF Ballast Unloader, shot near Stoddard, WI where there is a small BNSF Maintenance area. Unfortunately the unit came up quick & the shot was at 60MPH, & on the wrong side of the sun. I was lucky to even get the shot, & think the VR option I turned on the day before helped out. It is interesting to see the ‘cleats’ on the front attachment (where the bucket would normally be) & on the rear outriggers. Perhaps sometime I will model one of these with a Kibri JCB kit. I had seen these on the internet, before catching this one in person, I would like to see one working and traversing from car to car, I think that would be interesting to watch!

Here is the ‘Herzog Cartopper’ promo I found online;
http://www.herzogcompanies.com/railroad_services_cartopper_material_handler.php