Ok so this is my second post this weekend, I got a chance to be productive… Sue me…LOL
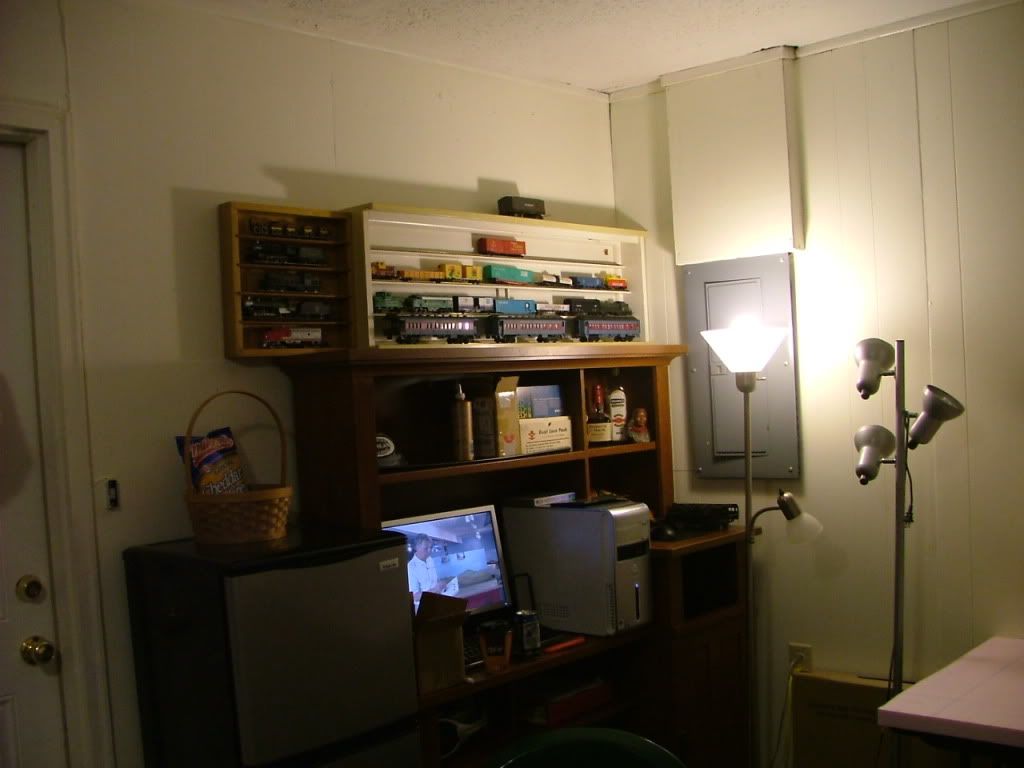
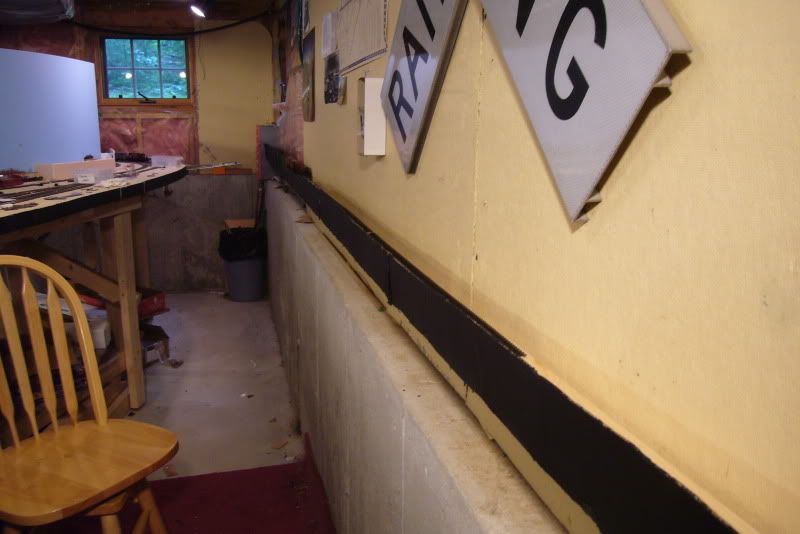
So I came home to the afore mentioned brand new man cave Thursday afternoon.
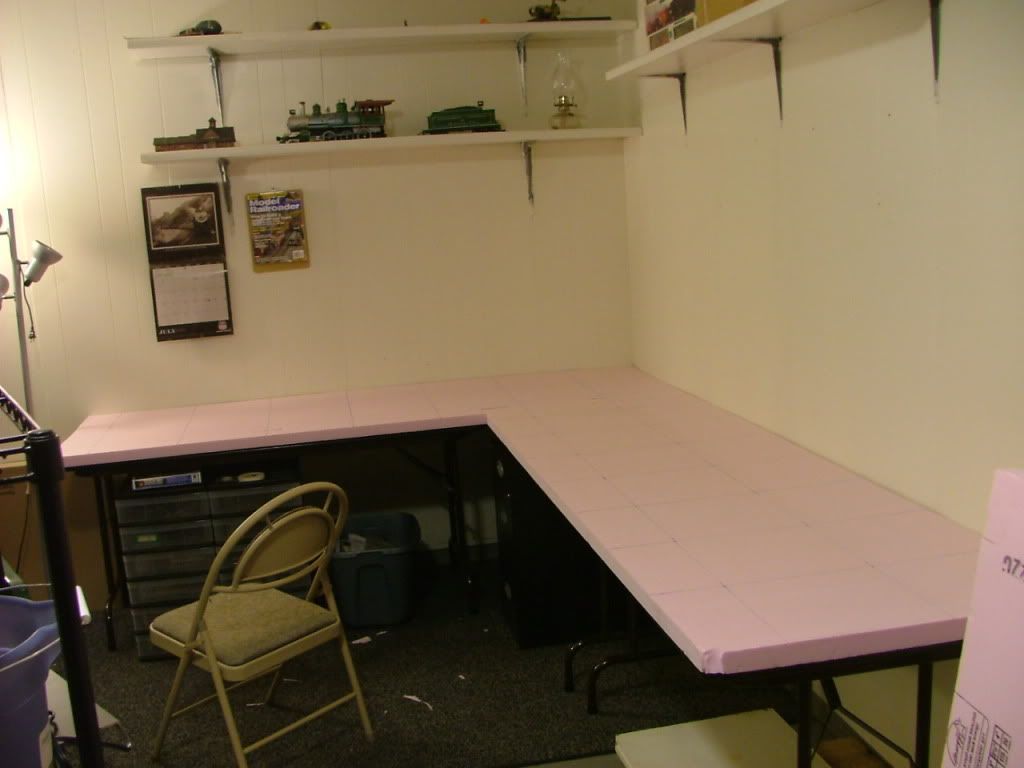
Friday morning I got my tables up and the base layer of foam cut.
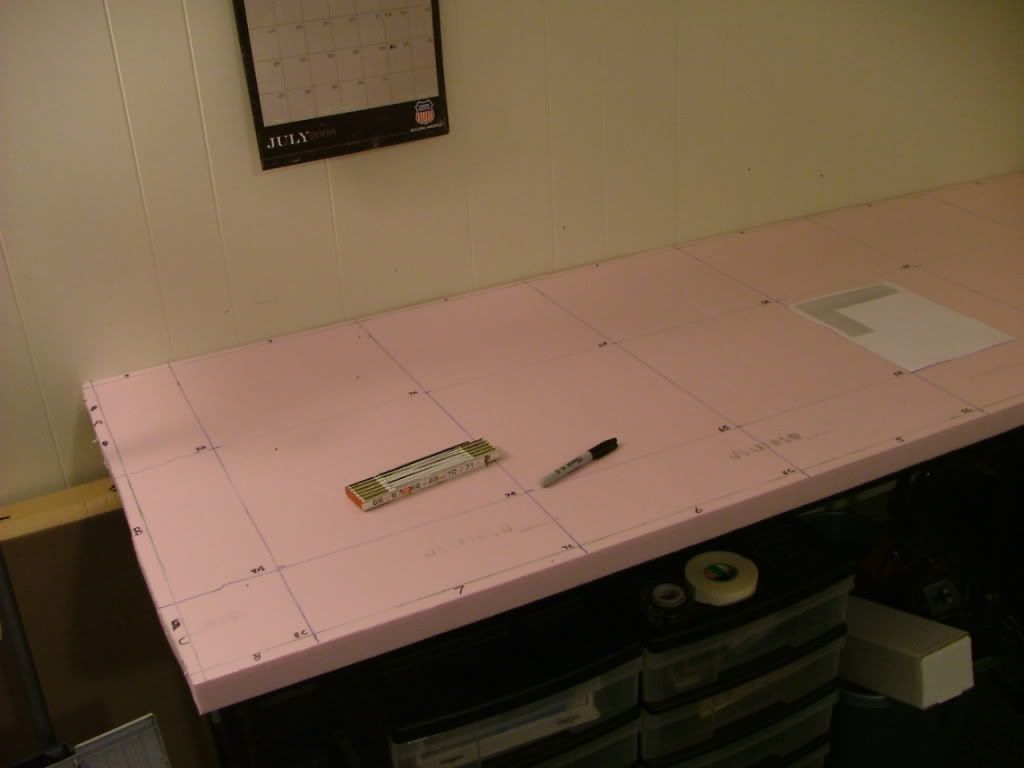
Being given to planning, I laid my foam out in a square foot grid and assigned each square its own grid coordinate and then laid out a 3/4" hardline around the edge to keep me honest when I started laying out the trackplan.
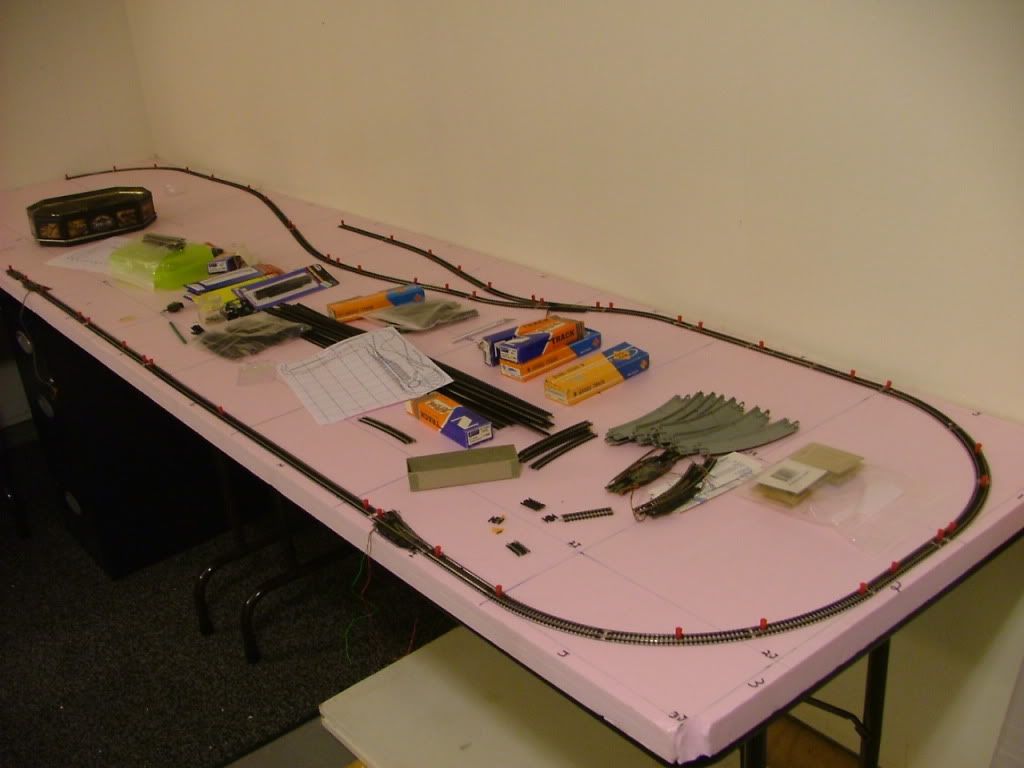
I looked at the clock and rushed the family out to the car sowe could go to the cook out at my mother’s place… After a few hours of merry making we came home and I sorted track and started laying it out and pinning it down.
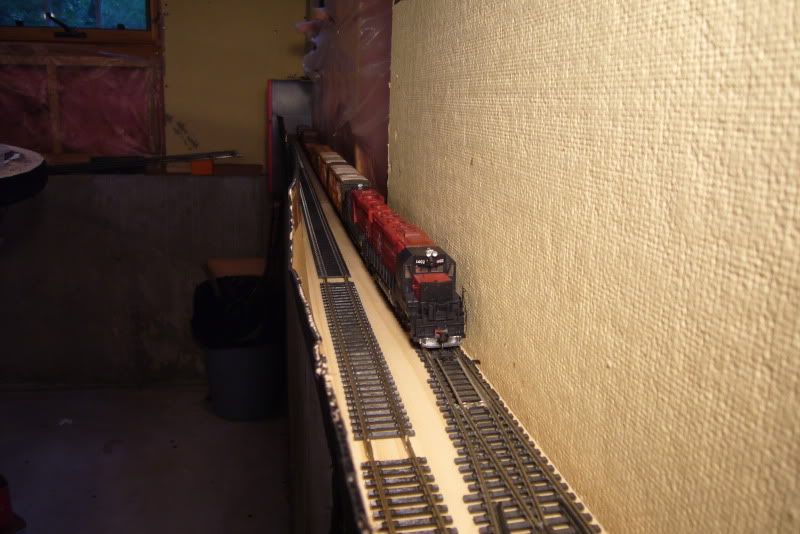
I tried a little something different for me, insteas of trying to cut pieces of sectional track to fit, I outlined around half an 11" radius and then pinned the curve in my flex track and went on. I am using a lot of sectional track to lay out the track plan, but when I go to lay track permanently, I will use as much flex trqack as possible to cut down on the number of joints… Anyhow I got over half of the outer mainline laid out and traced.
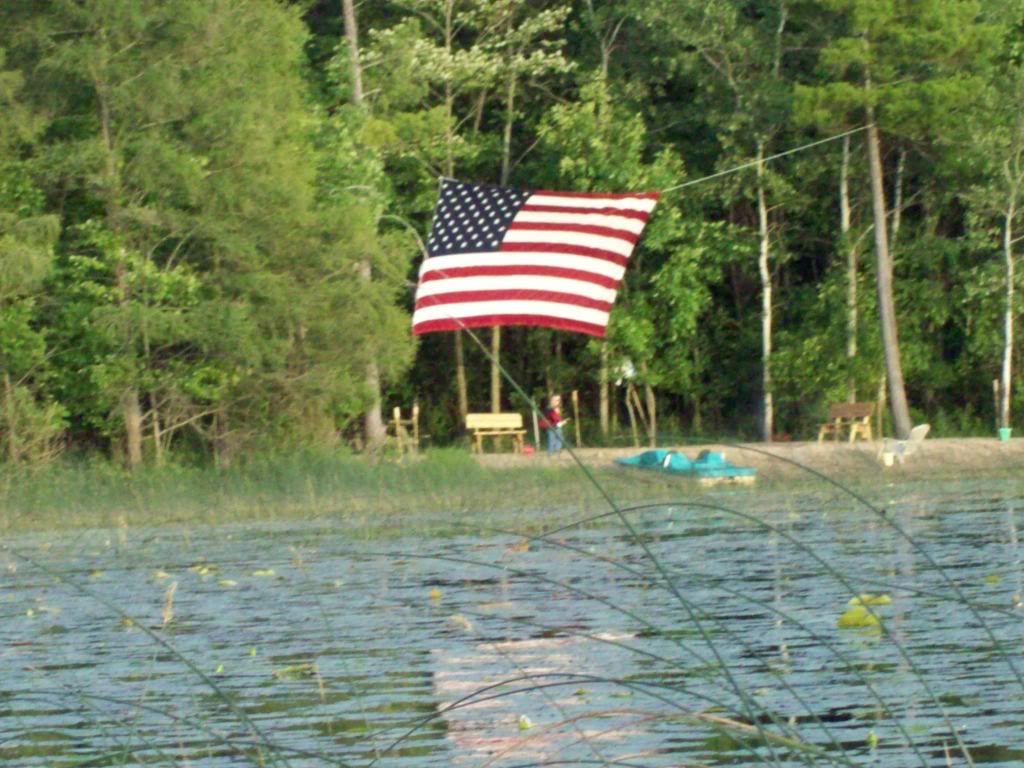
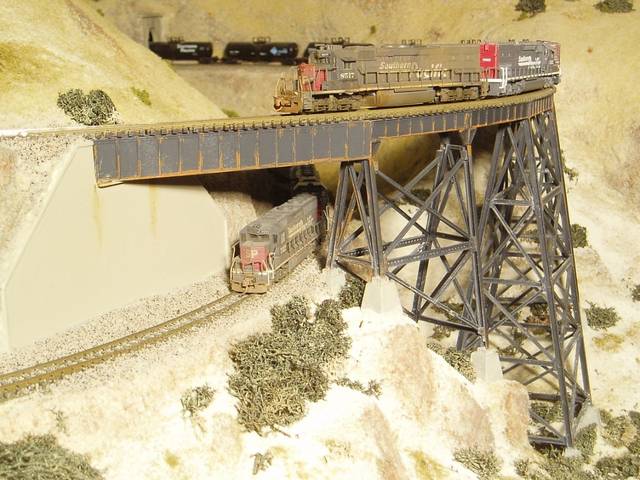
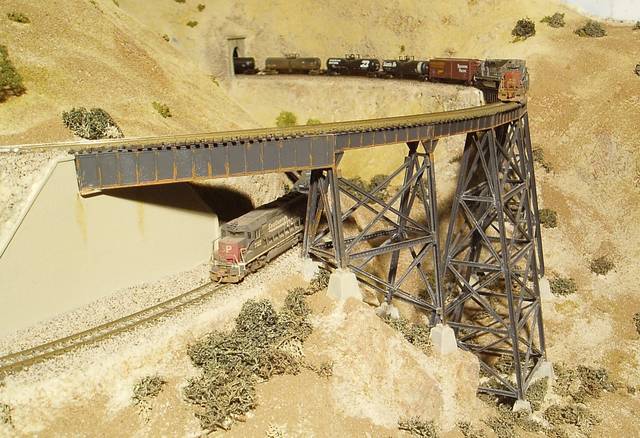
All contributors are making this an excellent WPF for Independence Day. Bruce, I commend you for your water and trestle…really creditable modelling. DJ, (Grampy) another excellent image showing enviable depth of focus and super modelling.
A track-level image from me showing a hard-working H-8 from the C&O slowing to replenish water and coal at Seneca Falls Sub.
I made significant progress on my staging yard and lift bridge this week. I laid track in the staging yard and added a safety fence to shield the trains against the long drop as well as stray elbows.
The staging yard can hold 4 full-length trains.
In addition, I added the safety stop that cuts off power to the staging yard, bridge, and both approach tracks when the bridge is up. After two failed attempts using metal contacts (getting them to touch was a hit-or-miss scenario) and momentary switches (reversed functions; bridge is up train goes, bridge is down train stops!) I finally hit on the solution using a default-off button. Now I have good contact, the switch triggers easily, and the train stops when the bridge goes up!
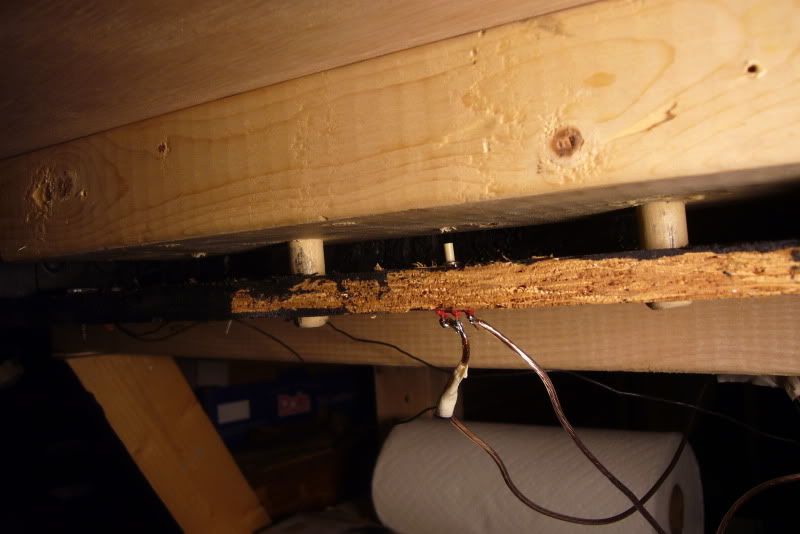
Photo lights are really useful when taking photos under the benchwork! [:P] The tiny little pin is the button itself, with the wiring visible below. It’s actually a complete mess down there, with a lot of remnants of old wiring from the two failed attempts before that. I ended up only isolating the inside rail, since with no ground, trains won’t move. So I have a lot of redundant wires down there. The large dowels are my method of keeping the bridge in alignment.
Now all that’s left is to add track on the bridge… It will have to be glued with wood glue or plain white glue, since the hardwood is impossible to drive track nails into, screws don’t go into it, and pre-drilling holes is out since I don’t have a bit small enough.
Happy Independence Day to my Fellow Americans, and a great weekend to everyone else as well!
Crandell… Nice shot! That loco is making me drool all over the keyboard! Outstanding job on the concrete dock as well.
I have been continuing around the corner from the farm to the Team Track by the Freight Depot.
Wider view:
I Also put together this Tomar Horse Drawn Farm Wagon this week. The team is actually from some other horse drawn equipment now set over by the shed. I love the Tomar kits, but are a bit of work.
Bird’s eye veiw of the same:
And an overview of the entire area.
I am about 80% done with this scene. Just needs a lot more small details, people, and frieght.
I wish I could get the license for firecrackers and bottle rockets. rocket motors duct taped to sticks with a crackle ball with a elongated fuse on to just doesn’t cut it.[sigh]
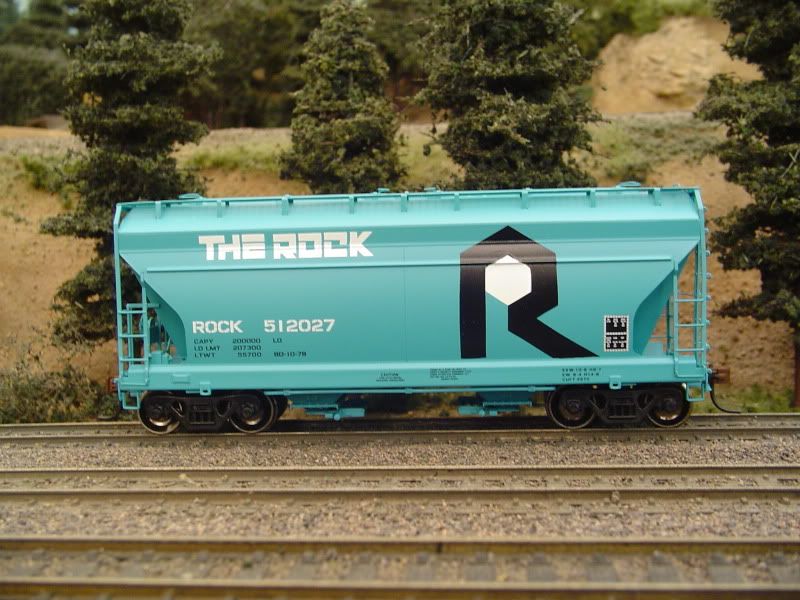
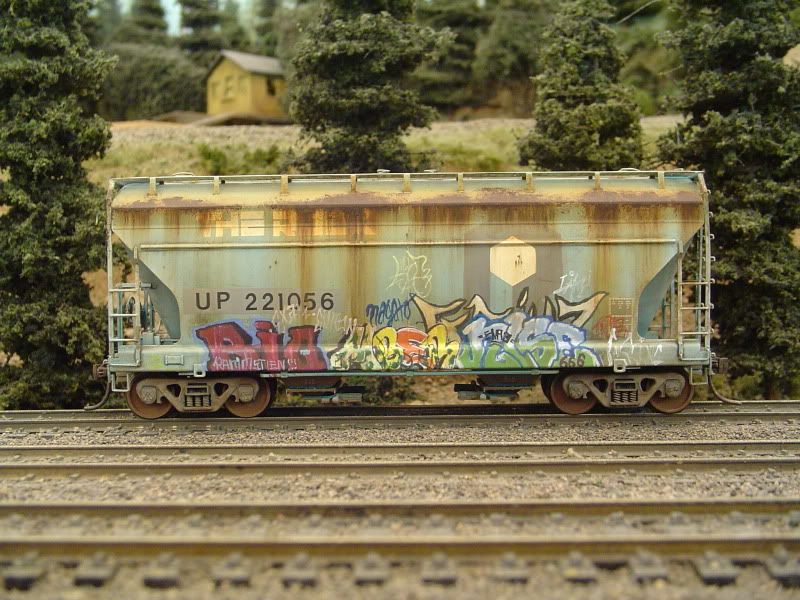
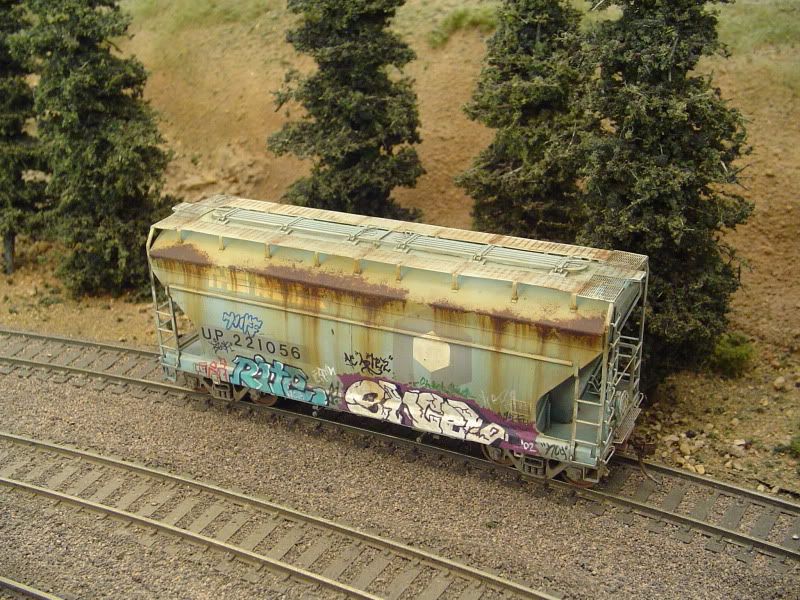
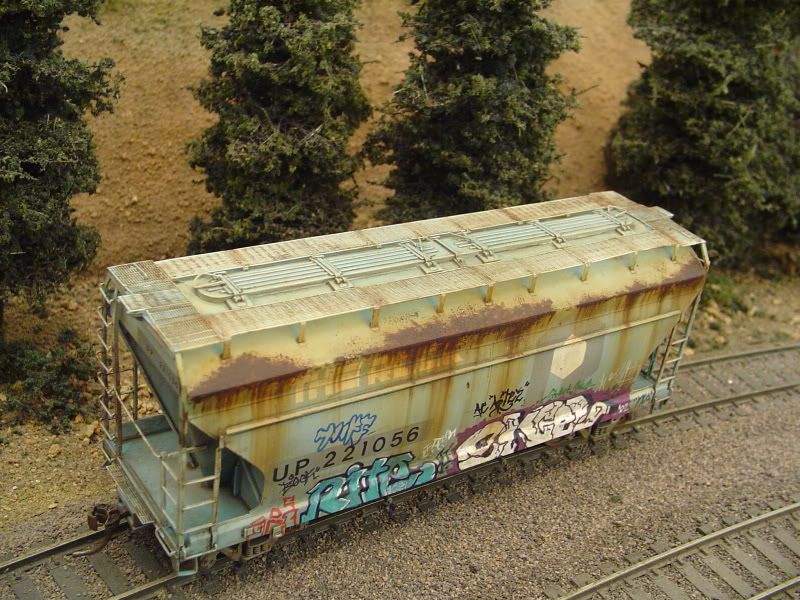
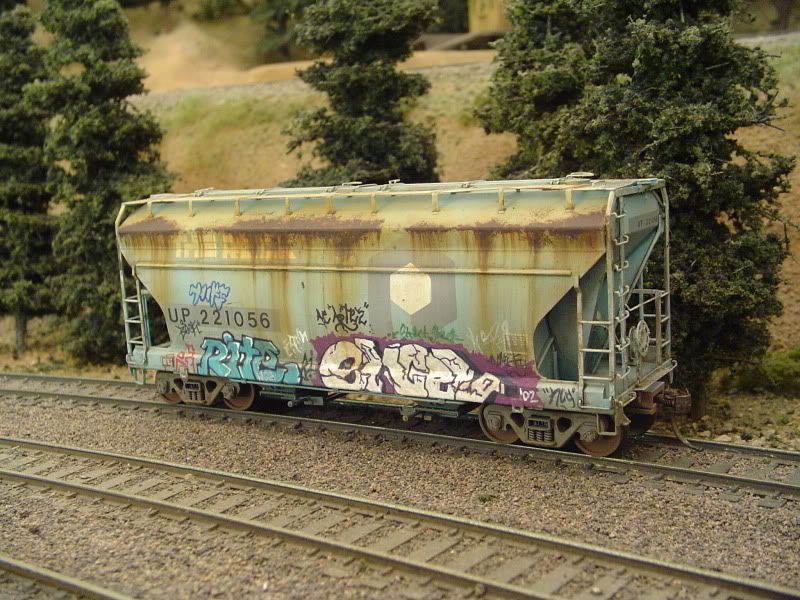
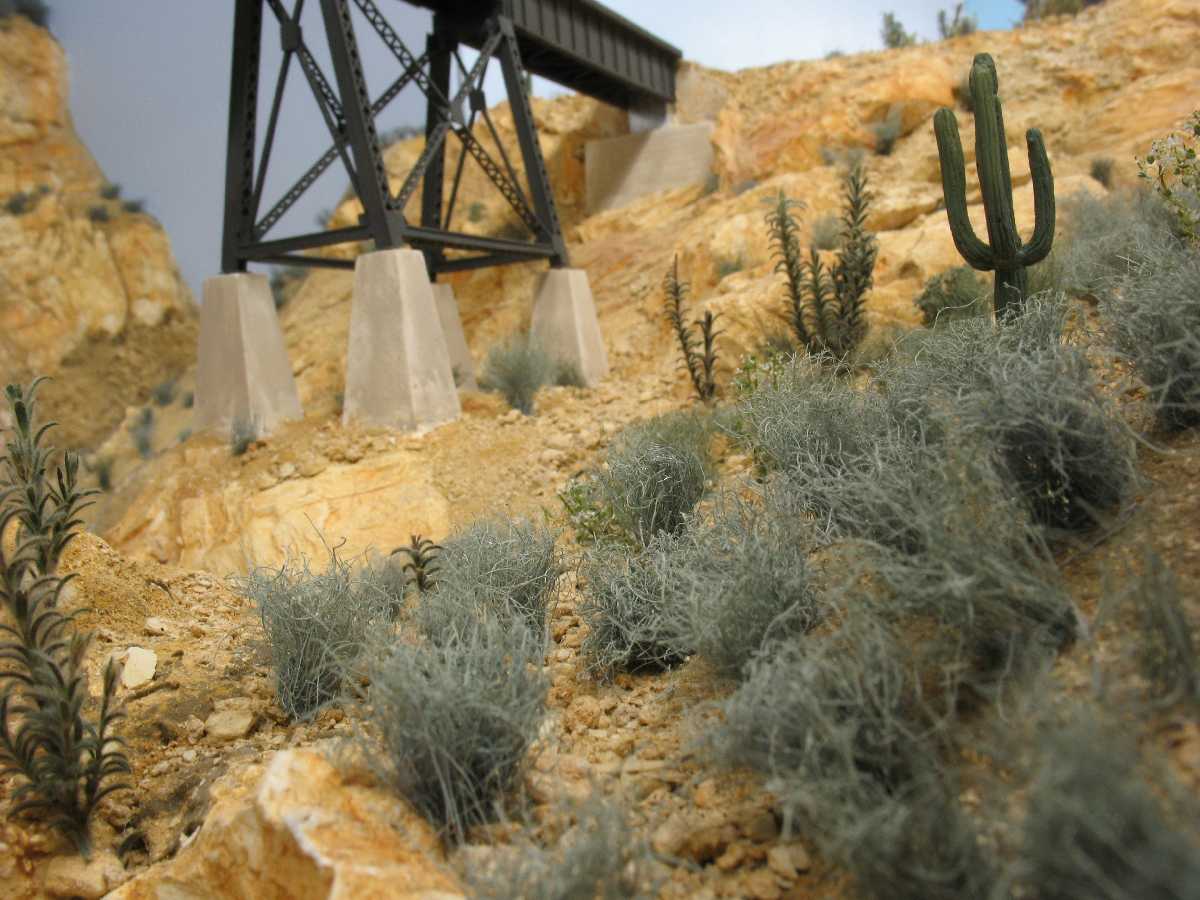
I only have one section of layout with scenery and am still decideing what color soils to use. Here are two photos, one with light colored soil the other darker real soil.
Keep in mind the background hills are all honey colored grass and when I settle on something they will get the same treatment.
The darker soil looks better in the particular lighting that you used to take the picture. How typical is that lighting?
Have you glued down the dark real soil yet? I tried some ballasting recently with real dirt and it darkened significantly (and too much) when I used some alcohol to “wet” it before hitting it with diluted white glue. It never lightened, even when dry. Suggest you try a small test area.
Love the ps everyone. Especially Wolfgang;s simply because it;s a great MRR pic without a train.
That said, Wolfgang, there;s something in the formattin of the blog that has mashed the first paragraph way to the left, annd it is kinda painful to read.