Wow! There’s a lot of heavy lifting going on around here!
If you’ve been following my blog, you know I’m in the process of tearing things up to make way
for a new and improved layout. Here’s where I’m at so far…
The temporary peninsula has been dismantled down to the joists. You might remember it looking more like this…
Well, that got done, and I also packed up the work bench to get it ready to move, too.
My evil plan lurched into high gear this afternoon…
I summonsed Andrew, and told him that he would be the beneficiary of an afternoon of room cleaning and furniture moving…
And so we began… He loaded up his junk, we moved around some furniture, and shuffled all the stored crap from the other side of the attic to make room for his room…
A few hours later, we had mucked out 3 large bags of trash, and got everything into place. He now has plenty of room, a TV for his Wii, and the air hockey table will be back in service, once I fix the switch.
So… where did all the other crap end up?.. I hear you ask…
AaaaAAAAUUGgghggghhhhhh!.. But not to worry… this is all part of my plan… Afterall, no pain…
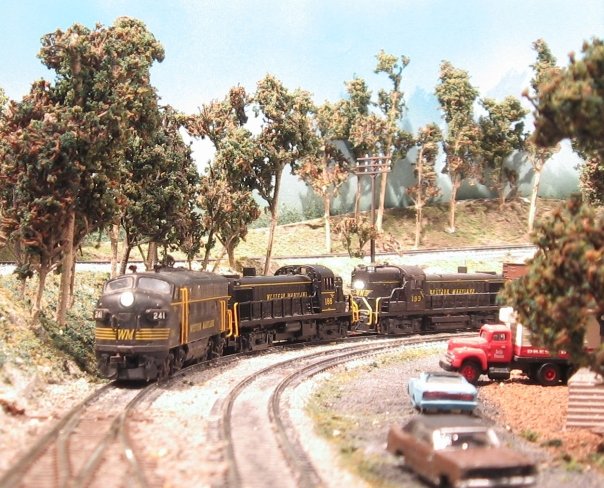
You do understand that if you keep posting these fantastic photos, I will go insane with envy and reduce myself to playing with Kevin and Eddie’s Thomas the Tank Engine Roundhouse set.
Hi John: Well, most of the tracks were out of reach, I had no clue as to how a yard was supposed to work , so I built a cityscape at the curve, and moved the yard to it’s present location, I think a much better location. DJ.
Thanks Driline. Definitely going to do an around the walls type at 24". Might be a little tight in the middle, but it’ll just be me anyhow. I don’t have any MRR friends.
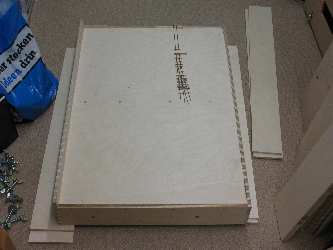
Hi, I am building the Wooland Sceinics scenery kit. This is it so far.
Next step is the ground cover. Any tips on how to do ground cover. I usualy apply PVA glue to the area to be covered, then scatter ground cover on top and pat down with my hand, but the instructions say lay the ground cover then spray scenic cement. Which is prefered?
Thanks, John. Unfortunately, I didn’t get a decent camera until after I’d ripped out that mistake. And, I’m not saying a yard can’t be on a curve, just that my attempt wasn’t a good idea. DJ.