I hope it works for you Randy. If not, there is always 0.080" styrene.
Dave
I hope it works for you Randy. If not, there is always 0.080" styrene.
Dave
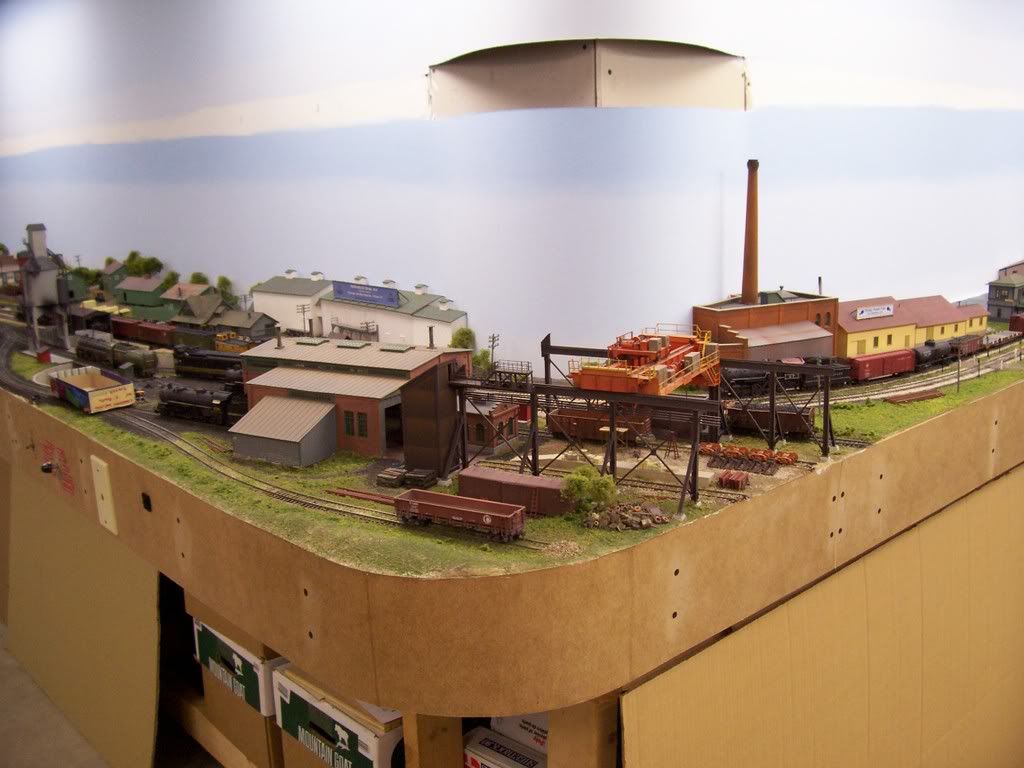
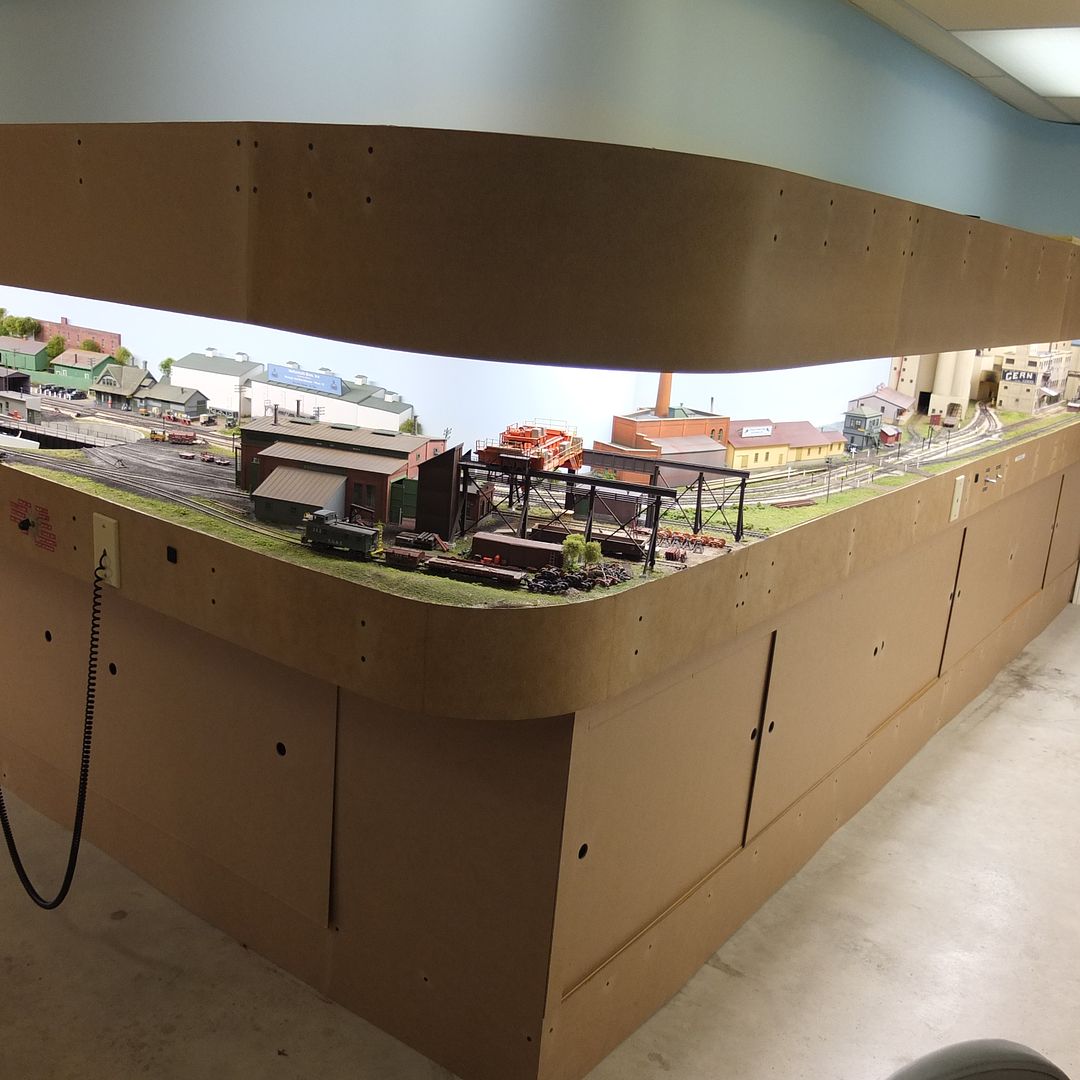
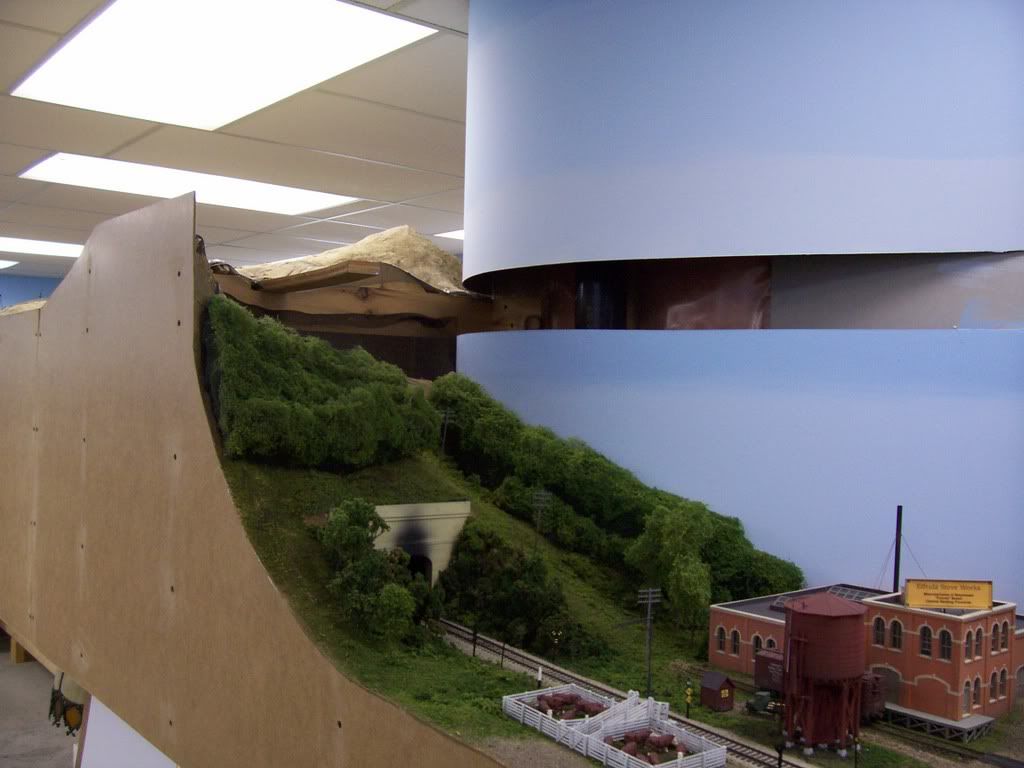
I might have to do something like that on the two outside curves to keep the backdrop close to the wall and curved. Or not curve it - the one is at the end of the added middle wall and the short wall before the helix, and it continues the town scene, so a building could disguise the 90 degree corner. Or even use a short piece at a 45. The other outside 90 is on the opposite side of this wall, where the branch turns down towards the door. If I make that a 90, I can probably hide it with some trees.
Directly opposite the one I already installed is the other inside corner, heading on to the wall with the yard. At the end of that, there will not be a curved backdrop going to the moveable section in front of the furnace, so the other sharp inside corner is all the way down at the far end of that wall (northeast corner on my plan) and then on the outside of the short wall for the branch to come off the helix and swing on to the outside of the added wall. It’s a total of 6 more pieces to curve - upper deck over the one I alrerady did, upper and lower deck ontot he yard wall, upper and lower deck in the northeast corner, and one deck for the branch. And the upper deck pieces can be more wasteful of corner space, especially over the yard and town areas where I don’t plan many sidings to avoid conflict with operators on the lower deck. Over the yard, the upper deck will mostly be a deep scenery area (well, 2’ depth for a double track main and little else - so that’s realtively high depth to track ratio). I considered spacing the backdrop out a bit ont he upper deck to reduce the depth, but at the same time I have to make sure the lighting is balanced - same number of strips in less area will appear brighter.
–Randy
Well - FAIL.
It’s still there. But I noticed the front (inside) veneer has cracked about half the width, just after the curve starts along the left side. Compressed in on itself too much. The back side, where it is stretched out - is just fine. Go figure.
Time to get the hardboard - either Lowes or my plywood supplier has it.
The underlayment I have is probably fine to make the ‘hat’ on top of the upper deck, at least in areas where it is no more than 18" wide, since they are all cut to 16" wide pieces. I’m not going to mix materials. Hardboard will handle the outside curves, too.
–Randy
1/8" Masonite applied atop 3/8" drywall at all corners, with the Masonite abutting 1/2" drywall. Screwed, taped and mudded - no cracks, no joints to be seen.
Wayne
Yesterday I prepped some more pieces, cut to length, drilled pilot holes. So today when I went to the basement, I was ready to go and get stuff built. I need to do more of this, work more in an assembly line fashion and complete a stock of pieces in one session and then use them in another.
As such, I now have all the verticals on 2 walls of the yard/town room, and a lot of the support blocks in place. I even did a quick video update.
Back wall:

Back corner:

Rest of the ‘new wall’:

Video walkaround:
I may have to do silent videos from here on one, and put title cards in or something. I sound horrible. There is no editing - I just upload what I shoot. Straight from the phone.
–Randy
You sound OK, I think it’s normal to think your own voice sounds terrible.
I would say that you sound great!. Your voice is clear and easy to understand, and the video progresses at a decent pace. Too many videos move at a snail’s pace. Your’s is good.
The only minor problem I had was that I had to crank the volume up to max. on my el cheapo computer speakers, and even then I had to listen carefully. No big deal.
Dave
Yeah, a phone isn’t an ideal video device - if I have the screen in front of me so I can see what I’m shooting, then my mouth is not near the microphone. I guess I could try using my earbuds and recording through that microphone. Or see if I can boost the audio when I convert the video.
I should show your post to my GF. She always says I don’t speak clearly enough and she has a hard time understanding me. Maybe I just need to say “yinz” and “pop” [(-D]
Have to see where I get tomorrow - I’m almost out of the little blocks, so I have to cut up another 2x4 and drill them. Or I can continue with the verticals down the yard side, I still have 10 more prepped. Otherwise it’s time to break out the circular saw and the Kreg guide and start cutting plywood strips.
–Randy
More of the support blocks added, and the first horizontal installed.


Getting there. Need to get hardboard for the backdrops before I go much further.
Edit: oops, two of the same picture.
–Randy
Looking good Randy! Your voice is fine. [Y] Nice progress.
Mike.
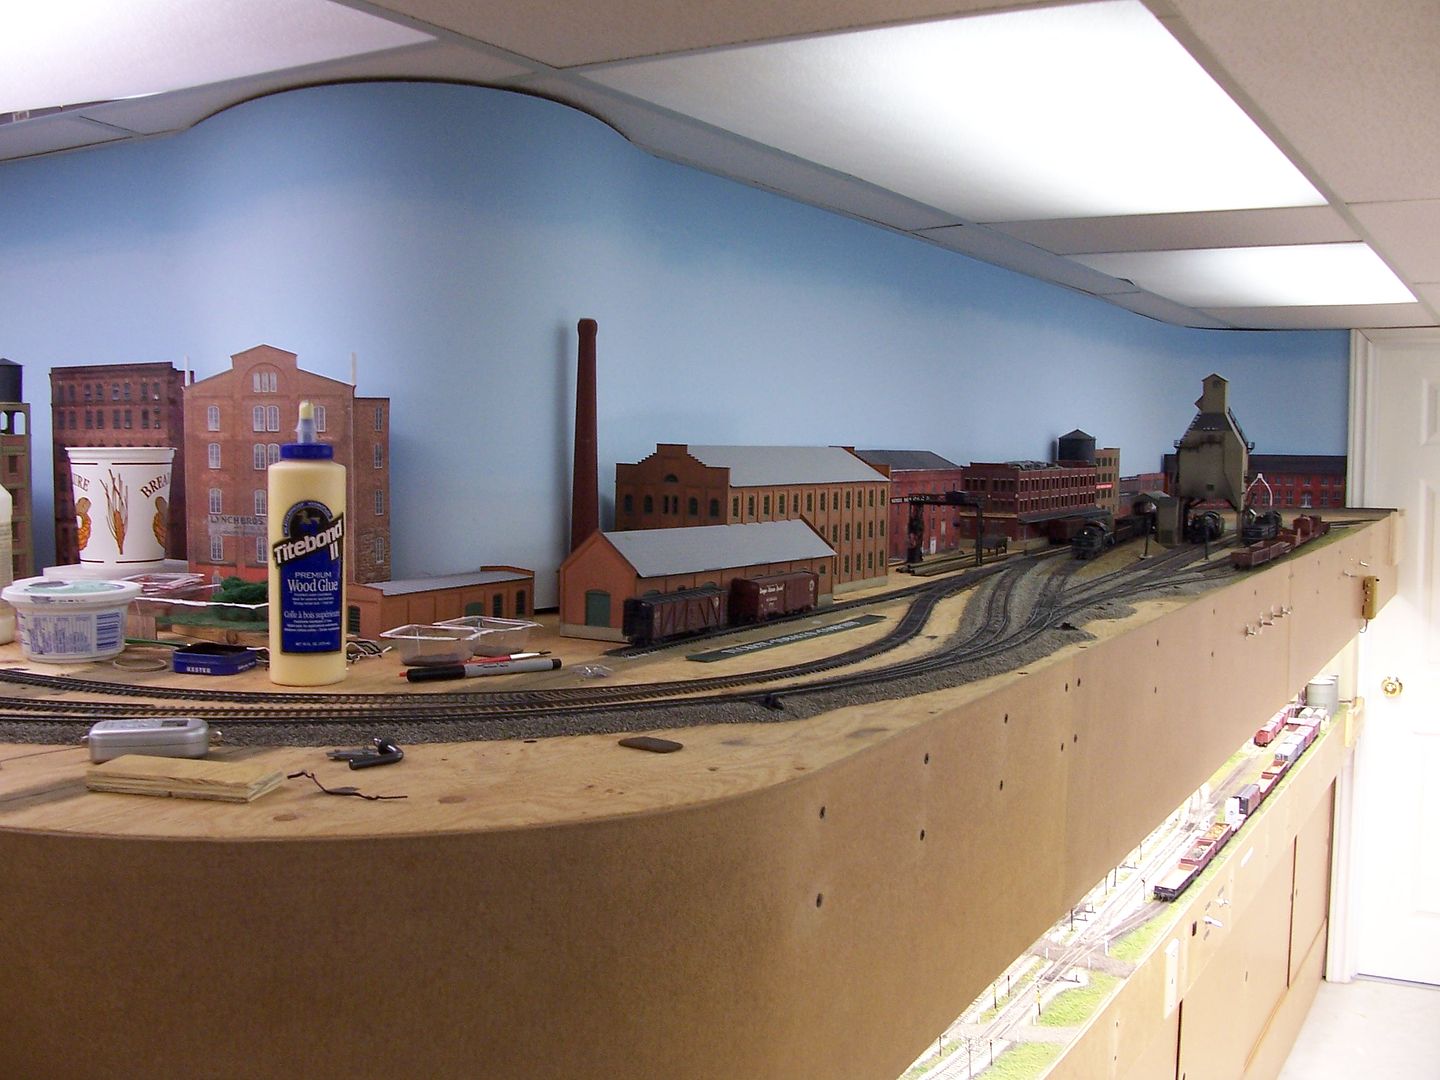
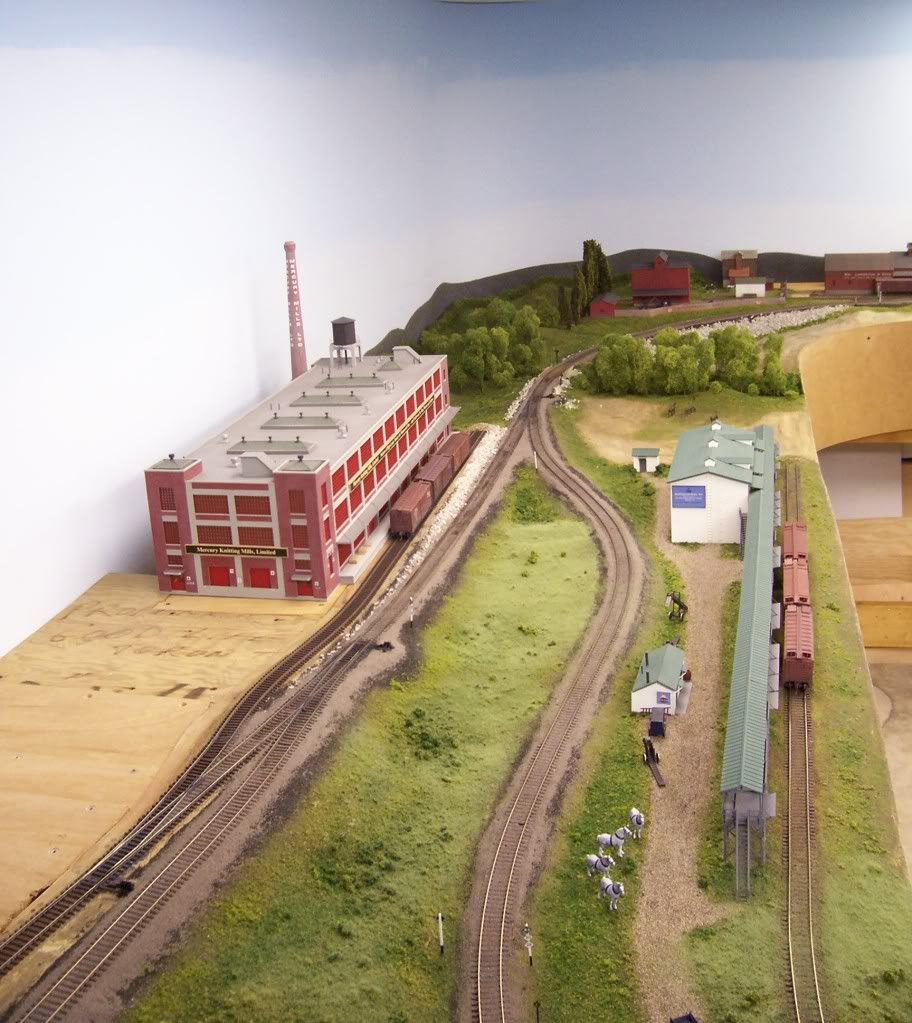
Wow, has it been almost 2 months? I FINALLY did some more work today. Stopped by Lowes because SWMBO wanted flowers to plant outside, so I grabbed some masonite foor backdrops and also a sheet of 3/4" plywoood for the end of the area I’ve been working on - this is where the turntable and engine house will be so I figured why bother making it open grid type benchwork, I’ll just cookie cutter a piece of plywood. In a short time today I got started on the verticals down the long wall and got two sections (tootal 16’) of backdrop up. Still needs to be sanded, spackeled, sanded again, and painted, but at least there’s something there.
Tomorrow I plan to be down in the basement most of the day, building the support area for the plywood base and getting that in place. I’m not holding my breath but maybe some track even - though I don’t think I have any caulk and only a tiny amount of roadbed.
–Randy
Looking forward to seeing your work Randy.
SO here are some pics of additional progress. Brackets started down left hand (longer outside) wall, this is the side that will have the yard. And backdrop being put in place.


I also started framing out the area for the engine terminal. Definitely will have a support leg in the corner there. I have my old legs salvaged from the old layout, but I can’t get at them. Perfect place to reuse them.
What I really need is a faster way to make the brackets. I’m thinking I could possibly cut strips of plywood and then make up the sections with the spacer at the far end in bulk, and then go around attaching them to the verticals.
I may have made things harder on myself by deciding to have the main start a slight upgrade behind the town while the yard lead extends to become a bit of a city switching branch. though all that really needs is a 2-track wide strip of plywood lifted on risers while the rest of the shelf stays flat. 2 reasons for that - reduce the rise required in the helix, and also this sets the level for the branch that goes around the outside - since it is only a single deck section, I want it higher than the lower deck fir a more optimal view. The loop around the outside of the helix can also be aon a grade, meaning the grade can be fairly minimal yet accomplish the goal. Downside is, I can’t really have a connection at the far end of town between the main and the switch lead/city branch, even at double the grade it would take half the distance to come back down to the 0 elevation. ANd I kind of wanted to put a sneak loop in from the branch through the wall to reconnect to the main, which will not be possible without an absurd grade. If the uphill is 1%, I can probably get the sneak path in with a
That sounds perfectly reasonable to me. Due to space contraints my layout has about a 3-1/2% mainline grade in a 25" radius curve. Never had any operational issues with it, uphill or down.
Got some backdrop up on the upper level in the same corner now. ANd I finally got a chance to start cutting plywood with my circular saw and Kreg Rip-Cut jig:
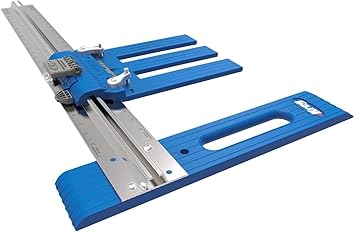
The saw clamps in the sled, the part with 2 slots (for left or right hand motor circular saws) and the lower piece slides along the edge of the piece you are cutting for accurate repeatable cuts. I also have a Diablo 60t blade for smooth cuts - and it cuts through the 3/4 birch like butter, nice smooth edges, no tear outs. First piece came out 1/8" wide - initial calibration is to put the sled against the blade and zero it, but then you have to set the width using the scale and pointer and make one cut to adjust it. It’s not really critical, when attaching the pieces I am leveling the tops, so if one piece hangs down by 1/8" it’s no big deal. But the second oen came out dead on 3" after I adjusted the indicator, and now they will all be exactly 3".
I’m considering not using the outboard space blocks in each pair of arms like I did with the first one. At least where the arms are 12" or less. Yes, they wiggle side to side a bit - that is until I install the plywood subroadbed on top of them. And then the fascia. Wider areas may need in to manage the flex, but even there I am wondering - such as the 2’ wide yard section. That will fully be covered with 3/4" plywood from the wall to the outer edge of the arms. There’s no way that’s going to move side to side.
–Randy
I picked up one of those a couple months ago when I was laying my OSB subfloor. What a great tool! Easy to use and accurate even for a fumble-fingered guy like me.
I wasn;t about to get a table saw for just this one use, plus handling a 4x6 sheet, as I expected, of 3/4" plywood is not easy, even with extension tables. ANd I don;t trust the big box guys to cut properly - their saw has coarse teeth anyway. The specialty wood place where I got the good 3/4" 13 ply birch for the structural bits, as far as I know, doesn;t offer a cutting service, and chopping a full panel into 3" strips would get expensive pretty quickly if they charge per cut. This seemed liek the best option - worst case, I could back my truck load of plywood into my driveway and cut it right off the back of the truck, but the good stuff only comes in 5x5 sheets and they aren’t quite as hard to handle, downside is while a 4x8 sheet fits my truck (over the wheel wells), the 5’ width does not, so I have to get them to deliver it. They won;t bring it into my basement, but they will put it in the garage, I just lift a sheet onto a furniture dolly and wheel it into the basement.
–Randy
Got two piece of subroadbed cut. Not attached yet, but I did slice up a sheet of plywood to make lots of brackets.
Upper level backdrop:

Subroadbed 1:

Subroadbed 2:

Getting there, slowly.
–Randy
Looking good, Randy. [Y]
Rich
Nice Randy, great to see your progress!
Mike.