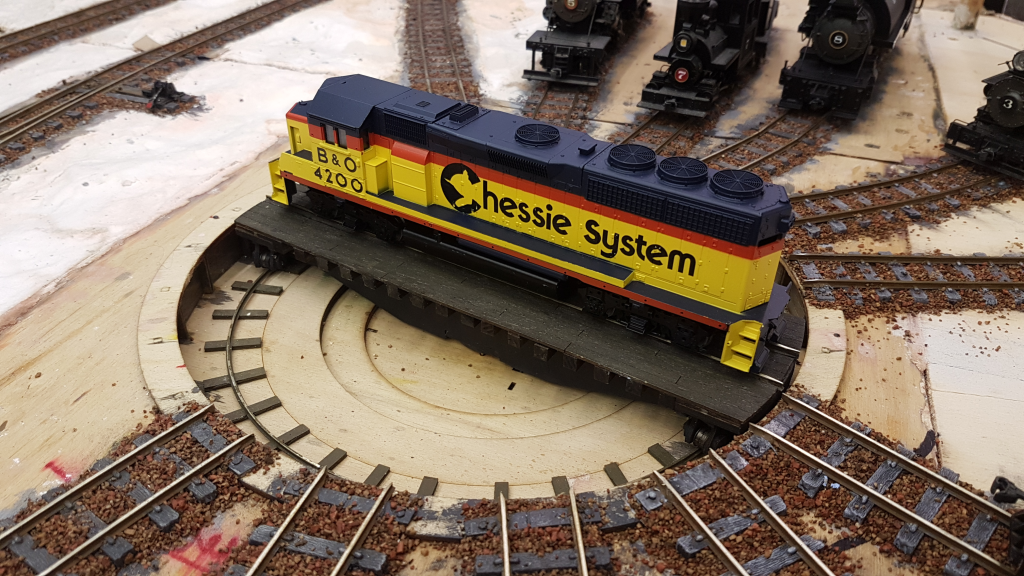
Following the completion of my 2-6-2 saddle tank, there’s only one empty spot left around my layout’s turntable. Given that it’s 1948 in my On30 slice of Oregon, I decided that this last locomotive would be a diesel. I didn’t want to do a small ‘critter’, as I’d tried one before. I hadn’t been able to get it to perform the way I wanted. As well as this, quite a few of the On30 diesels I’ve seen are critters, and I wanted to do something a bit different. With this in mind, I decided that BVLC No. 10 would be a narrow-gauge road switcher.
Since I started modeling in On30, I’ve attempted 6 conversions of HO scale models to On30, only 3 of which have worked out. All three of the working ones used older mechanisms, all of which had metal chassis’ and robust drive trains. As such, I decided this diesel project would use an Athearn Blue Box mechanism. Via Ebay, I was able to obtain a Blue Box GP40-2 in new condition.
After checking to see how it fit on the turntable, I tested the mechanism and stall current. It ran smoothly, and the stall current of 0.66A meant that I’d be able to reuse the TSU-750 decoder I had in the aforementioned critter. With this sorted, I started designing the new diesel.
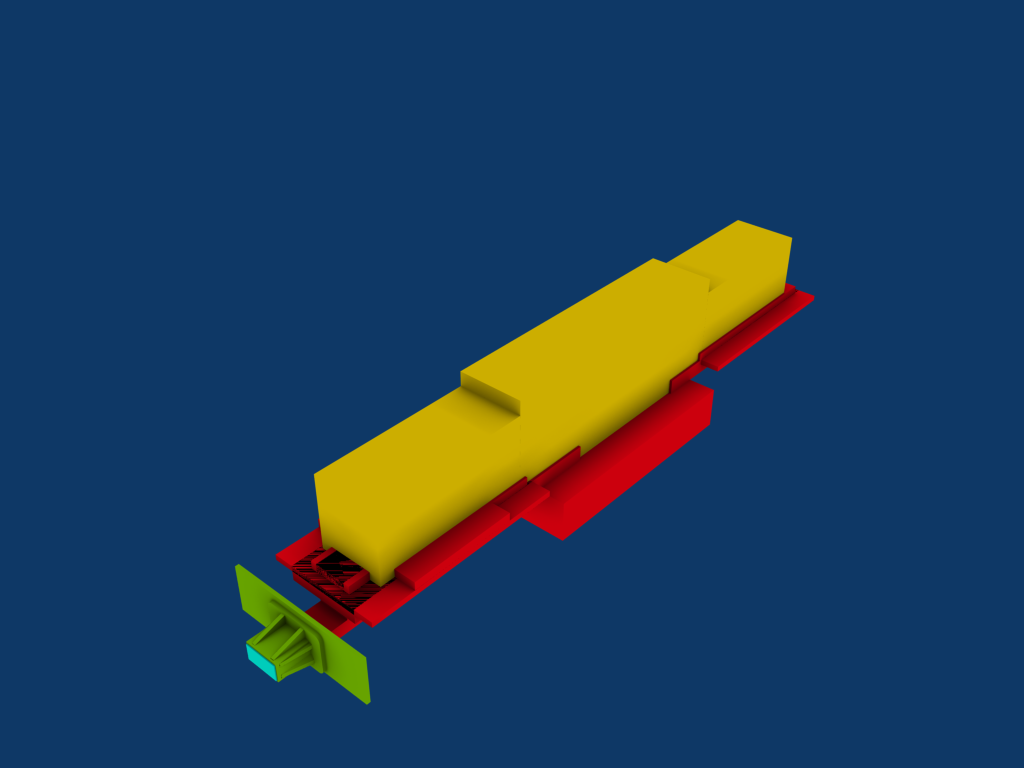
My plan was to 3D-print the body, then add details as needed. After an evening with the calipers and the GP40-2, I was able to put an outline of the mechanism in Blender. As usual, I colour-coded the components. Red is the metal chassis, and the yellow is the space taken up by the drive train. I also imported the pilot and c
I’m looking forward to seeing this project develop. The loco has nice lines, which you’ve nurtured despite the issues with the very long learning curve often found with 3D design and plastic engineering.
There has been a bit of progress on my On30 diesel, although not exactly what I was expecting.
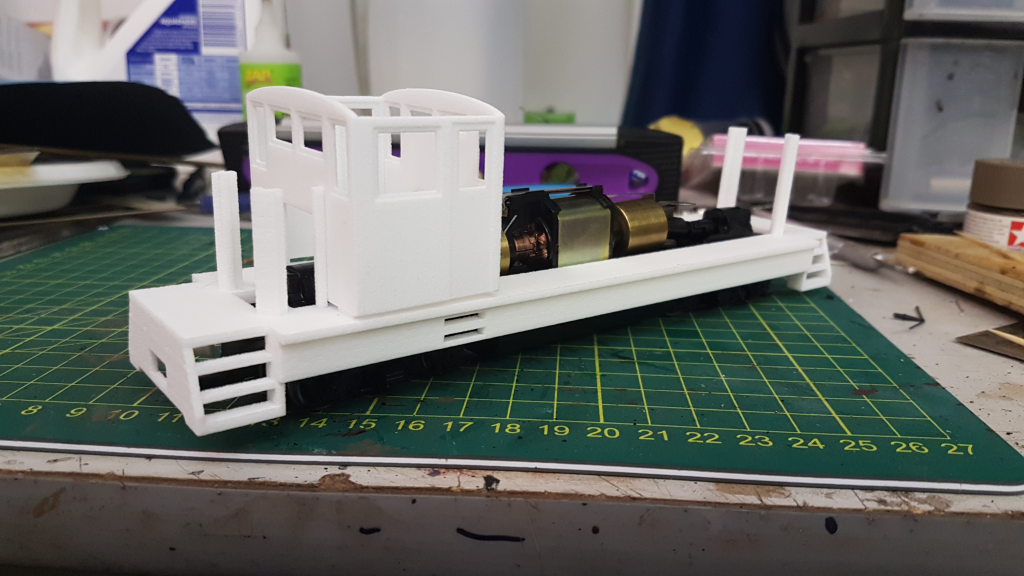
After receiving the first set of 3D printed parts, I test-fit them to the chassis. Unfortunately, it seemed that some of my measurements were a little off, and the walkway didn’t fit onto the chassis. However, the cab did fit onto the walkway as intended.
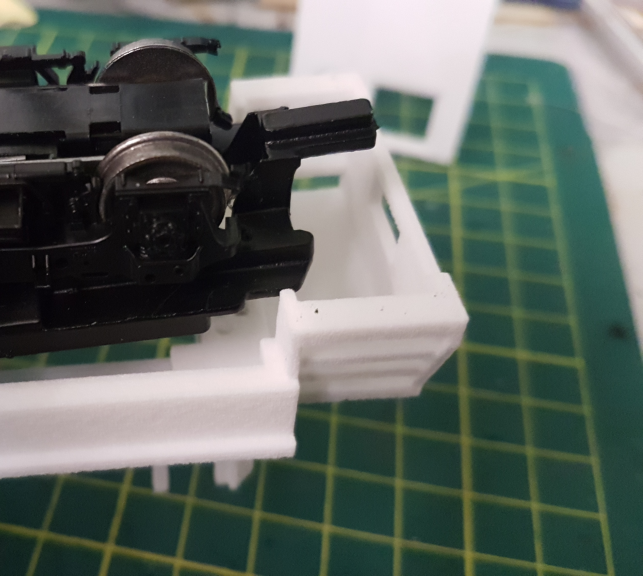
There’s a ‘bump’ on the chassis where the cab of the original model went. This was approximately 4mm too far back, so I moved that end of the walkway forwards to correct this.
There were also some issues with the detail parts. Although the 3mm LEDs did fit into the headlights, it was a very tight fit and left no room for the thickness of the paint. Given that the headlights do need to be painted to prevent the whole part from lighting up, this wouldn’t exactly work. As such, I enlarged the holes for the LEDs, adding 0.1mm onto the diameter. The bolt detailing was also enlarged, as it wasn’t distinct enough on the original. I also thickened the side doors, as they were originally too thin and had warped as a result.
With these corrections done, I uploaded the parts to Shapeways and ordered them. But even as I did this, there was something bugging me about the model. My original intention had been to do a ‘narrow gauge RS-1’, as an homage to one of my favourite diesel designs. However, due to circumstances outlined in my previous post, the design had evolved into an angular, low-nosed road switcher. Given t
It’s been a while since my last update on this project. But in the month or so since I received the parts, I’ve finished off the locomotive.
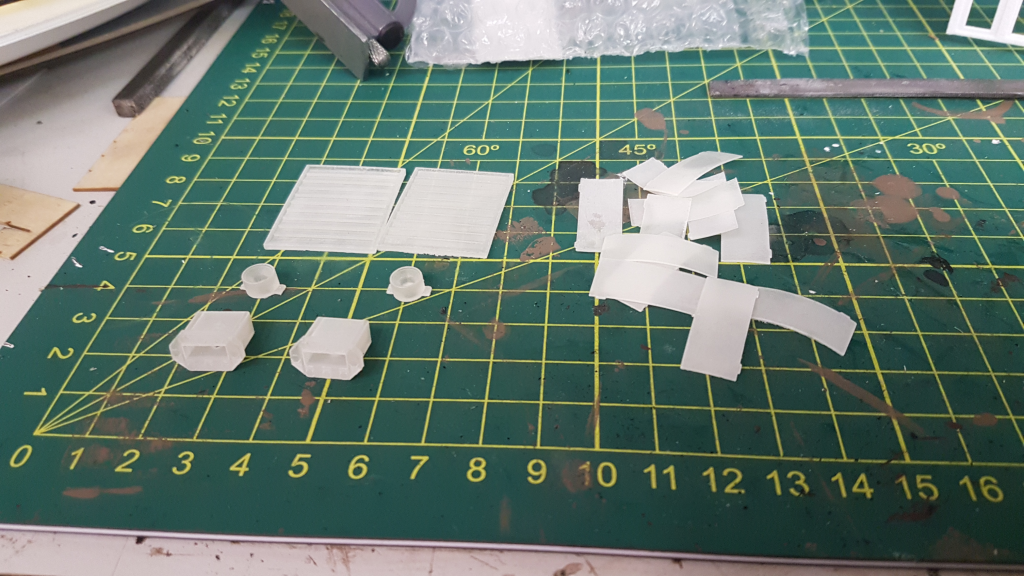
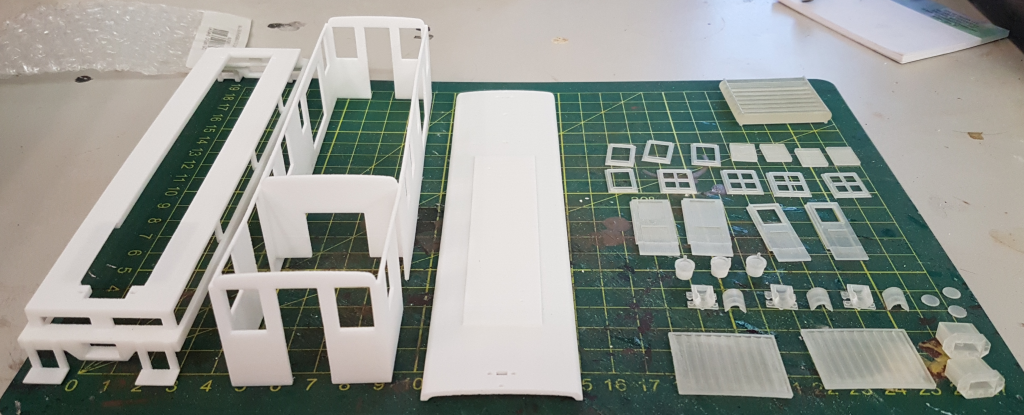
From left to right are the frame, body and roof, which were printed in White, Strong and Flexible Plastic. It was the first time I’d worked with this material. Although it is in the name, I was surprised by just how flexible it was. The thin beam across the top of the side doors was able to almost bend back on itself. To the right of the main body components we have the detail parts. For some reason, they printed three of the exhaust stacks and headlights, even though the model file had only contained two. The large vents and coupler boxes were originally printed for the ‘road switcher’ version of the model, and are being reused here.
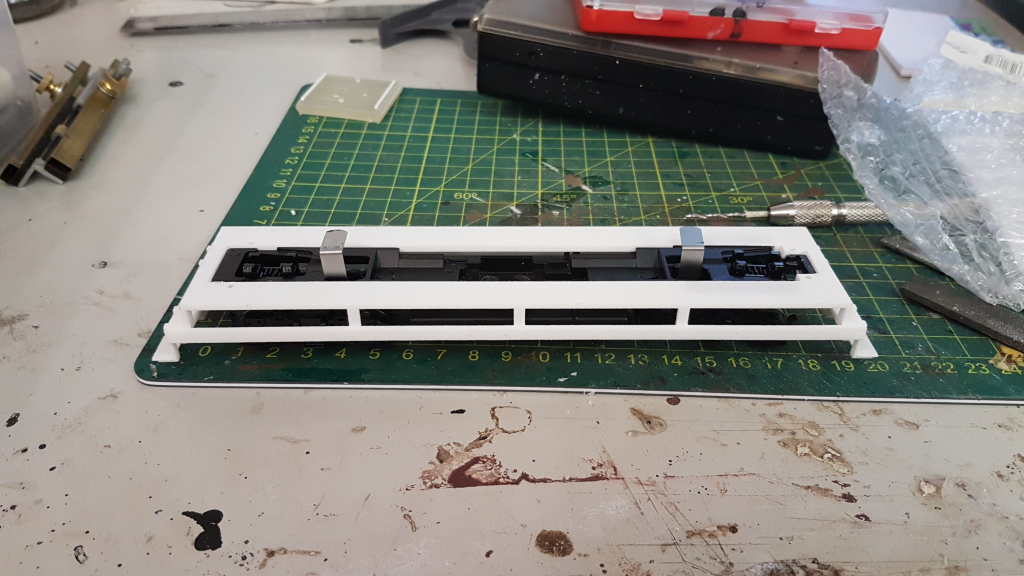
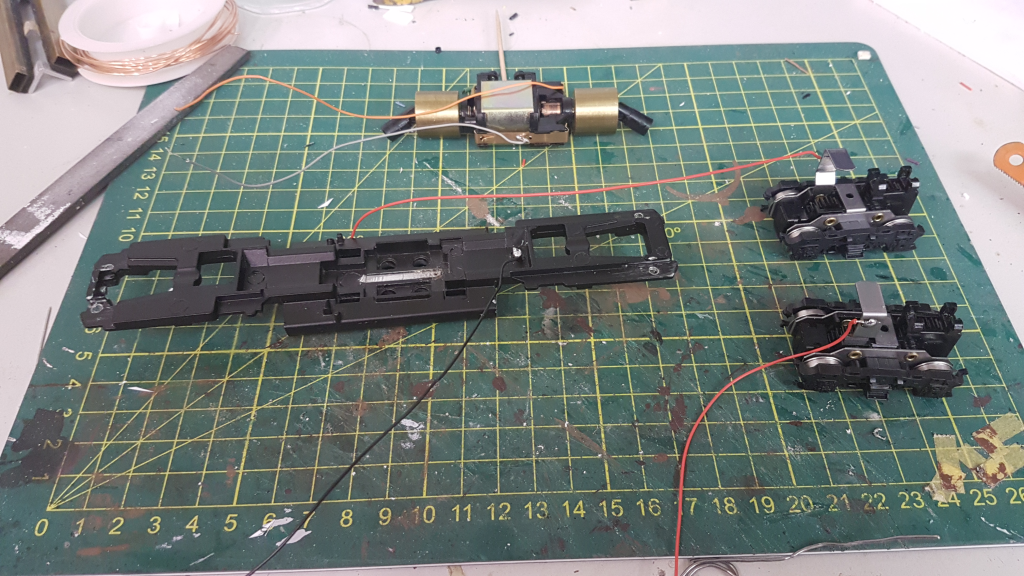
I started by preparing the mechanism. After removing the motor and original headlight mount, I test fit the frame. Some minor filing was necessary to get it to fit properly.
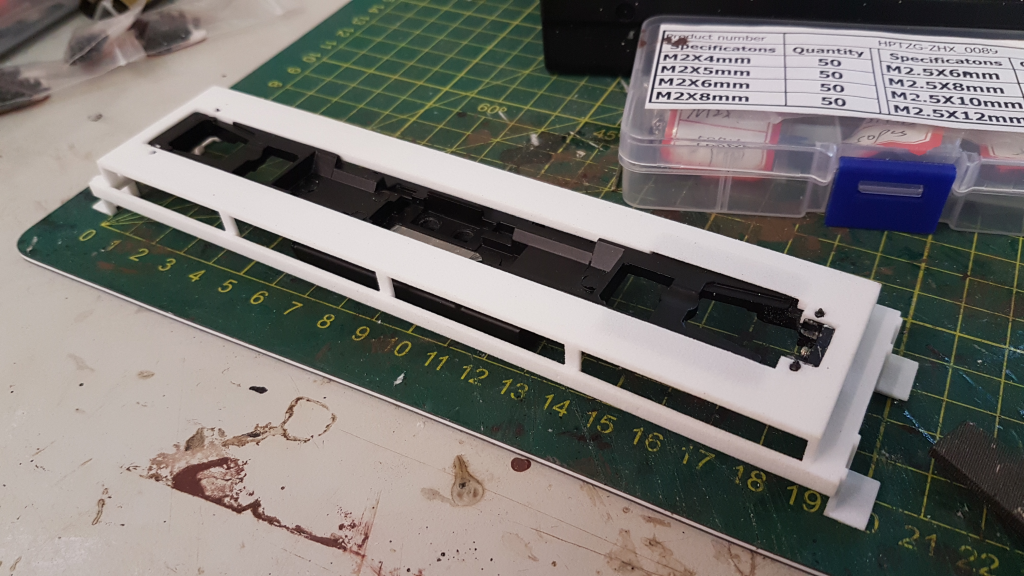
With this done, I used the frame as a template to mark out the four holes for the screws. I used M2x5mm screws, two of which can be seen poking up through the holes in the bottom-right of the photo.
Some changes in your plans, but a very respectable result nonetheless.
Had a couple of thoughts that came to mind since I originally read the thread. Be cautious with the TSU-750 and Athearn motors. Athearn’s older motor had a rep as having higher amp draws. Yours may be a good one in that respect, but its draw doesn’t leave a lot of headroom vs the .75 amp rating of the Tsunami.
The TSU-750 can be a bit of a delicate flower. I’ve toasted – or shall I say my operators have toasted – two of them in Blackstone C-19s. Don’t let them sit and spin would be my first advice. The second would be to keep a close eye on decoder and motor temps as you test run them in the regular service you exect to use them in. If they prove reasonably workable in the Athearn chassis, stll watch out for wheelspin. As a protective measure, I dialed my DCC output to the track back to 12.5 V from the more typical 14.5 v output. This didn’t save all of mine, but made them a lot less delicate.
On a happier note, I can recommend another great HO diesel chassis, the Kato NW2, for conversion to On30. I narrow them to HOn3, then bash into a sort of roadswitcher that really benefits from the heft built-into the Kato chassis. You can just run them gauged as is, of course, and still have a reliable short diesel chassis.
Thanks for the heads-up on the decoder. I mainly used the TSU-750 as it was what I had on hand, and I will keep an eye on it. My DCC track voltage is 12v, and I usually keep the engines turned off around the turntable when not in use. Given they all have sound, it could be a bit overwhelming otherwise [:)]
Incredible work and extremely well documented. Thank you for sharing the process with us. This is locomotive scratchbuilding in the 21st century, and I love it! I really think 3D printing is going to be the tool for a new era of scratchbuilt models of all kinds, including new and realistic figures.
Ah, good, that will go a long way toward alliveating the potential for problems. Both my failures were due to injudicious spinning of drivers. Should be OK if full slip draw is less than decoder rating, but not if the operator is obstinate about making the grade even when it’s obvious they’re not going to be able to do it. I assumed that Blackstone/Soundtraxx got as close as they could get on this model, gven it was an in-house project, but sustained abuse will exceed what it’s capable of.
Any heatsinking you can couple to the board will also help keep it cool.