I recently decided to add a mining train to my layout, in order to provide a bit more operational interest. At the moment, there’s no ‘through traffic’ on the layout. My trains originate at Camp A, then go to either Camps B or C (in staging) or Camp D (on the other side of the layout). As such, I’ve decided to expand the backstory of the BVLC slightly, as follows.
In 1946, the Pebble River Mining Company discovered copper ore further up the Bradford Valley, just beyond the location of Camp C of the Bradford Valley Lumber Company. They struck a claim, then made a deal with the BVLC. Namely, the BVLC would allow the PRMC to build tracks from the termination at Camp C to their mine, and allow trackage rights down to Camp A. In exchange, PRMC would have to pay the BVLC a share of the profits.
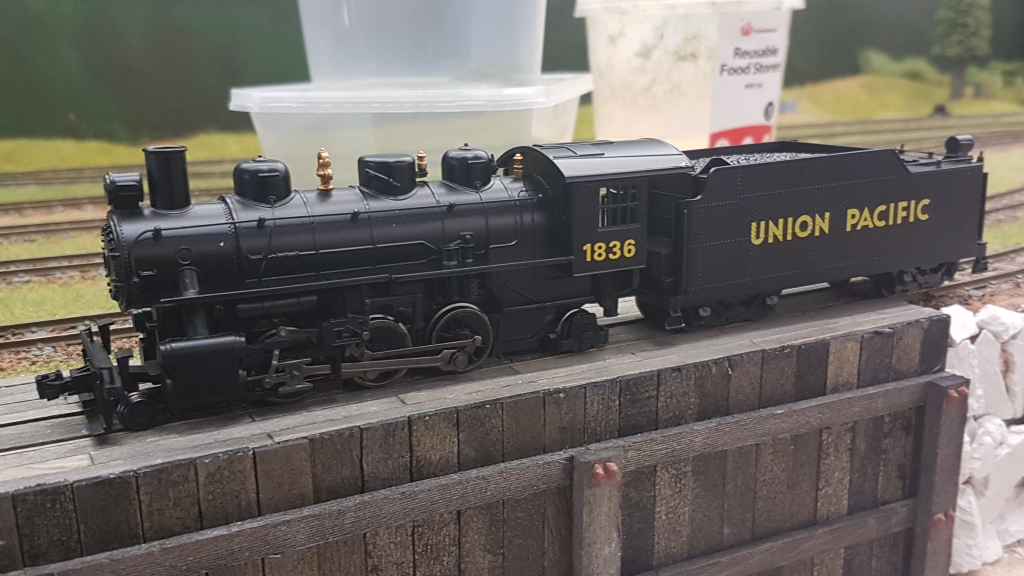
On the layout, this will be represented by a train owned by the PRMC, which comes out of staging, leaves some hoppers on the standard-gauge interchange track, then returns to staging. For this, I’ll need one locomotive, one caboose and some other rolling stock. I’ve ordered kits for three hoppers, a boxcar and a flatcar. As for the locomotive and caboose, I’ll be scratchbuilding those.
My starting point for both the locomotive and the caboose was a Bachmann HO scale 2-6-2 Prairie. I’d had one of these on my first layout, a ‘spaghetti bowl’ I’d built back in high school. It was one of the smoothest running engines I&#
In order to add a mine train to my layout, I needed both a locomotive and a caboose. In my previous post, I covered the construction of the locomotive, and in this post I’ll be covering the construction of the caboose.
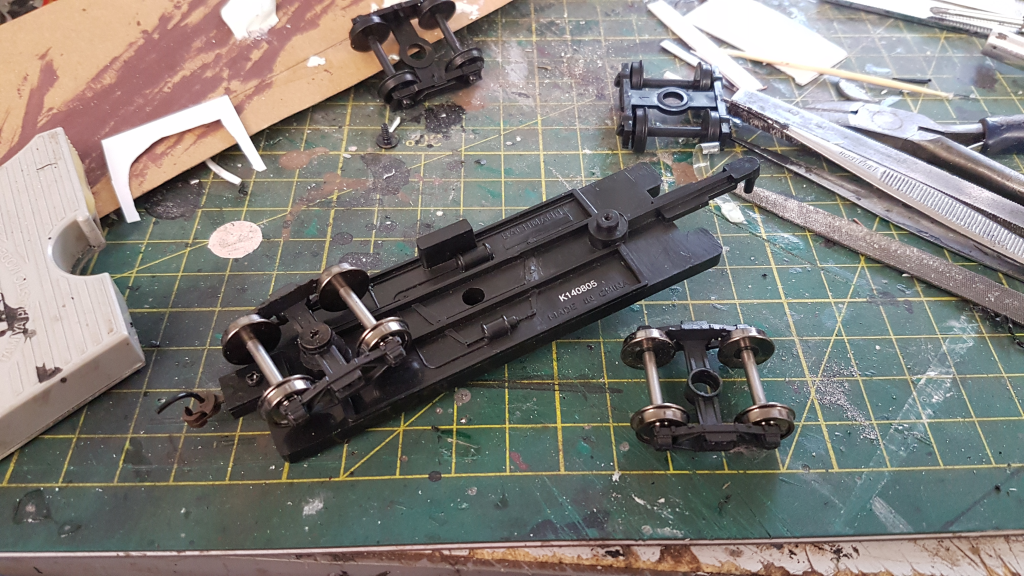
Just like with the locomotive, I started off with the chassis from a Bachmann HO scale 2-6-2. In this case, it was the tender chassis. It comes with plastic wheels, which I don’t use on my layout. Instead, I replaced the original trucks with a pair of Walthers HO scale archbar trucks, which were drilled out to fit the bolsters. I also removed the cast-on coupler pocket and drawbar.
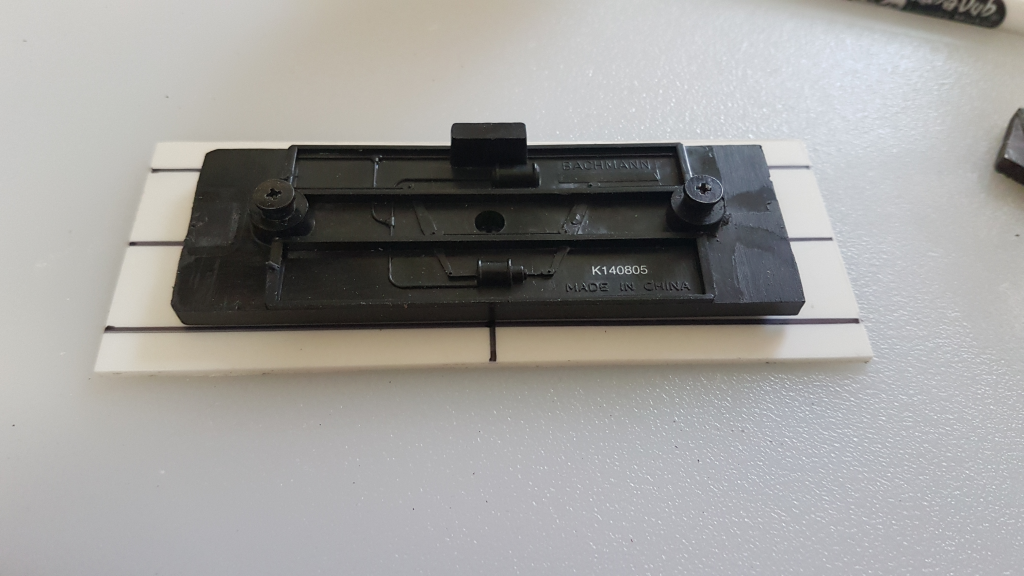
My next step was to cut some 1.5mm styrene to size, 7.5 scale feet wide and with enough overhang to accommodate a Kadee coupler box at each end. I then marked out the centreline, and the width of the chassis. Using these, I aligned the styrene in place on the chassis’ metal weight and glued it in place.
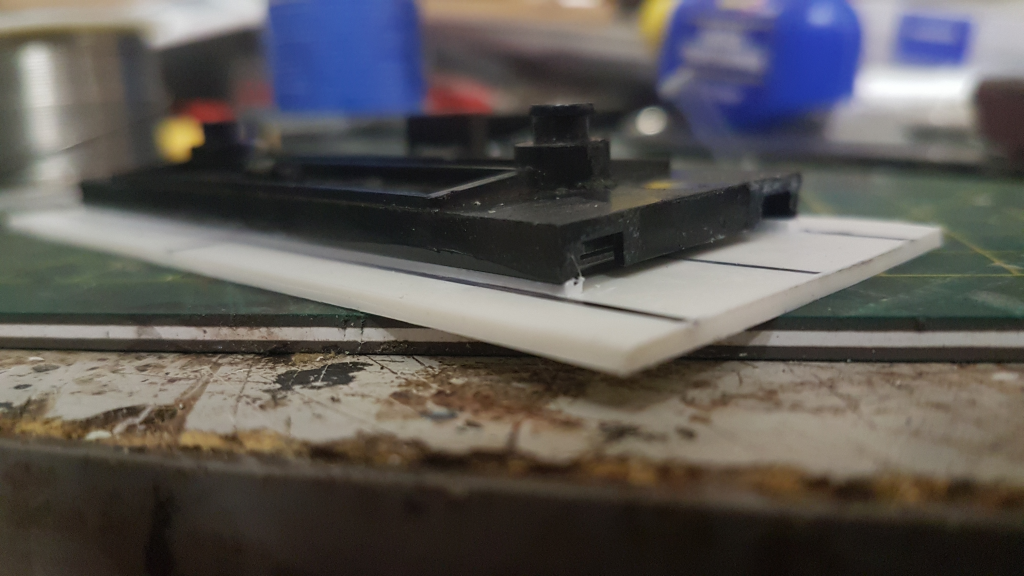
The metal weights are slightly loose on the chassis and as such, the styrene floor wasn’t level. In order to rectify this, I glued 1x1.5mm styrene strips along both sides, between the plastic part of the chassis and the styrene on top. With glue on both sides, these strips were enough to hold the floor level.
Nice work so far. I love this kind of stuff, but I decided against small narrow gauge in HO because of light-weight-equals -electrical-pick-up-problems, but you should have no problem packing the weight on that engine!
I’ve finally been able to complete this project. Unfortunately, there was a bit of a delay with regards to the decoder for the locomotive.
After finishing the caboose, I painted it in the colours I’d chosen for the Pebble River Mining Company. Unlike the BVLC, which uses maroon on their rolling stock, I decided that the PRMC would use a teal-ish blue colour. After weathering it, I gave it a little overspray with white primer, to simulate paint fade. Once that had dried, it oversprayed it with dark grey to give the effect of grime from the locomotive smoke. This is the same technique I used on my town buildings. With that done, the caboose was finished.
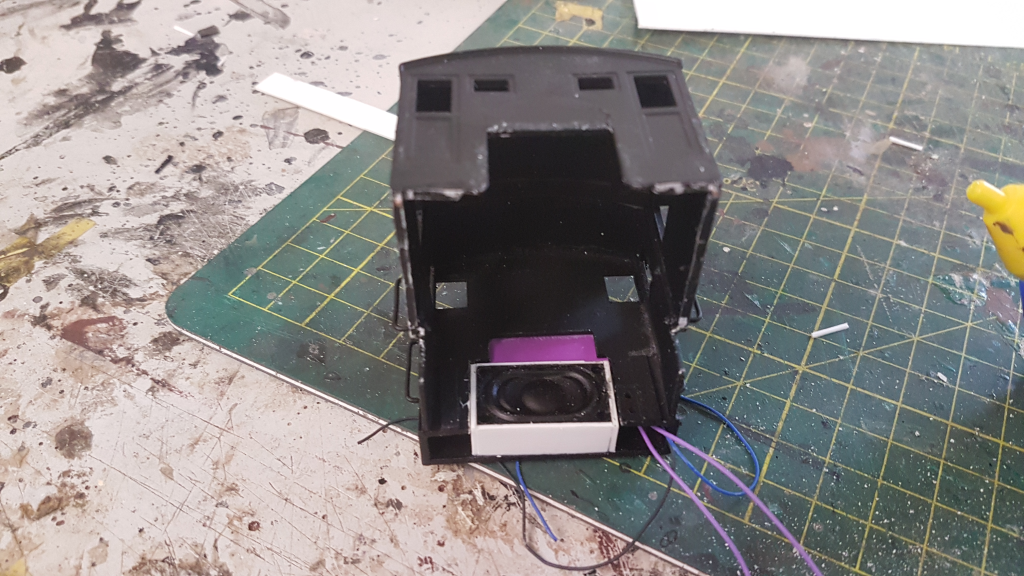
By this point, the speaker had arrived. I’d designed the fuel bunker so that it had space for a keepalive module above the speaker. After installing this, I cut four sides for the speaker baffle out of styrene and glued it to the rear of the fuel bunker. This formed the back of the baffle. Some slight filing was required to allow the cab to sit level after this.
Before installing the speaker, I tested it with the decoder I’d bought. Using test leads, I’d connected the decoder’s power pickups to the track, then the speaker outputs to the speaker. However, when the track was powered up, the overload protection (car tail light bulb) kept tripping. It would trip, then reset and trip again, over and over. As such, I raised a warranty claim with the manufacturer. They sent me a new decoder, which arrived on Thursday.
Gidday Sir, not only will I thank you for sharing with us another of your fine kit bashes but particularly, that you’re prepared to document your frustrations and mistakes.[bow]
Cheers, the Bear.[:)]
This project really shined. I have to echo Bear and Track Fiddler’s comments that this is an inspiration. The detailed explnantions and step by step pics should give confidence to anyone who is intimidated by the thought of building their own. Once broken down as it is here, it’s easier to realize if you can do all these little things, you can also build a loco.