This question probably has been asked a few times but I am having a hard time finding some answers.
I am having fun scratch building a lot of my own track stuff and now I need abutments for my bridges.
I am just looking for different plans and how to information on making your own bridge abutments. For the different eras without having to spend another $30 for a book. When I can use $30 to but train stuff.?
I have done the Google searches but there is really only a couple of ideas there but not quite what I was looking for.
Does MRM have any back issues that might have that kind of how to?
A bridge abutment is going to be influenced by many factors, such as:
Geographic location –
Date of construction –
Required size (height, width, thickness) –
Amount of weight to be supported –
Geological makeup –
Available finances –
Climate –
Common practices of the particular railroad’s engineering department –
For example, here in the desert southwest some abutments at dry washes are wood, because wood lasts a long time in the dry climate, but would require replacement within just a few years if it were humid. Poured concrete was used in many other places because stone abutments were expensive to construct, experienced stone masons were not available, or concrete was the cheapest and quickest method.
Prototype photos are your friend. If you have access to photos of bridge locations that are inspiring your models, see what the prototype does and model accordingly - if they use concrete or wood, scratchbuilding from a photo is usually straightforward if you have the basic skills. You can scale a photo print for the essential measurements, draw a rough plan, and build away.
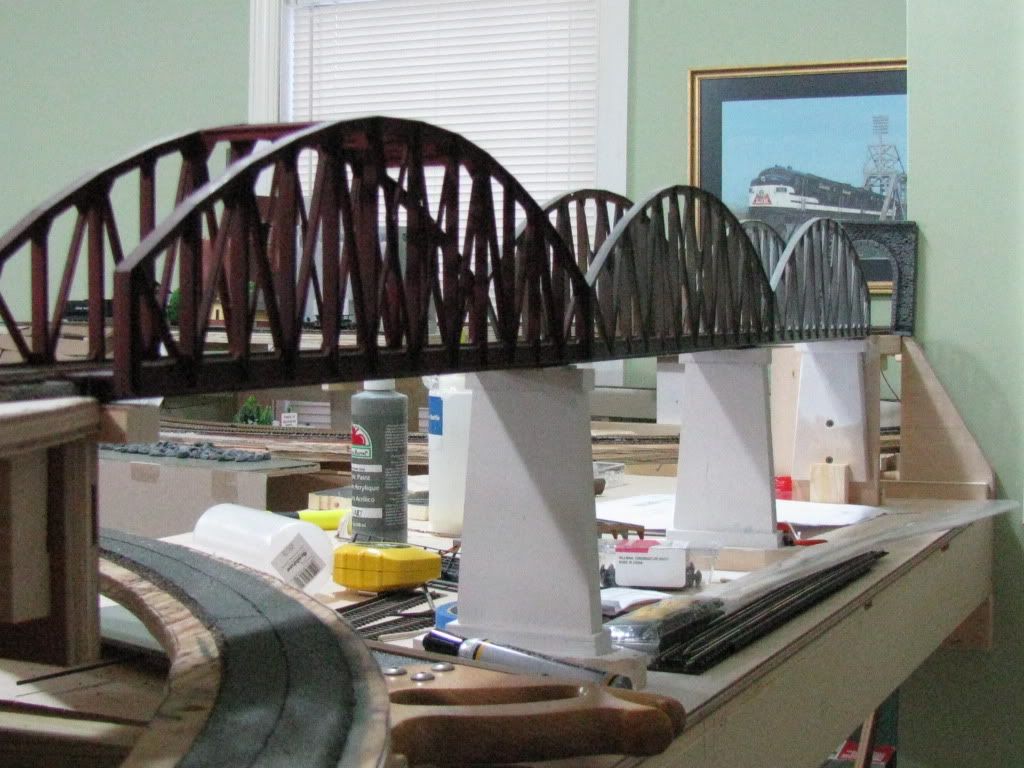
The abutments and piers in the above unfinished bridge scene were scratchbuilt from styrene sheet following photos of WP trestles in California. I scaled mine to match the Micro Engineering and Central Valley parts used in building the bridge.
You can also cast abutments out of plaster. You can use the castings as is for poured concrete or do some carving for stone effects. There have been a few past threads on abutment construction. Try the search function and see what turns up.
The LION is building this abutment on his computer.I use Serif PagePlus X6 as my desktop publishing program, and also use it for many other projects such as this, We use this program for any professional printing job, so it was not an extra expense to use it for the railroad. I print the project on a color laser printer, but another printer will work. The laser is water proof, the ink jet is not.
This is what it is supposed to look like when it is finished.
Prototype photos are your friends - as far as appearance is concerned. There are about as many ways to scratchbuild abutments and piers as there are people doing it.
Prototype - just west of Ash Fork, AZ, on the now abandoned SF transcon ROW, there is a pair of abutments that tell the history of a short bridge across a natural drainage channel. The original deck bridge was placed on abutments of locally procured sandstone - big blocks mortared together. Later the line was double-tracked and the abutments were widened with poured-in-place concrete. the parallel freeway (I 40) gets away with a corrugated steel culvert. Of course the freeway was built after the rails were re-routed to the north…
Model - one way to create masonry, well thought of by John Allen, is to carve the mortar lines in linoleum. I’ve done this in the past, but haven’t checked lately for availability of materials.
What I used that was cheap was the Woodland Scenic plaster casting walls. While they may not be what you are looking for they are cheap.
Sorry, I have no good pictures of them. They are easy to cut with a hacksaw so fitting them is easy. When I had them close, I sanded them with some 120 girt paper.
I have been waiting for a solution to my bridge abutments as well. I have 3/4" wood supports right now and not sure how to finish them. I tried some stryene stome sheet but it curled up and come loose after 6 months. I wanted a cut stone but now may go with concrete.
Bragdon Enterprises has a cut stone wall mold. Sterling Models used to have one, part of the line they picked up from Dave Frary. I’ve got that one, but I don’t see it in Sterling’s catalog anymore. They may have a couple left in their inventory.
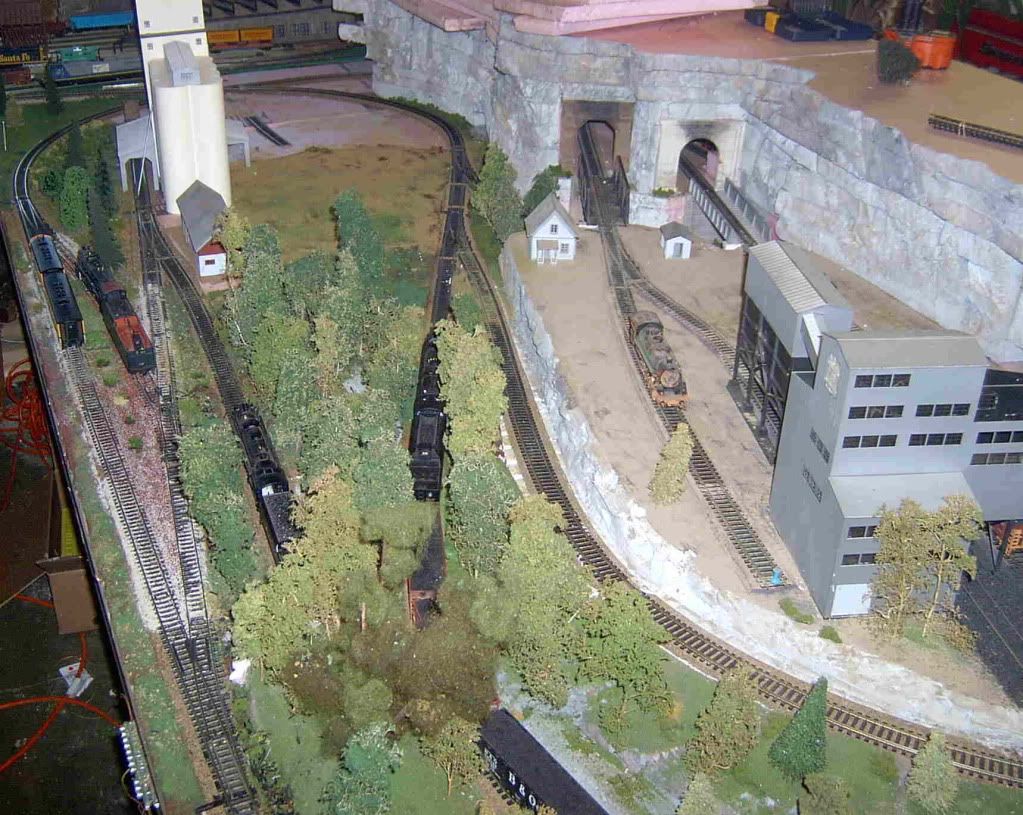
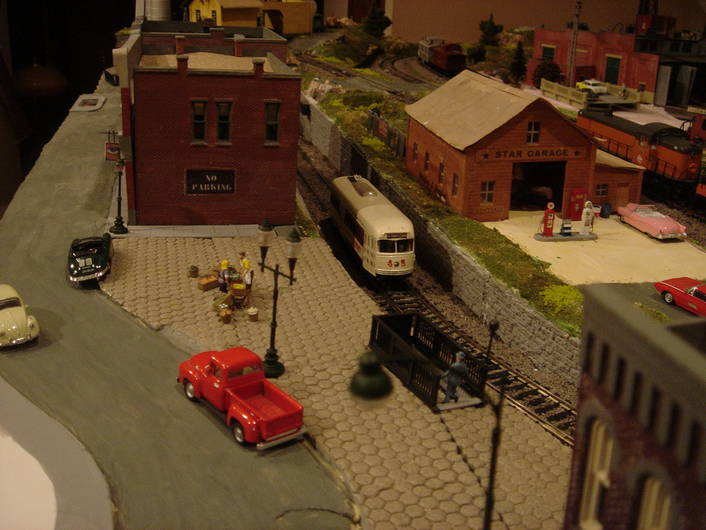
I think these hydrocal molds are a good investment. Once you’ve got the mold, castings can be made for a few cents. I used mine to make all the stone retaining walls leading into the subway tunnel that can be seen to the right of the trolley here:
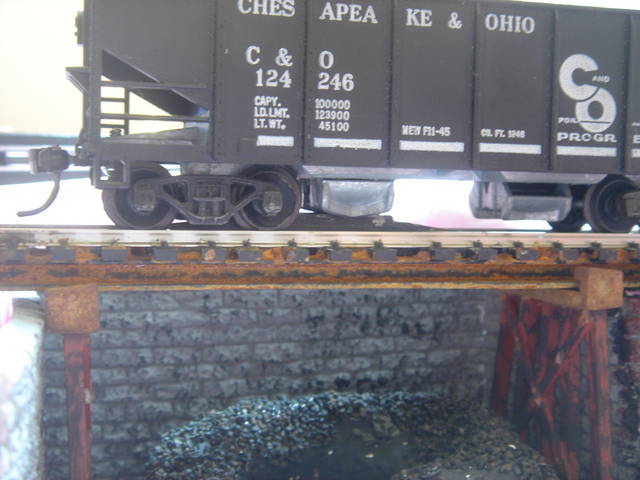
The same mold forms the walls for this coal trestle:
I usually spray these either with gray primer or Rustoleum textured tan, depending on the look I want. Then I weather them with India Ink to bring out the details in the castings.
For Hydrocal primed with gray primer, I found mixing it with water is fine. Most of the time, though, I keep an old pill bottle with isopropyl alcohol mixed with a few drops of India Ink on hand just for this kind of thing. A little India Ink goes a long way. The mixture dries faster with alcohol, so you can see the results quickly and add more if needed.