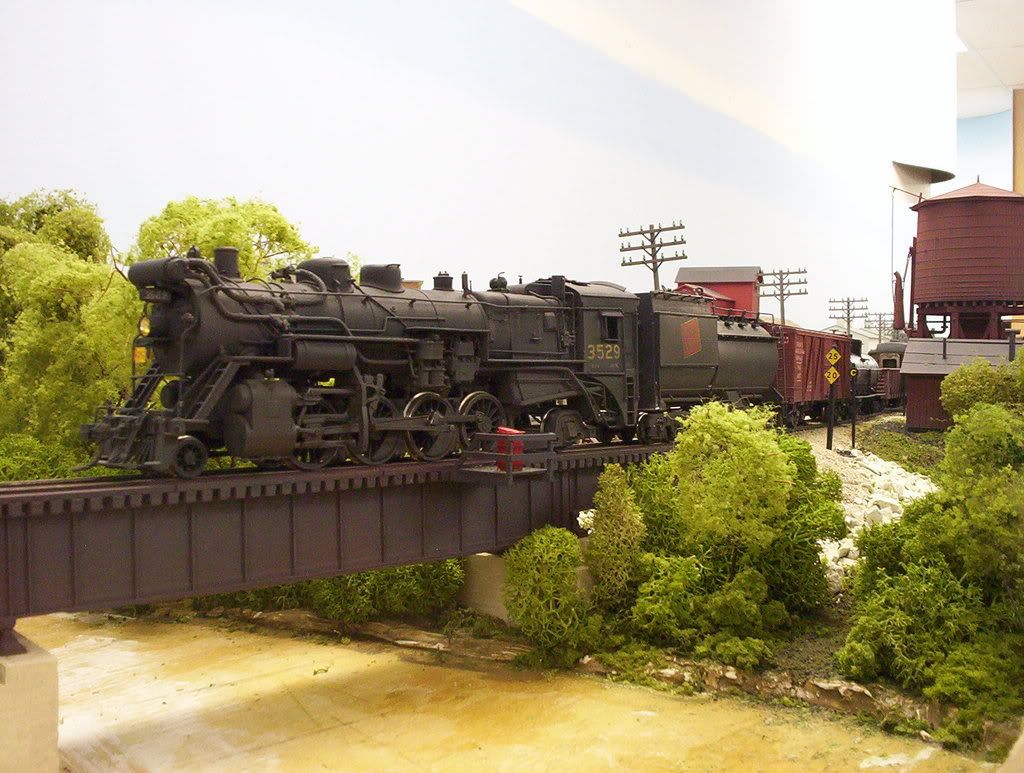
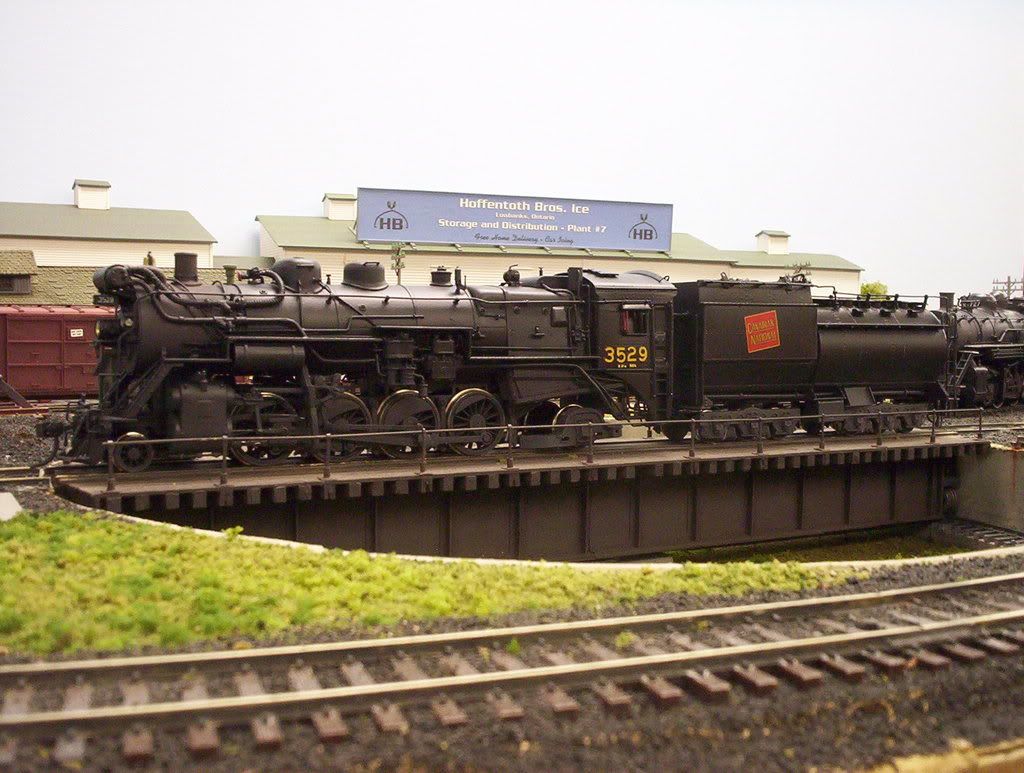
I have several steam engines which would look much better in Grimy Black than in their original “perfect” black paint jobs. I don’t have an airbrush, so I picked up a can of Testors Grimy Black spray yesterday.
I plan to disassemble the shells from the engines for this, but what suggestions do people have for doing the wheels and valve gear? Do you mask the wheel rims with tape? Vaseline maybe? Do you use a cardboard mask? Or do you just let it fly, and clean the wheels later?
Get a bottle of Neolube from Micromark. Neolube is collodial graphite in isopropanol, meaning is is very, very fine graphite powder suspended in rubbing alcohol. Paint this on wheels and valve gear to cover the shiney plated parts. In addition, its both a dry film lube and conductive.
I agree with you on steam locomotive color. Especially under layout lighting, which is far from daylight in both color and intensity. I use dark gray auto primer in a rattle can from the auto parts store or Walmart. I figure the big boys like Rustoleum have the best possible stick-to-metal chemistry, and may well be better than a pure model paint company like Testors.
I take the boiler/cab casting/assembly off the mechanism and spray them separately. As far as the mechanism, that’s a bit harder. Usually the wheels don’t need paint, they come in a decent finish all ready. Doing the frame is trickier, 'cause it’s usually oily and you can’t spray it without getting paint in the bearings. Sometimes I have taken the drivers/rods/valve gear off, cleaned the frame really well, masked off the bearings, and sprayed it. Sometimes I decided it was so dark under the boiler that the frame could stay unpainted.
Best advice would be to save your money and buy an airbrush. I know,I know, people have been chirping about spray painting rolling stock with rattle cans and rivaling Rembrandt. Rattle cans are great for scenery and backdrops but not so great for locos. An airbrush is a tool that can last your modeling lifetime. Once you have one you’ll wonder how your did without it.
Since I’m guessing you’re going to go with the rattlecan anyway, be very careful as regular Floquil and plastic are not the best of bedfellows. It’s OK if done in very light coats, but hard to control with a spray can. You will either craze the surface if you get too heavy, or end up with a very rough finish if too light. Good Luck.
An airbrush would be recommended. It ain’t difficult to learn and the results vs. a spray can are many times better. An airbrush is a miniture spray gun. And to put things into scale perspective…to use a spray can to paint a delicate locomotive would be tantmount in real time by painting a motorcylce using a huge paint filled 18 wheel tanker with a fire hose hooked to it and the nozzle set for spray.
Years back when I painted a locomotive, I’d disassemble the entire thing as these were made in Japan and of old world quality. Today’s Korean or Chinese imports are not as easy to reassemble. So you are close…and again it is a matter of personal techique. What I do is to remove boiler with cab, front and rear trucks and tender trucks…paint them separately. Then paint the boiler/cab assembly and tender shell. I would then paint the entire frame assembly with the drivers spinning. Not only is this easy, but the result is amazingly realistic. If you want drivers free of paint, just use a Q- tip with thinner. Tires are painted with a small paint brush supported with a brace (or steady hand) and then with the wheels again spinning. These rims/tires can also be cleaned this way…restoring the stainless steel look.
Unless you have some particular reason for dis-assembling the loco (perhaps washing it to remove grease and oil from the superstructure), I’d paint the whole thing in one shot - in fact, remove the superstructure, toss it in the sink with some warm water and dish detergent, then, after a good rinse and allowing it to air dry, re-install it on the chassis. I wouldn’t worry too much about cleaning the running gear, etc., as the oil present there will keep the paint from gumming-up the works. To get even coverage on the running gear, especially the drivers, the loco should be running at medium speed whilst painting those areas. When the paint is dry enough to allow handling of the loco, use lacquer thinner and a brush, along with a clean rag, to clean all of the wheel treads.
I painted this loco some years ago for a friend, dis-assembling it fairly completely, as it was unpainted brass:
Several years later, he decided that he preferred it to be in a less-weathered state. Had he wanted it done in a single colour, I would have airbrushed it as outlined above. However, this time I simply removed the superstructure from the running gear, airbrushing the sub-assemblies separately using various colours. The chassis was not dis-assembled.
Unless a loco is particularly dirty, most are varying shades of black, with other colours visible where appropriate. The finish, too, will vary, from a high gloss to a totally matte appearance.
I use liquid mask to mask the wheels. I then use two alligator clips to get power to the loco , as I usually let the wheels rotate while spraying the driveline.
The best spraycan paints out there now are the Tamiya paints. They come out much finer than Testor’s or other brand of paints. I’d try finding one in a suitable dark gray if you go that route.
Otherwise, real engines started out black and turned to a grayish-black due to weathering. You could just weather the engine, using chalks, powders etc. rather than repainting the engine.
I used Testors years back before switching over to an airbrush. This might help a little:
Before spraying, put the can in a cup or pan of hot water for several minutes (hot where you can still put your finger in it, not boiling volcanic!). Seems to help the paint flow more smoothly with less orange peel.
Test your spray pattern on a scrap piece of plastic to make certain that you will be at the appropriate distance to avoid roughness or runs. Spray your model in thin coats.
Some of the guys above are suggesting you take the airbrush route. I do agree, however, we don’t know what your circumstances are (financial, work area, etc). But if you do have the space and finance, investing in a compressor and airbrush will pay off nicely if you plan on doing more paint and weathering projects.
I’ve done this before. I would take the boiler assembly off the frame first. Also use 2 or 3 very thin coats, and not just one heavy coat, I would leave the frame alone and brush paint the cylinders and pilot area. also would brush paint the firebox andboiler front with a dark graphite color. Remember when brushpainting to make sure that the paint will “flow” and not be too thick. Otherwise you will end up with brushstrokes on the model.The Neolube is a great idea for the wheels and rods…Mike