I really like the look and operation of American Limited diaphragms, but they are a major pain to assemble. Any suggestions?
Hi!
I’ve put together literally dozens of them, and yes it is a time consuming process. But, I found that by doing them “mass production” - several at a time - it is more tolerable. Oh, I like to put down a piece of tinfoil on the work bench when I’m doing them as they tend not to stick as much (glue & paint) to the table.
The good news is that they last “forever”, and work/look pretty good - and this isn’t something you put together all that often .
I have made a few and they are fiddley things to assemble. The spring parts are fragile. Just take your time and work carefully.
Once they are installed they are OK, just watch for the striker plate part falling out when you are uncoupling.
They have been out of stock at Walthers for a while.
I found them at M.B. Klein in 6 packs; enough to do 3 B units.
I use American Limited diaphragms on my passenger cars. Not sure what advice to offer about assembly - it is what it is - model building. When applying them to Athearn or ConCor cars, I first remove the cast on “diaphragm” or door frame looking thing that would not be there on the prototype and install the working diaphragm in the correct position against the end of the car. This gives nearly scale car spacing with correctly positioned couplers to make the diaphragms touch.
I have had no operational problems worth commenting on - I think it is a great product.
Way better than anything that came before it in the way of passenger car diaphragms, and way better than what comes on these new high priced RTR cars.
Working, touching diaphragms are a “requiremnt” on my layout - American Limited fills the bill perfectly.
I use long shank Kadee couplers set back to make the diaphragms just touch and compress only slightly. They stay touching around all curves and through turnouts and crossovers. I do have 36" radius curves, but have tested my installation down as low as 28" radius and through Atlas #4 crossovers.
Sheldon
Marlon, the diaphrams come in black and gray. The first ones I did for Stewart Fs had to be airbrushed black. I did this before assy. This caused me to assemble w/ CA instead of styrene cement. I like the idea of building on the foil, great hint. I mount all my diaphrams w/ a dab of Walther’s Goo. This will not marr the factory paint and makes them removable in the future if ever needed. I found that backing up tru yard sw that the contact faces (correct term gone out of my head, senior moment?) would occasionally snag (probably due to close 3’ spacing) Burnishing “Greaseum” (graphite) to these solved the problem.
Your min radius will determine if you can actually allow the diaphrams to touch. I run mainly on club layout w/ min of 40" Coupler box position and shank length will need to be considered if you will run on smaller raidii less than 28-30"
You may want to mount them a tad higher than normal, but not to appear odd. This allows enough clearance for manually uncoupling and not jambing the knuckle and popping off the “face plate” . My Walther’s heavyweights are a bear to uncouple for this reason.
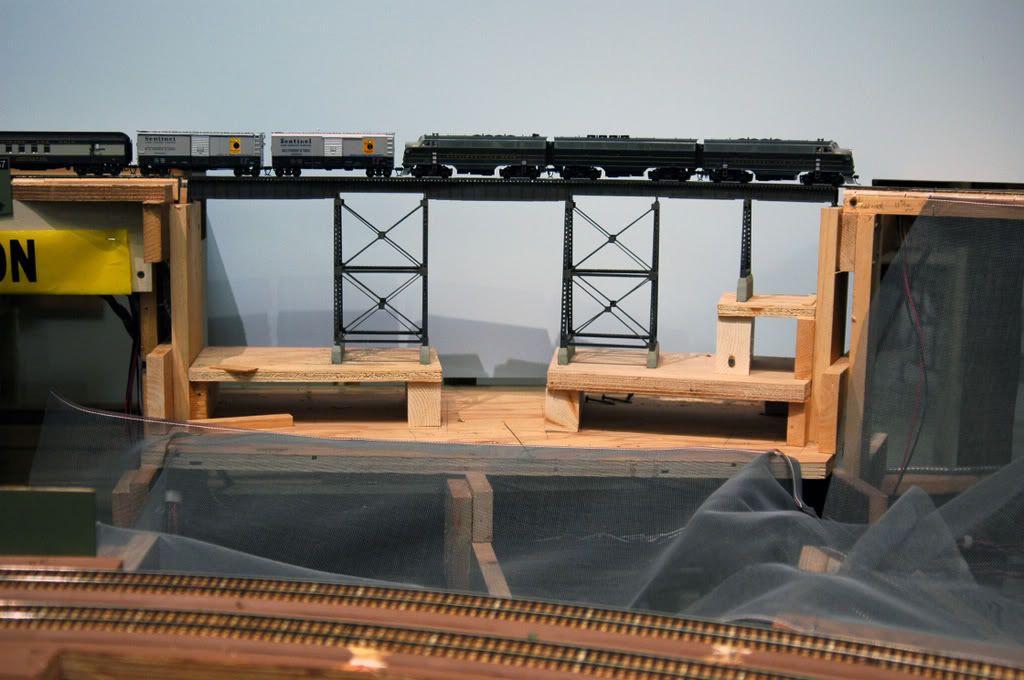
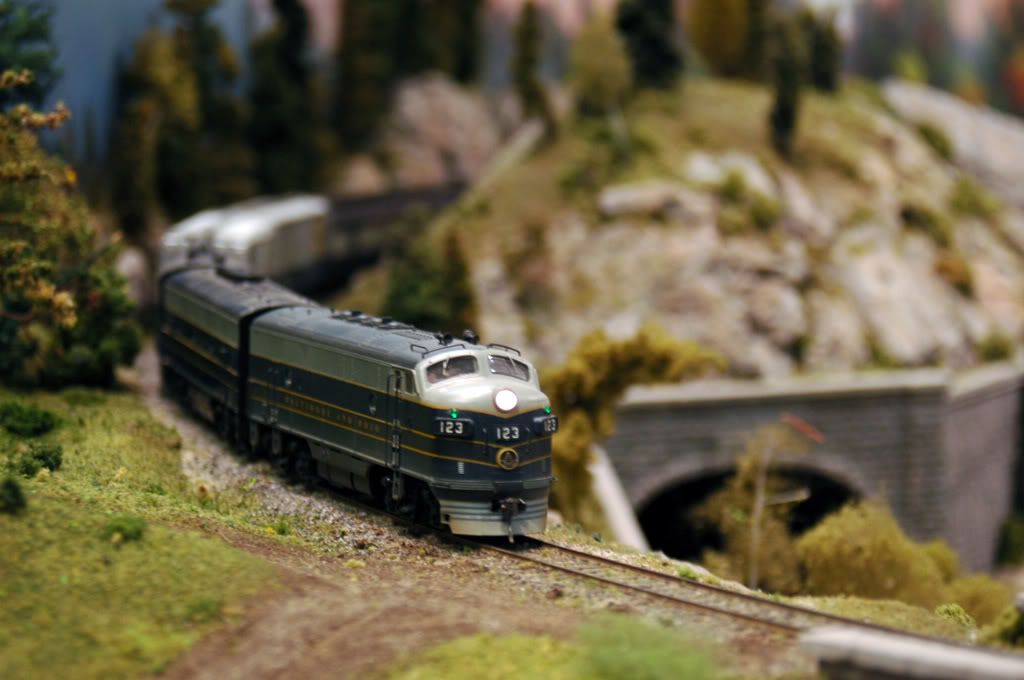
Gotta love these things, B&O F3s Ph2/3
The first couple seemed to require a bit of fiddling since the instructions were quite abridged, but after that they assembled easily. Ye olde learning curve, I suppose.
Bog, I think the term you were looking for is “striker plate”; at least that’s what the instructions call them.