Here I’ll attempt to show how easy it is to make a 3D back drop for any layout.
We all like a finished look to our lay outs and what better way than to add a
3D back drop.
This is a simple 3 layer back drop constructed of sheet rock, Styrofoam and plaster.
I started with the first layer of sheet rock; this layer has the nature illustrations added, textures, colors and plants.
The second layer is where I affix the buildings and rock faces too and add another layer of hills.
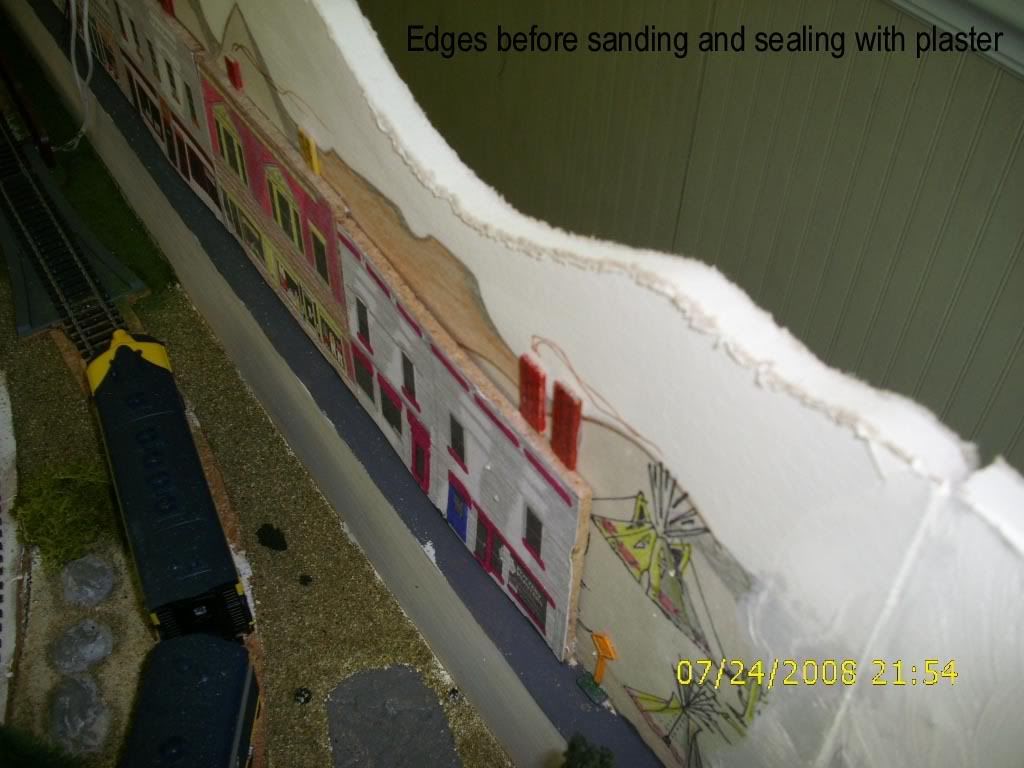
The last layer on the short side of the layout I added the Styrofoam hills covered in plaster, other layers include, cork board behind building illustrations and small details.
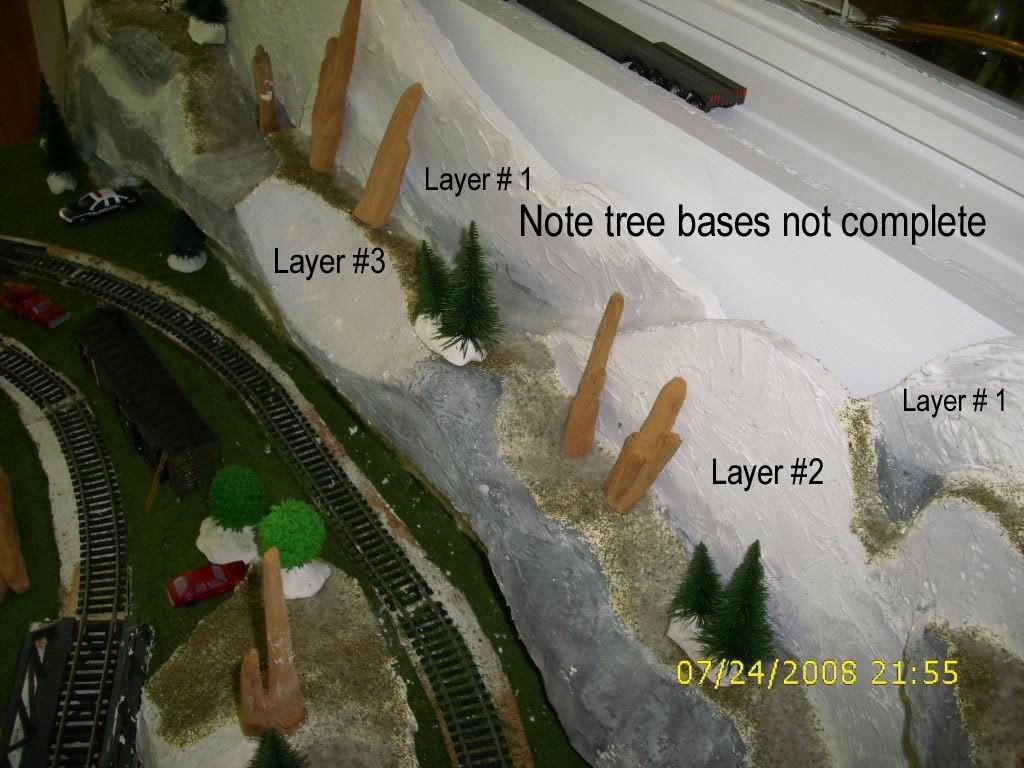
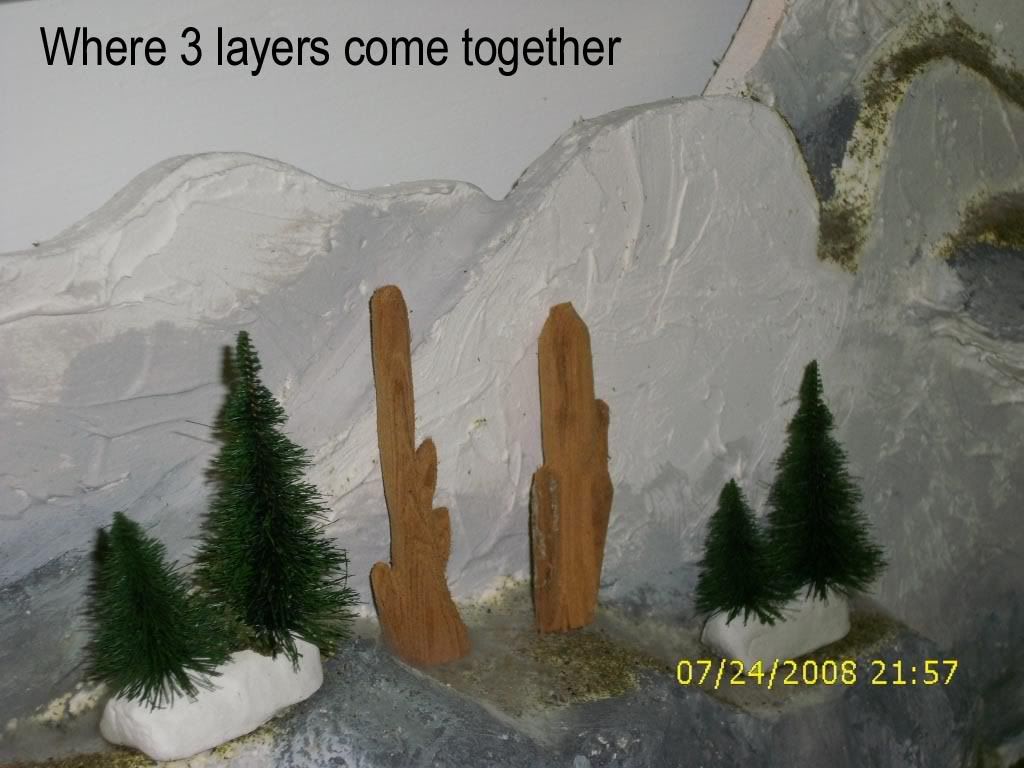
Here we can see the layers numbered,
The first two layers are sheet rock and the third is plaster over Styrofoam rock out cropping, (I still need to paint my hand carved cactus)
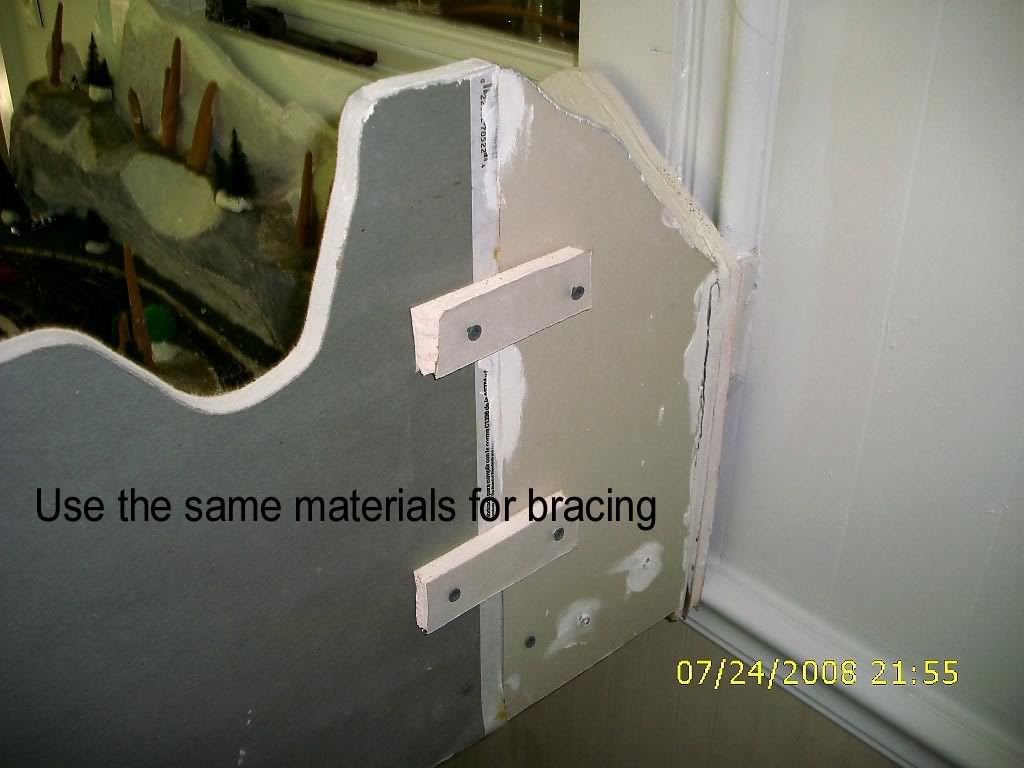
Here is an easy way to add onto back drop of bracing at the corners and can even be used to repair broken peaks and so on,
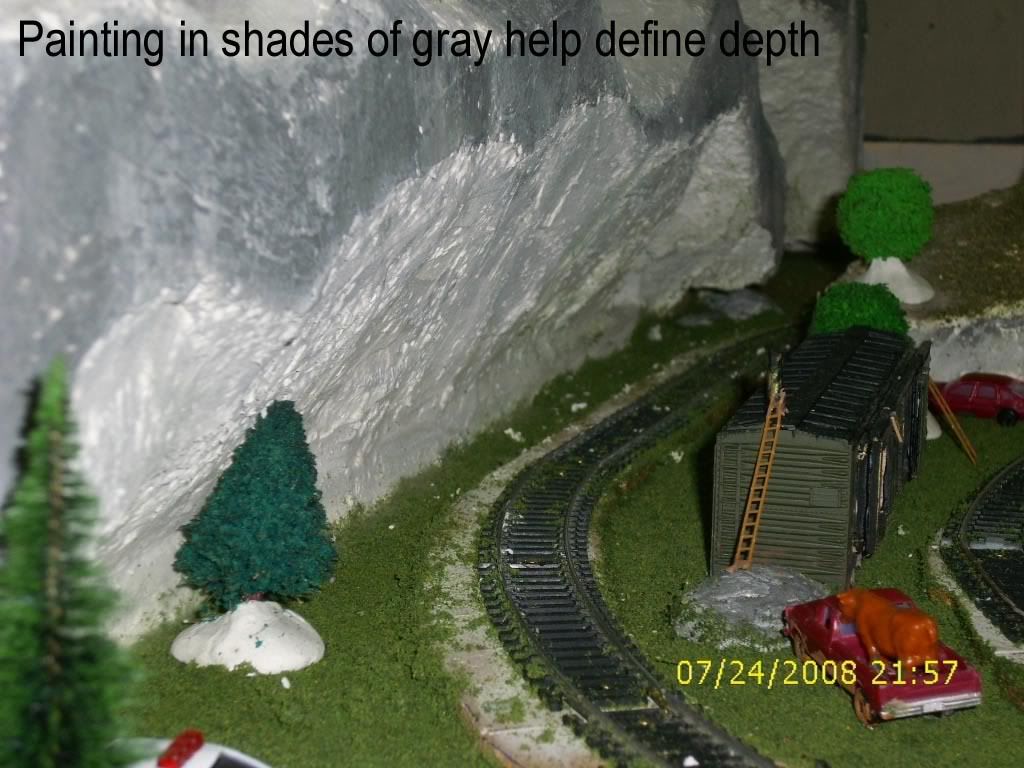
Using different shades of the same earth tone colors can add depth and texture.
The building faces are laminated to cork board to help them “POP” out from the back drop surfaces.
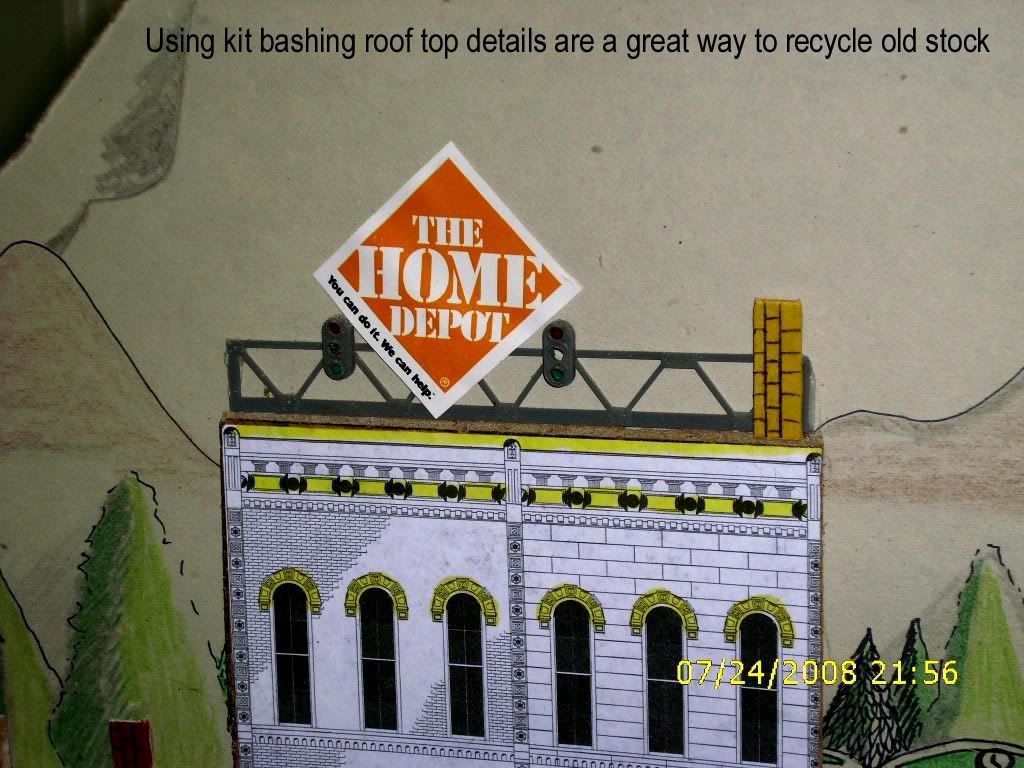
Adding roof top details such as antennas, clothes lines, chimneys, and signs and so on give the back drop even more detail and depth; the chimneys are not painted on.
Jess, VERY cool idea. I would like to know how heavy each section is. Is it mostly styrofoam so even with the sheetrock (how thick is the sheet rock-sorry if I missed that- 1/4"?) they could be lifted out for a repair/repaint, etc?
The sheet rock is 1/2" but everything is screwed in so the back drop can be removed for painting or updates, the mountains range sticking out on the short end of the layout is styrofoam with a plaster ground cover, very portable.
The largest section weighs about 8 lbs. that is the longest peice with the town buildings on it.
I think this will be a future trend, totally interchangeable layouts.
After reading your reply here I went back too look at the pics of my very first attempts and gees my first attempts were horrifying at the least…LOL!, I’m surprised that someone didn’t tell me to give it up and take up basket weaving or some other hobby, but now I can see there are not too many in this hobby that would have said such things to a beginner.
I sure do get a lot of fun out of this hobby and I’m passing down what is important about this hobby too my two Grandsons and that is the journey and the fun and not so much of the final destination, already they show great promise with their ideas and their delight in having fun and the hours of laughter that we share together are worth every set back, they just love Grandpa’s train set and they have a lot of hands on experiences themselves.
We had a locomotive derail and went crashing too the floor before the back drop went on and they were scared that they had destroyed Grandpa’s train but I showed them that it can be put back together and told them that things like this happen and not too get upset by this, I sure wasn’t, I didn’t want them thinking too much on the material side of the hobby and more on the value of the time we get too spend together.
I hope my inspirations fuel others here to experiment outside the known and established guide lines that have been set by the hobby until now, I was so pleased to find that a few folks were getting ideas from me for a change and that made me feel good that I had stayed with this.
I know I shall be a life long model rail roader from here on and I hope to see the day that my Great Grand children are enjoying the hobby as we do today.
Thanks again for the encouragement to push past my earlier upsets; I’m so grateful that I listened to you and others when told not to give up on this.
Every time I start a train rolling down the tracks I’m reminded of the people who did not give up on me in the ho