Can someone please help me here. I remember reading an article [perhaps in MR] that described a technique for applying signs or ads to the sides of buildings/structures using paper-based prints from your PC. I think it mentioned gently sanding the paper image until it was quite thin and then applying thinned white glue to attach to the building. Maybe the paper structure shank a little to fill up the voids in the brick wall or siding? I am guessing that you may have to seal the surface with a sizing or dullcoat before applying the water-based glue if you’re dealing with an inkjet image. Is this a technique anyone is familiar with? Would it work?
What you’re describing is very close to what George Sellios does on his famous Franklin & South Manchester railroad, except that he cuts the ads out of books on old advertising billboards and such. He sands the back of the ad until it’s very very thin, then glues it onto the building and uses his thumbnail IIRC (although you could use a dry-transfer burnishing stylus I would think) to push the paper into the openings around the bricks and to smooth it down. It’s on the first Allen Keller video on the FSM, I think he did an MR article on it too?? I don’t remember if he shows how to do it in his book on the RR.
I know you don’t want to use any type of water-based glue or finish, because that will warp the paper.
for what it’s worth, I printed singage on regular copier paper using a laser printer then sanded the back side until it was very thin. I then used thinned white glue and fixed it to an already painted and dullcoated wall using a stiff wetted brush to work it into the wall. The result was a faded looking sign that I was able to finish weather with the rest of the building. If you want a new looking sign I’d sand less and perhaps mount the sign on a thin piece of styrene so it looks like it’s mounted to a modern backer board. J.R.
I use double stick tape. For glossy metal signs print on photo paper. For others print on card stock. If using plain paper use the double stick tape to put the paper sign on cardboard or index card stock.
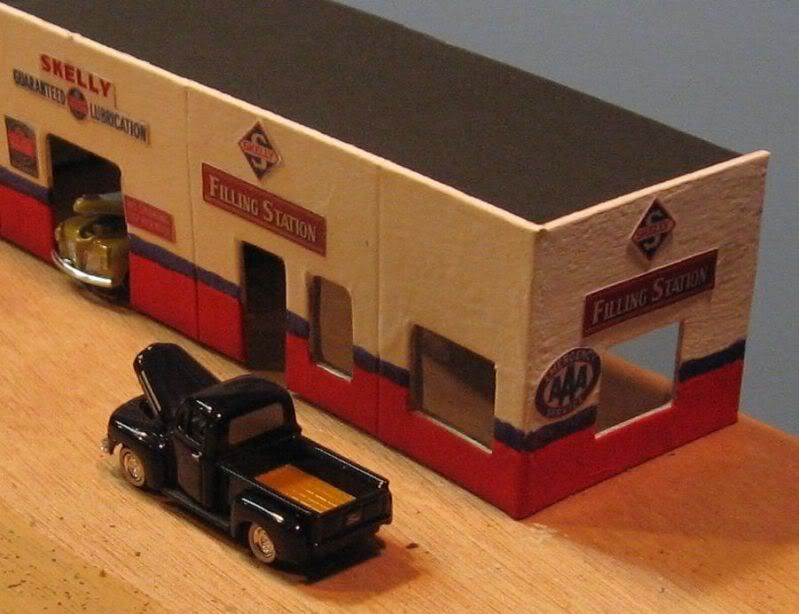
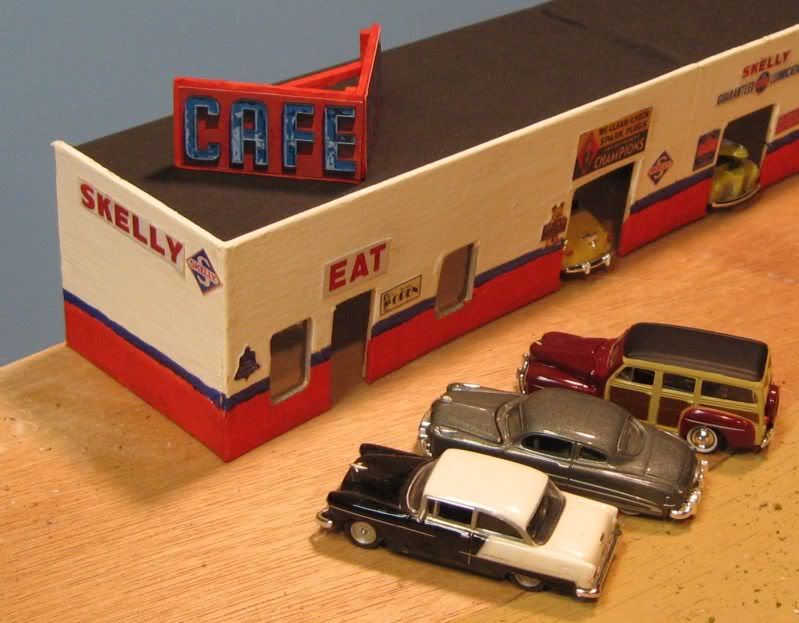
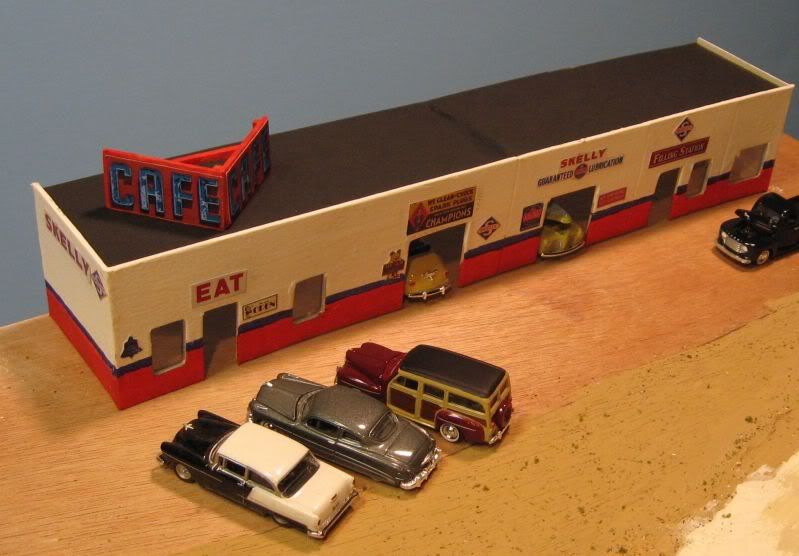
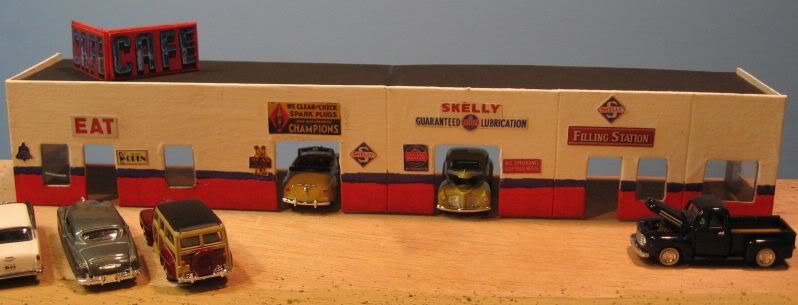
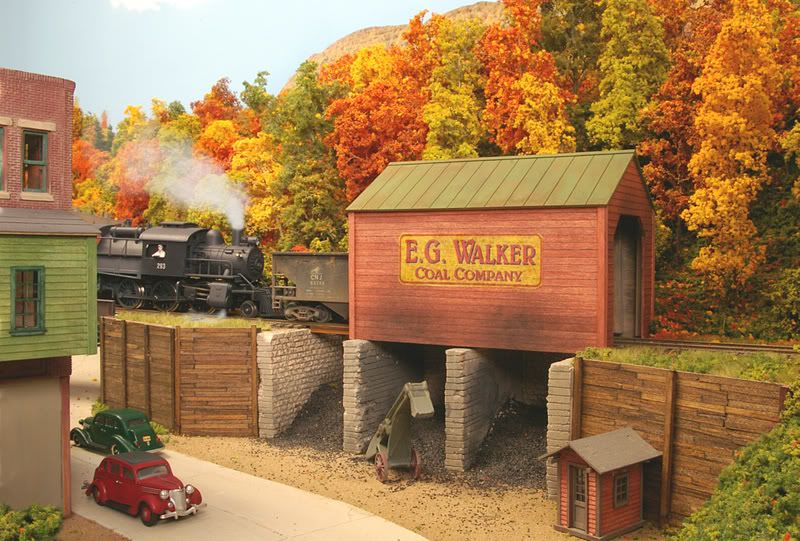
Indeed, the process described is one of those outlined by Sellios in his early kit instructions and, as I seem to recall, known to more advanced hobbyists long before that. The signage on the coal dealer’s structure, shown below, was done using this technique.
For the more daring, this technique it can also be executed using tissue paper if using greater care. When applied, the signage becomes semi-transparent, with the impression of a very worn and faded sign that’s been in place for decades. Likewise, it conforms 100% to the brick structure of the building giving an even more realistic appearance. I have several such building ad signs on my layout but don’t have a specific photo handy.
Many thanks for the replies - I have some ideas now to work on. Since my original posting I have made a couple of signs printing them on Avery clear label stock. Sticking these onto a prepainted wall seems to work OK [so far]. The labels need a bit of coaxing to stick with burnishing, and look faded and worn when in place. The brick work doesn’t show through in relief but you can see it through the clear label. I will do some more experimenting with new label stock [the stuff I used was several years old] in the hopes that it will stick better.
I like the idea of tissue paper - maybe I can mount it on some regular paper to run through the printer. Since I have an inkjet printer there could be problems with any water from the glue. I could use a laser colour printer at the local Staples if needed.
Alan - Securing the tissue paper to a regular piece of printer paper, then running it through the printer, indeed is the correct approach to follow. Also in this case the significantly thinned white glue used to mount the signage is applied to the wall of the building, not on to the tissue (which will start falling appart if you try the opposite). The method demands a lot more care and some practice then simply mounting a common printer paper sign on a wall but the marked difference in appearance and painted-on realism is definitely worth the extra care and effort.
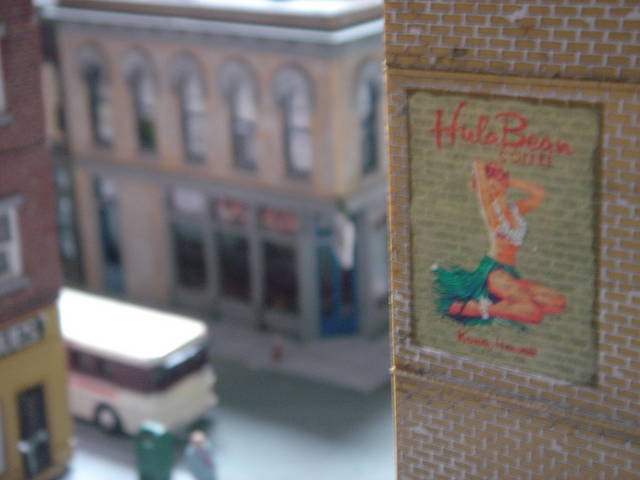
Home-made decals are not difficult to deal with. This image was downloaded from the coffee maker’s web site and printed on decal paper with my old inkjet printer. I painted a white rectangle on the building to get the color to balance correctly, and then applied the decal.
Thanks everyone for the images and the outstanding results. I think these look way more authentic than the regular rub-ons or decals. Here is a picture of my attempt with the clear label paper. It is not as good as the images shown in prior posts but it’s certainly easier. You will see that I am working with the pieces still on the sprues. I am going to keep working on this for improvement. I have also dug out some Microscale decal paper that I have had for some years - thought I would try it using a laser photocopier at Staples [if they let me!].
This a great image - just what I am trying to do. Please tell me your procedure with an inkjet printer and decal paper. I tried printing some images with my inkjet on decal paper and just got a mess - spotty images that would not dry. I did spray the decal paper first with a Krylon brand matt finish medium [I got this from an art supply shop]. After printing I sprayed with Testors decal bonder but this has not really dried the images very well. Was spraying with the Krylon a mistake? Should I have used dull coat - I did this because the Microscale decal paper recommended spraying with something like this first to improve the adhesion of the ink jet image. Do you need any preparation of the decal paper? As another thought you can print inkjet images nicely on overhead tranparency stock specially made for the job - the print surface is quite rough to the touch. I suppose that you have to recreate this on the decal paper.
First, you need to make sure you’ve got the right decal paper - inkjet paper for inkjets, laser paper for lasers. They can’t be used interchangeably.
I print directly on the paper. No treatment should be done first. I suspect that’s what the problem was.
After I print the decals, I wait at least a few hours and as long as a day to make sure the ink is completely dry. Then I use Microscale Liquid Decal Film. This is a brush-on product. I think that there are various sprays, including Krylon, that will do the same thing. One thing I’ve learned is to keep the decal sheet completely flat as I apply the sealer. If it’s tilted (like if the paper is curling) then the ink will run and smear the image. I usually wait another day and give it a second coat of the Liquid Decal Film. I make sure that the film extends beyond the edges of the decal image, so there’s no edge leakage.
To get a nice clean application, use a satin or gloss coat on the surface. If you want a rough surface, like the coffee sign, you can apply the decal over the raw painted wall, or even over Dul-Cote.
I use Microscale’s “Microset” to coat the surface before applying the decal. I usually use a small brush to actually apply and smooth the decal. If the surface is uneven, “Microsol” will soften the decal and help get it down into the grooves. Once you’re happy with the application, give it a coat of Dul-Cote for a weathered surface or a satin or gloss spray for a smooth surface.
Remember, you can’t print white. So, if you have a light-colored image, or part of one, then you will end up with a very light or clear decal. To get the colors back, paint a white rectangle (square, circle, whatever) the shape and size of the decal. Measure carefully, and put the decal right over the white shape. The clear par
Scottish eh? Is this a racist remark? I’m English but married to a Scot so I get this racist reference on accasions when I say “don’t be Scotch with the glue.”
Thanks for showing your techniques - I will give them a try. Since posting, I checked with Walthers and found that they supply a decal paper for inkjet printers called HobbyCal Inkjet/Bubble Jet Decal Paper from Evans Designs. They claim to be usable with inkjet printers without a post printing sealing. I have ordered some to try. Being an ex-brit I also came across a UK supplier with similar products - www.craftycomputerpaper.co.uk - I am thinking of looking into this also.
Decals can be used to add other Scottish elements to your layout:
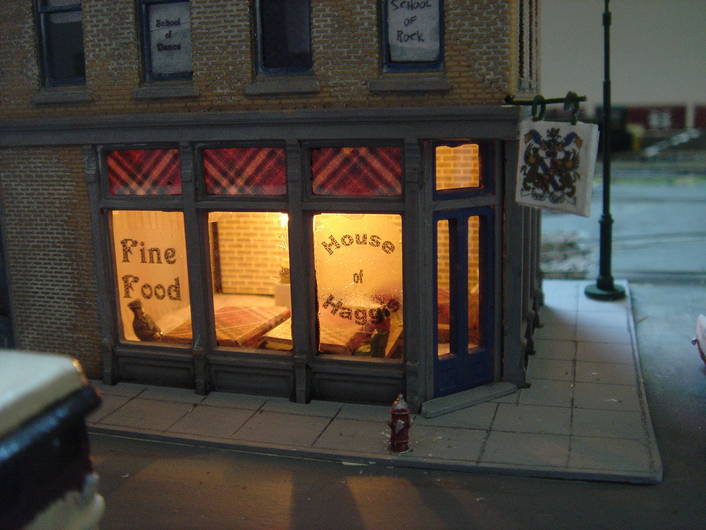
At one point, the House of Haggis was the best restaurant in town. Then, somebody opened up another restaurant. Anyway, the see-through window signs are decals. The plaid is printed on cardstock, as is the brick paper interior wall. The “School of Dance” and “School of Rock” signs on the second floor are also decals. I used tissue paper inside the windows as window shades, to give a light background so you could see the window signs.
So how much do you thin the glue to apply the tissue? I tried that method after reading this thread. I printed the sign on tracing paper (known as “trash paper” in my line of work), sanded it down as much as I dared and used highly thinned glue on the building. I ended up with an illegible wad that never adhered to the wall and ultimately curled up and disintegrated.
Firstly, unlike signage printed on regular printer paper, you don’t need to sand down tissue paper signs, they are already quite thin enough.
The white glue should be thinned about 3:1 with water and applied to the structure walls rather thinly and over the full surface the sign will occupy. Then the tissue paper sign is carefully laid down on to this area starting from contact at one edge and rolling it down onto the surface. You can’t adjust, or fuss, with the sign to any degree once it is in place or you will cause it to begin falling appart.
As noted in my earlier post, this particular method requires a lot more care in execution and like any advanced modeling technique decidedly benefits from some practice.
I love the House of Haggis - In spite of its demise as the best restaurant in town, I would still be a customer. To go with the haggis there is nothing like a McEwans Export and I have the place where it’s made in some of my Scottish themes [see photo of Scottish and Newcastle’s MurrayPark Maltings where I worked as a summer student]. The decals on this were the rub-on transfer letters. With some new decaling skills I will now download an appropriate beer logo and add this to the signage.