There are clips holding the shell on. You need to apply pressure where the body meets the walkway on the locomotive. Be warned though, I have one of those and I ruined it because the LED for the headlights moved out of place when I removed the shell and I havent touched it since.
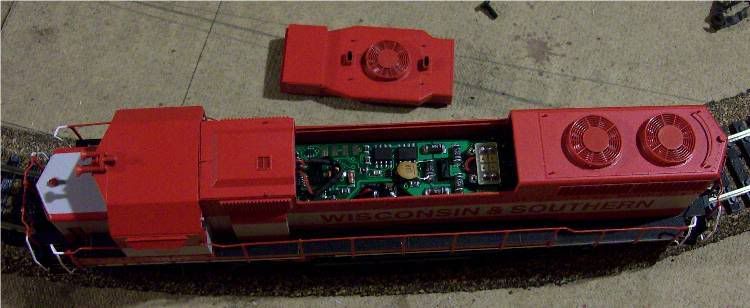
It is set up for DC operation from the factory. Simply remove the dynamic brake hatch to access the board and then re-position the jumper per included instructions to configure for DCC (you just shift it over one row of pins). Snap the brake hatch back in place and you are done(be careful, it is a very snug fit).
No need to remove the shell to do any of this. If it is like the other Atlas Geeps, remove the couplers and pinch the shell in strategic locations, pulling upward to remove.
I (shudder) HATE taking those Atlas dynamic hatches out or putting them back! I bought three GP38’s and two GP40’s from (I believe) their last run and removed the shells on all five of them just to move the jumper for DCC. I find that much easier than messing with the hatches.
Even easier, though, would be a decoder with analog conversion that doesn’t require a jumper. But I guess Atlas must get a good deal from Lenz on those jumpered Dual-Mode’s…
On mine, I filed down the latches on the hatch a bit. They hold secure enough, but much less raised blood pressure when changing the jumper. Taking the bodies off sometimes raises the blood pressure, lots more little latches to gently pry off, and get lined back up when putting it back together.
On my Trainman engines, I just put NCE DA-SRs in them.