While there are a number of items on the market to help with spreading ballast many still just use a spoon or small cup to get it onto the track. Is that because you never tried a spreader or that you used one and didn’t like the results?
Rick
While there are a number of items on the market to help with spreading ballast many still just use a spoon or small cup to get it onto the track. Is that because you never tried a spreader or that you used one and didn’t like the results?
Rick
Hi,
I do have the “tube type” ballast dispenser and gave it more than a fair chance when ballasting on my last layout. It worked ok with fine HO or N but jammed up on anything bigger. There is obviously a knack to using it, and I got tired trying to get the hang of it.
So the majority of the layout was done with cheap paper cups, a plastic spoon, and a 1 inch wide new paint brush (cheapie). With a bit of practice, I (IMO) got pretty good at it and would use this method again without question.
That said, others may find the various “ballast spreaders” to be just what they need, and can get them working “as advertised”. I just could not do that.

DSC02142 by wp8thsub, on Flickr
I’ve found that ballasting tools save me no time or effort compared to using a spoon. In fact, they create more work for me because they can only spread ballast to so many places it’s needed, so I’d need to use a spoon for much of the work anyway.
This is the only ballast tool I care to use. Accept no substitutes.
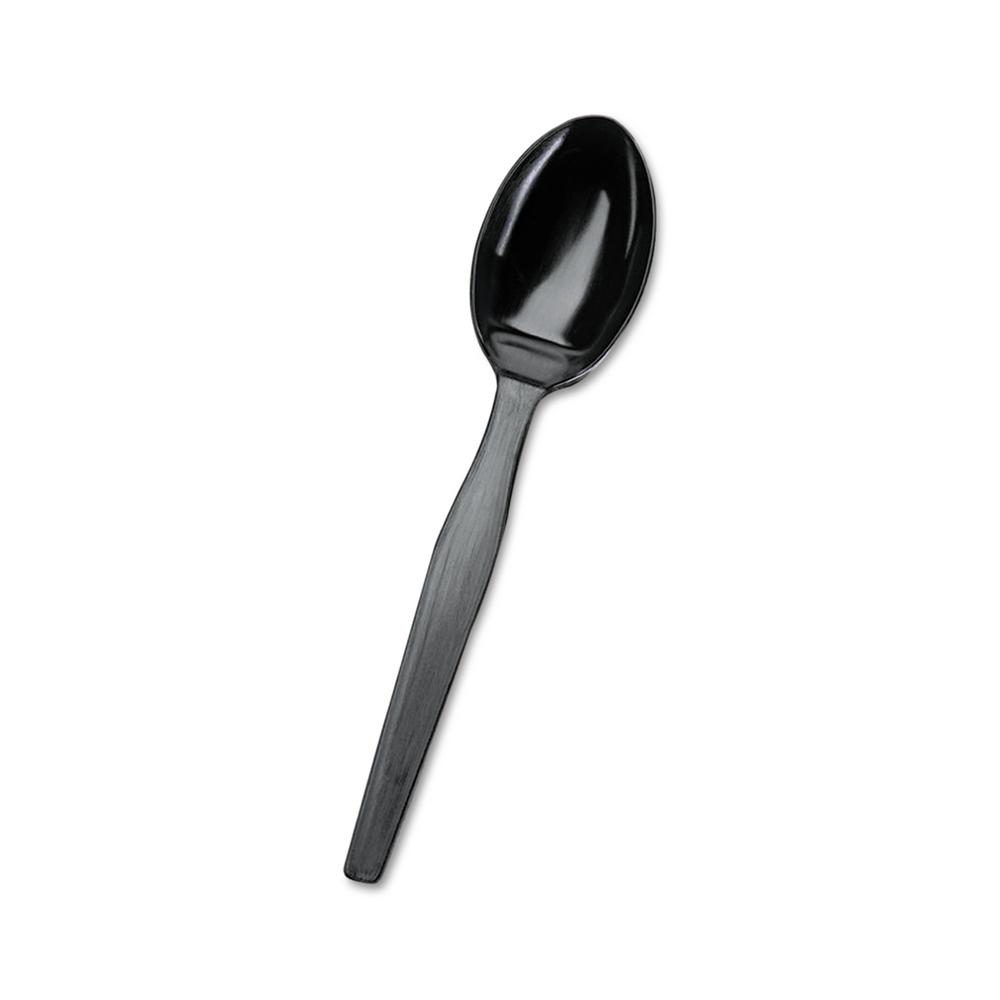
Anything special about a plastic spoon vs a metal one?
Rick
[Y].
The rest look like gimics or gadgets.
As far as plastic vs metal spoon? Your just making a funny, right? [(-D]
Unless you make a habit of ballasting with the track power on. [:O]
Mike.
That’s because the spoon or small cup is the most effective ballasting tool on the market.
It’s because once you use a spoon or small cup, you will come to find out that there is never any reason to use a spreader.
Rich
Nope. We had hundreds of plastic spoons around the house. I went looking for one and couldn’t find any. When I asked my wife where they were she told me that she had thrown them out because we didn’t entertain the way we used to.
I guess I didn’t react to that well because the next time she was in Walmart she bought a three pack of metal ones. The next time I go to a fast food place I will get plastic.
Rick
Forget the plastic ones that you get at fast food places. They are too small and too slippery. Use a metal soup spoon which easily controls the pour and holds a fair amount of ballast.
Rich
While not perfect I have a pair of ballast spreaders that work pretty good.
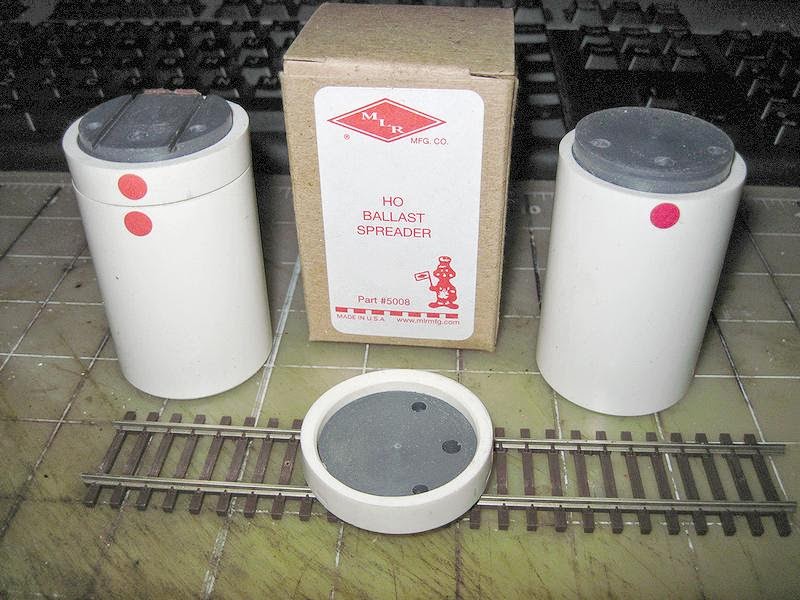
I bought them from my LHS about 12 years ago. They are pretty good for spreading the ballast evenly but it requires a lot of touchup. And Like I say pretty good I would still use them today, a lot easier than using a spoon at least for me they are.
I might add I ues real rock from Arizona Rock and Mineral for my ballast, that might have an impact on it working pretty good.
Mel

My Model Railroad
http://melvineperry.blogspot.com/
Bakersfield, California
I’m beginning to realize that aging is not for wimps.
It must be plastic. Preferably black plastic. Because reasons.
I use a good quality clear plastic spoon.
It’s a lot more robust than the flimsy ones you get a fast food places. It’s clear because that’s just what we had in the house.
A spoon and a 1" foam brush work great, so I’ve never investigated a ballast spreader.
Same here. Used a cup st times. Trimmed the foam brush so it was the width between the tails.
Same here. Used a cup at times. Trimmed the foam brush so it was the width between the tails.
I prefer a metal one tablespoon measuring spoon with square sides. This gives excellent control.
-Kevin
Why would anyone spend money on tools with limited use, when simple stuff that most modellers have on hand will do the job just as well or even better.
Here’s my ballast-spreading tool kit…
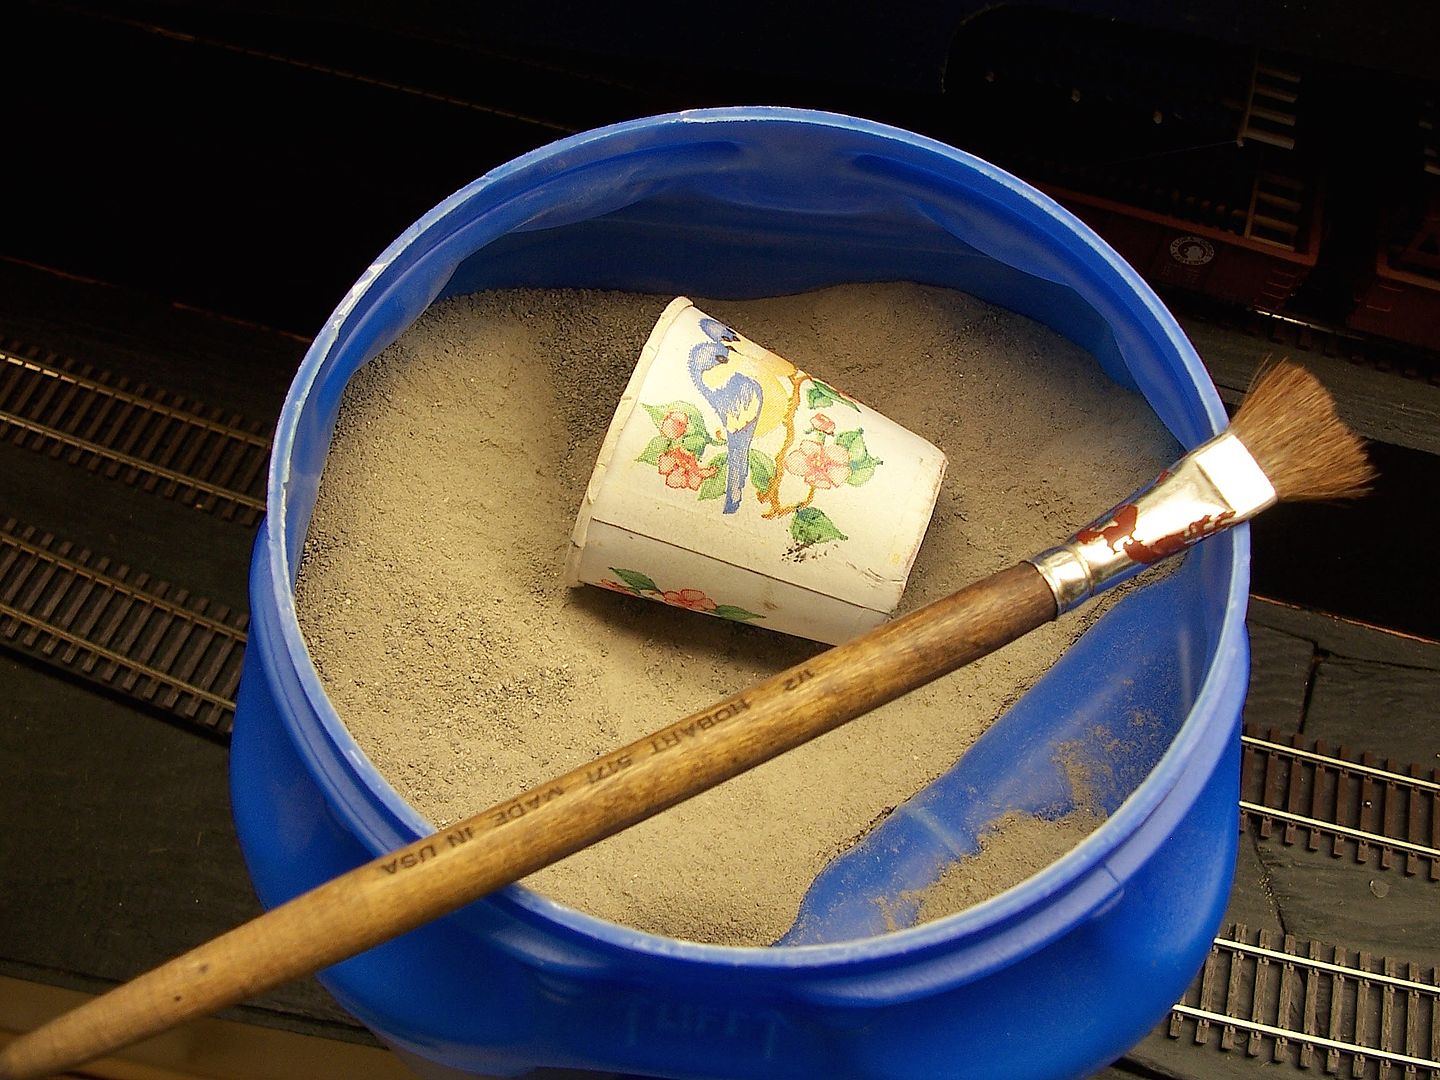
To use this complicated high-tech equipment, gently grasp the paper cup, then use it to scoop-up some ballast material - the stuff shown is screened limestone “fines”, but the cup will also work with other real rock products, and also Woodland Scenics ballast, made using crushed walnut shells.
Next, carry the cup to the site where ballast is required, then begin to dump the contents onto the track, while moving the cup along so as to not drop too much in one spot. For really tight locales, you can squeeze the cup to get more precise application.
You can normally dump the cup’s contents mostly between the rails, but if the track is atop an embankment, you may need to dump more outside the rails, too.
The next step is to spread the ballast, using the 1/2" brush. For the material between the rails, keep the brush as close as possible to parallel with the track, dragging any excess material along the track until the tie-tops are fully exposed. Repeat the process on both edges outside the rails, adding more ballast where needed, and grooming it with the brush.
You can do the ballasting in whatever lengths suit your available time or interest, but before you get to the stage where you pre-wet the ballast with “wet” water, in preparation for adding the diluted white glue, there’s one more crucial step…
…and it is to lightly grasp the ferrule of the brush with the fingers of one hand, laying the handle across the rails, then, while moving along not to
[quote user=“doctorwayne”]
Why would anyone spend money on tools with limited use, when simple stuff that most modellers have on hand will do the job just as well or even better.
Here’s my ballast-spreading tool kit…
To use this complicated high-tech equipment, gently grasp the paper cup, then use it to scoop-up some ballast material - the stuff shown is screened limestone “fines”, but the cup will also work with other real rock products, and also Woodland Scenics ballast, made using crushed walnut shells.
Next, carry the cup to the site where ballast is required, then begin to dump the contents onto the track, while moving the cup along so as to not drop too much in one spot. For really tight locales, you can squeeze the cup to get more precise application.
You can normally dump the cup’s contents mostly between the rails, but if the track is atop an embankment, you may need to dump more outside the rails, too.
The next step is to spread the ballast, using the 1/2" brush. For the material between the rails, keep the brush as close as possible to parallel with the track, dragging any excess material along the track until the tie-tops are fully exposed. Repeat the process on both edges outside the rails, adding more ballast where needed, and grooming it with the brush.
You can do the ballasting in whatever lengths suit your available time or interest, but before you get to the stage where you pre-wet the ballast with “wet” water, in preparation for adding the diluted white glue, there’s one more crucial step…
…and it is to lightly grasp the ferrule of the brush with the fingers of one hand, laying the handle across the rails, then, while moving along not too quickly, use the fingers of your free hand to rapidly tap the brush handle. As you do this,
Wayne
I agree my layout was ballasted a few years ago with the tools you specify. If and when I build another layout I will use the same tools.
Use the 4 ounce cups. Whatever you do, don’t use a 4¼ ounce cup! I made that mistake, and it was days fixing the mess.
Why does the difference matter so greatly?
I used a sturdy plastic spoon also and 1" brush on the 1st layout and plan to do likewise on the current one. Glad I didn’t start this effort yet. I need to first redo track and add elevation.
Sorry, Rick, but I was unaware that there were other sizes.
Warren
