If not mentioned above, realize that at the bridge ends, there are two heights to be addressed at the abutments; i.e., the track part (rail top, ties bottom, roadbed) that must connect appropriately to the track/roadbed from the adjacent approach, and the bridge shoes, that typically rest on a ledge of the abutment.
I went with purchased Chooch abutments that were intentionally a bit too tall. That allowed me to cut the bottom (w/band saw) to attain the height needed for the ties and rails. The bridge shoe ledge was not exactly different from the ties /roadbed resting point so I either (don’t recall) trimmed the ledge down for the bridge shoes to fit ok or used shims under the shoes.
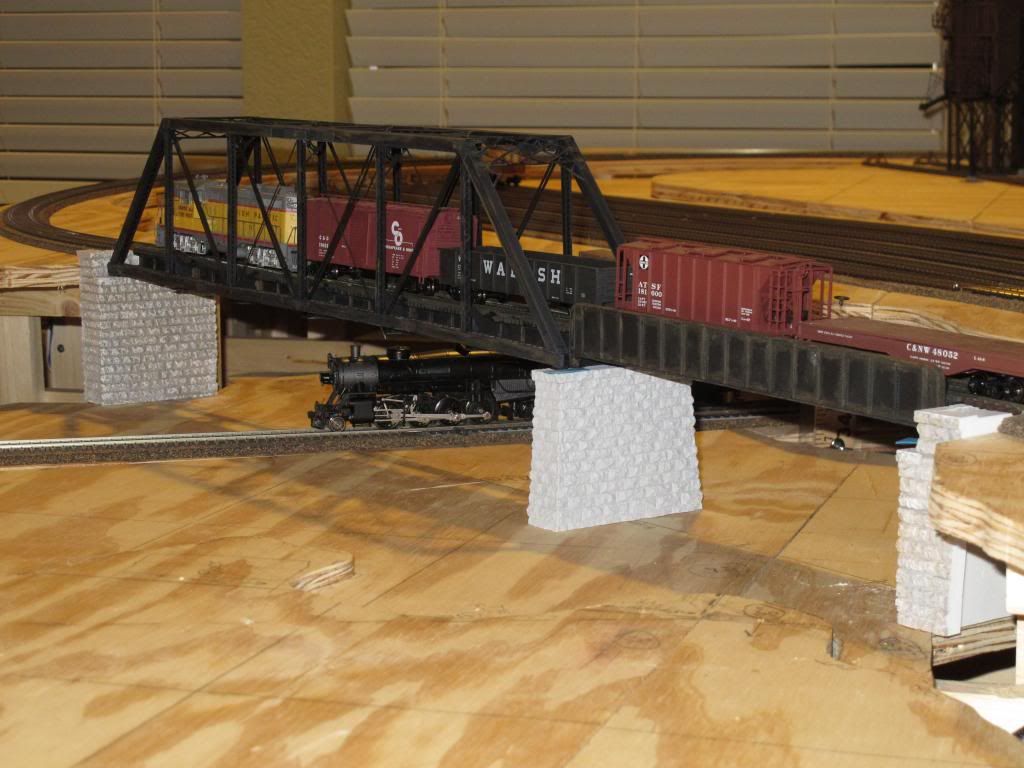
Similarly. I have a pier at the mid-point that supports the truss and girder bridges at the mid meeting point. While both bridges were Central Valley, they did not have the same difference between the ties height and the shoes. So, besides cutting the pier to a height that would work, one of the bridges needed shims under its shoes.
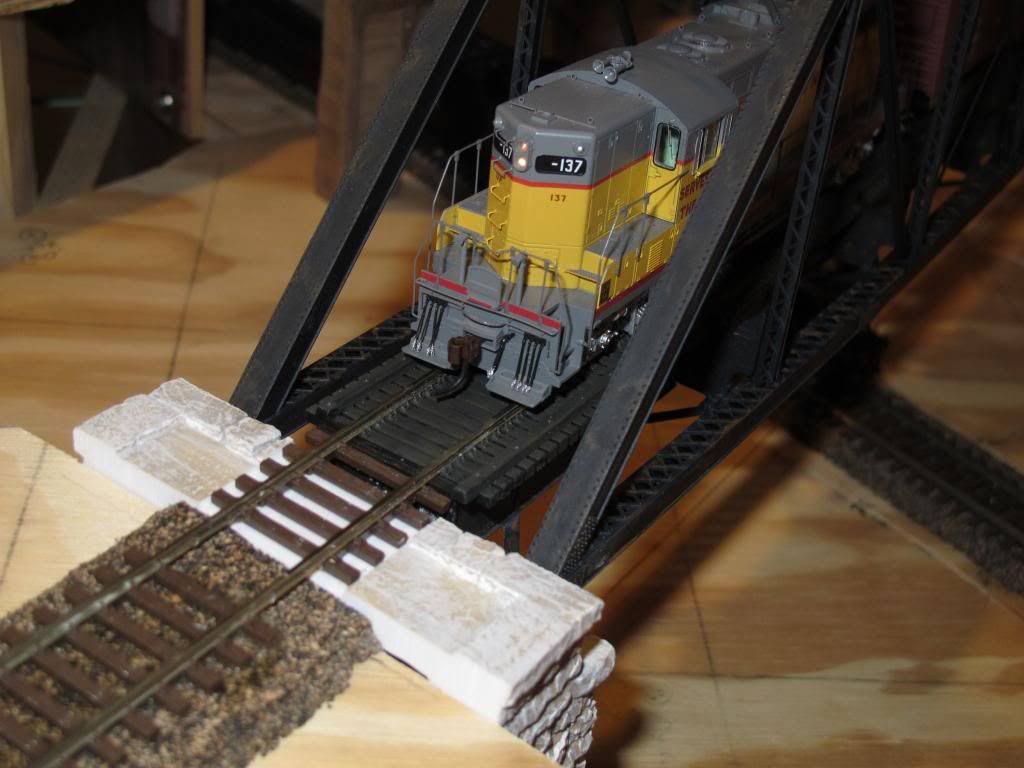
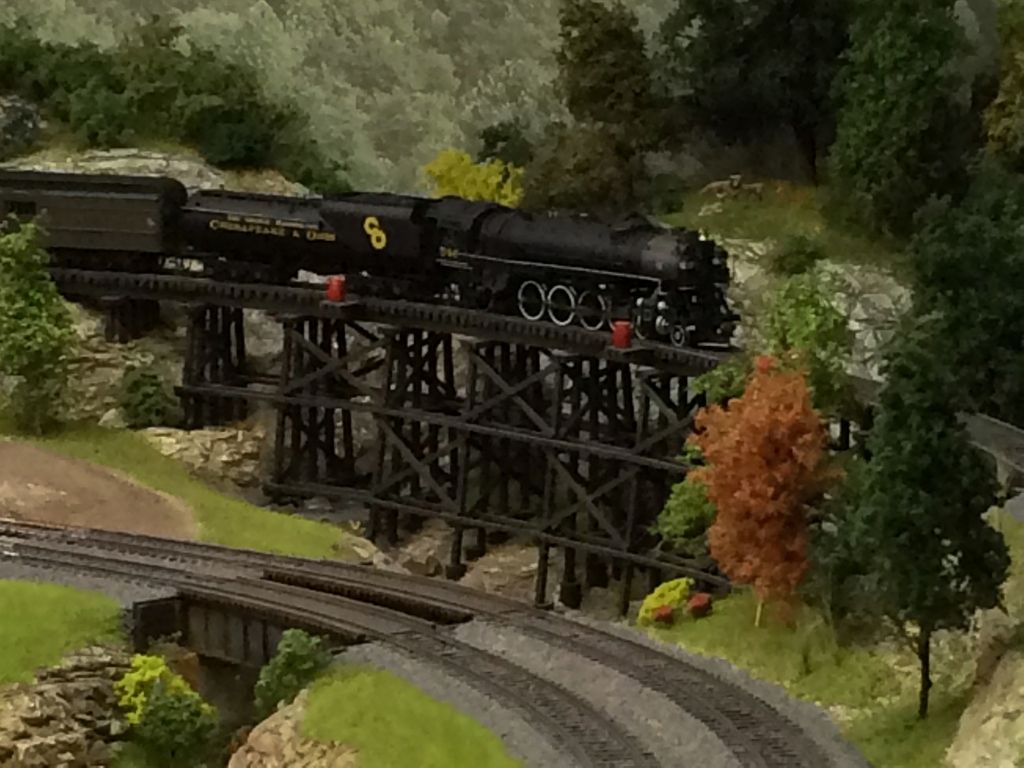
The use of bridge track is a very nice detail often overlooked or ignored. This, once again, is my Atlas Chord Bridge. That part of the layout is Code 100, and nobody made Code 100 bridge track when I built this, so I made my own.
I took Atlas flex track and carefully slid the ties off one end. Then, I removed the spacers between the ties and put them back on. This resulted in about a 1:2 compression, so a 3-foot section of track gave me 18 inches of bridge track, which coincidentally was the length of the bridge. Here, I used old brass rail for the guard rails, but I could just as easily have used the extra rail, as the guard rails are also Code 100. I should probably have used Code 83 for the guard rails, but these seem to work just fine.
This short section just spans a trestle over a stream. I used the same technique here:
Later, I did the same thing in Code 83, again on short trestles.
Great bridges Walt! Thank you for the info. Can you elaborate a little about how you cut away the subroad bed (plywood) after building the structure on top?
There’s some info here on casting your own bridge piers and abutments.
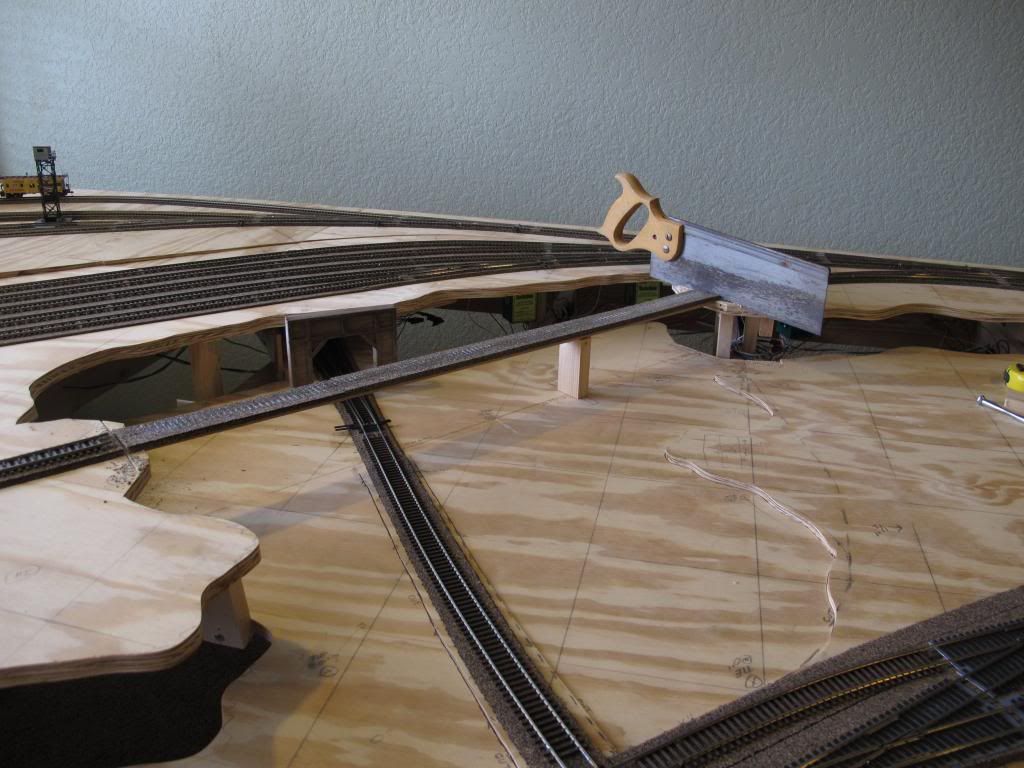
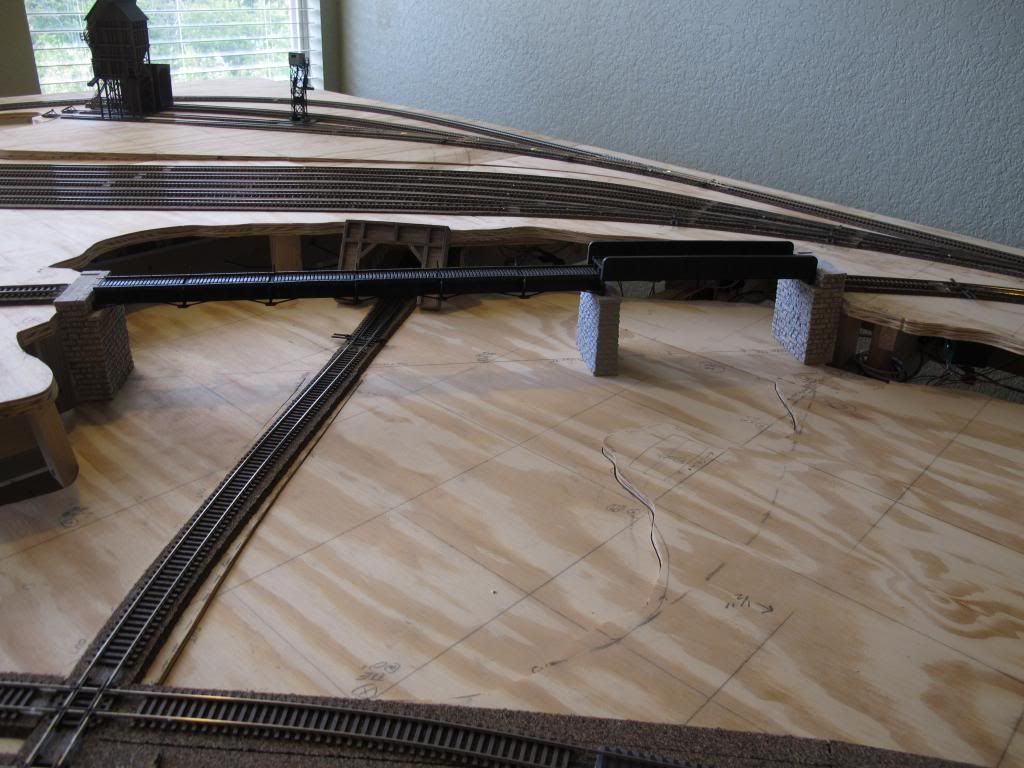
For bridges which have no superstructure above rail-level (or a removeable superstructure like the Central Valley truss), I found it easiest to cut the subroadbed out as soon as I had determined the length of the bridge.
Calculating the length was done by placing the various components atop the roadbed in the places where they would be used.
Once the roadbed was removed, I simply flipped it over and built the bridge, upside-down, atop it, altering the supports to suit (all of the bridges shown are on grades).
Tim here are a few archived pictures that may help. To be honest it just takes some creativity and sometimes faith that it will all work out. [:D]
The first is the trestle construction. Looking at it now I actully cut out the subroadbed and then fixed it back in place before constructing the bridge. You can see wax paper over the subroadbed to prevent the bridge stringers from getting stuck to the ply. The idea was to get the curve and grade change exactly right so that it would match at the bridge ends without a bump or dip. Once I had the stringers and ties glued together I removed the subroadbed, fit the bridge structure in place, completed the terrain work and fit the bents in place to support it. Then finally added the rails permanently. In the second and third pics you can also see where I cut the subroadbed out for the little bridges and fit them into place. The cuts were done with a regular power jigsaw- no problem.
You will have to use your imagination a bit with the viaduct since I don’t have any earlier pics. But I did essentially the same thing. Built the plate girder assembly and added the track, cut out the subroadbed, fit the bridge into place and then added the bents, abutments and piers. The ends of the bridge are resting on wood supports that are screwed into risers at the end of the subroadbed. The plaster walls were cast to fit. Then I finished the landscaping and added all the trees and brush.
Because of my inexperience with large bridges, I have decided to build a smaller single track bridge first to work on my “skills” (I have purchased all the parts for the big one too).
I also went with the Micro Engineering bridge flex track (a really great suggestion). I am looking for some recommendations on what adheasive to use and install tips for the guard rails. (my first thought was to skip it because it is so small in N scale, but it just looks too good!)
I have cut and bent my guard rail pieces and test fit them so I am ready to install. I normally use CA but wonder if you guys might have better ideas?
For M.E.'s bridge ties, I used contact cement, both to cement them to the bridge and to add the guard rails. I use LePages or Weldwood gelled contact cement, applied with a suitably-sized brush - you can clean the brush afterwards using lacquer thinner. Since both of those cements are available only in quarts or gallons, you may wish to opt for regular tube-type contact cement. In either case, do follow the instructions on the container to ensure a good bond.
After the initial drying time has passed, cover one of the gluing surfaces with waxed paper, then place the other atop it and align things while looking through the paper, since contact cement sticks on-contact (what a surprise! [:P]).
Once you have one end of the ties (if you’re cementing them to the bridge) or one end of the guard rails (if you’re cementing them to the ties) aligned, slip the waxed paper out from between that point, then press down there to make contact. Continue sliding the waxed paper along beneath the yet-to-be-affixed surfaces, following along with finger pressure as contact is made.
I use this method to cement Central Valley tie strips to cork roadbed or to the plywood layout top, too, and also to add the rails to the tie strips after they’re in place.
I mentioned wax paper earlier. It really is great stuff for this sort of work especially when using contact glues. I just took this picture yesterday. Still in service without any problems.
Thanks guys! Just so I’m clear, after I have applied contact cement to both pieces, I wait for the initial drying time to pass, then place a piece of wax paper on one piece and slide it out as I press the pieces together?
Yes that’s it. Make sure the glue dries completely (however it is recommended in instructions.) If the glue is too wet then not only could it make a mess, but it will not stick as good. Seems backwards, but that’s the way it works.