I am trying to decide the best way to build a grade crossing enbankment. What materials have been used for the sub-road and what is used for the finished road on top. If you have any suggestions and pics I would greatly appreciate your help.
I use Durham’s Water Putty for my roads. It’s a cheap hardware store item.
I mix it up with water and add a little vinegar to slow the setting process. It can be poured for a few minutes, and then it starts to set up. While it’s setting, I use a foam brush which I keep wet with a container of water to smooth and contour the road. It will hold a crown all by itself.
After an hour or so, it will set rock-hard. I use a wash of gray acrylic paint in water to color it, applied in several coats. This makes the color slightly uneven, which I like better than a uniform color.
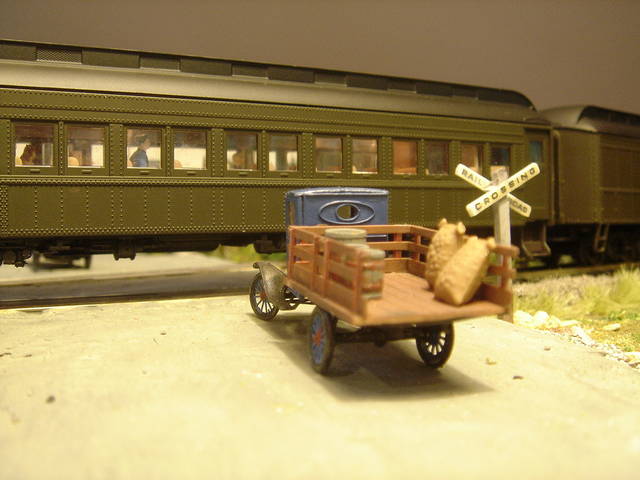
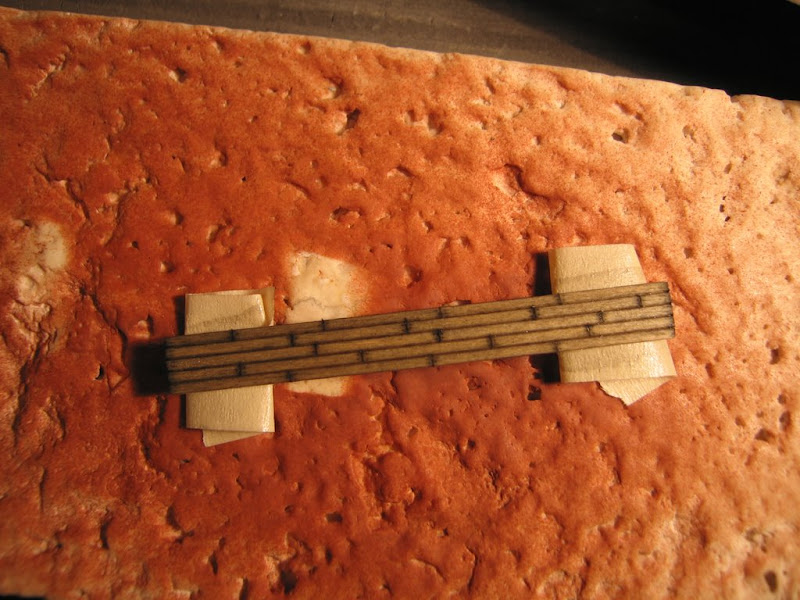
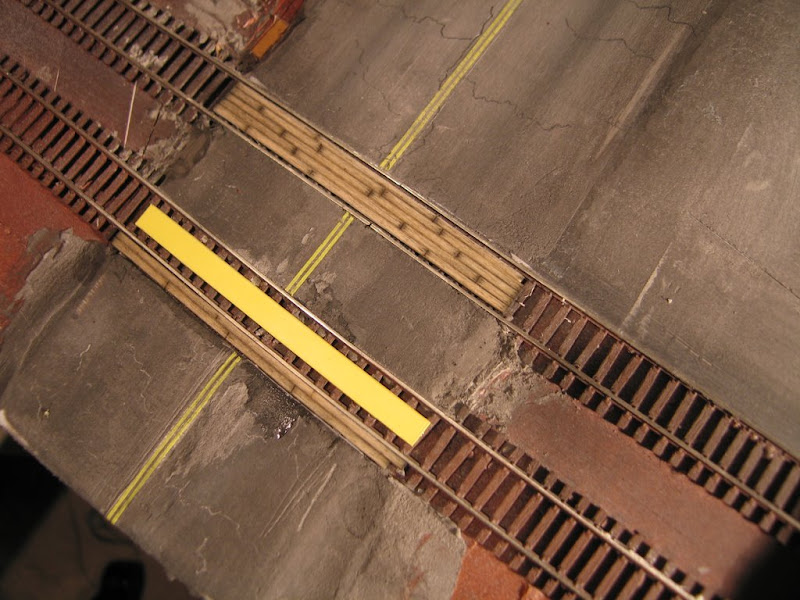
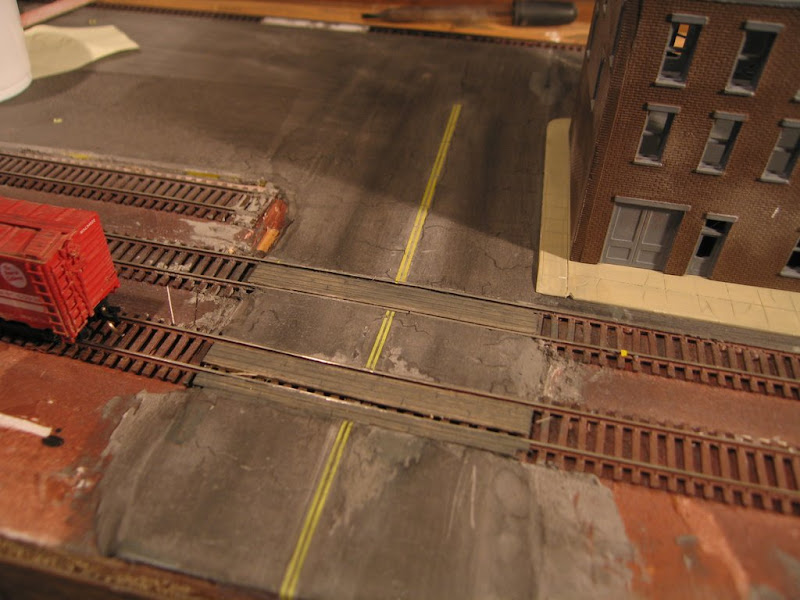
While liquid, you can brush the putty right up to the rail heads on the outsides of the track. I use styrene between the rails, but you could make up a form to keep the rail insides clear, and pour some putty between the rails as well. This intersection used a wood plank section between the rails.
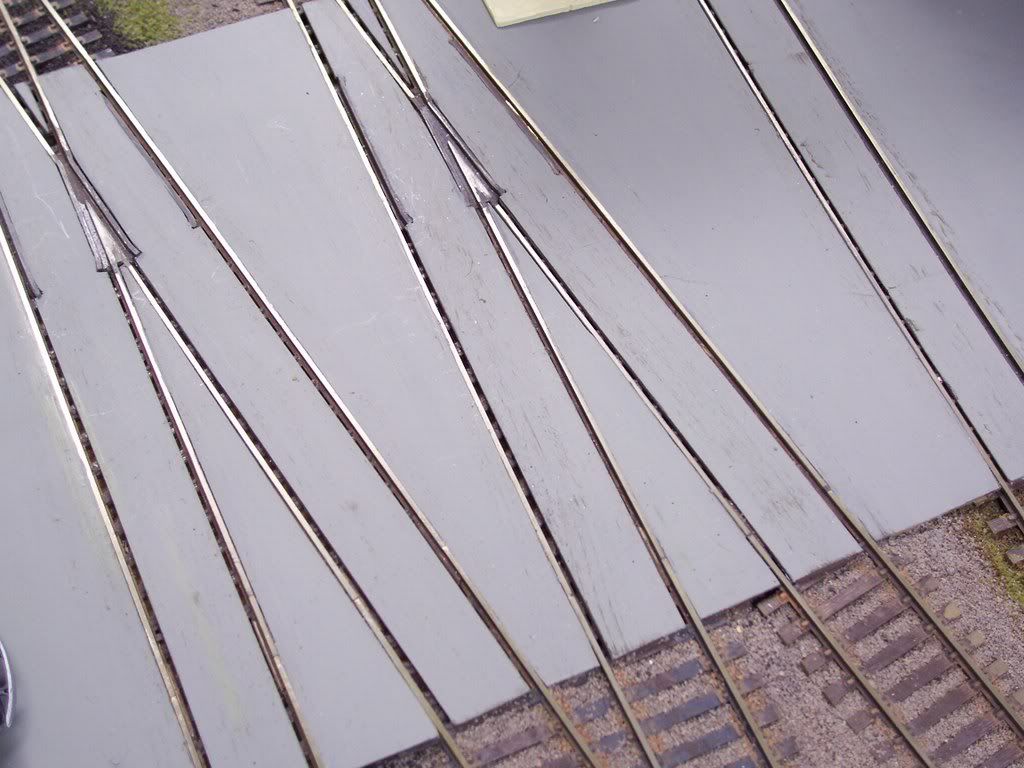
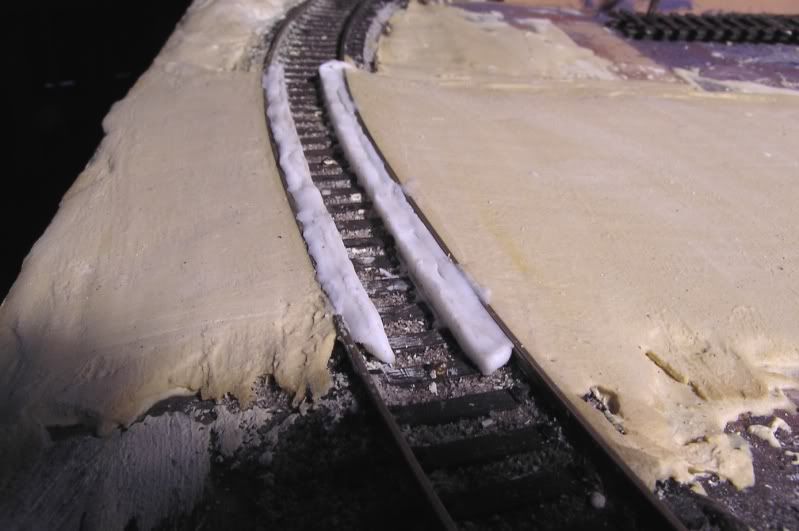
I use a variety of techniques. For this one, I used pre-mixed drywall mud (the track in the foreground is on cork roadbed, while the track on which the locomotive sits is laid directly on the plywood):
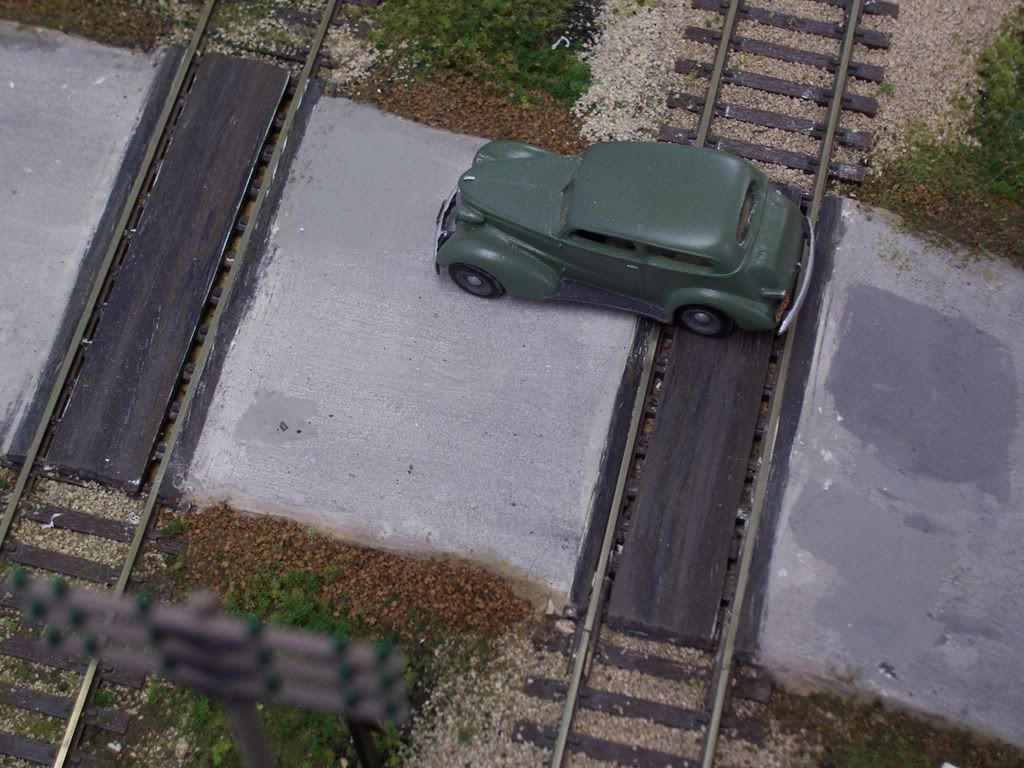
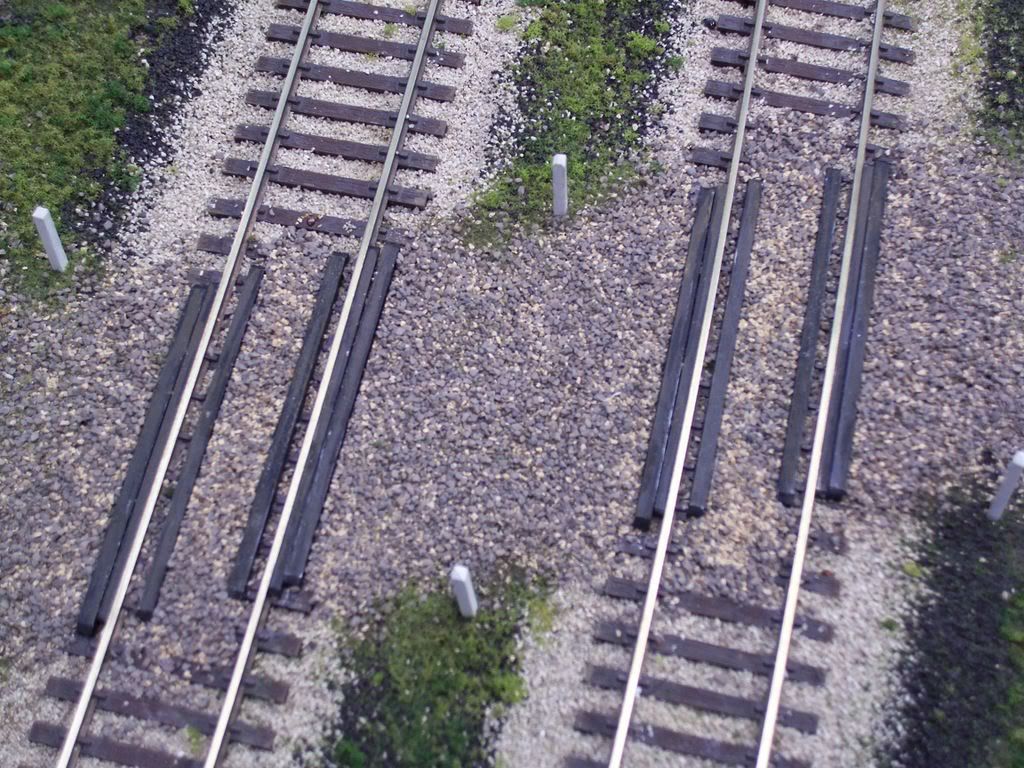
It was applied over the already-in-place scenery, which is patching plaster over aluminum screen. While it’s easy to smooth, it’s quite soft when dry, hence the various “patched” areas. The boards are .080" thick styrene strips, of various widths to suit. This height, when used with code 83 rail, puts the top surface just below the railhead, useful if you need to clean your track. For most similar-style roads, I use the patching plaster, as seen below, as it’s much harder.
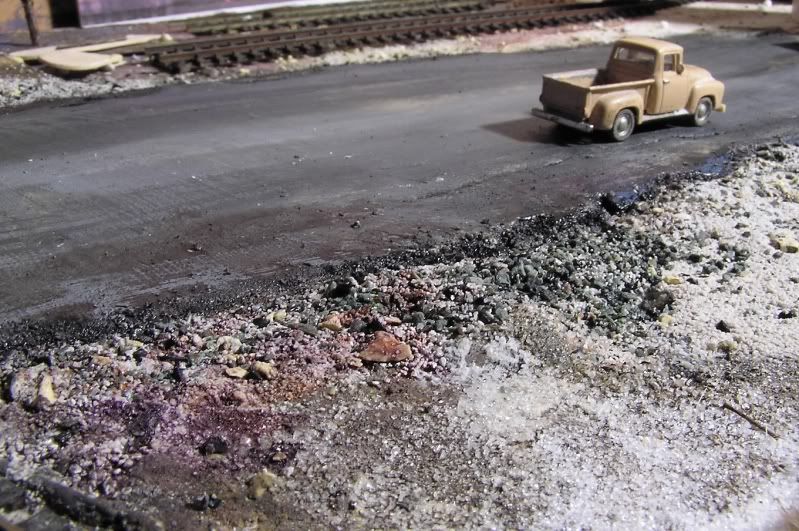
For this gravel road, I again used styrene boards around the rails, and spread a ballast mix onto the painted plaster road surface, fastening it in place as you would ballast:
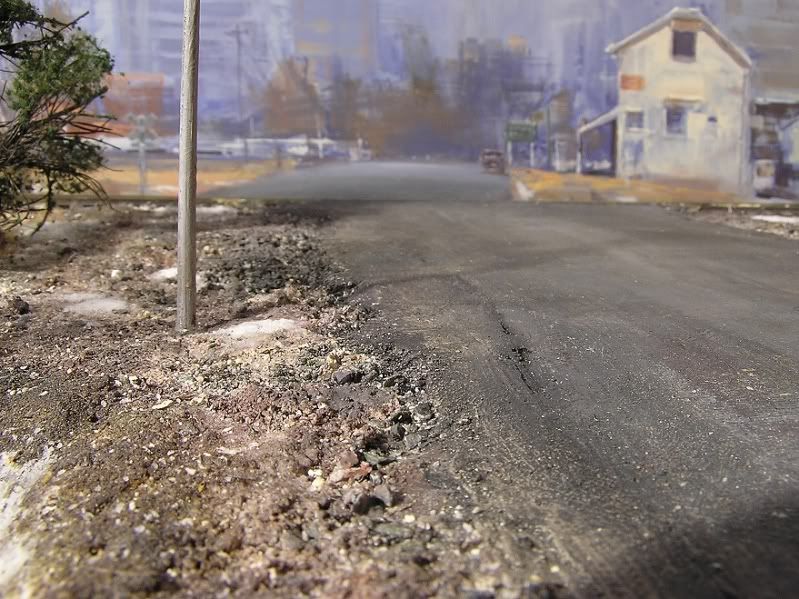
In more urban areas, I used sheet styrene to represent the road surface:
I cemented .020" thick styrene strips to the tops of the ties - both sides of both rails, butted-up against the moulded-on spike heads, then cemented .060" thick sheet styrene atop those, butted against the rails on the outside edges.
I was going to send photos for your locomotive kitbashing contest, as I had documented a rebuild of a brass loco, but my pictures are not in the proper format for magazine use, and my camera is not capable of producing RAW or TIFF images. Nice thought, though. [:)]
Weeell, from memory I started off with a very runny wash of black, but because it was so thin the yellow of the putty showed through too much, so I had to add some white to it. The little flaw that runs along the road had pure black painted into it. Elsewhere I also used washes of raw umber, both with and without white, and I added some purple to the black for the richer unfaded and undriven-on colour at the edge.
I like to give it a fine misting of water before each colour is added so they settle down nicely without looking stuck on.
Phil it’s a powder that you mix roughly 1 part to 3 parts water to fill in cracks and imperfections in all sorts of things - timber or masonry for example.
Here in Aust I use Agnew’s, available at the hardware store.