I kind of tried almost everything. Solder screen to nails, brass rods, styrene posts, the Busch kit, mesh from IKEA. It’s always a mess,
I am desperate and in need of advice to build those. The Walthers kit isn’t available in loca store, nothing on ebay canada. Me no want import fees. I am losing my grammar over this.
Pictures are welcome so I can appreciate the gain of knowledge.
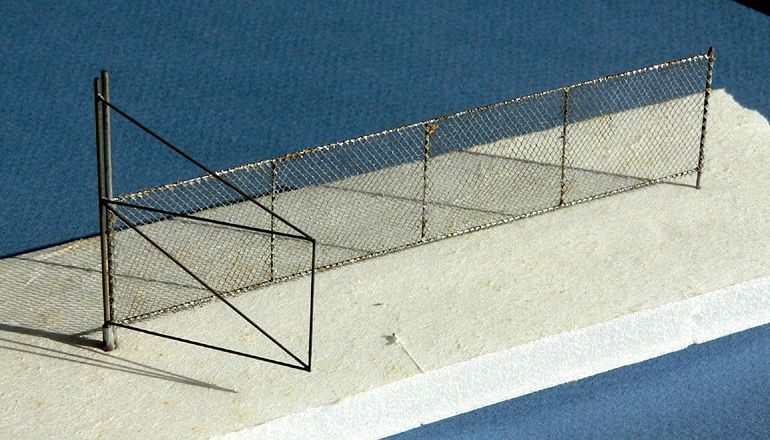
I have the Walthers fence, but the basic material is a fabric called Tulle. You can get it at a craft shop or bridal shop. (It’s the stuff they make veils out of.)
You can use brass wire, glued or soldered, for the frame. Then cut a strip of Tulle and glue it to the frame using CA. Cut it larger than you need at first. It’s easy to trim with scissors after it’s glued.
I spray it first with silver rattle-can paint, and then apply dull-coat to weather it.
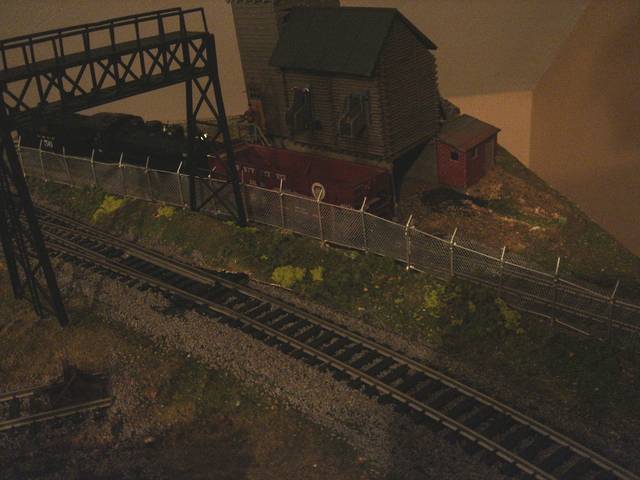
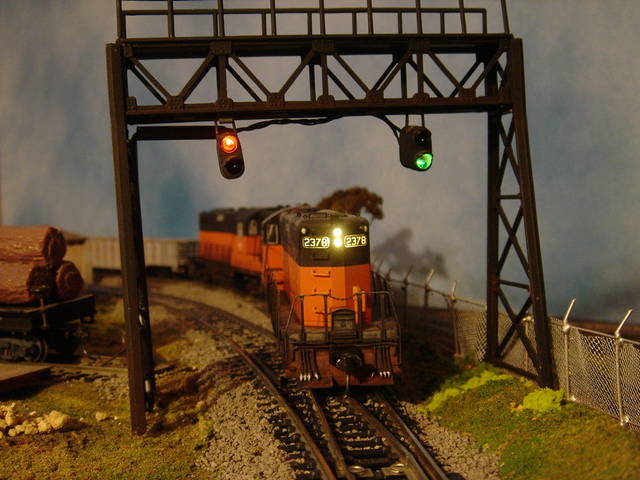
I built this fence from an old Allow Forms kit, now offered by Scale Structures http://www.walthers.com/exec/productinfo/650-4128 . It has brass posts and metal mesh. The gates are one-piece castings to which you add the mesh.
It is the “netting” used for wedding veils, for wrapping wedding take-home gifts or baby showers, or other craft uses.
It is used by many with great success by many modelers, and does look good for chain-link fence, and is far cheaper than the model chain link fence kits available for modeling…
I will add that I had a lot of trouble building the Walthers kit. The vertical posts and gates are plastic, but the horizontal top and bottom pieces are metal. So, it needs to be assembled with CA. I built a jig with holes for the posts to get the frame assembled, but it was still a frustrating job as it kept coming apart unless I overloaded it with glue, which can still be seen in my photos.
I did some web research and then experimented making some chainlink fence in HO scale last week. Soldering skills and a steady hand are needed. Made a wooden jig to hold the posts and bits of masking tape to hold the posts & stringers to the jig for soldering. .0284 brass wire for the posts & .0179 for the stringers.
The chainlink material is 790 Micron nylon mesh, stiffer than tulle, but still plenty flexible and can be attached to the brass wire with CA glue. It is a bit tricky cutting the mesh, I clamped a machinist combination set metal rule over the mesh and cut it with a razor blade. A 1/4 yard of the mesh was around $10.00 if I remember correctly and that’ll make a lot of fence.
I’ve yet to paint this test piece and sorry for the photo quality, used my computer camera as my digital camera bit the dust this A.M.
I use tulle and piano wire - heavy gauge for the posts and light gauge for the wire along the top [and sometimes along the bottom] I brush paint the tulle even if I don’t want it to look rusty. Just a pale grey will do the job. I don’t like the over-the-top shine of the metallic products.
This is brass wire with tulle. You’ll need a fine tip for your soldering iron, and it helps to have a set of tiny files to clean up the joints. The tulle is held in place with CA adhesive.
Also, MR once had an article (circa 1990s) about prototype fences. They gave dimensions for the various sizes of posts. For example, corner posts and end posts are thicker than the posts in between. Does anyone remember when that article ran?
I forgot to add that if you search sites like joann.com for shipping or coupons, they usually have a sorta hidden coupon, in this case as listed above, if you click on the ‘shipping’ link in the top toolbar on that site, it will pop up for 40% off regular priced item online or in store, OR free shipping on orders over $50.
Places Like Micheal’s crafts or AC Moore’s crafts should also have tulle-in the bridal or floral Depts. and they often have 40% off coupons hidden on their websites. You might even find tulle on a ribbon spool that is already “cut to size” for a scale fence!
Tulleing right along, LION builded fence with tulle. It came out pretty good. Him usd straight pins for posts. It did not stick together too well, but I left it alone, as it lookes very typical for a chain link fnece in that part of Brooklyn.
Wow thanks everyone for these advices. I’ll try tulle of course. I guess my problem too is that I do not have CA glue, so I’ll get some as well. Thanks a million!
The article I’m thinking of was all about prototype fences, rather than how to model them. There were a lot of scale drawings showing the various types of gates: swing gates, rolling gates, and slide gates suspended from a truss. It was a very extensive article. Whoever wrote it put a lot of time and effort into it.
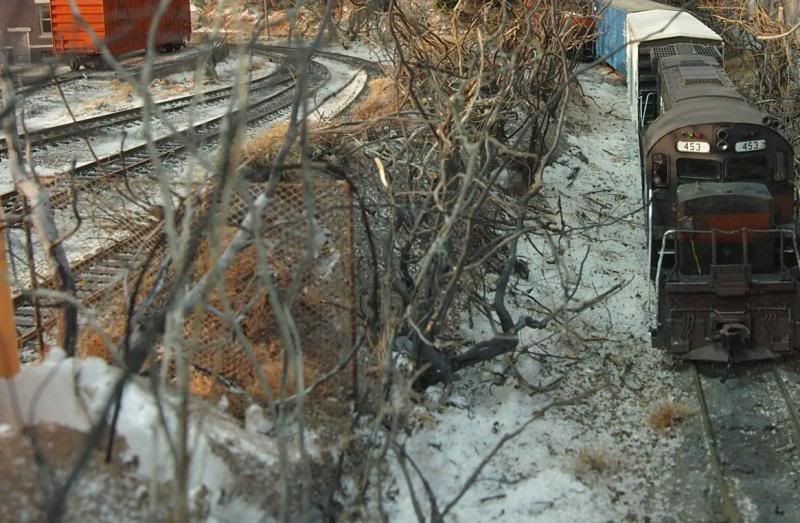
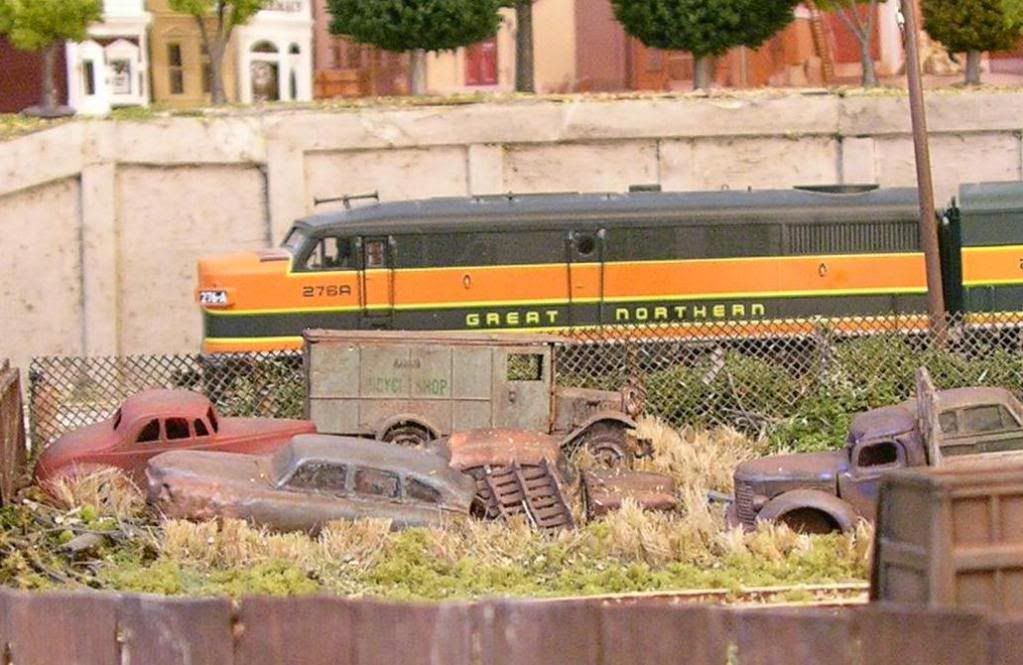
I have a simplified chain link fence as the back fence in my scrap yard. It is a piece of common window screen glued to verticle posts which are wire brads.
The weeds, tall grass, and rusted vehicles make it hard to see the back fence. The front fence is a rusted iron fence.
I built the chain link fence that came with the Cornerstone electric substation. I found that slightly enlarging the holes for the horizontal pieces made things A LOT easier to assemble. Then, I glued the mesh to the uprights with CA, cut oversize, then trimmed with scissors. A good source for tweezers and scissors was a hospital. If you happen to have a friend or family member with stitches, they use small scissors and mosquito forceps (small pointed tweezers) to remove them. They throw them away after each use, so just ask, and I’m sure they’ll give them to you.
I know this almost two years late, but I don’t come on here much. If you have the right soldering tools, soldering wire mesh to metal framing [any kind] is easy. I do a lot of art glass soldering so I use a Welker W100P soldering iron with a Mini Phaser heat control. For metal I use a setting of about 90. If you get these items, play around with the heat setting as desired. I also use 50/50 [tin/lead] solder and flux [don’t use this for electrical applications]. The key is to tim the area to be soldered then tack solder your pieces together. Once done then go back over to do the finish soldering. It should come out nicely.