I would appreciate any advice on how to model cliff faces. My particular problem is that I do not have much space/width to do them in - maybe only an inch or two wide. Trying to cover up a proposed helix with two tracks climbing the outside. If you have a copy of Trackwork and Lineside detail - page 10 -left hand side of the photograph would be perfect - so the helix would be hidden behind the cliff. Would plaster gauze over chicken wire do the trick or is there a much better idea.
Yes, that would work, but you could also use cardboard strips and plaster cloth, or aluminum window screen and a ground goop of some concoction. What you would want to get eventually is a built-up thickness that can withstand some hand carving with a hobby blade or metal spackle knife, even a steak knife…you need to create the rocky facets in relief, and you must have a sufficient mass to withstand the pressure of your blade and shoulders. It doesn’t have to be much, maybe 1/2" if it were hydrocal (very strong), and perhaps one full inch it is it plaster that is well supported behind the screen or latticework. If you have a relatively low height and width, say less than about 6", you would not have to feel requirement to make it quite thick…it would be somewhat stronger.
I used Joe Fugate’s formula for ground goop and made sure I had a full inch of depth to pare back.
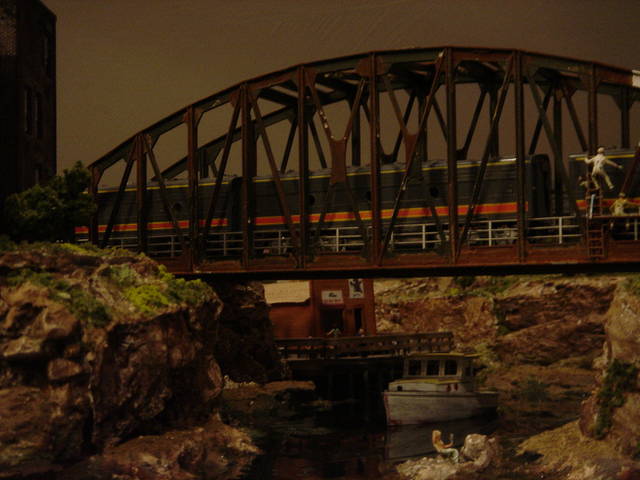
This is a small bay surrounded by cliffs made with Bragdon foam.
The foam is a two-part resin. It is initially soft and pliable, and can be curved around a form. It will then harden up and be quite stiff, but can be softened with heat from a hair dryer and will again become flexible. It’s extremely light, also. The foam is very fine-grained and picks up details from rock molds very well. I also used a Bragdon rock wall mold for these. You can use Bragdon foam with other molds, though, or you can use more traditional plaster to cast walls with Bragdon molds.
Their web site is www.bragdonent.com. I’m not associated with them in any way, just a happy customer.
I’ve used the Bragdon rock molds, only using Sculptamold for my cliff face instead of the Bragon 2-part foam–but only because I have COPD and the fumes from the foam aren’t exactly good for it. The Sculptamold is a little slower setting than ordinary Hydrocal or plaster, but once set up it’s extremely sturdy and takes additional carving very well.
Another technique I’ve used is mixing in Cripplebush rubber rocks with the castings, which gives the cliff some variation. Unfortunately, the Cripplebush aren’t exactly cheap, but the quality is excellent.
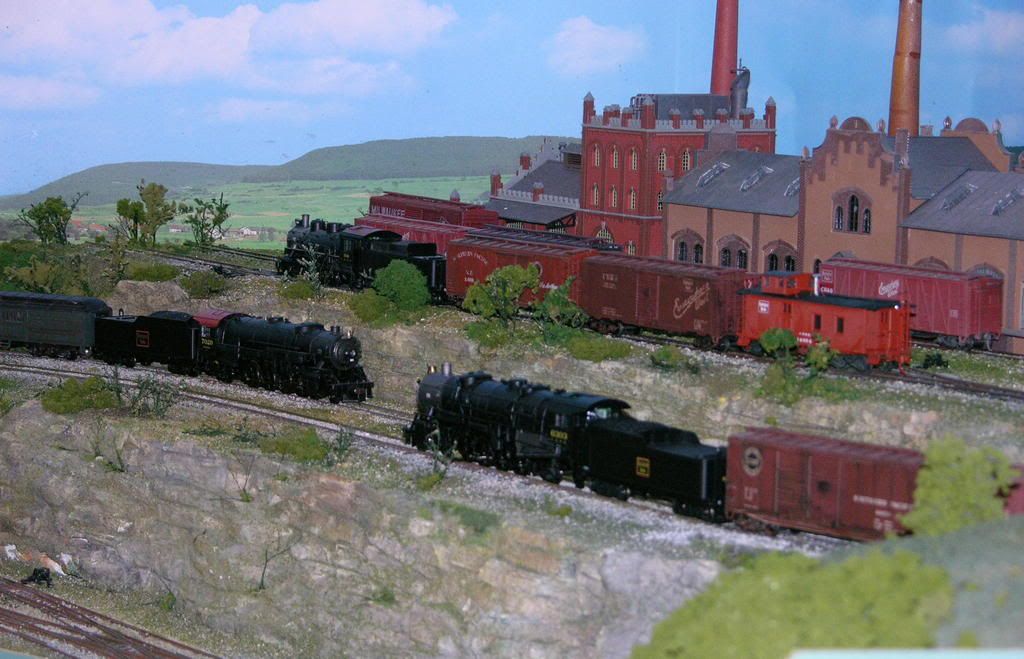
Here’s a portion of my Sierra Buttes using a combination of Bragdon rock casting molds, Sculptamold and the Cripplebush.
I would use (and I have in the past ) Ceiling tiles , brake the up , they brake in nice uneven pieces with a nice natural gray color , and since they are a paper product they take paint well . stack the pieces and glue them in place , they work very well and look very natural .
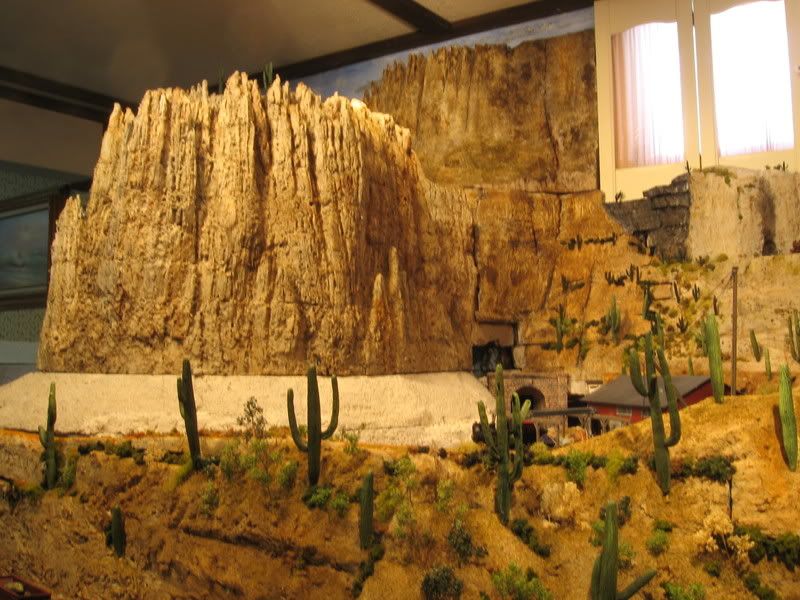
I’m with Karl, carved foam. A couple of my pics. The whole floor to ceiling canyon is carved foam done in small parts and stuck together. I have also carved cliffs and applied as thin as 1/2 inch. Foam also paints real nice.
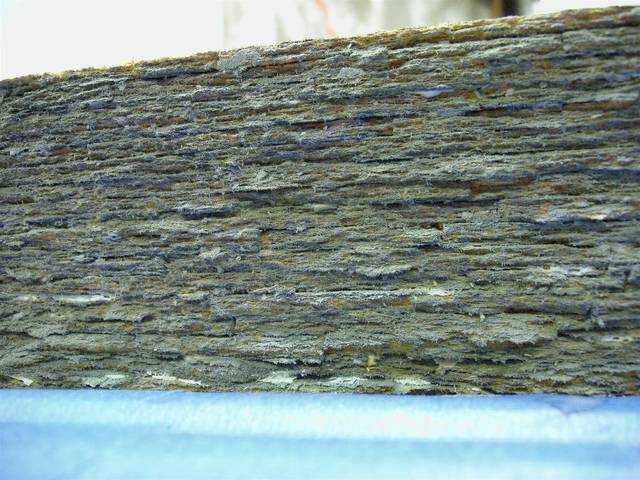
The rock strata in these photos is made from plaster pieces. I made slabs of plaster and broke them. I then stacked the pieces pancake style with construction adhesive to hold them together. Next, I filled gaps with spackling compound. Then I put thin layers of different colors of acrylic paints waiting for each layer to completely dry before the next layer. I added scenic products as approproate.