Apologies to anyone who is offended by my repeating myself, but the original thread has gone to four pages so for anyone who simply wants to see how I improved on the kit, here it is. These recommendations are in addition to the supplied instructions.
The Walthers 90’ turntable kit has not received many positive reviews. In fact, I don’t think that anyone who has built the kit according to the instructions has been totally satisfied. Here is what I did to turn the kit into a smooth running model:
The first thing to check is the pit to see if it is round and flat. According to several people the pit is often warped right out of the box. Fortunately mine was not.
The next step is to clean up the large drive gear. Out of the box it has a lot of flash which needs to be carefully removed. I suggest using a magnifier so that you can study the teeth very closely. Any remaining flash will cause the turntable to operate roughly. In addition to cleaning the gear teeth, I also cut a slot in the bottom of the motor housing so I could actually see the gears meshing. The slot proved to be invaluable as I will explain in a bit:
Next I did a test fit of the bridge and the motor housing without the large gear or any other parts installed. The motor housing holds the bottom pivot point for the bridge. I found that the bridge did not sit level in the pit, but there was no allowance for adjusting the motor housing to get the bottom bushing in the proper place. To solve that I drilled out the screw holes in the motor housing so the housing could be moved a bit from side to side:
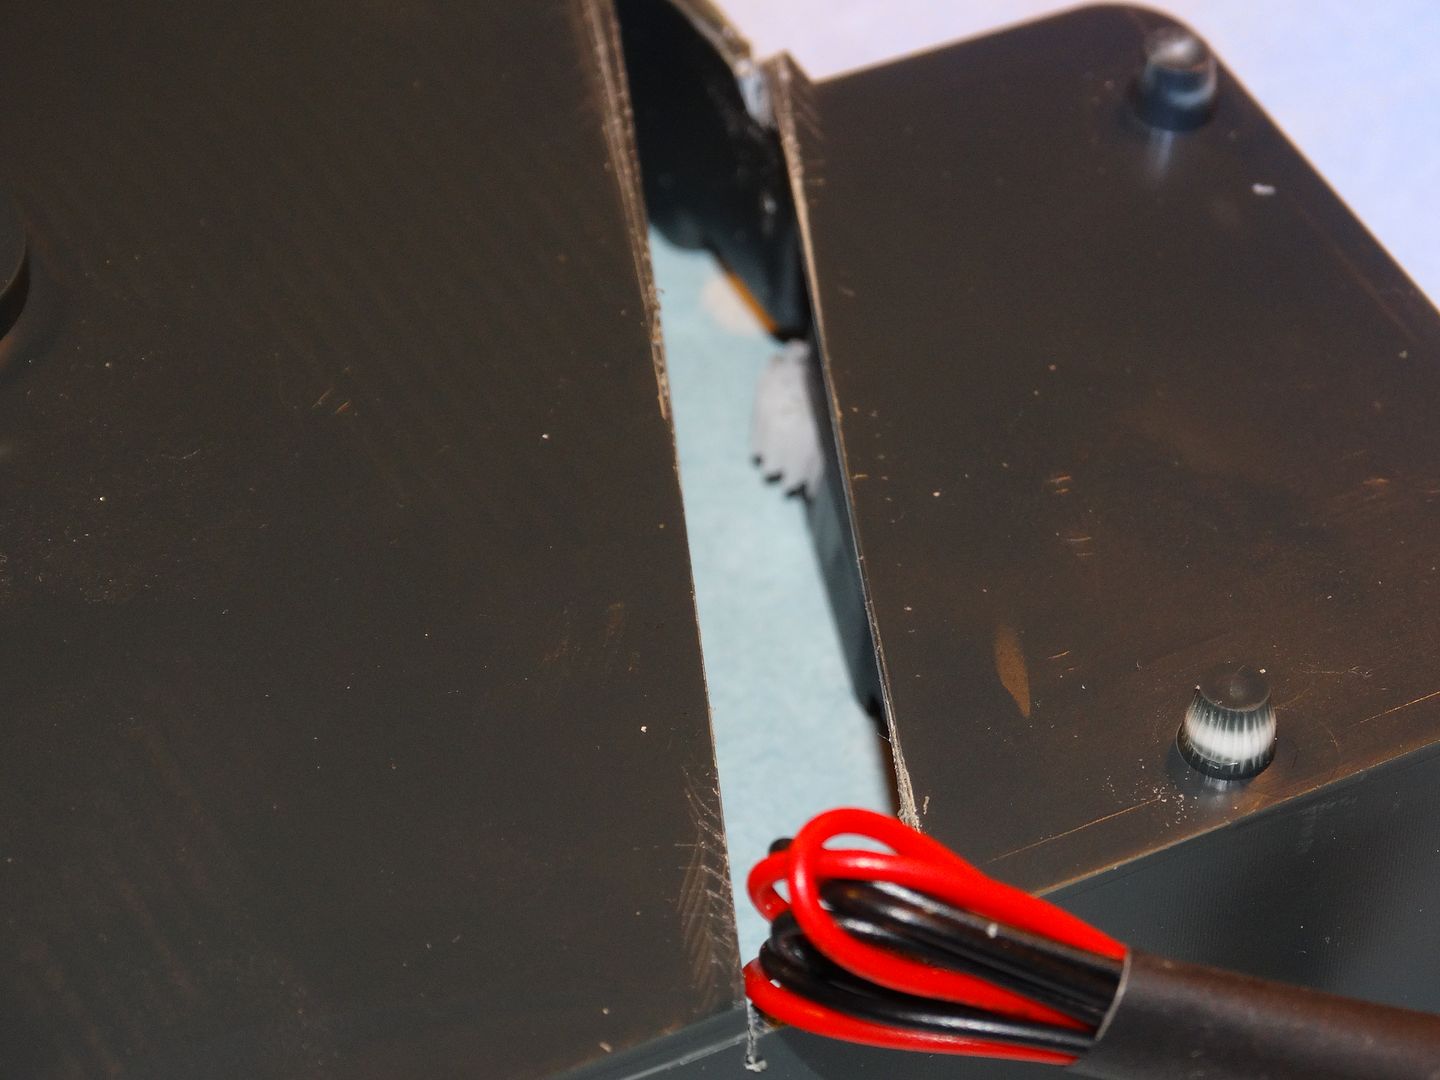
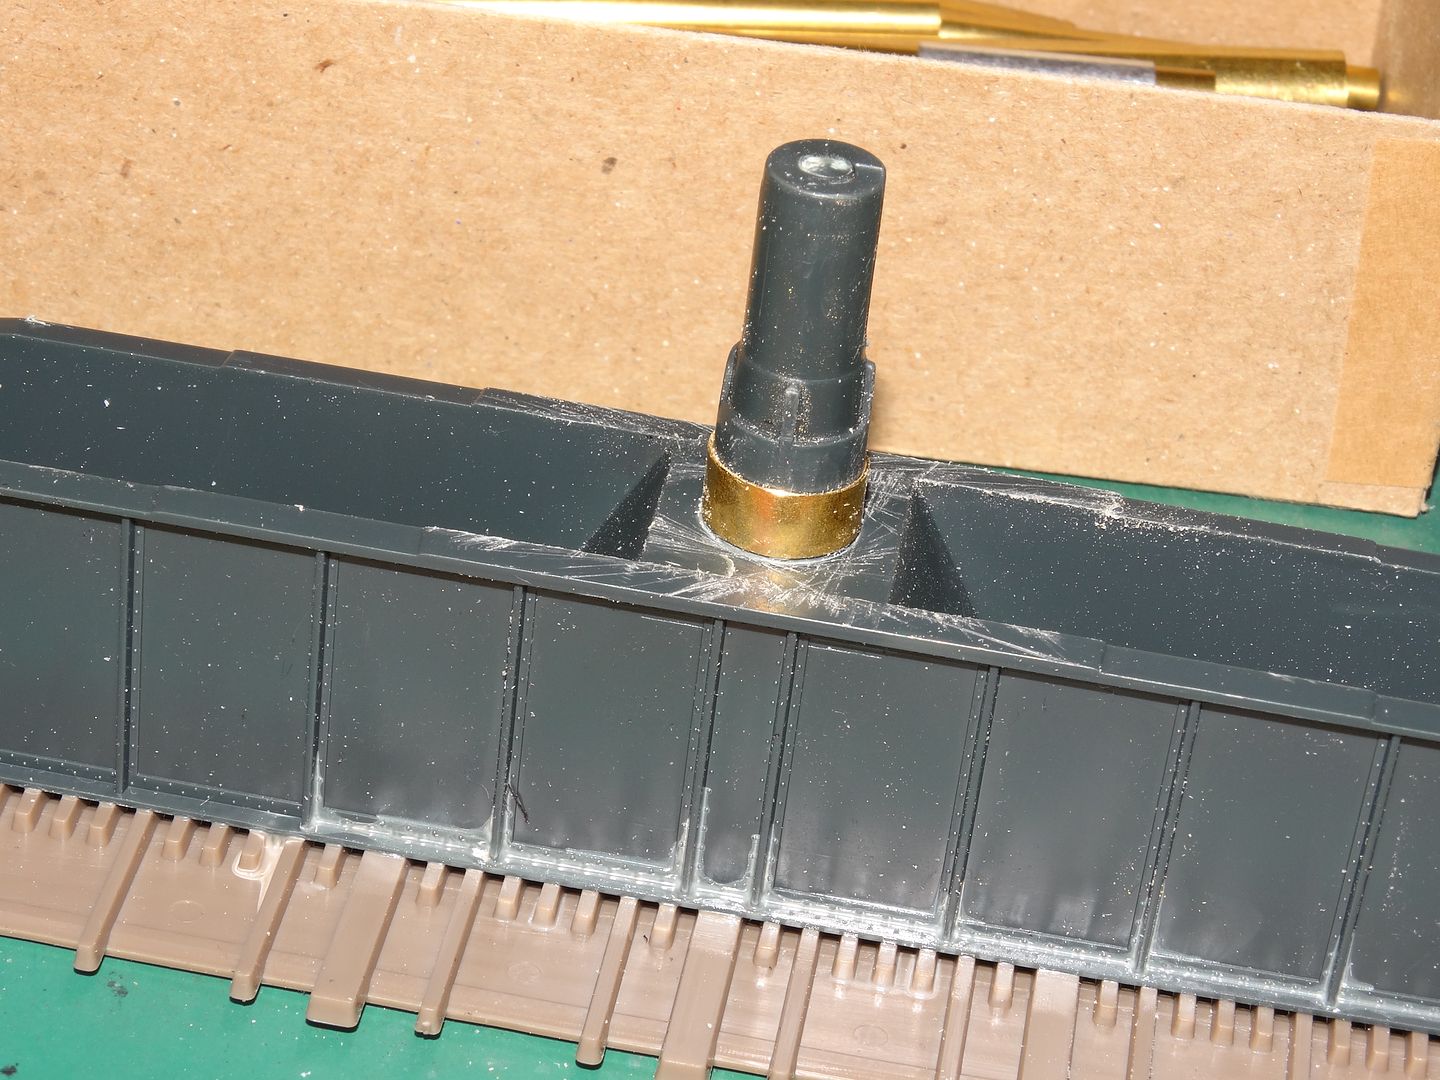
I was a little skeptical about the upper bridge bearings given that they were plastic on plastic. I decided to add a piece of brass tube to the top bearing surface on the bridge:
Whether or not this will make any difference in the long run only time will tell.
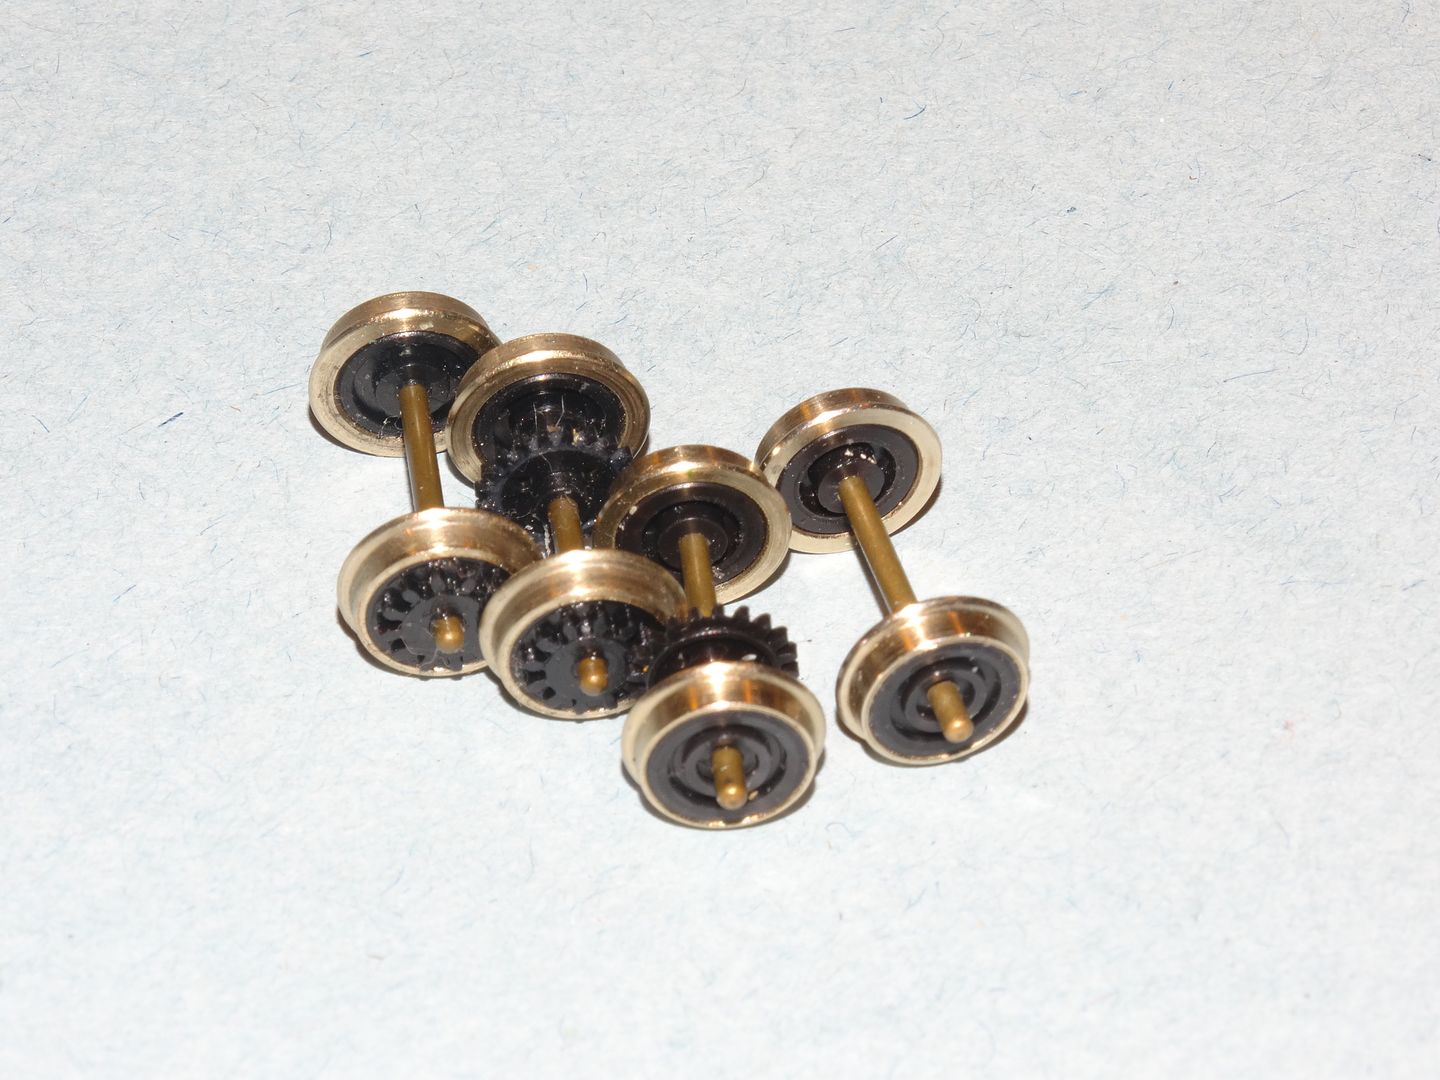
The next step was to get rid of the horribly poorly molded bogie wheels. In reality the bridge bogie wheels support the ends of the bridge both when it is rotating and when the locomotives are running on and off the bridge. Walthers should be ashamed of what they put in the kit! Enough said. It so happened that I had a leftover set of brass wheels and axles from a Grandt Line box cab kit, but NWSL should be able to supply something similar:
I cut the axles long enough so that they projected from both sides of the wheels that I was going to use (the ones without the gears moulded on). The axles can be pushed through the wheel hubs to create longer stubs if need be.
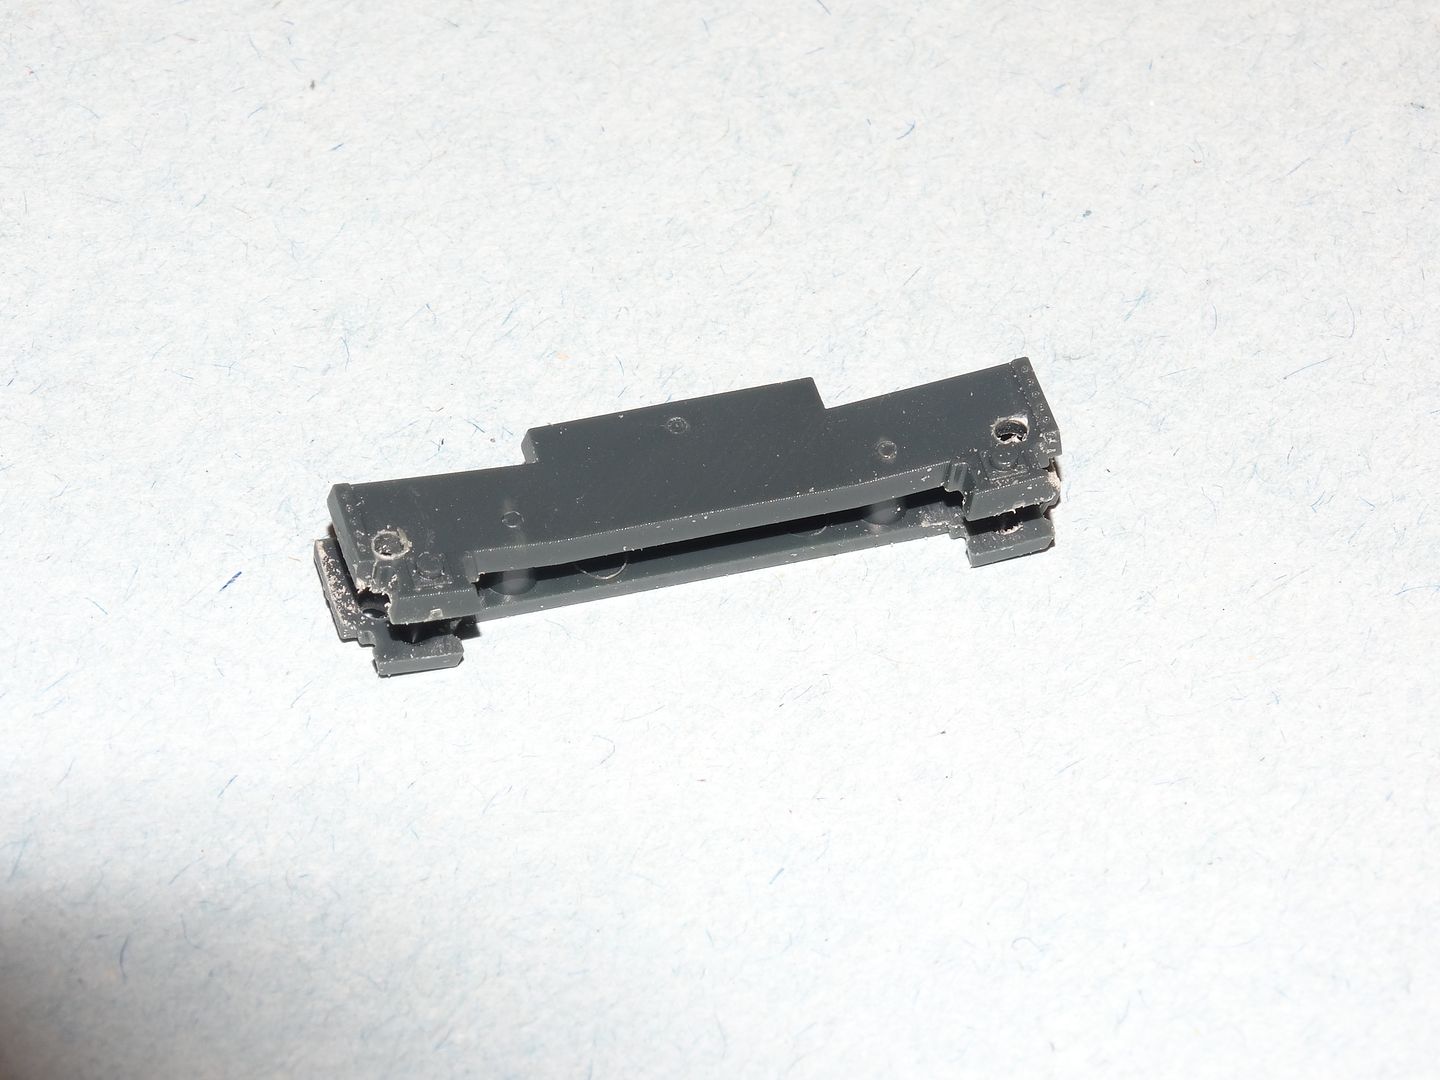
The next step was to modify the bogie side frames. The original axle sockets were too close to the bridge frame to allow the new wheels to fit so I drilled new axle holes a bit further to towards the ends and a bit higher than the original axle level. Where you drill your holes will depend on the diameter of the wheels you use. I determined the drill points by comparing the diameter of the new wheels to the original and displaced the drill point by an appropriate amount:
The bogies and the mounting position on the bridge for them required a bit of filing to get the bridge seated at the correct height relative to the edge of the pit. I also added som
I havn’t commented on Your other thread…but I must say…You did a fantastic job on the pre-fab of the parts You used…You’re a Man after My own heart. Having some mechanical knowledge is a plus, along with patience. I have always believed, ‘’ What the mind of Man can conceive and believe, He can achieve". You never know what You can do…until You try! [Y] [Y] [Y]
Apologize for sharing knowledge in a concise and understandable format?
Nonsense! You are bringing a wealth of information to the table, Dave. Turntables are fussy beasts and anyone who can gain knowledge and overcome these hurdles that you are showing how to overcome will benefit greatly from your well done “tutorial”.
Nice work—and thanks for taking the time to help others with these well documented “cures”.
It turned out great. Nice work. Good idea to consolidate. You might want to link back to the old thread from this one so that people can get all the little details if they want them…