Hey guys - and gals. What’s the best way to apply and seal decals so you don’t ever have to worry with them again ?..
Thanks.
Tracklayer
Hey guys - and gals. What’s the best way to apply and seal decals so you don’t ever have to worry with them again ?..
Thanks.
Tracklayer
Ever hear of solv-a-set? It works quite well.
Solvaset sets the decals, makes them snuggle down into the details in a model. To protect them you need to seal the sides of the rolling stock with a clear spray - Dullcoat for flat, others for less flatness. Then you can handle the cars and not be concerned with bothering the decals.
How does it compare with using Micro Sol as setting solution and Micro Flat as clear finish?
I was told by a friedn that Solvaset is too strong and may “deform” the decals. Both he and I use Micro sol and then Micro set. They work wonderfully and have never had any problems. Take a look here. The work is his not mine.
http://www.modelrailroadforums.com/forum/showthread.php?t=4001
-dekruif
The micro-sol, micro-set system when used as directed works as good as or better than solvaset. The key step is to make sure the decal being placed is where you want it before applying the setting solution as part of the process actually partially dissolves the clear portion of the decal. Also while the seting solution is drying it is important not to touch the decal as you may disturb it’s location. This is especially true for thin decals like microscale’s. After it is dry if there are places where it has not settled down to the surface (bubbles) then it is best to puncture the bubble with a needle or a sharp no 11 x-acto blade and then reapply the setting solution to that area, then repeat as necessary.
Decals should only be applied to a glossy surface. After they have thoroughly dried as previously stated a gloss or flat clear coat can be applied as appropriate.
Also only do a couple of decals at a time instead of trying to apply all at one time. This will prevent the unhappy occurrance of displacing a previously placed but not yet set decal.
For passenger cars I use Solvaset to “set” the decal, and Future floor finish to seal them. I really like the finish that I get with Future.
Good advice Bob. What’s the secret to ensuring individual letters are set on the same horizontal line and are aligned vertically - other than eyeballing?
My only suggestion concerning individual letter placing is don’t cut out individual letters unless you are having to make a sequence that doesn’t exist, as in an imaginary road name. On my Southern locomotives I place the entire S O U T H E R N decal without cutting out the individual letters. If applied correctly and oversprayed with a clear coat you won’t see the decal film between the letters. If applying individual letters the only way I know of th get them straight is the mark one eyeball.
I saw an idea for getting straight decals in MR (IIRC). The guy built a wood box with a true 90 degree corners, long and deep enough for a passenger car. He then put the car or loco lying on it’s side in the box, making sure it was square with the box by having all wheels on the bottom “shelf”. He then used either a T-square and/or a drafting triangle (clear plastic) against the side of the box to make sure his decals and stripes were as straight as possible.
Paul A. Cutler III
Weather Or No Go New Haven
Good ideas for when you are decaling and finishing a whole car.
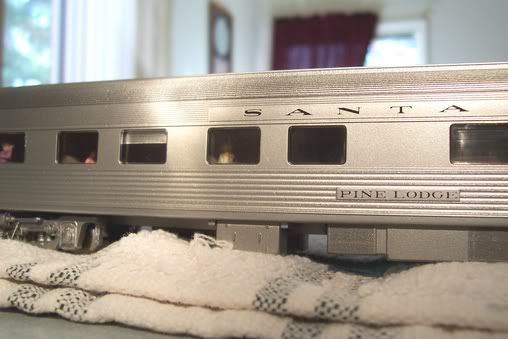
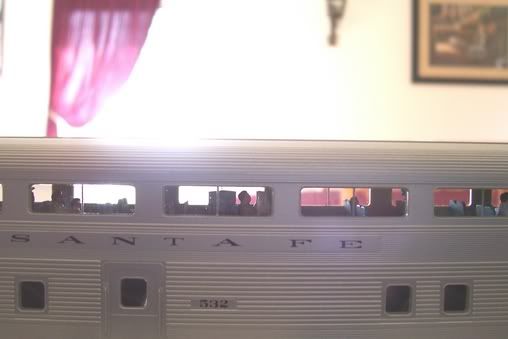
But how do you match the existing sheen of a car side when applying numbers or Pullman names to a RTR model (such as Walthers)???
Mike
Question that I have is if you are custom painting your model do you have to paint with a semi-gloss before applying the decals? I heard somewhere that a decal won’t stick to a flat paint very well, is this true?
Actualy, high gloss works best. I spray the whole model with high gloss being sure the areas where decals will go gets a very good coat. A gloss coat or a dull coat can change the color slightly as well as the sheen so spray it all.
Float the decals on a film of MicroSet and squeegy oput air bubbles with a brush of more MicroSet and position.
Once thoroughly dry, place a HEAVY coat of MicroSolv on top of one decal at a time. If it is a large single decal,like a road name a few words long, cover only anout 1/4" at a time.
Using your strongest magnifying visor, tilt the model in various directions in a strong light and look for tiny white spots which are air bubbles under the decal.
With a brand new #11 blade, pierce the white dots until they disappear. If you find more than a few bubbles, you didn’t use enough MicroSet in the first step. After all bubbles are gone, some of the excess MicroSolv can be wicked off with a dry brush being careful not to touch the decal.
Once completely dry, spray with dull coat and weather.
To avoid a “speckled” effect when weathering, mix your weathering color 50/50 with flat finish then dilute that 50/50 with thinner for spraying.
This technique has worked since the days of 410M paints and their airbrush which attached to the end of a vacuum cleaner hose and of Champ’s strong decal setting solution which needed to be diluted for using under the decal.
Have fun!