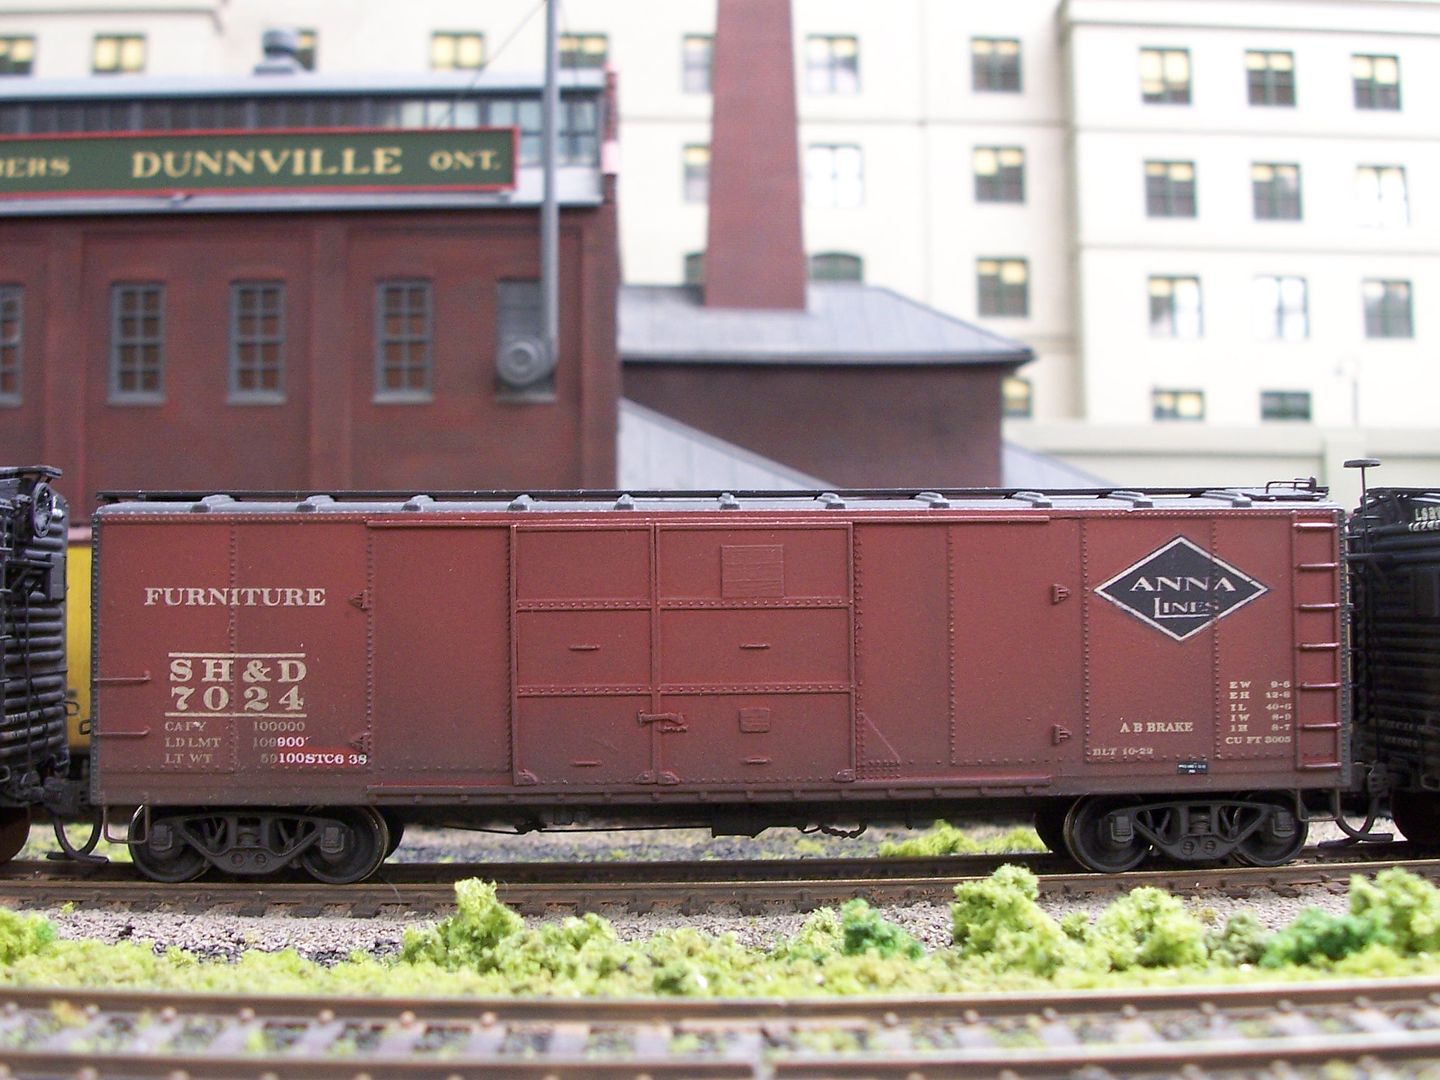
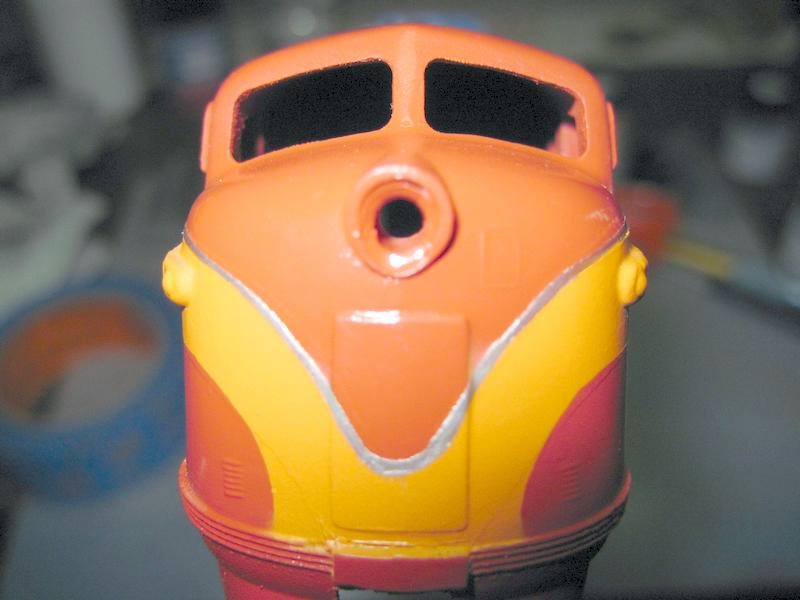
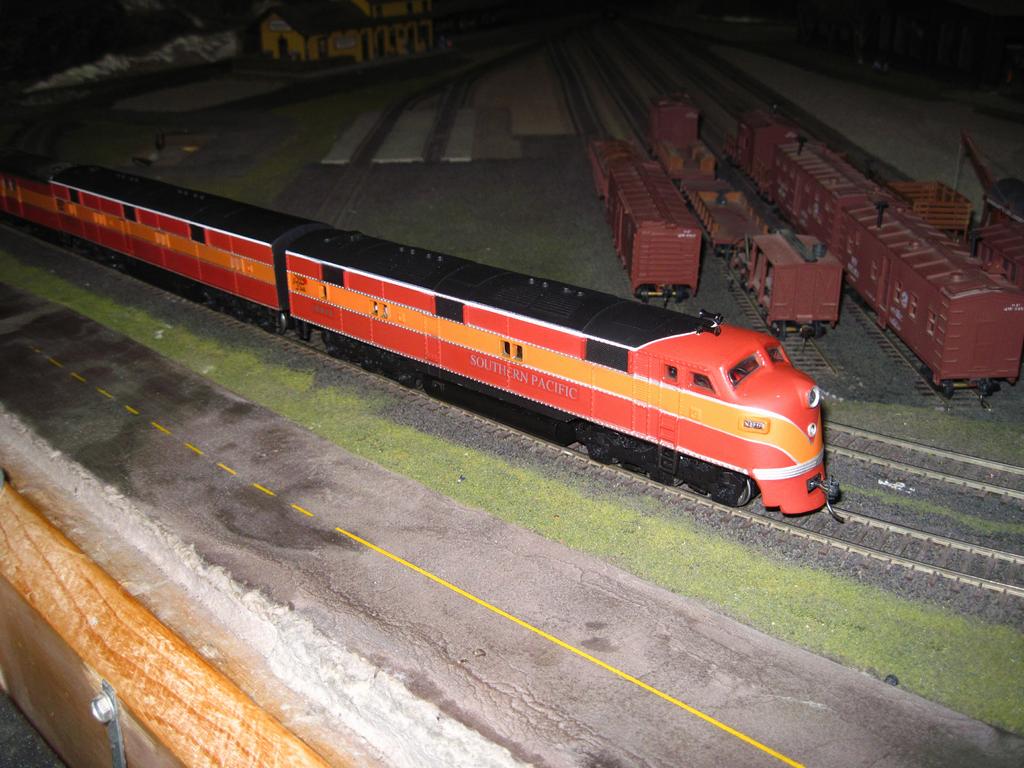
The BEE was done quite a few years ago, and I experienced little in the way of bleed-under using regular masking tape.
The Athearn cars’ roofs were masked to paint the sides and ends yellow, then after the yellow had dried for several days, I used ordinary masking tape to mask for the stripes.
To keep them straight, I put ordinary masking tape onto my glass work surface, then use a sharp blade and straightedge to remove both factory-edges of the tape. This gets rid of the dings and dents, and the fuzz that collects on the edges of the tape, and the not-quite-as sticky-as-it-should-be adhesive (due to exposure to air) near the tape’s edges.
To match the BEE’s stripe spacing, which is on a former Rivarossi car, I determined that the uppermost stripe needed to be on the Athearn cars’ rivetted belt line, right below the windows. That stripe is 1’(HO) wide, with a 3"(HO) space between it and the line below, which is 6"(HO) in width.
With another 3"(HO) space below that, the bottom stripe is 3"(HO) in width.
Starting at the top of the pre-trimmed tape, I cut the tape into eight 1’(HO) wide strips, placing one at the top of each of the belt-line rivet battens, then using my fingnail to form it over the multi-dimensional profile of the battens.
This naturally left the width somewhat less than one scale foot, so after determining where the bottom edgeof that stripe should actually be, I applied the second pre-cut 1’ strips to fill-out the missing width, overlapping the first-applied tape.
I followed that, on all four carsides, with an application of 3"(HO) tape (to represent the black space which would be between the yellow stripes), then added the 6" tape, followed by another 3" spacer and the bottom 3" tape to cover what was to become the bottom yellow stripe.<