The title pretty much describes my question; when applying a decal stripe that is shorter than the model, should the next piece butt up against the end of the first piece or overlap it slightly?
(I tried finding it in the archives but to no avail.)
I think it depends on the quality of the decal stripes. If they are truly opaque then the overlap won’t show, but if they are slightly translucent then the colour will be brighter (or stronger - however you want to describe it) where the decals overlap. I think it is easy to decide when you are applying the decals. If you overlap the decals and you can see the overlap then butt them up to each other instead. If you can’t see a difference at the joint then the question is answered. I use Microscale decals and I have never had a problem with overlapping joints showing.
One suggestion - let the first decal dry before applying the second one.
After I found out I could mask the stripes and use my airbrush I stopped using decals for stripping. It turns out that it’s easier with the airbrush than it was applying decals.
The white and silver stripes are done with an airbrush. The Daylight decals are actually harder to apply over the curved contured areas than painting them.
Mel
Modeling the early to mid 1950s SP in HO scale since 1951
I think a slight overlap is best; when you use decal setting solution there could be some shrinkage leaving a gap that would have to be patched with another piece of decal stripe.
Well Dave this might be a surprise, for straight or slightly curved stripes I use 3M Scotch Blue Delicate Surface Painters Tape 2080 EL. For sharp detail curves I use ¼” Scotch Blue Fine Line Automotive masking tape and follow up with 2080 as a filler.
I stumbled onto the Scotch 2080 on one of the RC Car Forums and the Fine Line on the MRH Forum. The Scotch 2080 EL is by far the best masking tape I’ve ever used. Absolutely no bleeding!!!
The 2080 is available from big box stores in three widths, .7”, .94” & 1.41” . . . . I keep a good stock of all three. The Fine Line is a bit pricy so I’m carful where I use it, the only place I found it here in Bakersfield is at an automotive paint store.
I’m using Black Cat decals. I’ve used them before, quite successfully. Unlike airbrushing, which I’ve never been able to master, and which wasn’t what I had asked about.
But the suggestions about the decals all seem good.
Sorry, I applied decals for about 40 years and always had problems at seams. As mentioned above too short after shrinking or too long and the overlap shows, usually looks bad either way. I eliminated the gaposis problem with my airbrush.
Just trying to help!
Mel
Modeling the early to mid 1950s SP in HO scale since 1951
Painting is probably the best solution for most striping, but if I’m using decals, I butt them rather than overlap, as any colour other than black usually shows a difference in opacity at the overlap. On most locomotives and freight cars, there are places where a butt joint can be disguised if you’re experiencing gaps after the decal has dried: panel separations on freight cars (rivet lines or exterior posts) and the gaps at door and access panels on diesels. You can also use a fine-tipped brush for touch-up.
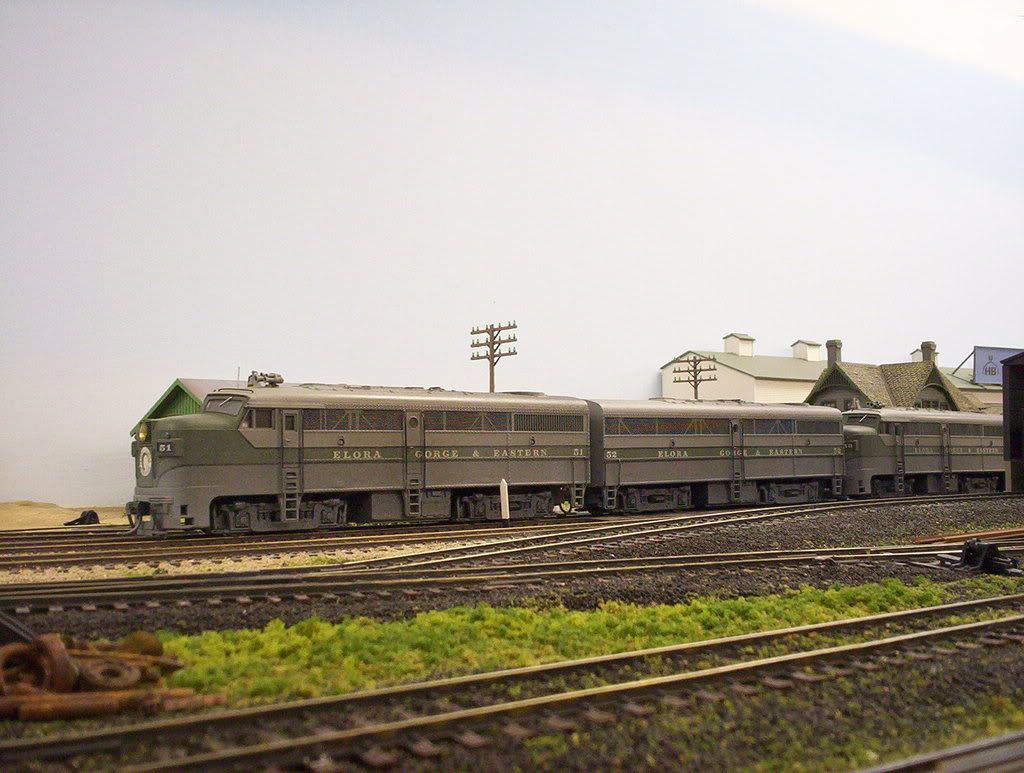
Before I had an airbrush, I did all of my striping with decals, like this brush-painted set of Alcos. The lettering was done with Champ alphabet sets, and lettering 50-or-so locos in that manner made me question the wisdom of choosing that name for my freelanced road [banghead]:
When I eventually decided to model prototype locos, I chose a local favourite for which there was no correct commercially available lettering or any pre-mixed paint available:
I mixed the proper colours using Floquil’s old Polly S paints, as painting plastic with Floquil using a brush would have damaged the plastic. The sides of the loco were painted with the cream colour - about 5 coats applied continuously on two locomotives - it didn’t cover well, but levelled readily, then dried quickly. After letting the paint cure for a few days, I applied the dry transfer lettering and striping - I recall most of it being red, as not too many modellers used it, and the hobbyshop had lots. This was applied as per the instructions, but I omitted the final step, burnishing, as these were intended only as temporary masking. This was a tip, if I remember correctly, from the late Art Curren in one of his kit-mingling
I don’t see that it wandered all that far from the original topic at all: pretty-well everybody answered your question, the majority with “overlap”, yet you opted for “butt up”.
Two of us suggested an alternative: “painting”, and went into procedures in some detail. That you prefer to not paint the stripes is your choice, but that doesn’t invalidate our suggestions to others reading this thread who may wish to explore such an alternative. After all, your question and the subsequent replies are seen by more than just the participants in the discussion (499 views as I write). This forum is a place to exchange ideas, and hopefully, some of it is useful to you and/or to many other viewers as suits their skills and requirements.