What is the best method for getting different radius curves with flextrack? I am planning to use HO scale 6 axle locomotives with the largest being SD50s and the longest cars will be 89’ autoracks. I’m figuring the absolute minimum I can use is 24" radius curves but I would like to preferably use 30" radius curves. What is the best method to draw the lines and bend the curves to check for overhang and see how much space I’ll need to make a 180? Should I just use a yard stick at the desired legth with a string and pencil or are there actual templates I can buy at a hobby shop? I saw templates for different radius curves but they were for cutting subroadbed. I’m planning to model the Chessie System 1972-1986, the locale is still undetermined with about 10’-11’ width and about 20’ length. The wife is really getting on me to build a layout but I just can’t come up the plan yet. Sound familiar?
Any advice, comments and suggestions are welcome in answering these questions!
The distance from centerline to centerline on 24" radius is 48", on 30" radius it’s 60". You split the difference and go with 26" or 28". 26" radius will be 52" centerline to centerline and 28" will be 56". Remember that centerline refers to the center of the track, not the outside edge. Allow an additional 2" at least. The overhang on long cars can be pretty aggravating when it interferes with running. As for measuring and marking distances, I determine where the centerline will on one side of the layout. I’ll use 22" radius as an example. Measuring from the centerline out 22", I place a tack to which I tie a string. I tie the string to a pencil at the other end. The distance between tack and pencil should be exactly 22". Starting from the established centerline, I scribe a line around from it to get the shape of the curve. Where the curve stops will be your next centerline. Repeat this process for all remaining curves, working from the back of the layout to the front.
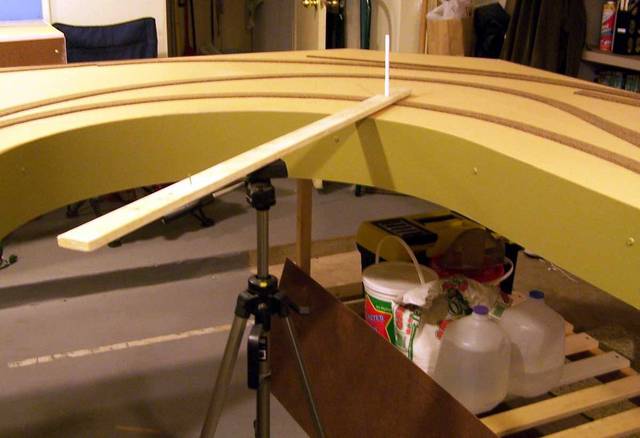
Once you determine what radius you want, try this. Drill holes (size of the pen) every 1" from the edge where the pen is. On the other end, drill one or two holes to fit the nubb on the top of the tripod. In places where there is enough surface to anchor the pivot point I simply use a small nail.
IF you haven’t already bought a lot of cork roadbed (ick!) you could take a look at Ribbonrail roadbed. It’s made of Upsom board in pre-cut curves (and straights) from 15" to 48" radius. You get it laid out the way you want and use small nails or glue to attach it to the subroadbed (like a plywood base) then lay track on top of it. You can shim under the outer edge of the curves to create superelevation.
Make the curved lines once on stiff poster board, cut it, and use it as a template on the layout. Complicated curve tracing is done once.
To do an easement, make the main curve about 1" inside the two tangent straight sections, and use a curve template TWICE the main curve radius, drawing it tangent to both the straight sections and the main curve. When done you will have a tough time telling where the curve actually starts.