I want to add some dirt roads and parking areas on my new HO layout. Right now my base is either the plywood table top or cork roadbed. What’s the best way to get gravel or dirt roads onto these serfaces? I will have a few of the road going over some railroad tracks as well. (I do have Model Railroader mags going back to 2009 if there good references there)
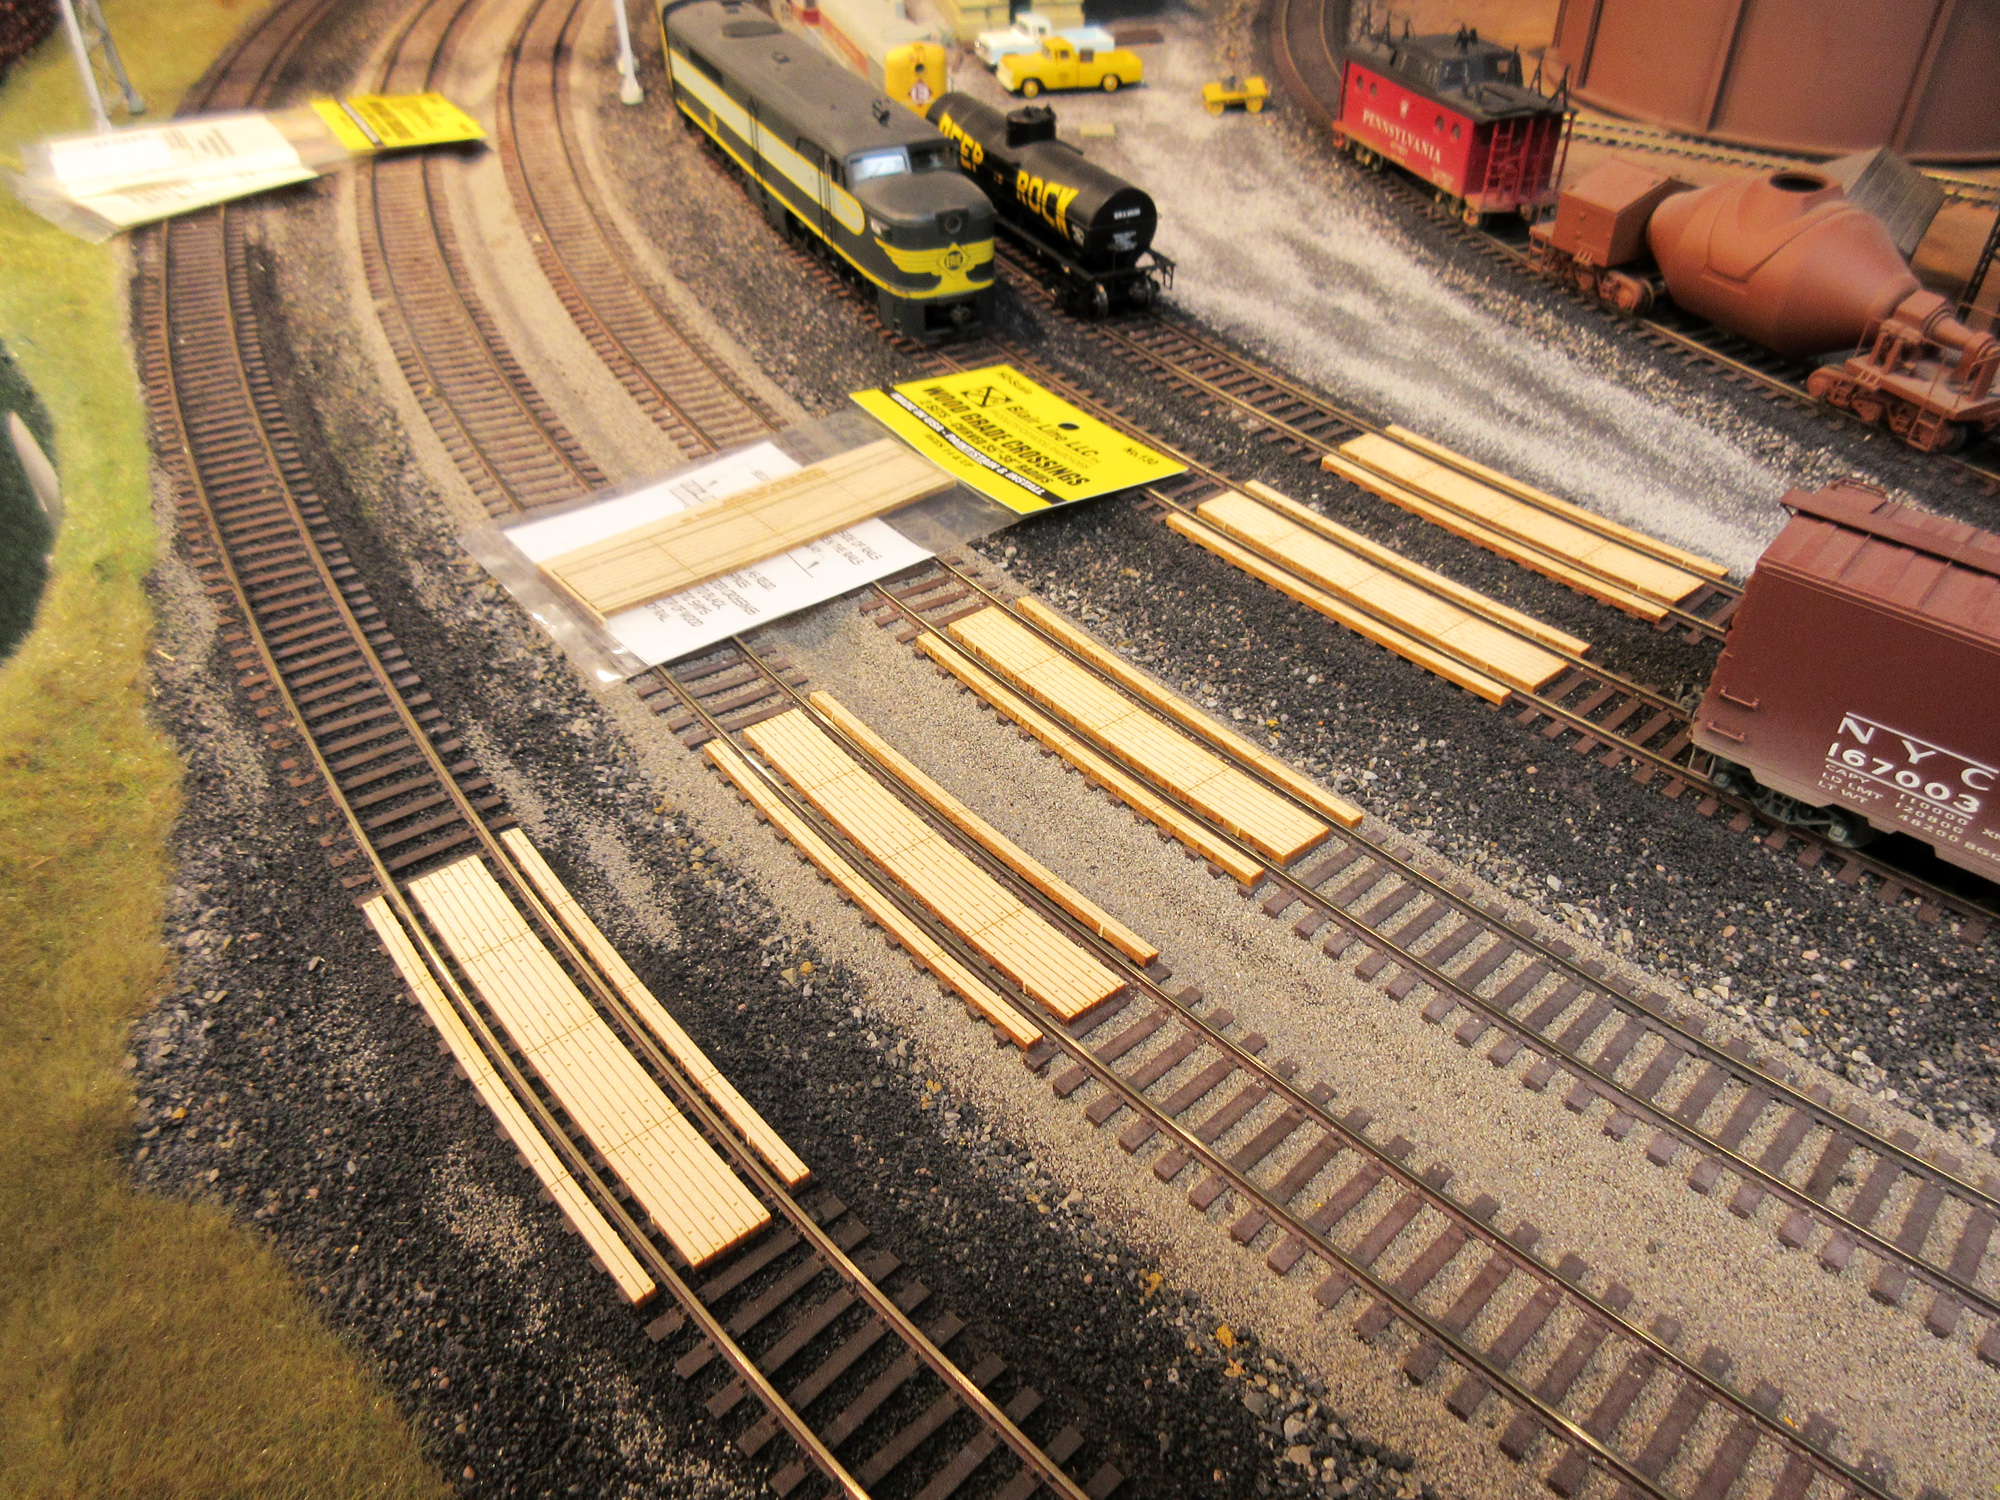
In most areas I use the same sand as the base for ground cover, so it’s already there atop the scenery substrate. Here’s it was glued over painted plaster, by applying a brush coat of 50:50 diluted white glue with a disposable brush.
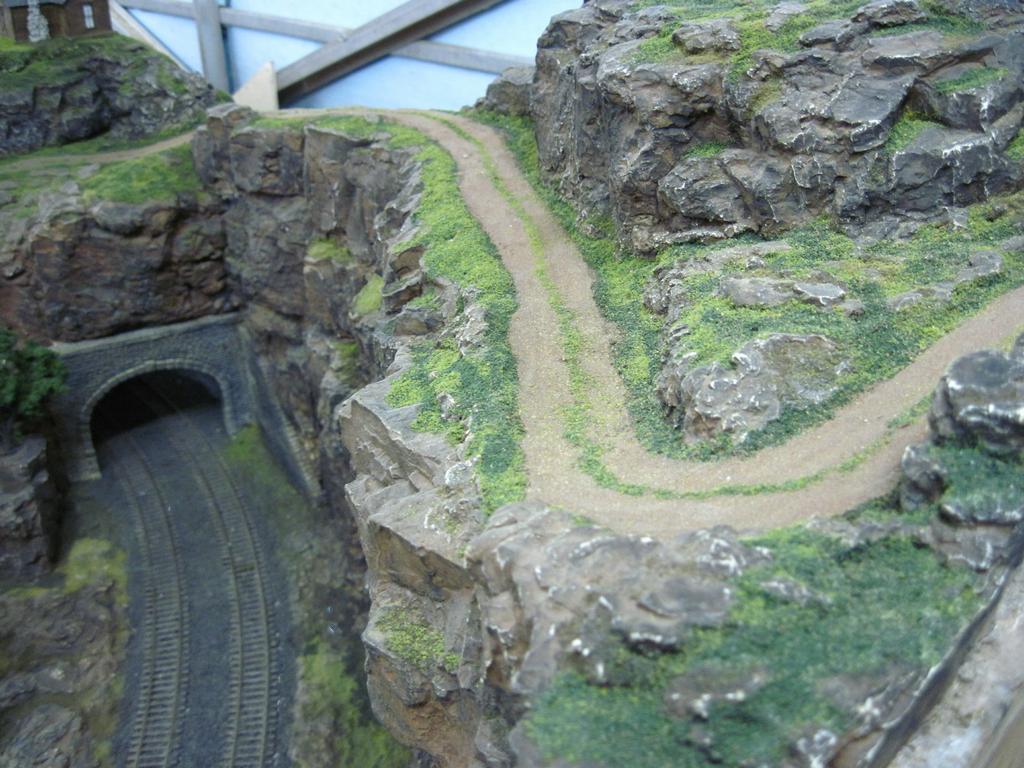
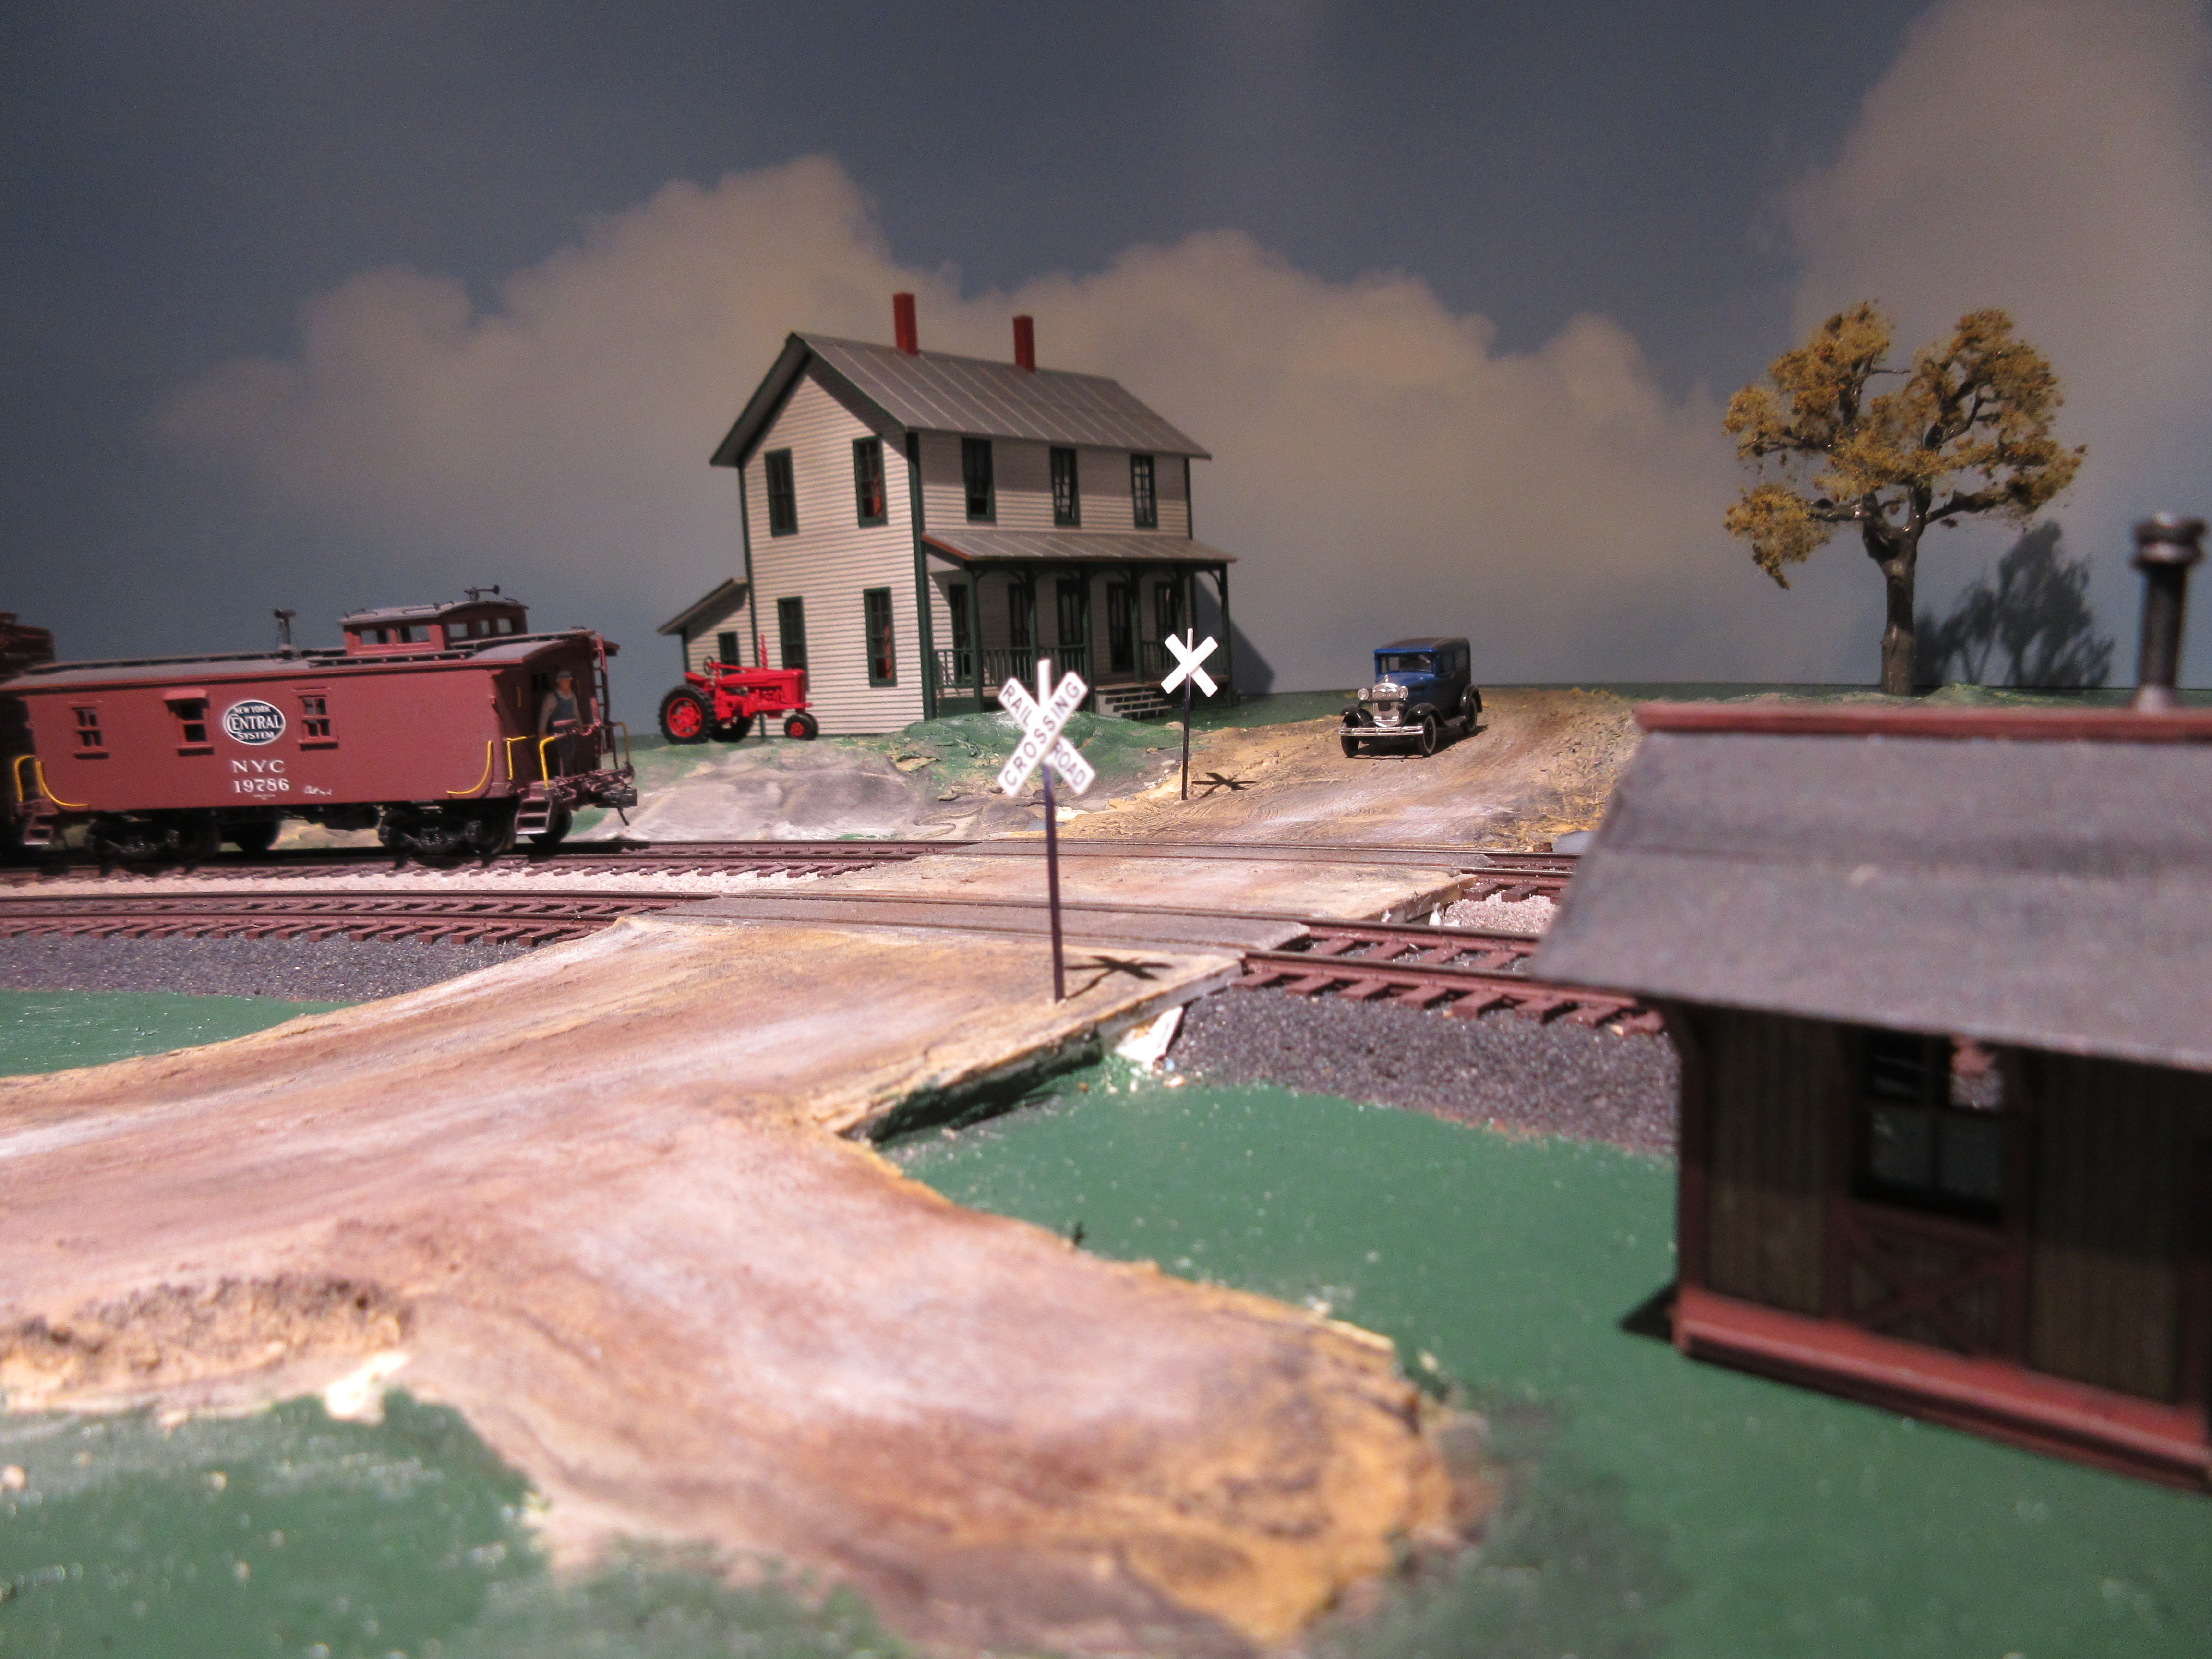
The road here needed some thickness for a grade crossing. Instead of brushed on glue, I built up the sand to shape, soaked it with water that had a few drops of dish soap added, then applied the glue on top of that. The culvert was installed first so the sand could be piled on top of it.
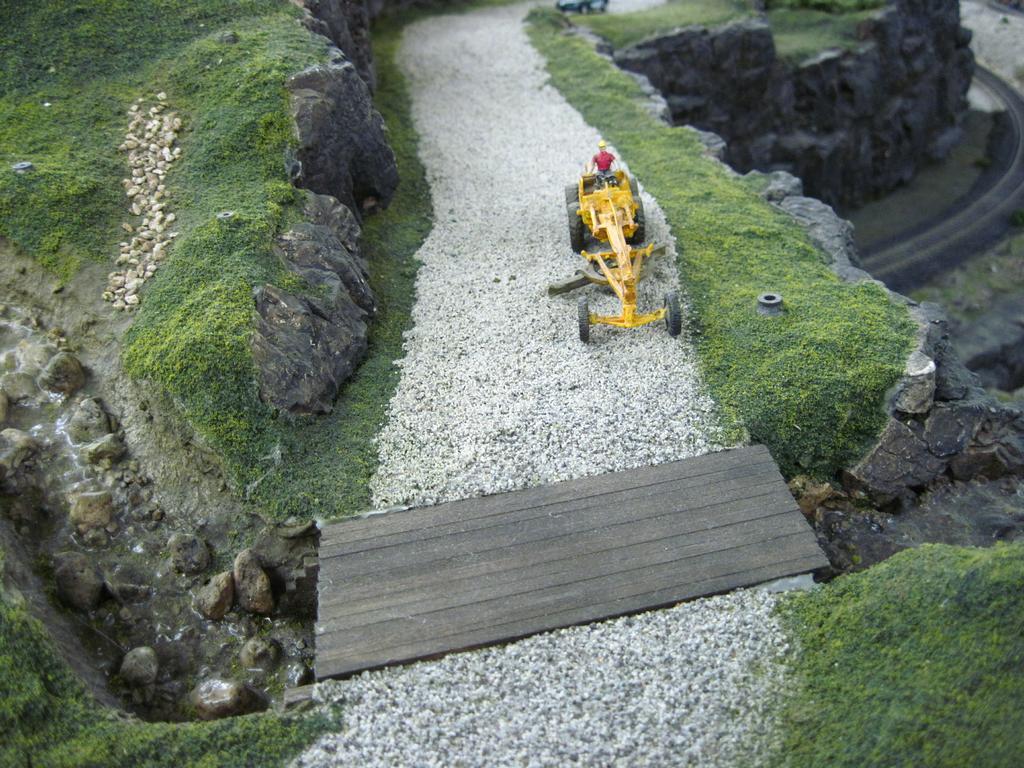
Don’t forget that neither dirt nor gravel roads will be perfectly flat – they will rut under the weight of traffic. This might be simulated by using a foam underlay and rolling a few vehicle wheelsets over the ‘aggregate’ or powder before using the surface-tension breaker and glue securement.
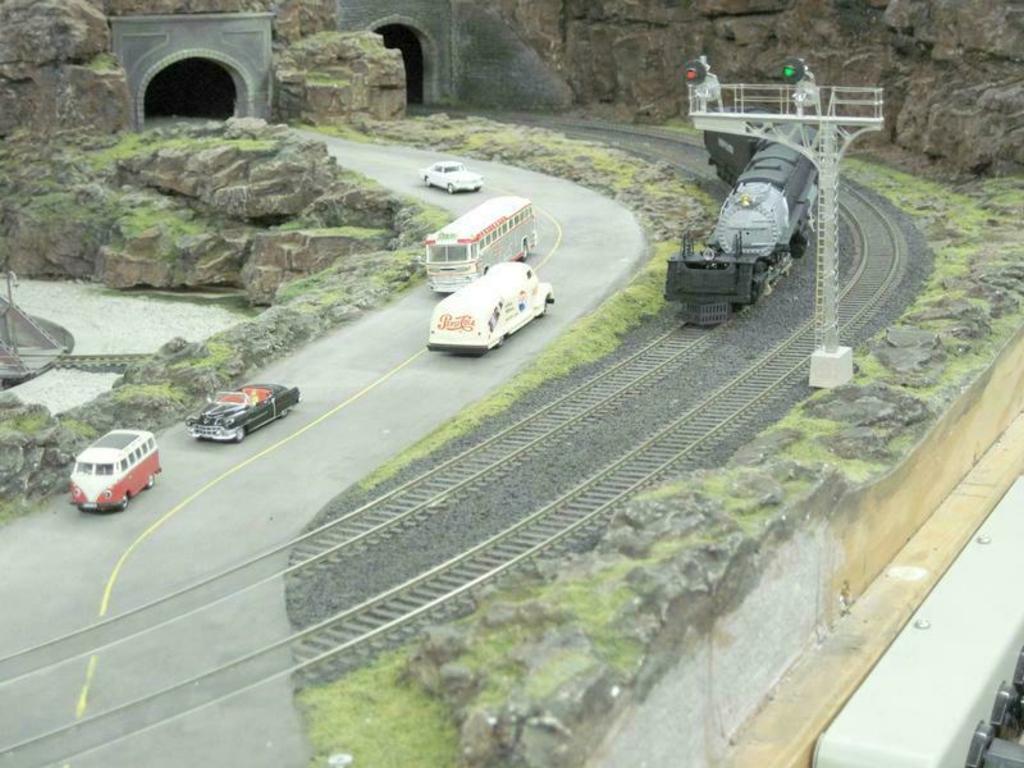
Remember also that the dirt and gravel will tend to migrate downhill under gravity and water runoff, or on curves as tire pressure moves it.
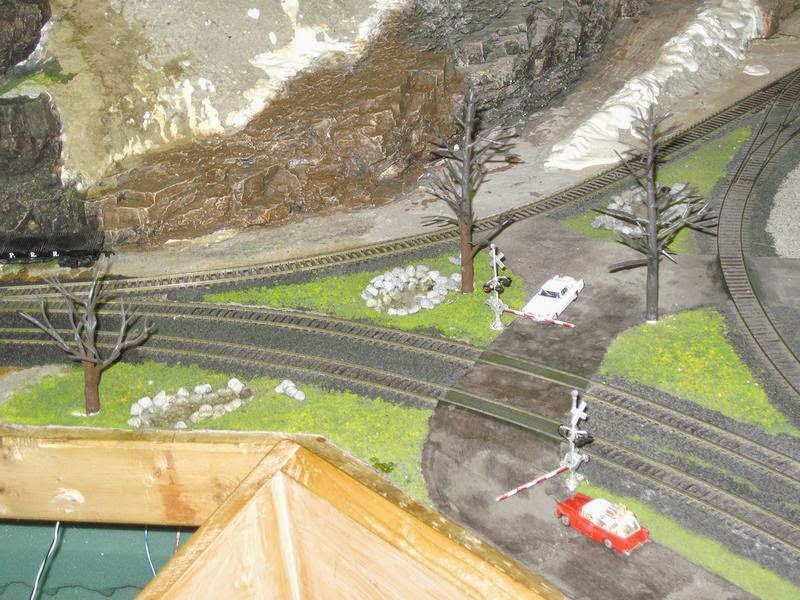
One of the better places to practice resin-type water effects is in ditches, ruts, and puddles in these roads, in addition to darker ‘moist’ patches. A few reeds sticking out of water-filled ditches is a remarkably good effect.
The products your using certainly work well, …Nice!
Many years ago my Brother and I were using different earth tones of both sanded and unsanded tile grout that yielded some good results. There is a lot more earth toned colors available these days. We used some of the same techniques as stated here.
I tried posting several hours earlier and kept getting an Error 403 but I’m back in business now.
I use a Hot Wheels vehicle to make ruts in my dirt roads, I wait until the mud is close to dry before I make the ruts. Don’t plan on using the rut making vehicle on your layout as the mud isn’t easily removed.
I also use the white glue 8:1 mix to seal the road when it’s finished. By making repairs to the Asphalt roads they look more realistic. After the road has fully dried and finished I use 1/16” yellow Automotive Striping tape for the center line, much easier than painting.
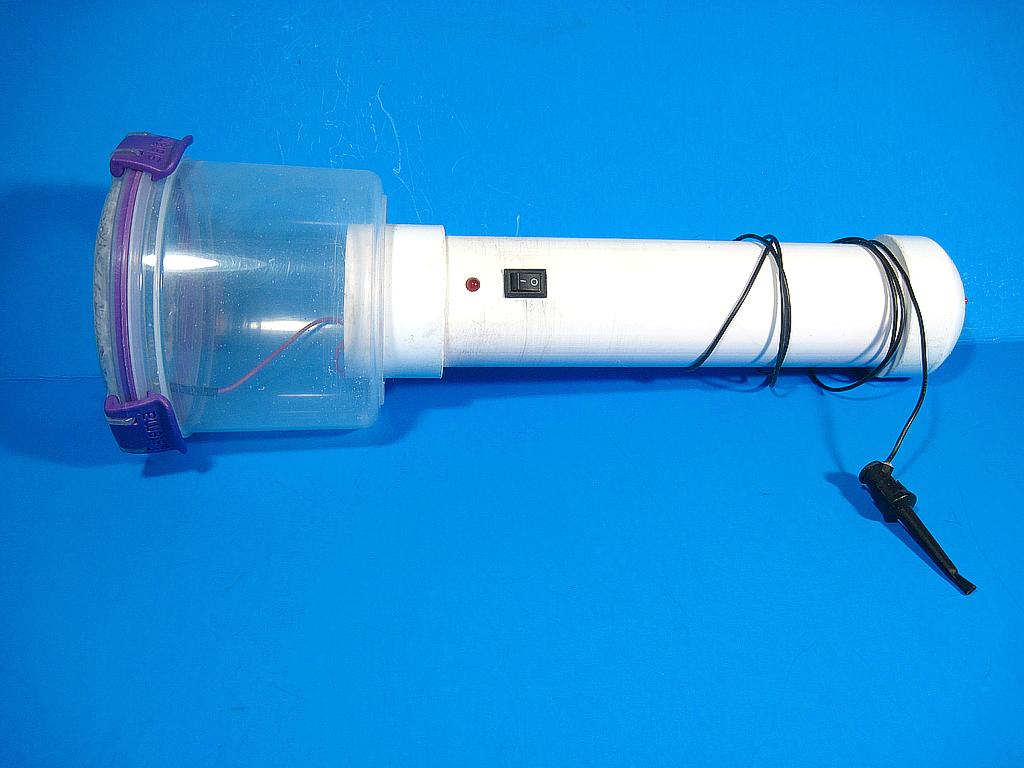
I just finished making a Luke Towan Static Grass Applicator and plan on sprucing up my dirt roads, haven’t tried using static grass before.
Where I have plywood as my base I was thinking of using sculptamold to built up the gravel/dirt roadbed incline to the tracks. smooth and sand it. Paint it with an earth tone color then add 30 grit sand on top of it and scenic cement it.
Where I want to add the gravel/dirt road areas in the yard, can I just paint the cork roadbed and then add the sand to that?
It began with a base of spackling. Then painted with cheap, tan, latex paint. While the paint was still wet I sifted fine soil over it. I misted occasionally with wet water if it became too dry after adding the soil.
When perfectly dry (may take two days!) I lightly vacuum any stray soil then “plant” the static grass clumps and strips. These can be home-made, too. Commercial ones are available but can be costly.
I don’t know what you did to it to get it to work or how it works but that is cool for ten bucks, … I’m kind of talented like my brother but not the smartest person on the planet[:-^]
Sure wish I knew how to modify that thing to get it to work???
A friend showed me dirt roads he made by sieving claybased cat litter on his OO (British themed) which I applied to an On30 exhibition layout. They certainly looked like dirt roads here in Australia and similar to roads I remember seeing in North America.
It does save a concern of any metallic particles in sand or other materials,
To be able to create a visual difference between my “gravel” roads and alleys, and true “dirt” roads, for dirt roads I use finely sifted fireplace ash (free if you have a fireplace!). The sifting is a multi sifting process as each sifting stage gets rid of pieces which, while small, would still look unacceptably big if being held in, say, an HO scale figure’s hand. (that is how I select my size of ballast too - what would it look like if held in an HO scale figure’s hand?).
The fireplace ash is spread and tamped and held in place using methods familiar from ballasting track: “wet” water (with alchohol or detergent to address the surface tension of pure water, which by the way I always use distilled water for), followed by in my case Woodland Scenic’s Scenic Cement in a pipette or other applicator.
I also use finely sifted fireplace ash for cinder ballast.
Don’t overdo it with ruts and such. While photographs of dirt roads in the early days of the automobile can be hilarious with muck and deep ruts, and some roads were truly awful, there is a reason they took those photographs - it was unusual enough to take a picture of. In fact some of the worst of those deep rut photographs and the ones that tend to get reproduced were taken by the predecessor of the American Automobile Association as part of their lobbying effort for more paved roads.