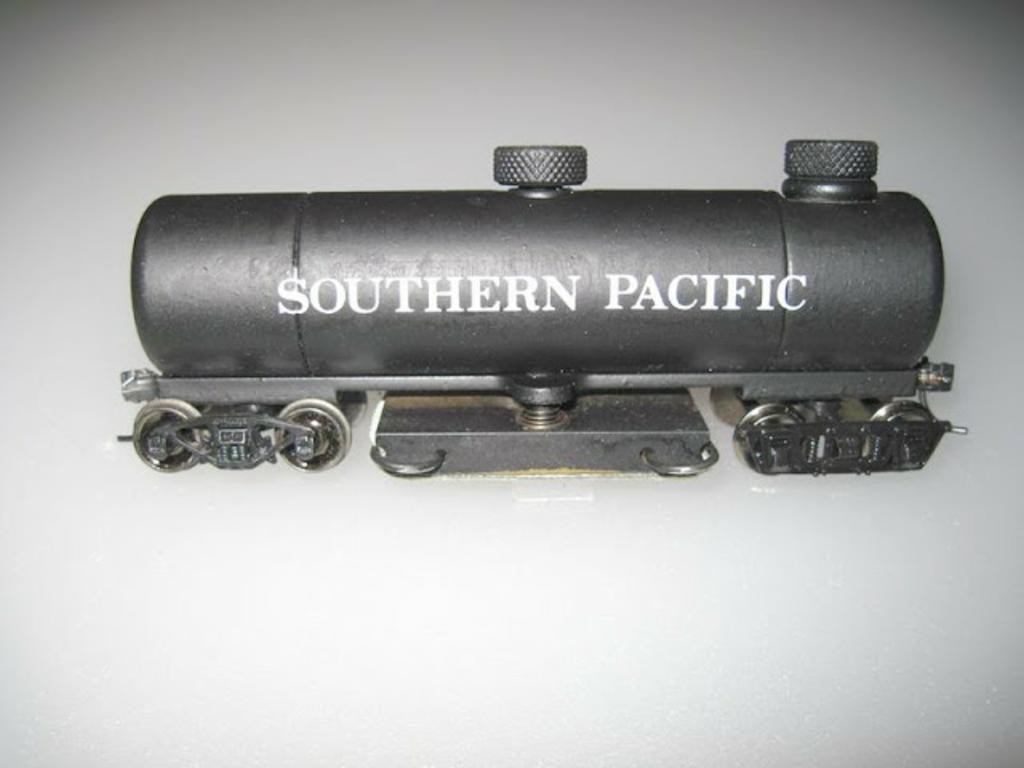
I use both decals and dry transfers, and both have their good and not-so-good points.
The first three sets of custom lettering I had made by C-D-S were for my freelanced road. The dry transfers should be applied on a matte surface, for best adhesion, and once applied and properly burnished, should be oversprayed with a clear, flat or semi-gloss finish - I prefer Dulcote, applied with an airbrush, but will add a little Glosscote if the model is meant to represent a newer car or locomotive.
The benefits of dry transfers is that they have no “halo” of clear film around them, as decals do, and the transferred images are more opaque than many decals, so the lettering appears more like it was actually painted-on.
The drawbacks of dry transfers include the one-shot you’re allowed to get it right: if you apply the lettering crooked, you can easily remove the mess with some masking tape, but it is not re-useable like a decal. It’s also difficult to apply dry transfers to irregular surfaces - careful burnishing can make a dry transfer cover rivets as well as does paint, but things like boxcar ends require a fair amount of diligence. Strong decal setting solutions, such as Solvaset, work well on dry transfers, too, a useful fact to keep in mind.
Dry transfers, properly stored have a pretty good shelf life, but can dry-out over time, rendering them useless.
For application on irregular surfaces, I usually apply the lettering to clear decal paper, burnish it well, then cut it out and apply it like any regular decal. If you overspray it, before cutting it from the sheet, with a clear finish to protect the lettering, it will make the decal difficult to settle, even if you’re using a strong setting solution. Leave it uncoated until it’s applied, then add the clear finish.
When lettering the ends of cars and locomotives, I’ve found it beneficial to place the item in a heavy glass beer mug, wit


