The Problem:
I have been assembling some of the Walthers cornerstone n scale kits for my layout and noticed that many modelers were frustrated with their kits because the pictures on the box presented the model with grout between the bricks, a detail not molded into the kit.
The Solution:
After a little tinkering I found that by using white pastel powder (I made mine by scraping a white pastel so that a powder formed in a small container) one could brush the white powder onto the model and that the white powder would naturally gather in the gaps between the bricks creating quite a realistic and fast way to add “grout” to the model. Many modelers are use to using pastel powders to weather buildings, and the technique is very similar. If you are looking for a darker or more grey grout effect multiple pastel powders can be mixed to create the ideal color of grout for your taste. After the desired grout affect is achieved I used a clear flat enamel spray to seal my “grout” in place.
I thought I would share this since I have found it to be a very helpful technique on anything I model, and I hope you find it very helpful too!!!
Does anyone else have any thoughts on how to detail the Walther’s kits?
Thanks for the suggestion! I used diluted white paint and it was very messy - too much time and effort. I have white weathering powder that I think has an adhesive in it.
I’ve used the same “powder” technique, first with common baking flour and then with Hydrocal. Both work OK. I set the Hydrocal with a water mist, so it remains plaster-like and will take an India Ink wash to tone it down.
Now, though, I’m using a thin wash of acrylic paint, mostly white with a bit of gray added for color. I find that it flows into the grooves much better if I first spray the building with cheap rattle-can rust or brown primer. I’m modeling in HO, which may make a difference on which technique is better, as the mortar lines are larger than they should be in N. This takes several applications, but I find it easier as I don’t have to do any spraying.
I built the Walthers roundhouse kit a few years ago. I spray painted all the bricks the mortar color, in this case a grey primer. Then I dry-brushed the brick color on the tops of the bricks, being careful not to get any of the brick-colored paint in the mortar lines. There is a company out of the Milwaukee area, Roberts, I think, and they have a mortar product that you apply over the painted surface and then wipe off the tops of the bricks. I haven’t tried it yet, though.
For the last N scale engine house I’ve put together I had used wet water with a bit of black acrylic paint to do my dirt and grime wash. Once dried, much to my surprise the soap in the wet water had settled as white residue in the mortar grooves, while the faces of the bricks had the expected grimy look to them.
Who new! Worked out great for me.
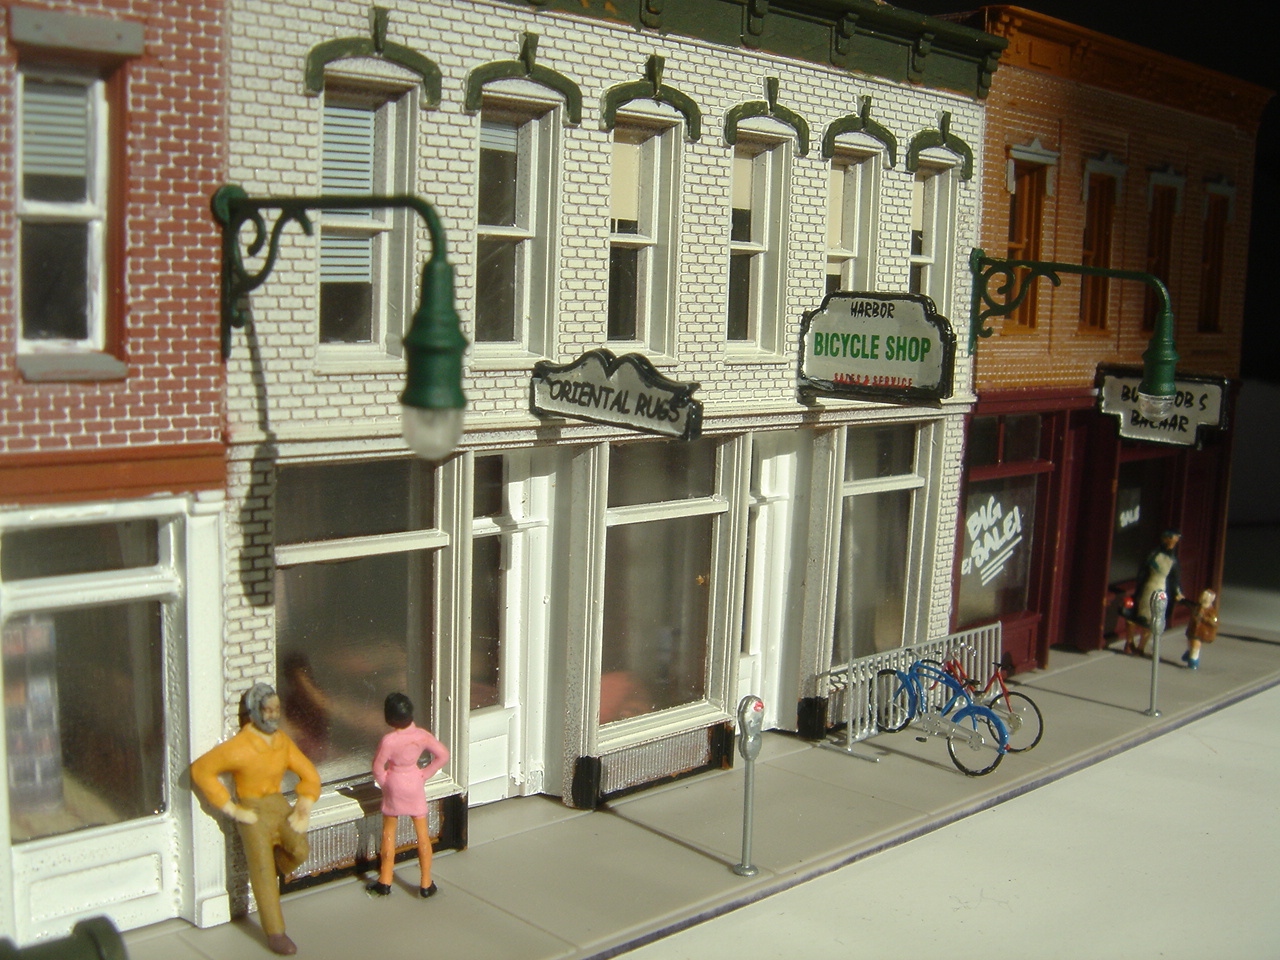
It’s one of the Walthers “Merchants Row” kits. The front wall is a single piece, but it models a group of adjoining buildings, so I did a lot of masking to make each storefront distinct.
The left side was sprayed with primer and the mortar was applied by “flowing” an acrylic paint wash into the grooves. The weird thing, though, is the center section. I sprayed the white paint over the original tan base color, working with the rattle-can at a low angle because I had the model surface in a cardboard box on top of my gas grill. The paint settled preferentially on the brick, and didn’t flow into the mortar lines, leaving me with the best brick wall on my layout.
I do something similar, only instead of a brush I use an art marker. It’s not like a felt-tip marker, it has a hard point so the color only goes on the raised bricks. I don’t remember the brand, but my favorite is called “English Red” and I get it at the local Michaels’ art/craft store.
Thanks for sharing your method. Posting a few pictures of your results would be great!
I have used a thinned grey acrylic wash to fill the mortar joints in my HO scale Walthers buildings. I apply the wash and let it dry for a couple of minutes, and then I use a damp cloth to scrub the mortar colour completely off of the brick face. I think that that is the most crucial step. Professional brick masons would never have left a trace of mortar on the face of the bricks. The result is rather subtle but I think this is a case where less is more. I have seen a lot of buildings where the mortar colour was left on the face of the bricks and they just do not look realistic.
There is one case where white stains do appear on the face of the brick, and that is where weather conditions and poor construction cause minerals to be leached out of the bricks. These stains generally appear lower on the walls and have a sort of cloud like appearance with the top of the stains standing out clearly and the lower parts fading into the brick. They are common here in Ontario. I am not sure if they are related to the freeze/thaw climate or if they appear in the south as well.
Thank you everyone for being so welcoming to the forum and hobby! I would post photos, but cannot seem to figure out how to do it correctly - any suggestions? All of the responses sound like great tricks, I am putting together a few DPM kits from woodland scenics and will be sure to try some of the new techniques I learned from everyone.
Thanks Again,
ctrdyl
On Another Note,
Will I always have to wait for my posts to be approved or is that something that only happens to newcomers?
The white stains you mention appearing on the face of the brickwork very rarely have anything to do with the bricks themselves. When brick is fired correctly each brick ends up with a surprisingly tough ‘skin’ on all sides which is a huge part of the reason good bricks are so durable. (In some historic brickwork the skin has remained intact for many hundreds of years.) Its also the primary reason that sandblasting brick is always such a destructive act, generally leading to more rapid failure of the bricks, both in appearance and as structural components, than whatever may have been the original concern that prompted the decision to sandblast.
The white stains are the result of what we preservationists commonly call ‘rising damp.’ They result from excess moisture at the lower part of the wall, sometimes because of foundation failure but more often from allowing water to gather at the lowest part of the wall surface, by poor ground contouring and drainage. Over time the moisture wicks upward, drawing salts and other mineral compositions along with the moisture. As the rising moisture evaporates from the brick surfaces it results in a process called efflorescence, which can also take place on the surface of some stonework as well. The evaporating moisture leaves the mineral deposits behind when the water departs as vapor, and this salt deposit coats the outer surface. It also, because of the chemical composition of the salts deposited, accelerates the failure of the brick skin and then of the bricks themselves as the protective skin is dissolved by the salts. Again, the reason this shows up most often at the lower part of a brick wall is because the process is one of the moisture wicking up from below, not down from above.
Stains that appear to be coming from above can result from things like sheet metal cornices rusting, or wooden cornices and fascia dissolving
Thanks for the detailed explanation of efflorescence. I had it partly right in that it is moisture related but I didn’t realize that the minerals did not come from the brick.