Gary, I use a photo storage site, Imgur.com, to store photos. It is free. You can sign up and Upload photos off your phone to the website. Then, you simply Copy Image into your reply on this forum. Pretty straightforward.
Rich
Gary, I use a photo storage site, Imgur.com, to store photos. It is free. You can sign up and Upload photos off your phone to the website. Then, you simply Copy Image into your reply on this forum. Pretty straightforward.
Rich
Rich, thanks. Yeah, does sound pretty straightforward.
Again, thanks for all your help.
Gary
Gary, if you need help using the website, just give out a holler.
Rich
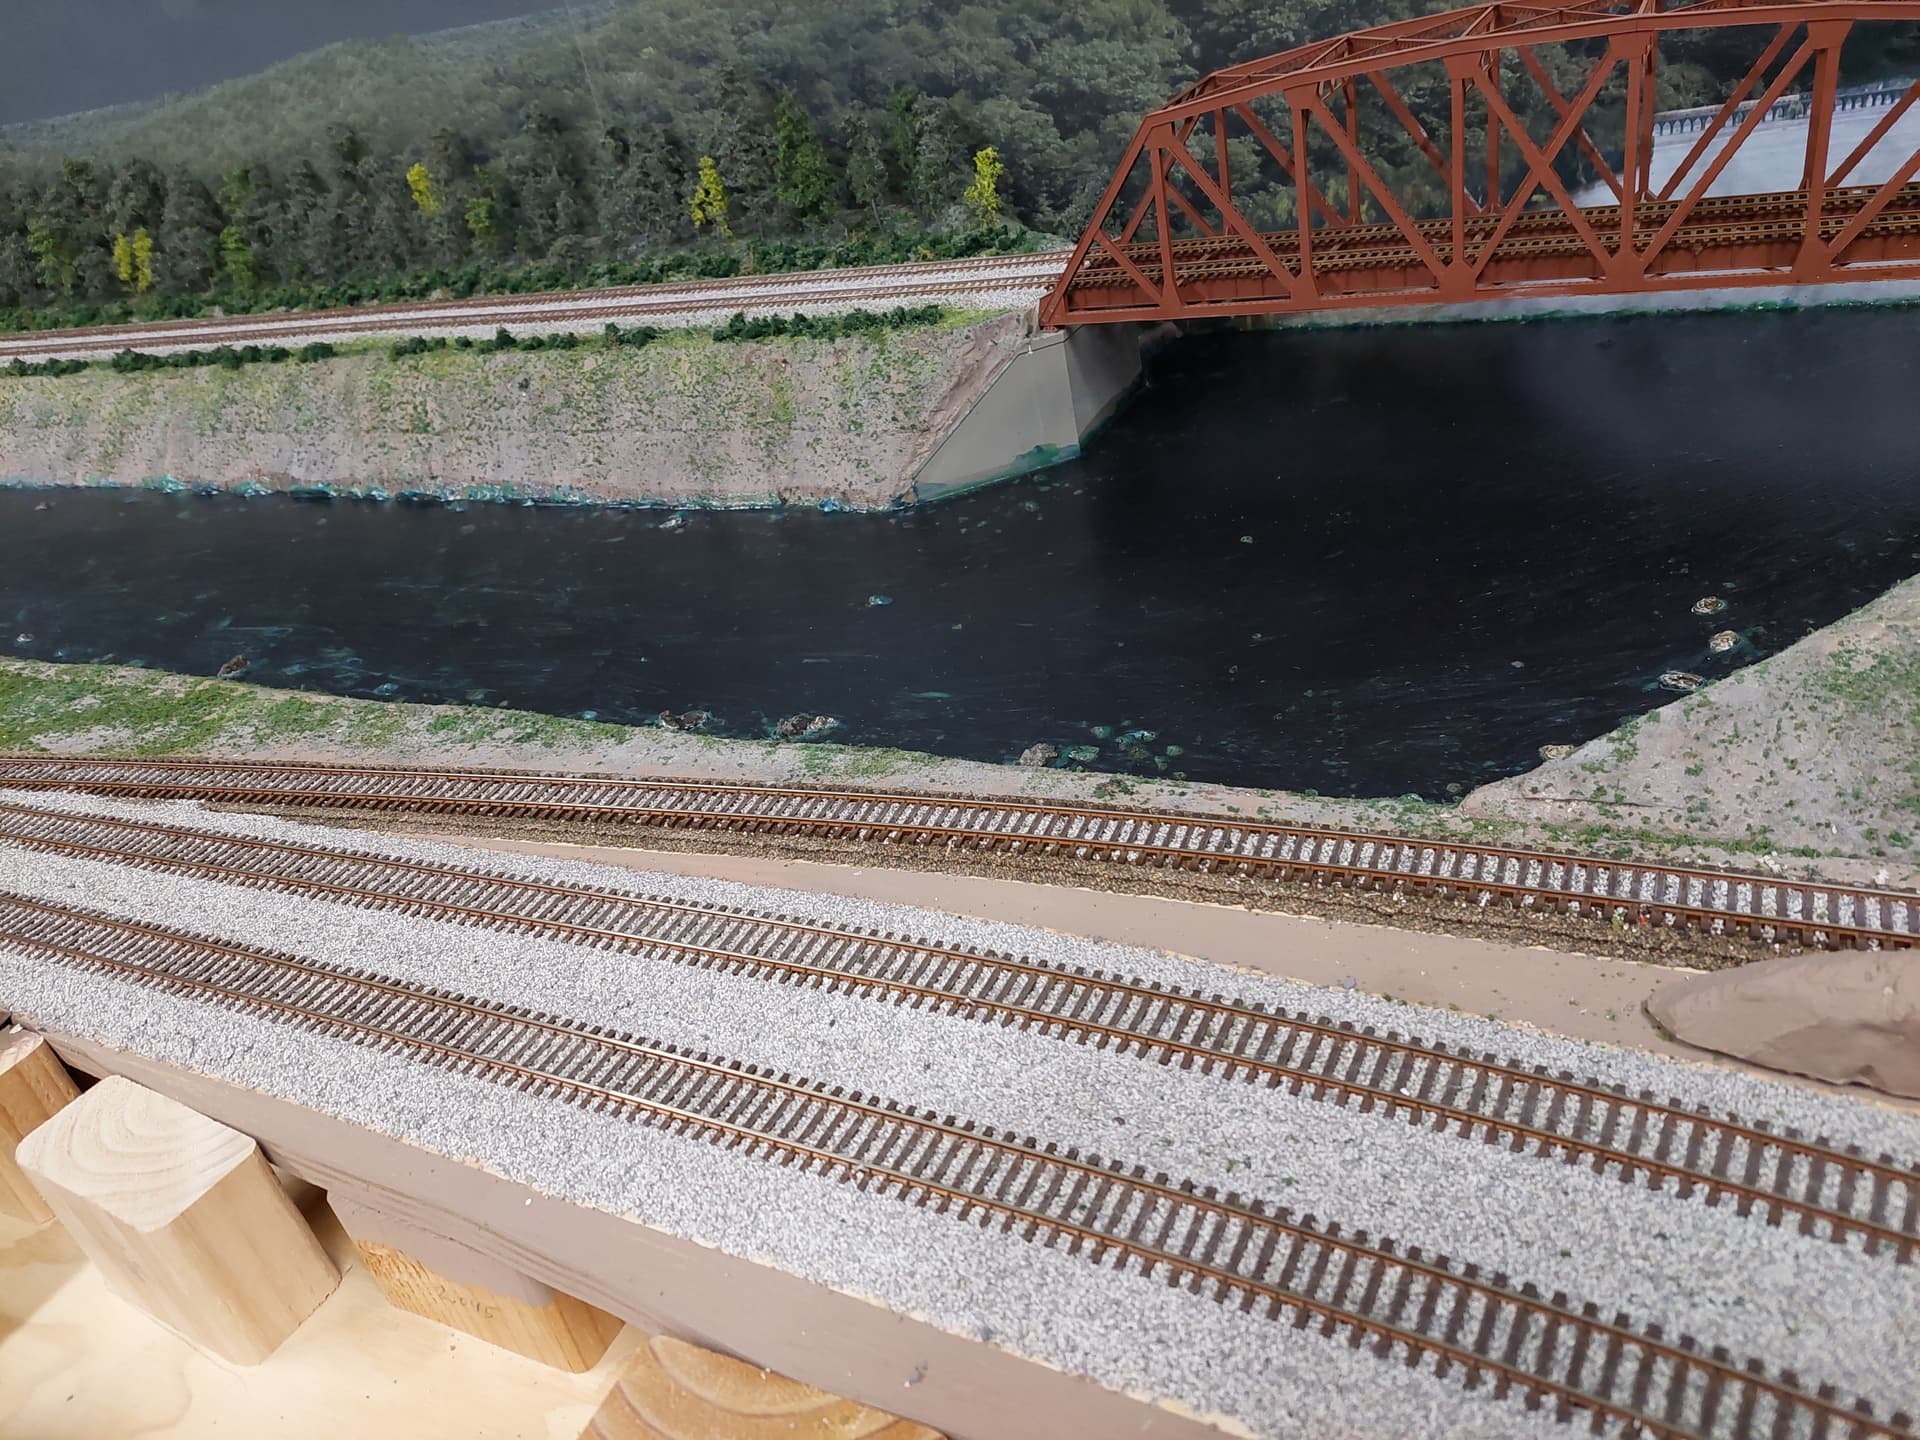
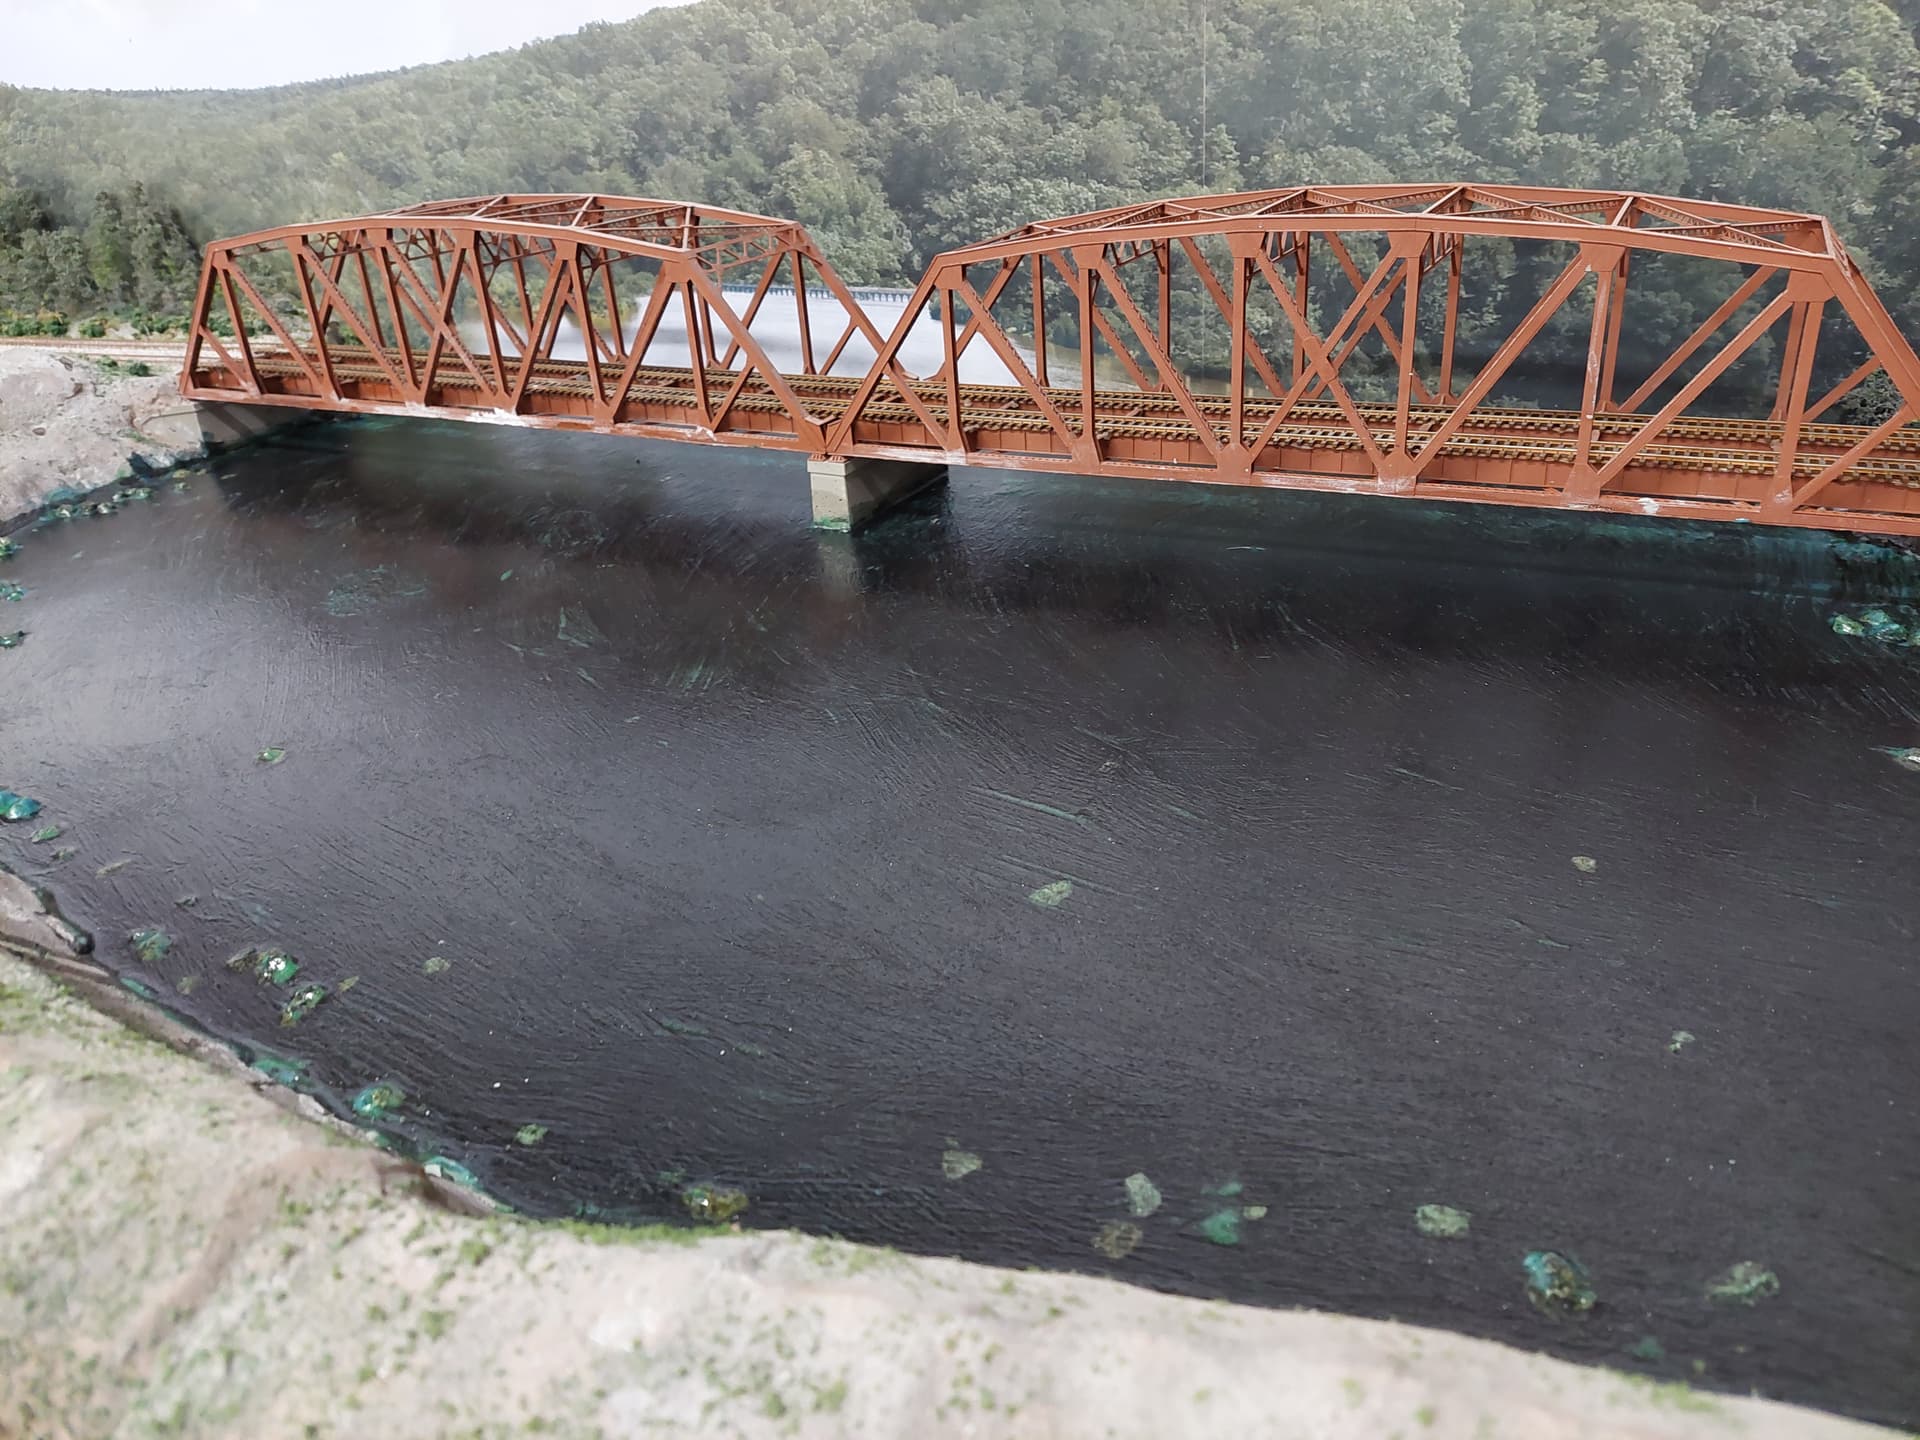
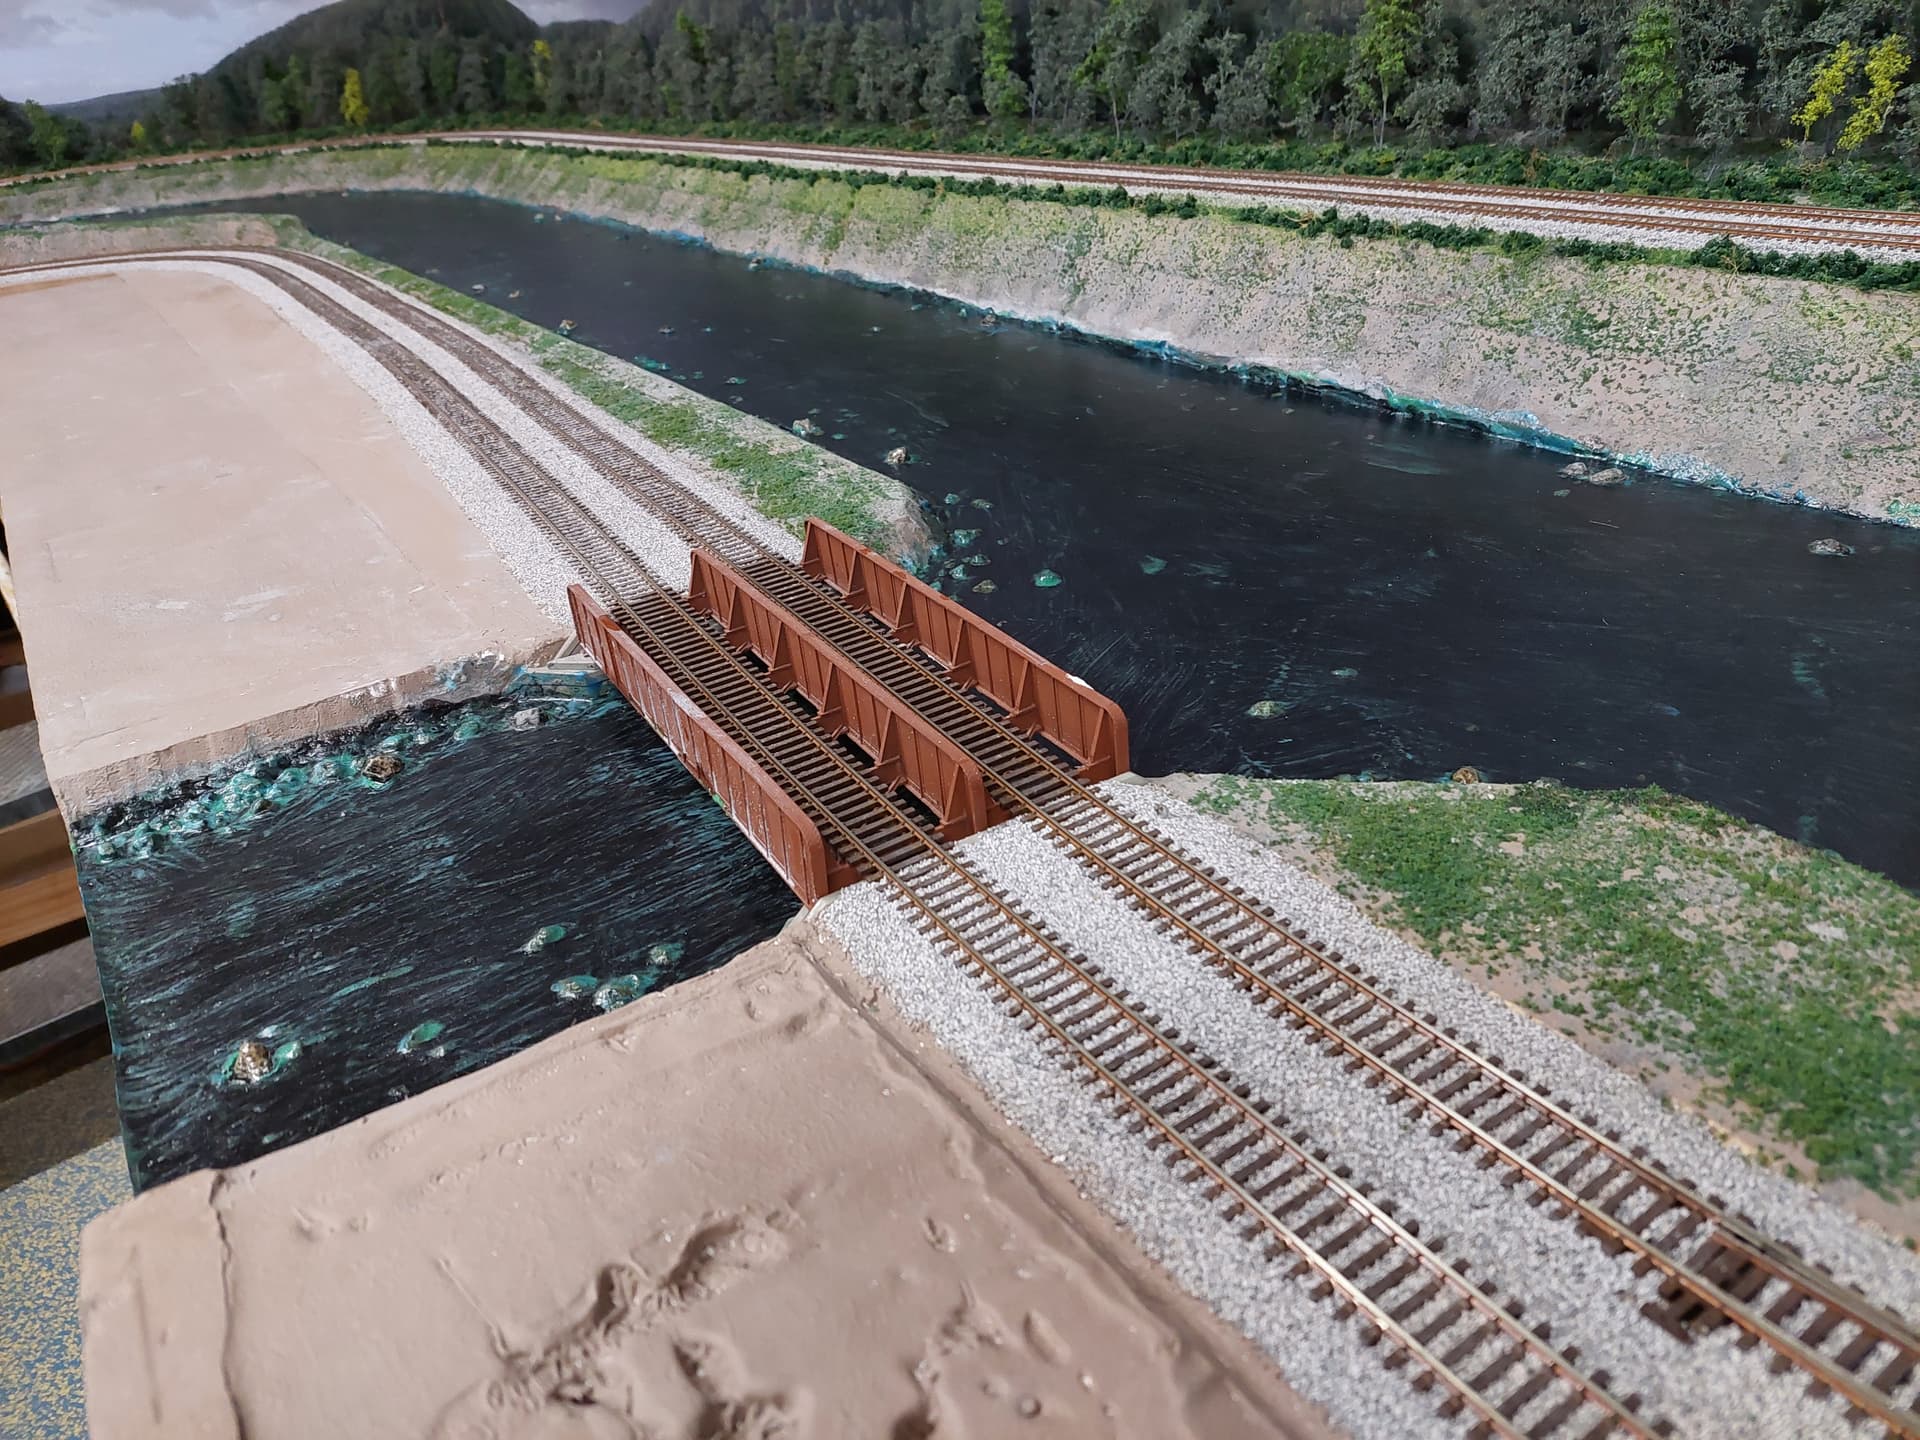
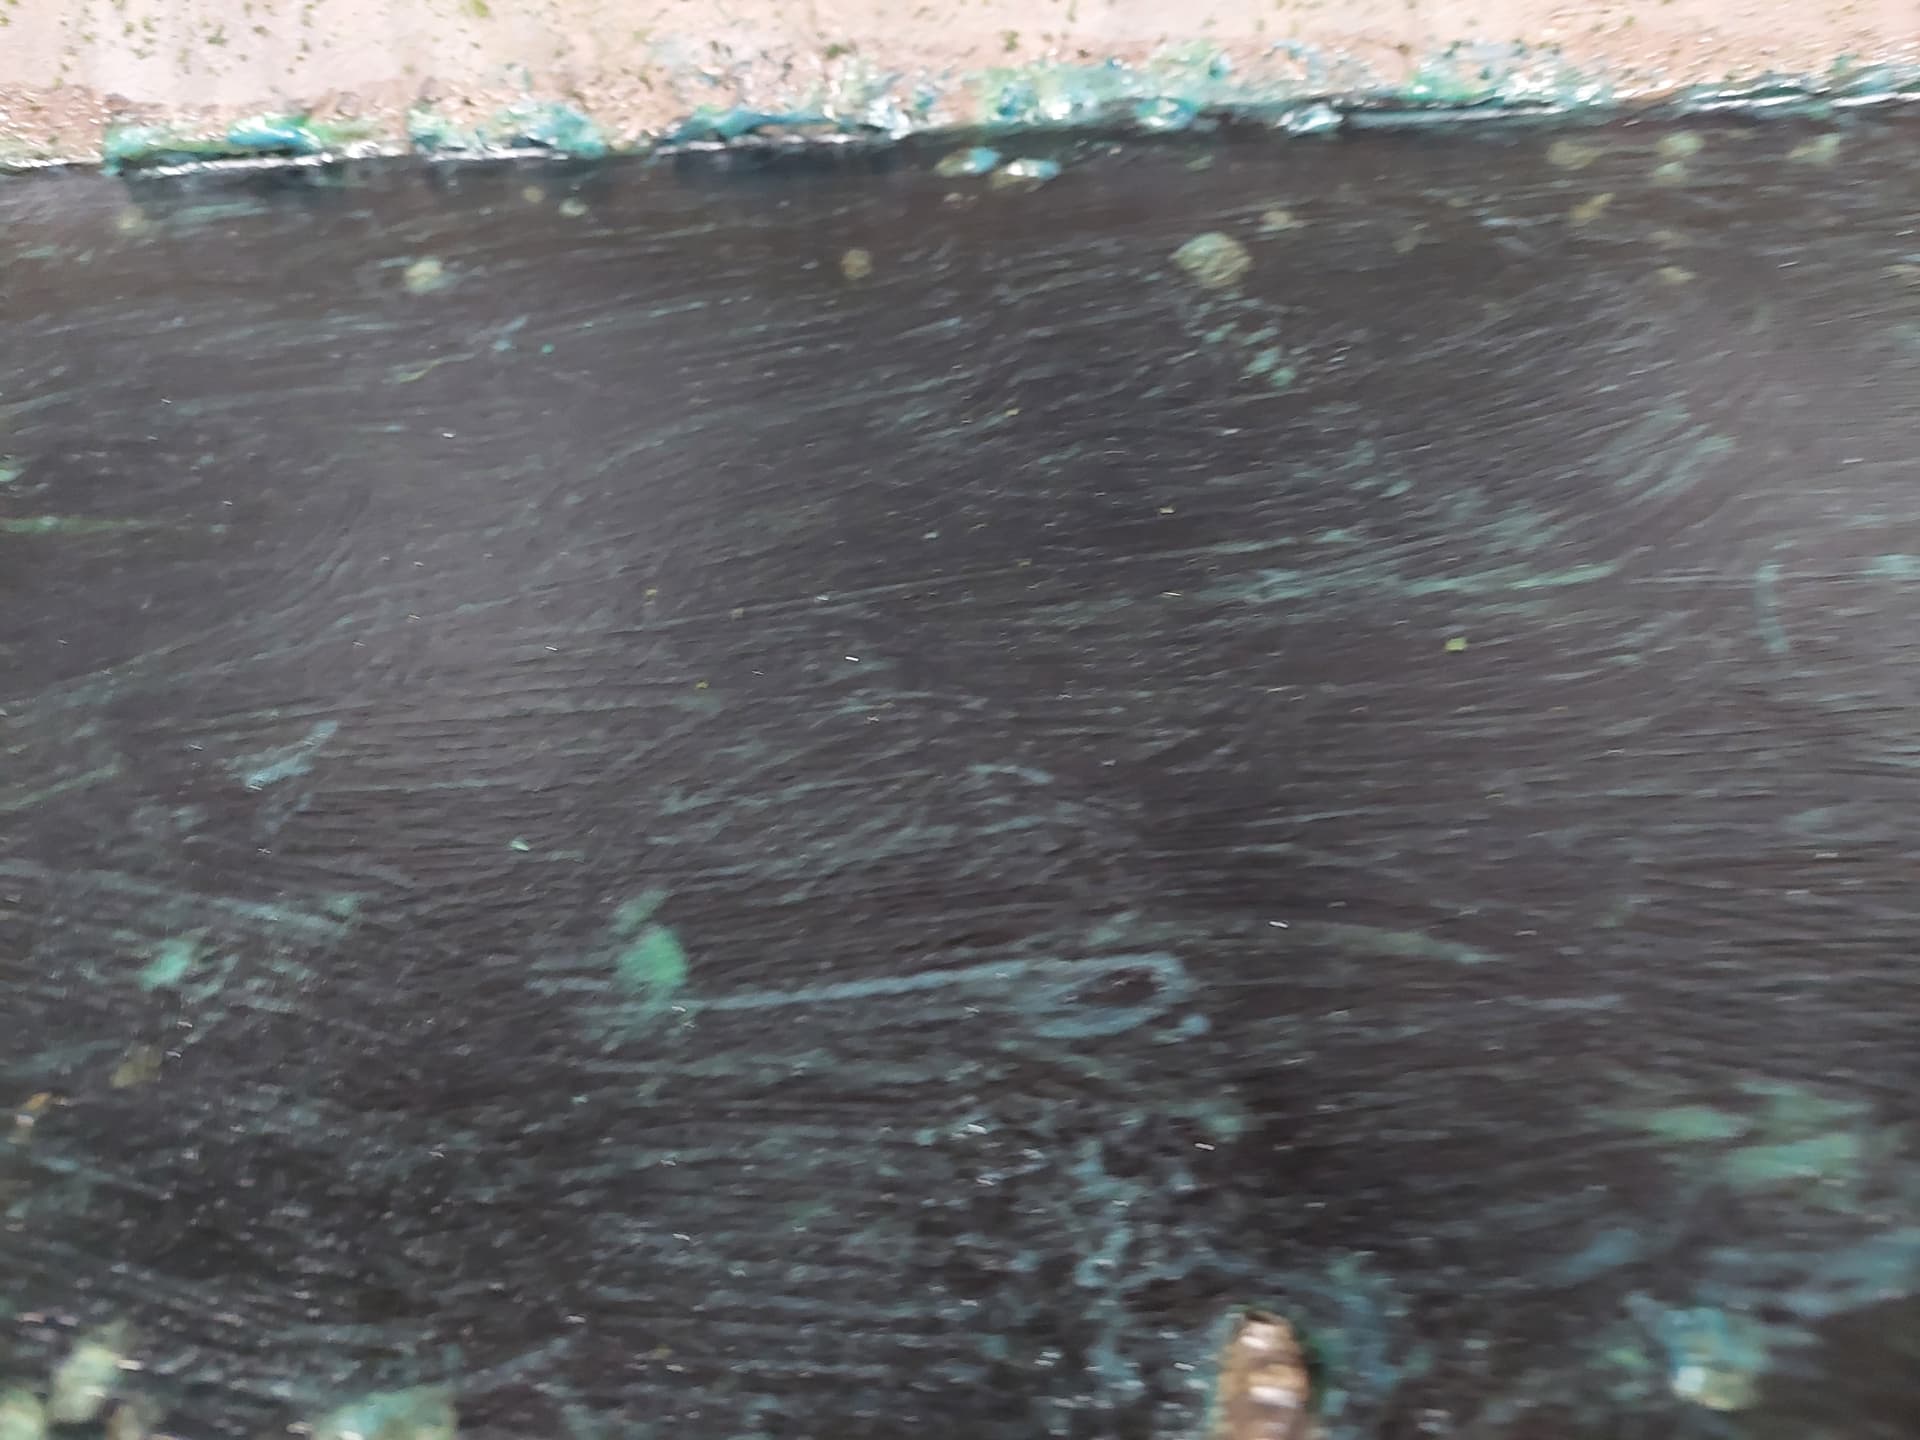
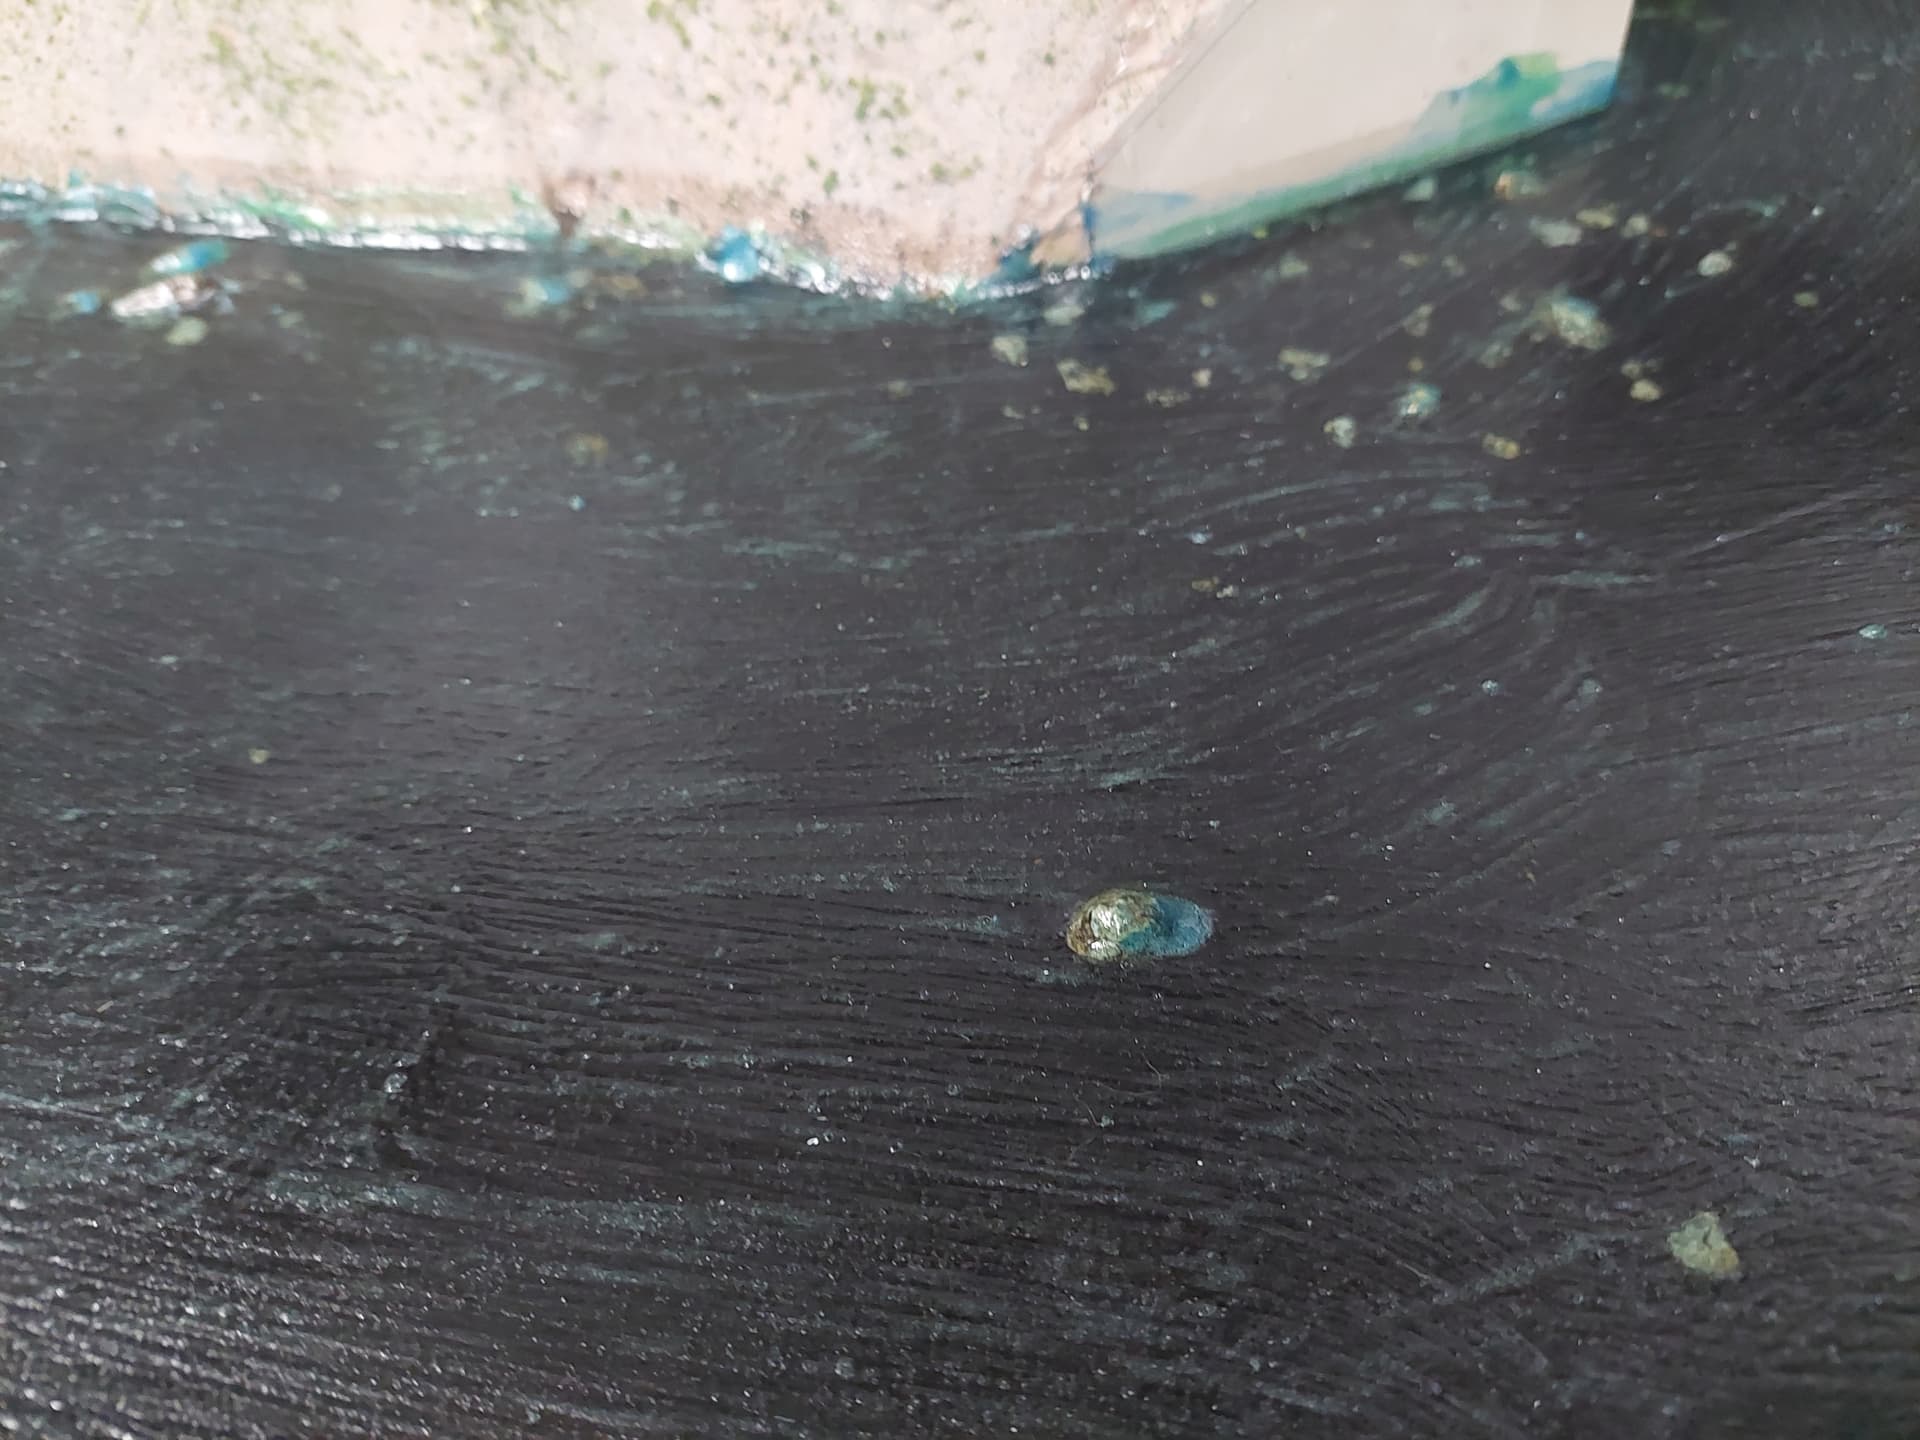
Hey guys, finally poured the river and as promised I’m uploading some pics. Haven’t done the white water texturing yet. I did 2 pours of the 1 gallon epoxy several days apart. Messed up and colored the first pour way to dark with black, so on 2nd pour added more blue, but apparently the black shown through more. Also did 2 coats of mod podge and tried again to soften the dark coloring. Because the river access was very difficult near the bridges I ended up having to use a brush to stroke on the mod podge in primarily one direction, couldn’t do it the way it should have.
Coastie, I think your efforts look good. The photos probably don’t give areal good idea of what those areas look like in person, but zi like what I see.
Rich
Rich, thanks for the feedback and compliments. I really appreciate your and everyone else’s help. I wasn’t sure at first whether the 2 gallons of the epoxy would cover the whole area as one end is higher than the other. The second pour allowed the high end (2 bridge area) to fill in so now it looks like the water level is even, even though more epoxy covers the lower end towards the single bridge.
Glad to see the Forum back up and running and it made it a lot easy for me to upload the pics that I did right from the computer.
Coastie71, I think the photos look good. The water does not appear too dark in the photos. I think in real life rivers and ponds appear that dark.
York1, thanks for the input and I’m glad others think it looks right. I’m fairly happy with how it turned out and because it’s really quite a big river for a model railroad, as it’s about 16 feet long and anywhere from 2 1/2 and 3 1/2 plus to 1 foot plus feet wide, so it probably is about as best as I could hope for.
I think once I add the white water texture it will blend in more with the photo backdrop rivers. It was almost beyond my reach up on the table to even get the epoxy spread out and the mod podge, especially under the double bridge area. Got to much epoxy as well as the river bottom paint up on the backdrop river under the 2 bridges and somewhat under the single bridge, but all the foreground and all the bare area is going to get a whole bunch of trees so, nobody but me will ever know.
Thanks again for your comments.
Gary
Ok. So I have a flat surface, and I cannot dig a river bed, so do I make sides and then fill them, and gradually slant down from the sides to the rest of the ground which is flat? And why does everyone use Envirotex? Will less expensive brands do as well?
More than once, I used Woodland Scenics Realistic Water, and I had several problems including very long setting times and cloudiness that would not go away. I looked for alternatives and found Envirotex Lite. The stuff is amazing, and I highly recommend it.
Rich
Exactly. A gently mounded edge should do quite nicely.
Rich
Elaine, I only used Envirotex so I can’t comment on other types of epoxies, but I went with Envirotex based on what I could research and from recommendations from much more experience modelers than I. I followed the instructions for mixing/stirring, with exception I didn’t pour the mixed epoxy into another container after 2 mins as instructed but just continued to mix for the 4 mins total. Recommend not pouring above 70 degrees as it starts to get pretty thick quickly when room is too warm. I added several drops of acrylic paint while mixing, but on first 1 gallon pour I added too much, and it was too opaque and should be clearer so you can see through it (of course that means the river bottom/sides needs to be painted first).
I waited 4 days before doing the second 1-gallon epoxy pour and both times the epoxy dried hard and clear. Added my rocks/gravel from driveway on the first pour.
I had to build up my river bed (used extruded foam on top of my plywood) because that entire distance wasn’t completely flat (3/4" or so higher on one end than the other). Since my sides and bottom were extruded foam, I painted the foam with Goss and latex paint. I then added couple of coats of light plaster and grout to coat the entire river and then painted that surface. I had to do this to get the surface as even as possible and to avoid melting my extruded foam with the epoxy.
Used mod podge (2 coats tinted with acrylic paint) to give the water movement look, otherwise the epoxy alone looks like a pond with no ripples.
Excellent post. Thanks, Coastie.
Rich
Thank you Rich and Coastie. I guess my next project will be figuring out how to make the river banks.
Rich, thats disappointing to hear about woodland scenics. I’ll have to look into Envirotex.
Yeah, the first I used it, I liked it. It was only a small, shallow area. But when I tried to use it on larger, deeper pours, even with successive pours, time and cloudiness became serious issues. When I say time, I mean weeks in one instance. Not good.
Rich