Looks interesting but a bit pricey as compared to LED lighting. Each unit can light 13 1.5mm fibers or 28 1.0mm fibers. 30 ft. of 1.0mm fiber is included with the kit. That could light up a lot of structures or accessories in a give area. I’m not sure I see the advantage of their main pitch, that you can light up structures without wiring. What’s the difference if you have to run wires or fibers to your structures. I would also be concerned that they might be too bright and turn structures into a lantern.
I’ve started to use the Just Plug system as well as some hardwired LEDs. I still have plenty of grain of wheat lighting as well. I think I’ll leave it to somebody else to check out if this is leading edge or not.
Nice package but out of my retirement budget range. I can build up the same results for about a tenth the cost buying the material off eBay.
I stock several sizes of fiber for different lighting projects from small to 2mm diameter for well under $20 including high power LEDs and the power source.
One difference that occurs to me is that wires can have connectors (plugs) to make them easy to disconnect. I don’t know if there are fibre optic connectors. If there aren’t, then the light strand has to be threaded back into the building every time the building is moved. That is not a big issue if there is only one strand, but if you are using several strands to illuminate various parts of the building, I think getting the strands back in place could be tricky.
That can happen with plastic structures regardless of the light source. The trick is to paint the inside of the structure black or silver before doing the final colours.
The brightness of the fibre optics brings up another issue. How do you dim them? If you are using LEDs you simply use a higher value resistor. That also allows you to have lights of various intensities on the layout or in an individual structure.
The lighting effect is also something to consider. Dwarvin’s concept seems to be that you will use one fibre optic cable per structure. That means that the whole building will be lit up. In many cases that is not the best way to light a building. For example, a residential home or an apartment building might not have all the lights on at once. It is more realistic to use light blocks so that some windows are lit and some are not. If you have a multi story building with only one light source, you can’t put in individual floors so when you look into the building you are staring into a cavernous pit.
Another point worth considering is that all the lights from one fibre optic light source will either be on or off. With LEDs, you can control individual lights. In fact, if you use Arduino controllers, you c
Yes there are ''connectors". It looks like a tube to slip over the ends of the FO’s to connect them.
A 1.5mm connects with a single 1mm fiber, and up to 3 of 0.75mm fibers. A 1.0mm connector will also connect with up to 3 of 0.5mm fibers.
The nice lady even showed me how to “score” compleatly around the FO every inch or two and a ''light" would shine out of the score marks to make a “run” of lights.
Since some of my structures and street lighting have been wired for lighting since maybe 1973 more or less, I do not think I am in a hurry to bring the lighting system up to 2021 fiber optic standards just yet.
Lighting structures on my layout is way down on my to-do list. Eventually I would like to do it but for now, the only ones that are lit up are the ready built ones with preinstalled lighting. The issue of lighting only some of the windows is one I have thought of and I am not sure just how I want to handle it. I will soon be building a large craftsman kit hotel and I’d like to detail and light some of the rooms but certainly not all of them. Still working on how to do that.
I’ve used fiber optic strands for a few specialized situations. I drilled out the marker lamp housings on a Walthers observation car, for instance, and threaded red “light pipe” through to a light source (the last bulb in the lighting strip). This was pre-LED days.
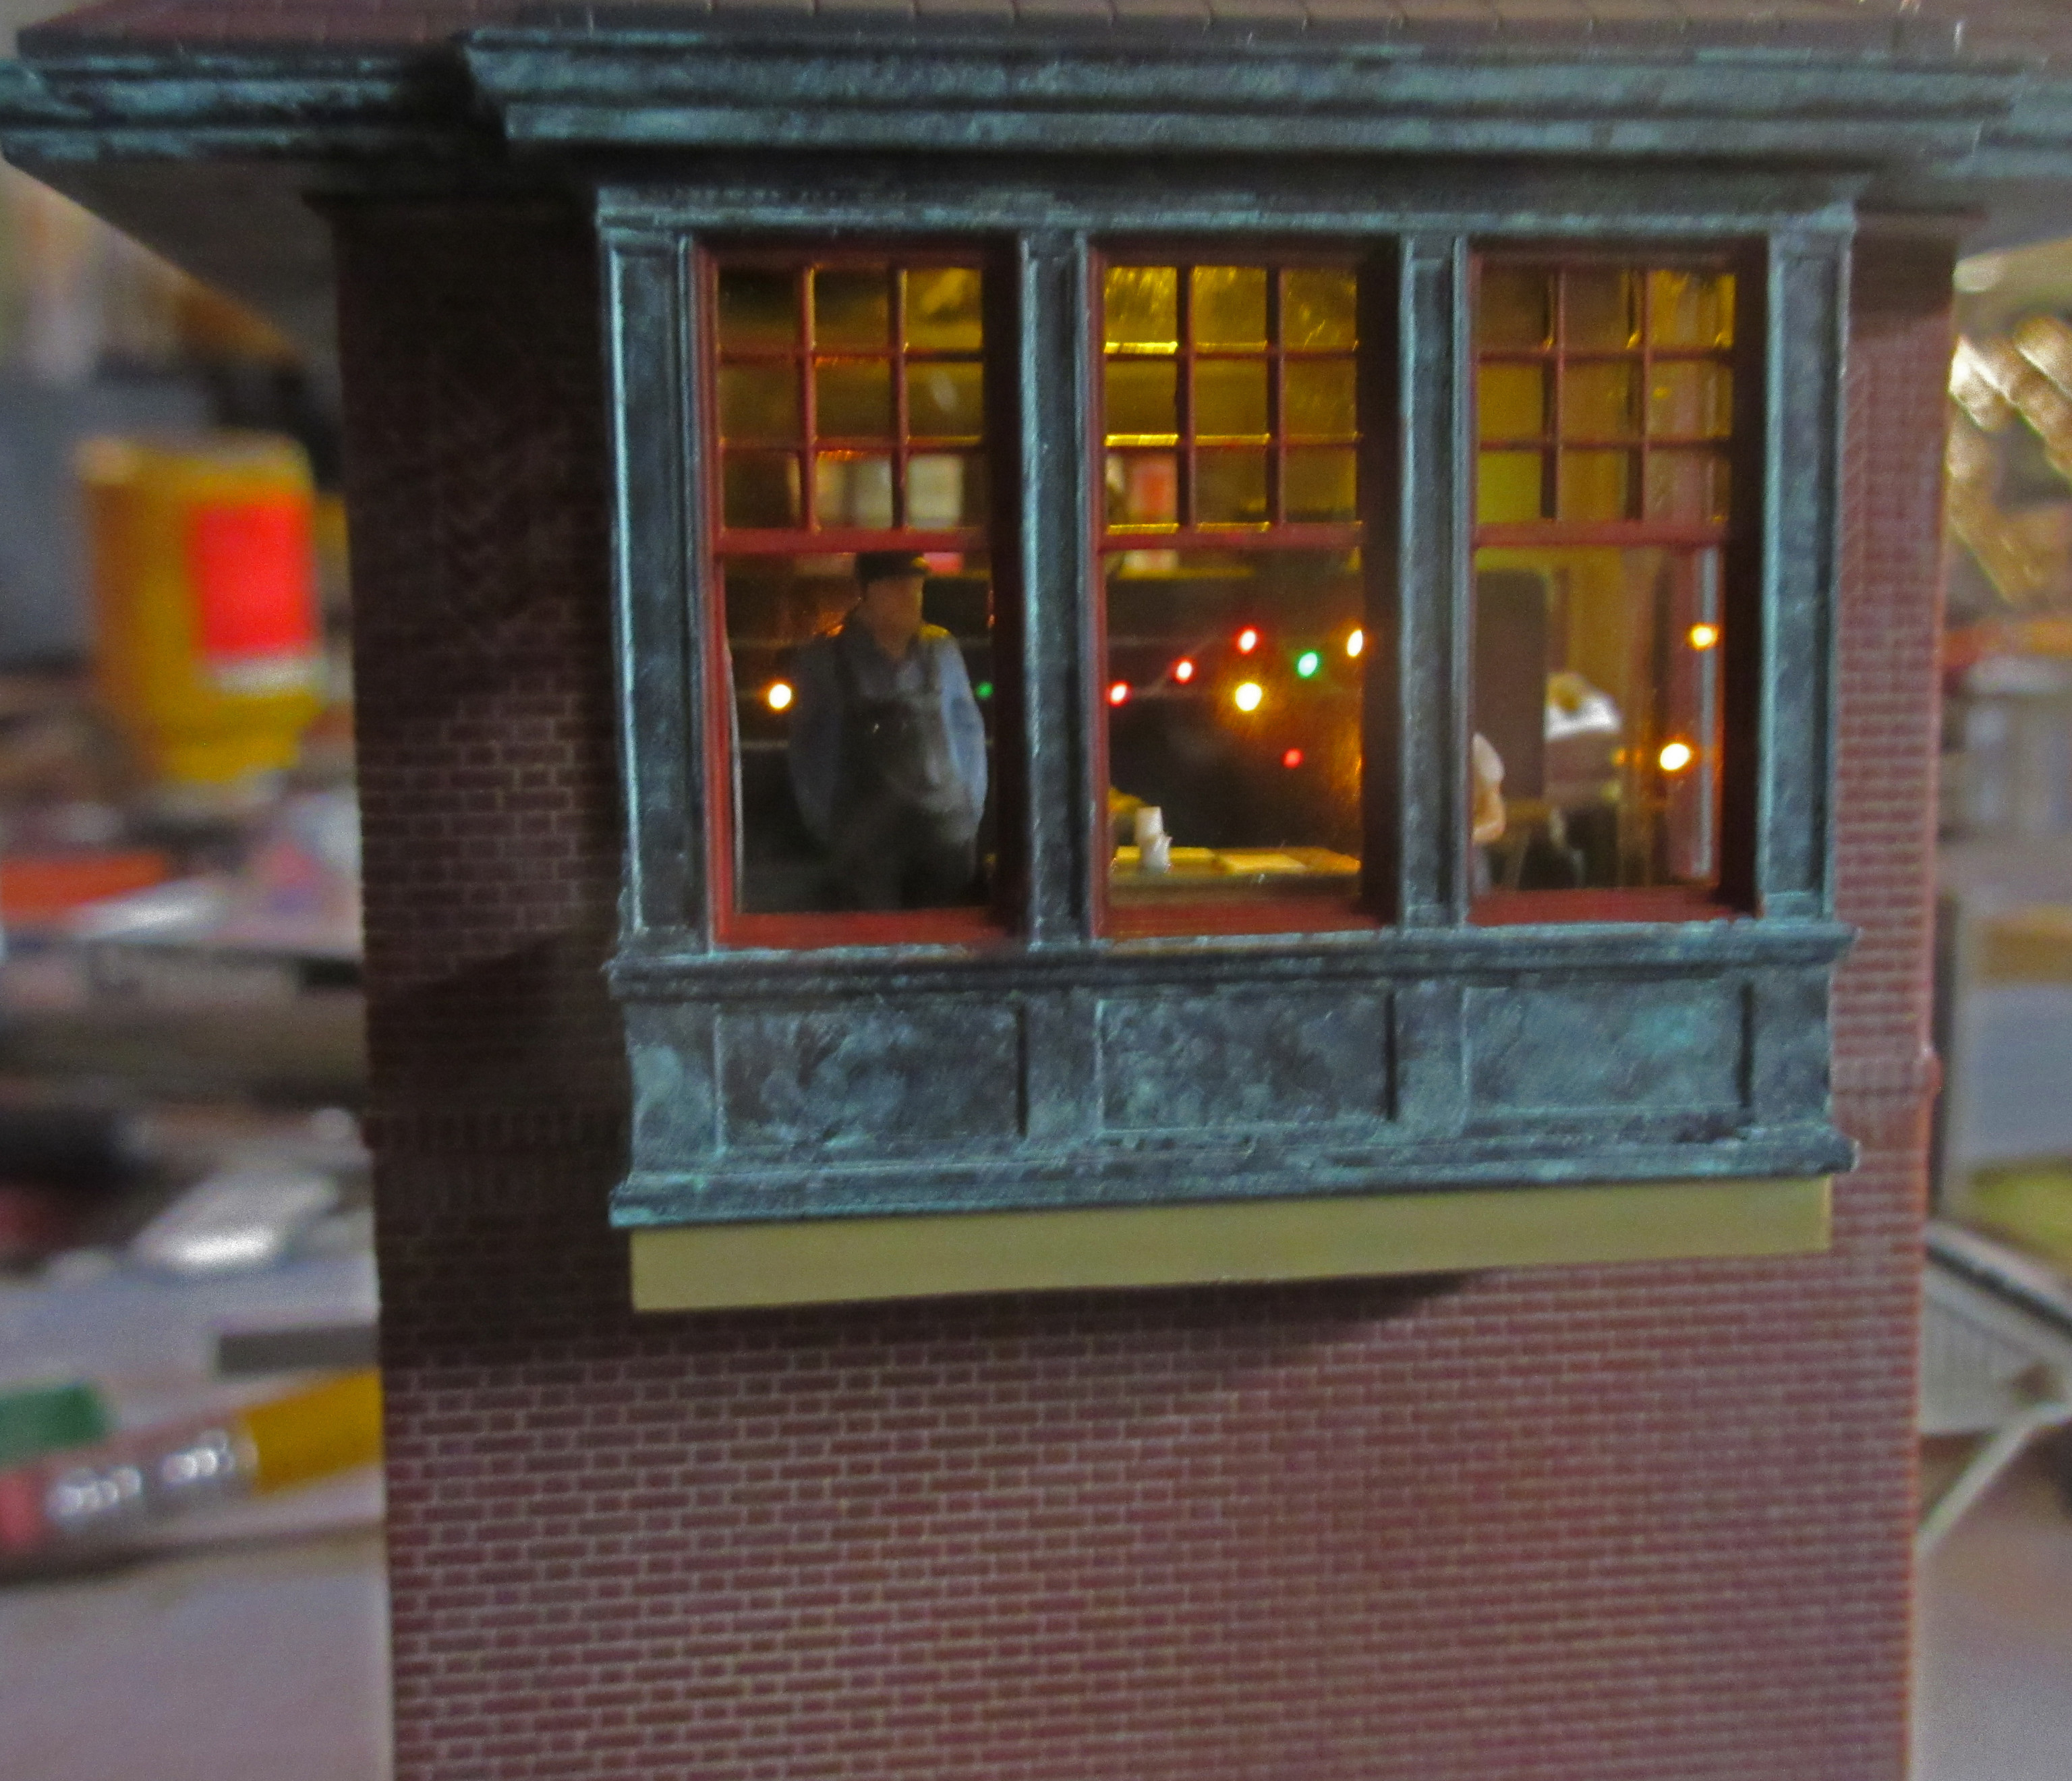
I’ve also used them to make a tower operator’s “model board” because even SMD LEDs would have been too big for this application:
I have the “lights” arranged so that when I throw a turnout the LED source changes color and shows up on the “board” as such. Using red/yellow or red/green bi-color LEDs.
The simplest way to have only some of the windows illuminated is to just cover the windows where you don’t want the light with black craft paper or electrical tape. Install the glazing first and then just cover selected windows on the inside. This will work with just a single light source.
You can make things look more realistic by adding window blinds or curtains to the glazing using coloured paper or tape. Blinds are the easiest to do, and you can vary the heights of the blinds to add some detail. Curtains can be more complex depending on the shape, but straight panels are easy too. Logically you would put the window decorations on all of the windows and then blank off the ones that you don’t want lit. The window coverings will still show.
My thinking is that two sides of the hotel will be visible from the aisle and I would like to have 3D interiors inside all the windows on those sides, even the ones that will not be lighted. I know I could take the easy way out and just close off the dark rooms with shades or drapes pulled shut but I would like to have at least a few of the dark rooms open to view. It’s an old fashioned two story hotel, more like what might be called an inn. I’m thinking of creating a bank of cubicles on the two visible sides with some of the cubicles lit up, some dark, and some with either the shades or drapes closed. I also want to have a detailed lobby and restaurant on the lower level. Right now the plans are all in my head bu
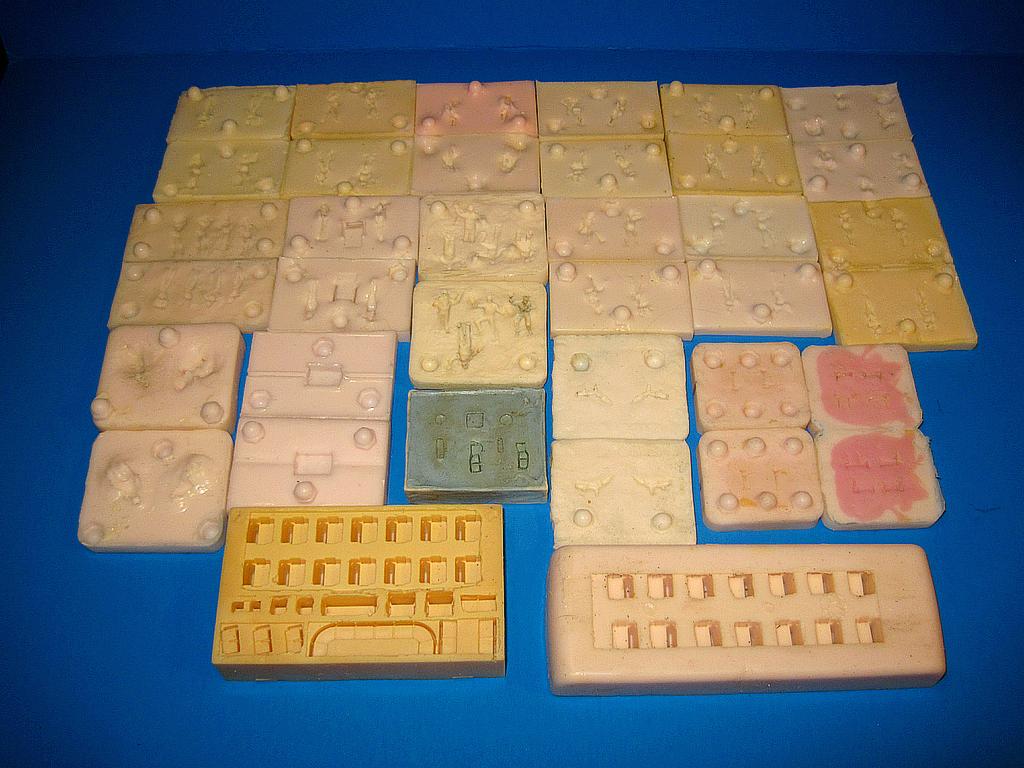
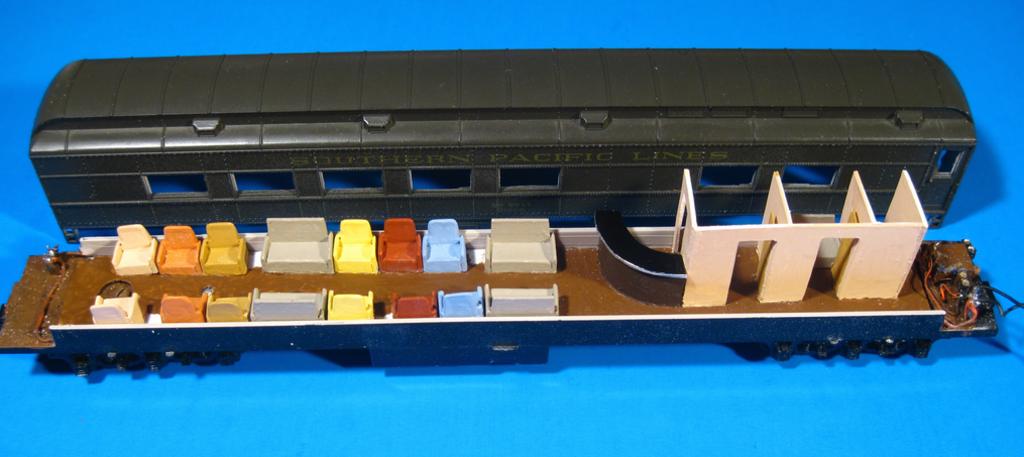
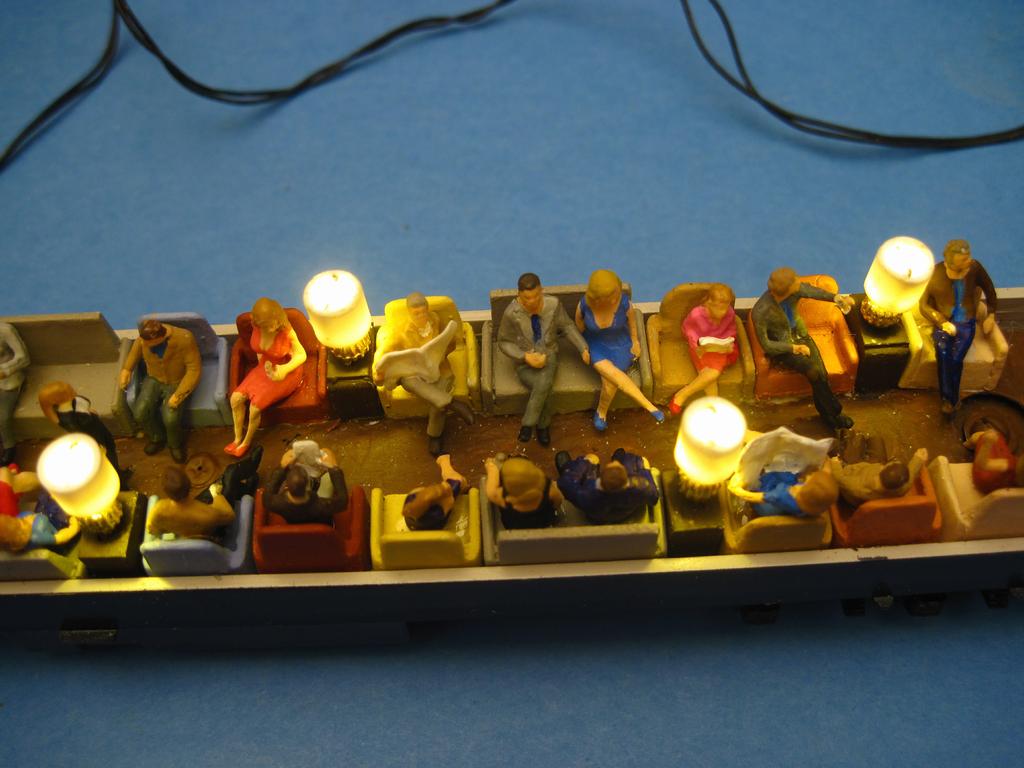
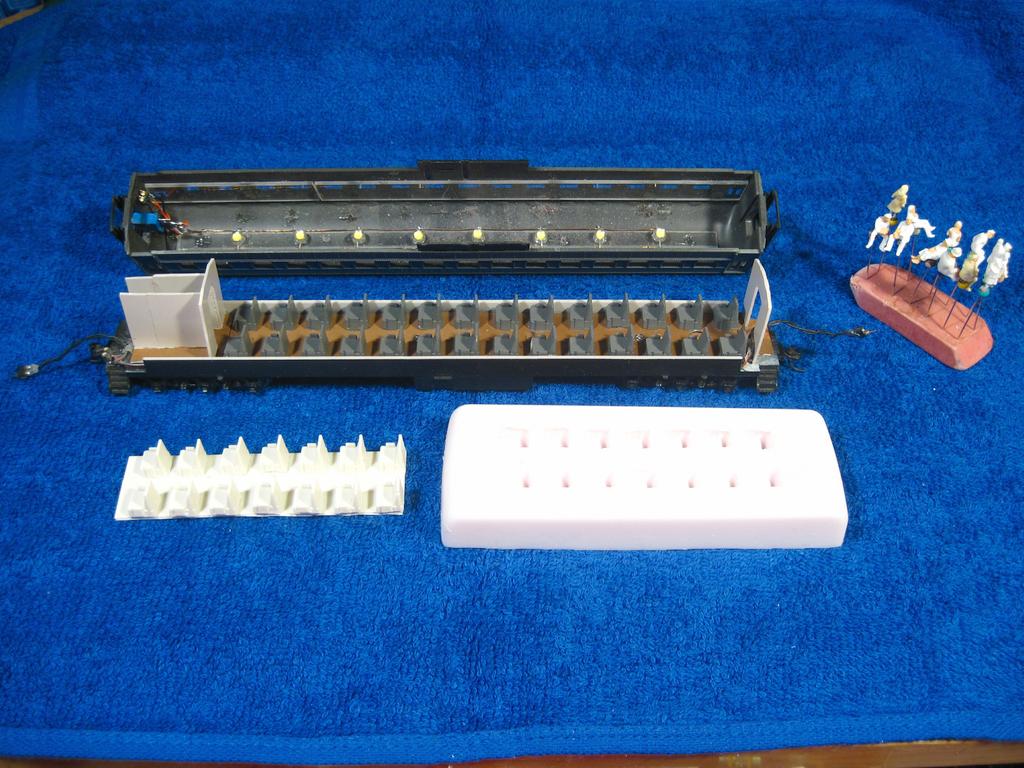
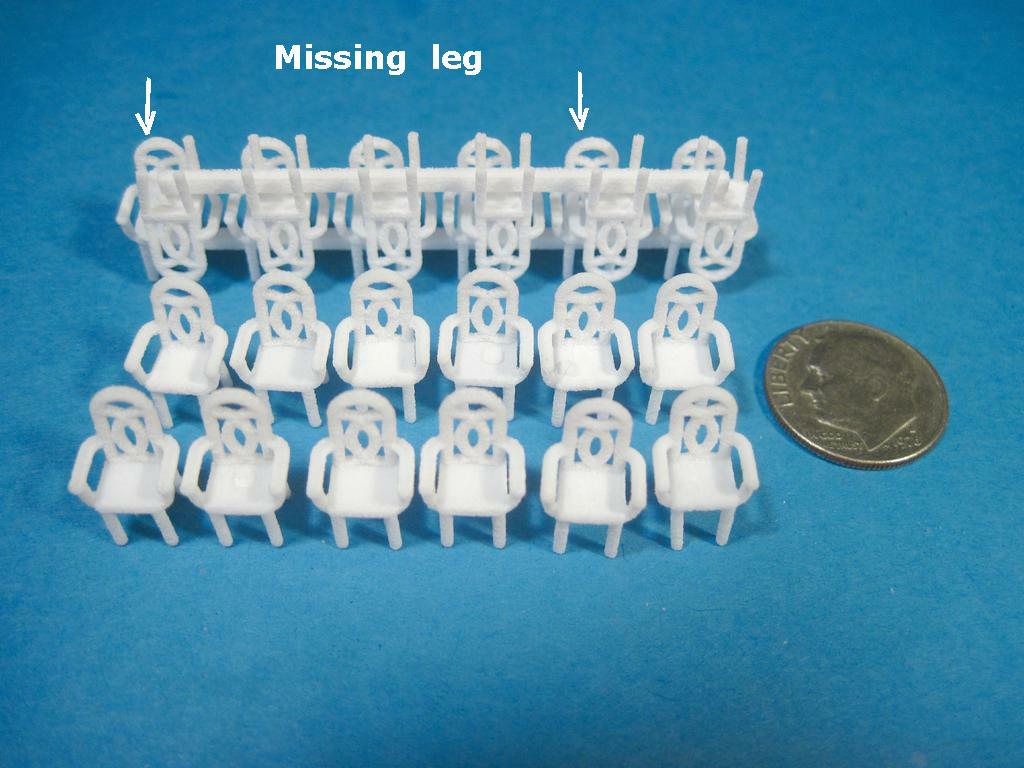
What you are suggesting is quite doable. There are tons of images on the internet that can be copied, resized and printed to create realistic scenes. If you want true 3D you can make basic furniture shapes and lamps using styrene sheet and tubes/rods. Maybe Mel will post some photos of his passenger car interiors to give you an idea of how to make things like tables, chairs and lamps.
You can also buy chairs and tables for the restaurant scene if you want something fancy. The European manufacturers seem to have a better selection of that sort of thing.
I’m not sure that making a detailed interior for a darkened room would be worth the effort. I don’t think any of the details would show. However, you could mimic a single bedside lamp using an LED and a higher value resistor (20,000 - 30,000 ohms). That would make the LED glow instead of being bright, and that might give you just enough light to be able to see some of the other details. Having some rooms darker than others would add a lot to the realism of the scene.
Another trick that you could consider is using warm white LEDs for the rooms and the lobby, and using cool white LEDs for the restaurant. The cool white LEDs mimic fluorescent lighting quite well. If your restaurant is a typical 1950’s diner, fluorescent lighting might be quite realistic and it will give you a contrast between the restaurant lighting and the lighting in the rest of the building. If the restaurant is more ‘upscale’ then warm white LEDs would obviously be a better choice. You could go so far as to put lamps on each table. That would be an ideal use of fibre optics. You could use a small jewelry bead for the base and a short piece of styrene tube for the shade.
John-NYBW
My thinking is that two sides of the hotel will be visible from the aisle and I would like to have 3D interiors inside all the windows on those sides, even the ones that will not be lighted.
What you are suggesting is quite doable. There are tons of images on the internet that can be copied, resized and printed to create realistic scenes. If you want true 3D you can make basic furniture shapes and lamps using styrene sheet and tubes/rods. Maybe Mel will post some photos of his passenger car interiors to give you an idea of how to make things like tables, chairs and lamps.
You can also buy chairs and tables for the restaurant scene if you want something fancy. The European manufacturers seem to have a better selection of that sort of thing.
I’m not sure that making a detailed interior for a darkened room would be worth the effort. I don’t think any of the details would show. However, you could mimic a single bedside lamp using an LED and a higher value resistor (20,000 - 30,000 ohms). That would make the LED glow instead of being bright, and that might give you just enough light to be able to see some of the other details. Having some rooms darker than others would add a lot to the realism of the scene.
Another trick that you could consider is using warm white LEDs for the rooms and the lobby, and using cool white LEDs for the restaurant. The cool white LEDs mimic fluorescent lighting quite well. If your restaurant is a typical 1950’s diner, fluorescent lighting might be quite realistic and it will give you a contrast between the restaurant lighting and the lighting in the rest of the building. If the restaurant is more ‘upscale’ then warm white LEDs would obviously be a better choice. You could go
One more option for me to consider regarding lighting the hotel. As I said before, I have conceptualized what I want to do but haven’t worked out the details. I didn’t realize there would be so many options regarding lighting.
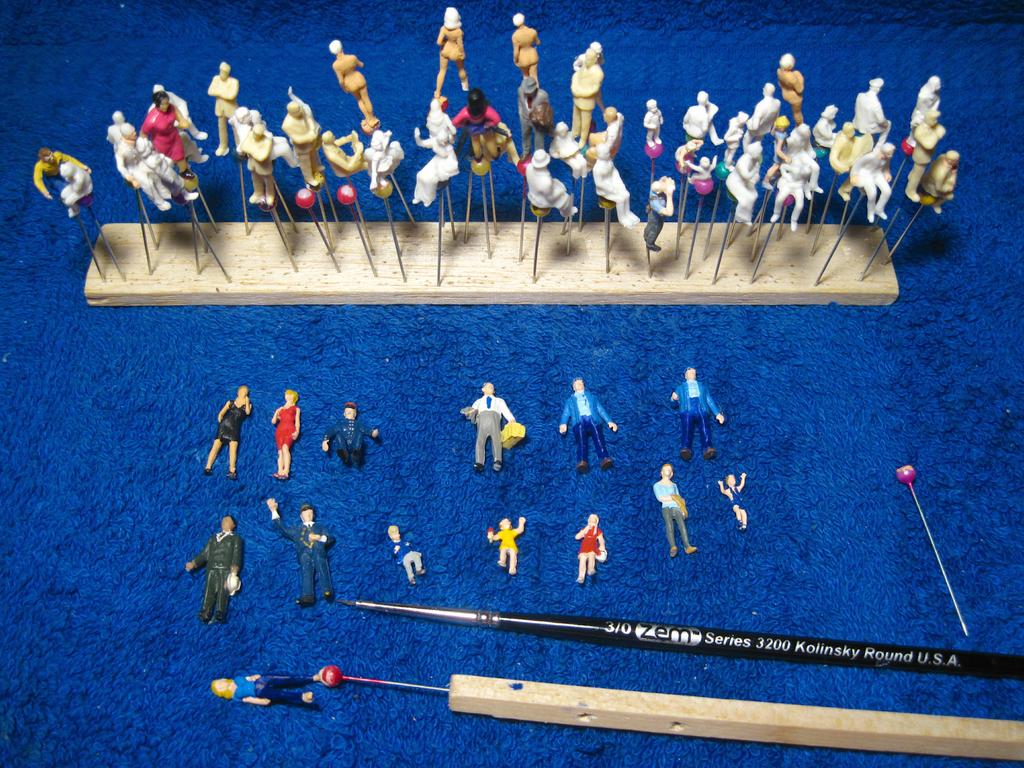
That’s an interesting way of creating figures which can be quite expenisive if you need a lot of them. Several years ago I purchased two bulk packs of Preiser unpainted figures which are much cheaper but obviously will require a little more work. These should be enough to populate my whole layout. I just loaded my cart at Shapeways with $138 worth of interior furnishings not just for my hotel but a few other structures that need interior details. I need to double check to make sure I’m not buying more than I need before making the purchase final. If I find I need more, I might give casting a try. I’ve used casting resin to create smooth water features b