Reading posts I seem to think gluing track is the norm, does this mean all layouts are to be permanent? I helped a fellow revamp his layout and we had to remove glued track, a horrible job and it ruined the uprooted track, what is wrong with nailing(tacking) track, it sure makes it easier to remove and expand, anyone know the percentage of glued to nailed track?
If you use latex caulk instead of glue then removing track for expansion or modifying your layout is a pretty straightforward affair. A broad putty knife and gentle pressure and your track comes up fairly easily with no damage to cork or track and little-to-no damage to extruded foam.
Rail spikes work fine. I like and prefer caulk because the caulk adheres to the surface of the rail ties uniformly vs. a rail spike that holds the tie every 3 or so inches. I’ve found that with caulk their is less laterally movement of the track.
And I have no idea what the percentages are for folks who use nails to those who use caulk or glue. I just know what I prefer.
Tom
I glue mine with PolySeamSeal adheasive caulk, but have never had any real success in reusing track - glued or nailed.
Sheldon
I used the same method when I redid a section on my layout and it worked fine. In fact, I wouldn’t use rail spikes again. On the rest of my layout I have to occasionally tap them back into place as (over time) they tend to work up. They also don’t look right against the ballast and weathering.
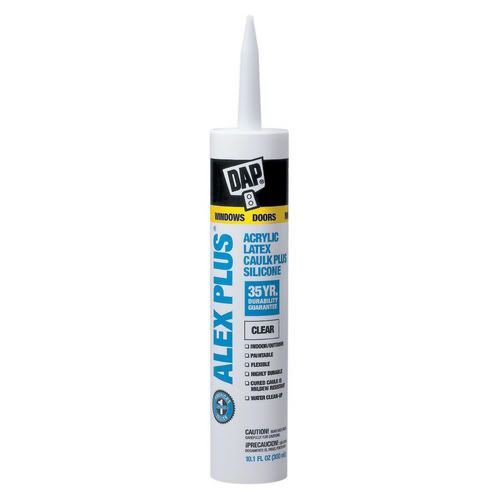
DAP Alex Plus with silicone, the stuff that dries clear is what I like, is wonderful. It can be spread as easily as soft margarine, and it dries firm but rubbery so that it keeps noise transmission to the sub-roadbed minimal. Later, if you wish to change the line of a curve, you can just saw gently through it with a steak knife and up comes the completely reusable flex track or any track.
Crandell
The reason a lot of people glue their track down, is that common roadbeds, cork, campertape, and foamboard, don’t hold nails. My roadbed is 1/4 inch white pine, resawn from common 3/4 inch pine on my bandsaw, and it holds nails just fine. I nailed down all my track. And it stays.
I used track nails to hold my Atlas Flex Track and turnouts in position until the ballast has been spread and glued in position with screnery cement. My intentions are to have the track permanently installed. I haven’t attempted to remove any track that has been installed this way and it has worked well for me.
When I started my layout, the above is pretty much how it was described in the various books I read on the subject. There may be better ways to do it now, I don’t know and won’t be changing how I’m going to do it, as all my track is down and quite a bit has been ballasted. After ballasting I remove the track nails.
I use the exact same stuff as Crandell but use the white version. $2/tube @ Home Depot. I can lay down quite a bit of track for $2.
Tom
I stay away from the blended caulks with silicone, I only use pre latex caulk. Whichever you use, if you use it right, the track can be lifted off and reused. A VERY tiny amount is all it takes to hold the track in palce, if it oozews up between the ties at all, you used too much and it WILL be messy to lift up and probbaly damage the track in the process. On my previous layout I made a design change after I had some turnouts in place, I was able to easily lift them out with a putty knife and later reuse them (at $12 each I wasn;t about to destroy them and toss them out). Worked fine the second time around too. I hadn’t gotten to balalsting at that point - regardless of the use of caulk or nails, once you have ballast glued on the track, that’s the bigger mess to clean up if wanting to reuse the track.
If I used plywood instead of foam, which holds nails, I’d STILL use caulk.
–Randy
Plenty of layouts have nailed track.
The problem with nailing track, assuming we are talking about using the holes in the center of the ties, is that if the nail is pushed or hammered too far in, it squeezes the tie down and actually narrows the gauge. And of course a big metal disc every several prototype feet or yards is not realistic looking.
I use latex adhesive caulk and while it is possible, using a spatula or other thin knife like tool, to remove and reuse the track, I start with the assumption that I lay my track to stay. Also I fully ballast the track soon after laying (indeed the first application of ballast is on the fresh caulk used to lay the rail) and that also tends to make it a challenge to reuse track.
If I knew in advance that I wanted to and would reuse the track, I think I would still use caulk, but would be more sparing and spotty in my application of it so that many ties would have no caulk under them. And I would not ballast my track.
Dave Nelson
I use track nails which are black and have a very thin head. I pre drill a slightly undersized hole through the tie, the roadbed, and into the plywood. I then tap the nail into place using a nail set and small hammer. This avoids the distortion problem.
I have had track stay in place for 10+ years using that method and when I tore the layout down I was able to salvage all the track. The only problem was finding the nails - they blended in so well with the ties.
Enjoy
Paul
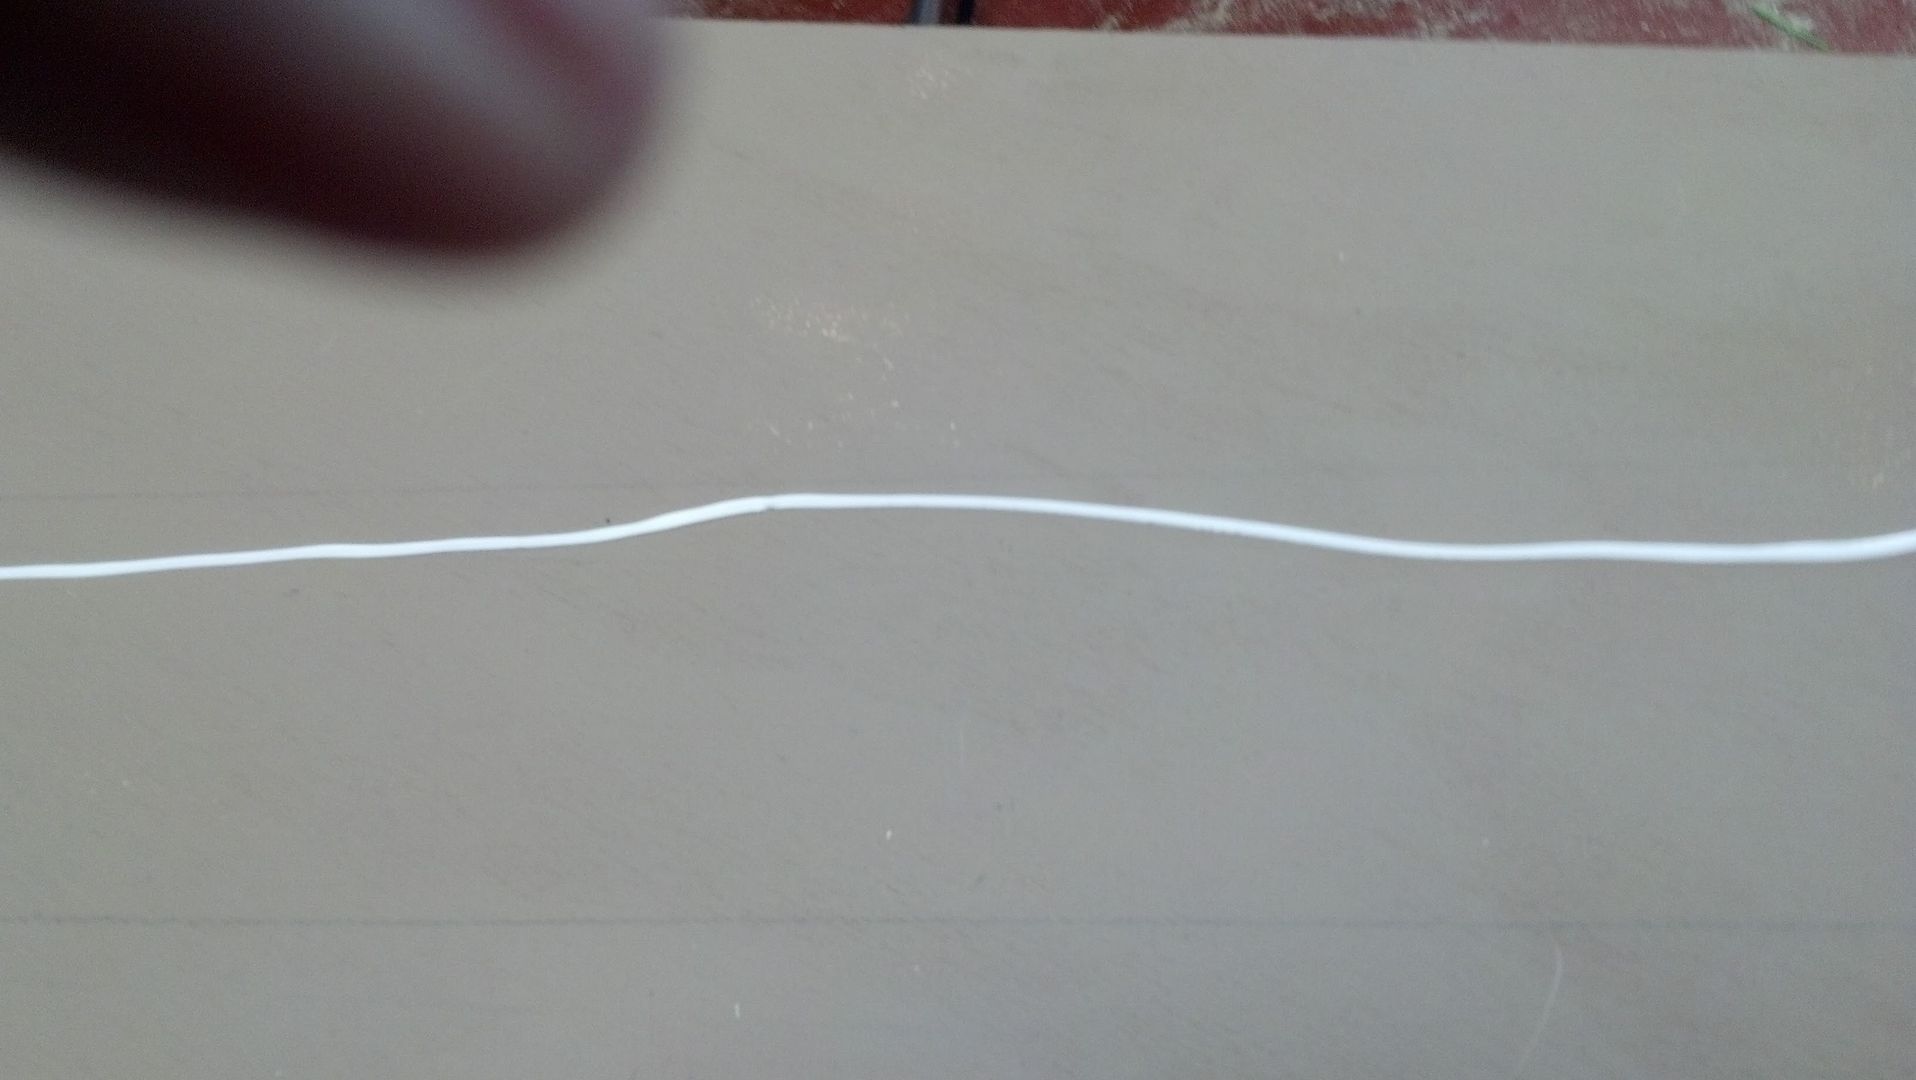
I use caulk spread so thin that you can see through it. It goes down easy, holds tight, is invisible when dry, and removes easily with no damage to the track.
I guess the reason I have never been able to reuse track, nailed or glued, is because once it is painted, balasted, glued to homasote or to homabed roadbed, not cork or foam, it never comes up without leaving a mess of balast, adheasive caulk and homasote “scraps” on the bottom of it - no matter how sparingly the caulk is applied.
To answer that earlier question - yes I consider ALL layout construction to be permanent. Otherwise Bachmann makes EZ track.
Sheldon
I only nail my track down so that future modifications to the road will not ruin or force a lot of effort to recover the track, fully intact. Narrow gauge flex track is expensive especially those switches, therefore, re-use is a must. I tend to use HO and not HOn3 spikes to hold down the track as they are longer and have larger heads.
Richard
My 4x8 N scale layout is all Atlas Code 80 track and I’m using PL300 in a VERY fine line, smoothed and then held in place with Push Pins overnight. It’s working great so far…
I was considering using latex or silicone as recommended by others in this post, but my layout surface is extruded foam, and the layout sits on top of the pool table. It has to be removed frequently and stored in my O scale train room on its side [handles on each end, and roller wheels on one side]. The PL 300 ensures that I don’t have track popping off the cork roadbed.
All of you folks that use the caulk stuff must be better track layers than I, or at least a lot more confident that the track you’ve put down will fit perfectly the first time. I’ve had to go back many times to tweak this or that to get the track aligned to my satisfaction. I don’t see how I’d be able to do that with caulk.
And when you’re fitting track sections what do you do? Do you lay it all in place and tack it there until you’re satisfied, and then pull it up to apply the caulk? Seems like double work to me.
Having used for the first time cork on foam, all my track was “T” pinned down for months until I new everything was okee dokee. I then used a very thin Latex Caulk film to stick it down. I used a paint scraper and applied the caulk to it and then gently lifted the track just enough to get the scraper under it.
I recently had to lift an unballasted 3 metre strip up, and after prying up the very end the rest lifted right up. It felt like I was undoing a very long zipper. There was little evidence of any caulk on the track at all.
On another note I had painted my foam with latex paint and then some months later I laid yard track right on the painted foam. A couple of months later I went to caulk it down but found the track was now being held in place just fine by the paint. I also find that other things end up stuck to the paint even though it has been on the foam for a couple of years now.
Brent[C):-)]
I used Atlas track nails and spikes to hold my track down during the initial phase. I am glad I did because when I had to tear out my unfinished layout during a divorce, I was able to save virtually all of my track, which would cost probably a thousand dollars to replace! There was a lot of expensive #8 Shinorhara curved turnouts, 3 way, double slip etc etc, plus lots of flex. I just popped out the nails and stacked it in boxes and it’s ready to be re-used as soon as we get the space for a layout again.
I do plan on gluing the ballast as per normal methods but nails are best if you want the option to alter or remove while things are still in the “shake down” stage.
I agree with maxman. I can’t imagine using chalk, or glue would be easy. I have used chalk for the better part of 40 years and know it is not all that easy to use when following a straight line in a bathroom, let alone trying to lay track and turnouts with precision. I built my layout almost 20 years ago and lifting track is never a problem and the nails have held extremely well, on Homsote roadbed. I can take all the time in the world to get my track work, as close to perfect, as I possibly can and I don’t have the added pressure of chalk drying before I have finished with a section. As a matter of fact if I have to stop in the middle of a section, I just walk away. I am totally sold on nailing track.
Glenn
Glenn,
Here’s how I go about it. I do a dry run by laying down the track on the cork road bed first to get the alignment and to know exactly where I will place any turnouts. I then mark the cork rail bed with a black Sharpie pen before lifting the track back up. I only do a ~3-foot section of track at a time; with turnouts laid down first.
After the turnout(s) is pinned in place so that it does not move, I lay down a bead of caulk and spread it thinly with a putty knife. I press the track in place and make any minor adjustments of alignment. The caulk allows me ~45 minutes or so of work time before it begins to set up so that gives me plenty of time to work. (Again, in 3-foot sections this isn’t very difficult to accomplish.)
I use push-pins or lay bricks on top of the track in order to keep the rail bed flush against the cork road bed and let it dry a minimum of 8 hours or overnight. The next day, I do another 3-foot section.
Tom