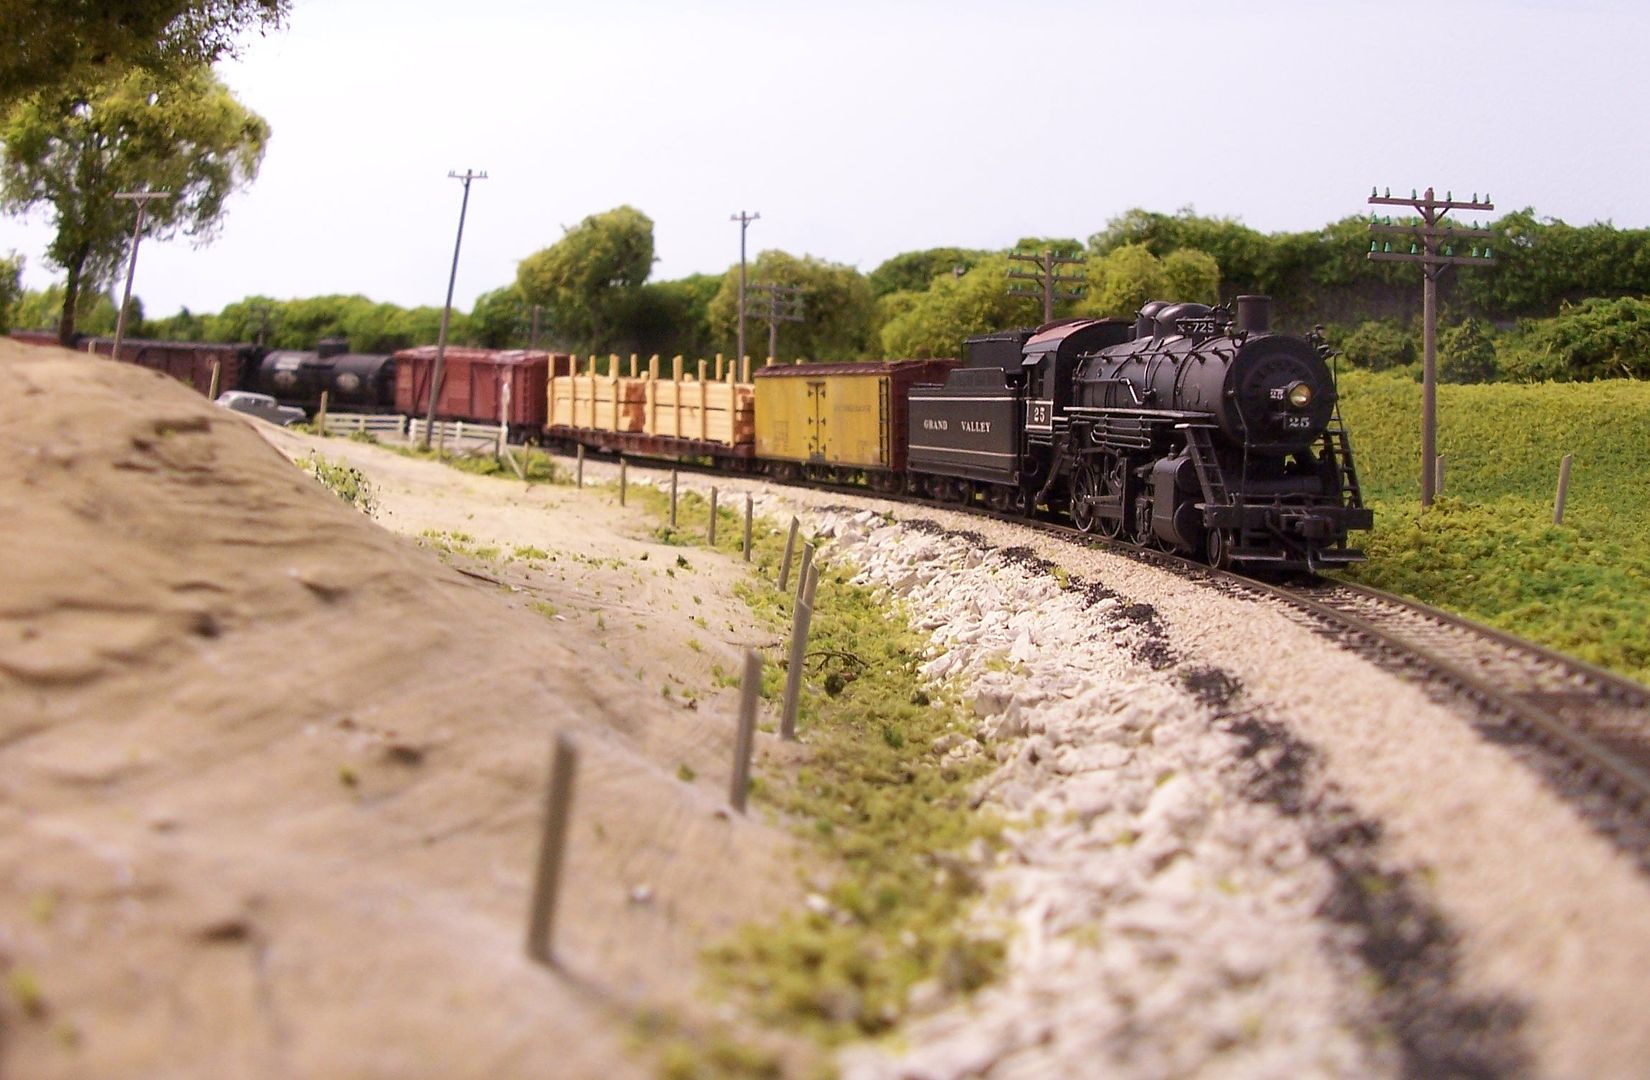
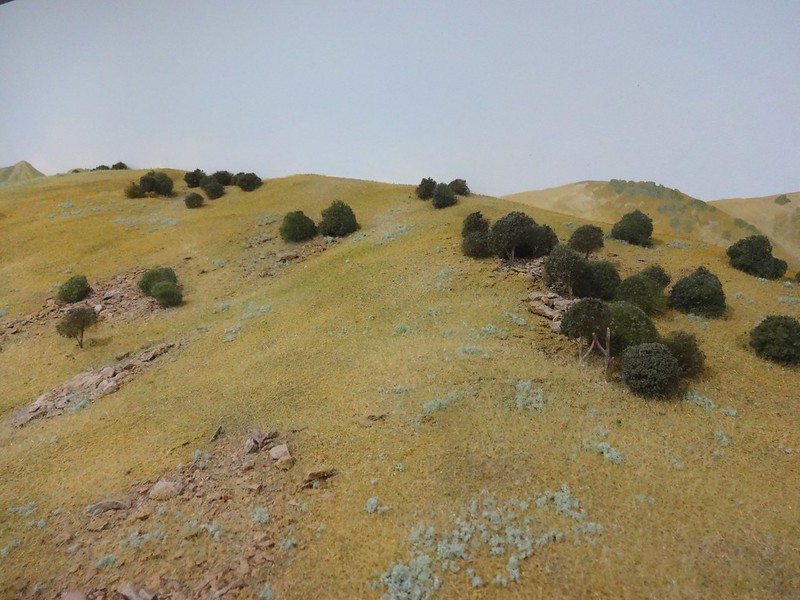
This is one of those tasks I have never done before but have a steep hill behind a mine. So do I just lay out what I like and then dribble glue of choice on it, wet water it first like on ballast? What dilution of glue (use matt medium for ballast), use 3 to 1 water to medium for ballast.
Define steep.
Are you using the Woodland Scenics talus? It seems to be much lighter in weight so might have a better chance at staying in place.
If your slope is more than say 45°, I would spread a thicker PVA glue such as Weldbond or Aleen’s tacky glue first, then “sling” the stones onto the slope after the glue begins to get a little tack to it.
Then, once set, you can fill in with additional talus or finer stone as needed and fix that in place using the wet-water misting and dribbling additional, thinned PVA, matte medium, or Mod Podge type of fixative over that.
I think initially you need to get some stone fixed to the slope in order to add more as you build up your scenery layers.
Good Luck, Ed
I brush on white glue directly and put down the ground cover and see what sticks a day or two later. I find that works better than endless applications of dribble. You can fill in any holes afterward and dribble the glue in on those.
I’ve found that using the same technique as I use on ballast doesn’t hold the talus in place. It inevitably breaks loose. I’m going to try the clear goo type glue, in my case Aleen’s.
The area I am doing is very flat with a steep slop behind it.
Well I bit the bullet and pre wetted and used matt medium deluted slightly, trying to do it close to full stength did not work. Guess we will see if it worked, luckily it is behind buildings a bit so even a compleat failure can be fixed. Find I am running out of stuff like matt medium and my custom stain mix for wood buildings, got to see if I still have that formula around.
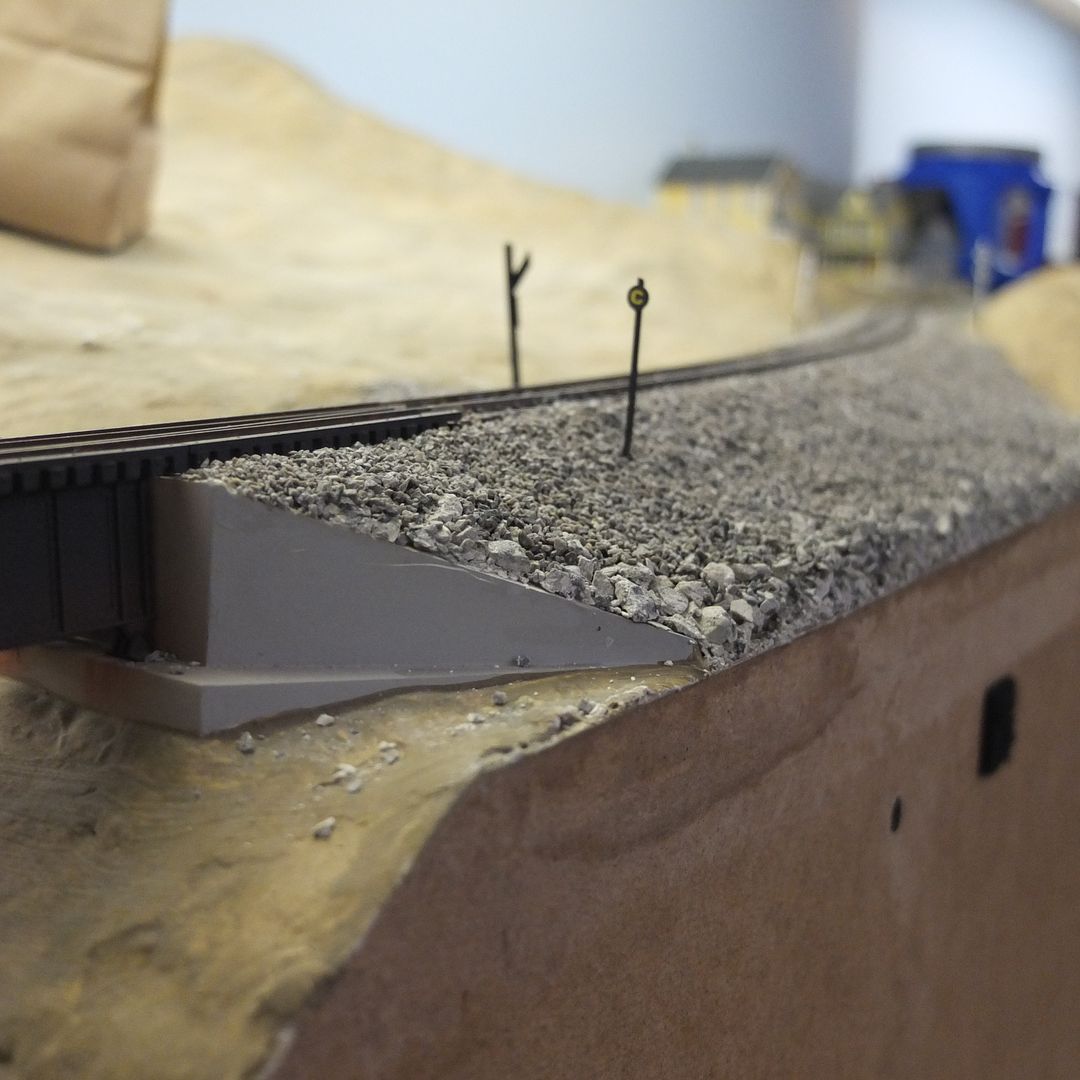
I have quite a few places on my layout with similar material (mine is left-over Durabond-90 patching plaster from making plaster-over-aluminum-screen ground contours.
I used a hammer to break it into smaller pieces, then simply spread it alongside track that was atop cut-out plywood roadbed, with fairly steep banks alongside the track…

I then dumped some Woodland Scenics “Cinders” alongside the track, followed by WS ballast.
The entire area was then sprayed very generously with “wet water”, followed by a very heavy application of diluted white glue. In some areas where there was a lot of run-off at the base of the rip-rap, I added some ground foam scenic material…no point in letting the glue go to waste.
This spot, which is very close to the edge of the partial upper level…
…required an application of aluminum insulator’s tape to hold the material in place while the material was added…
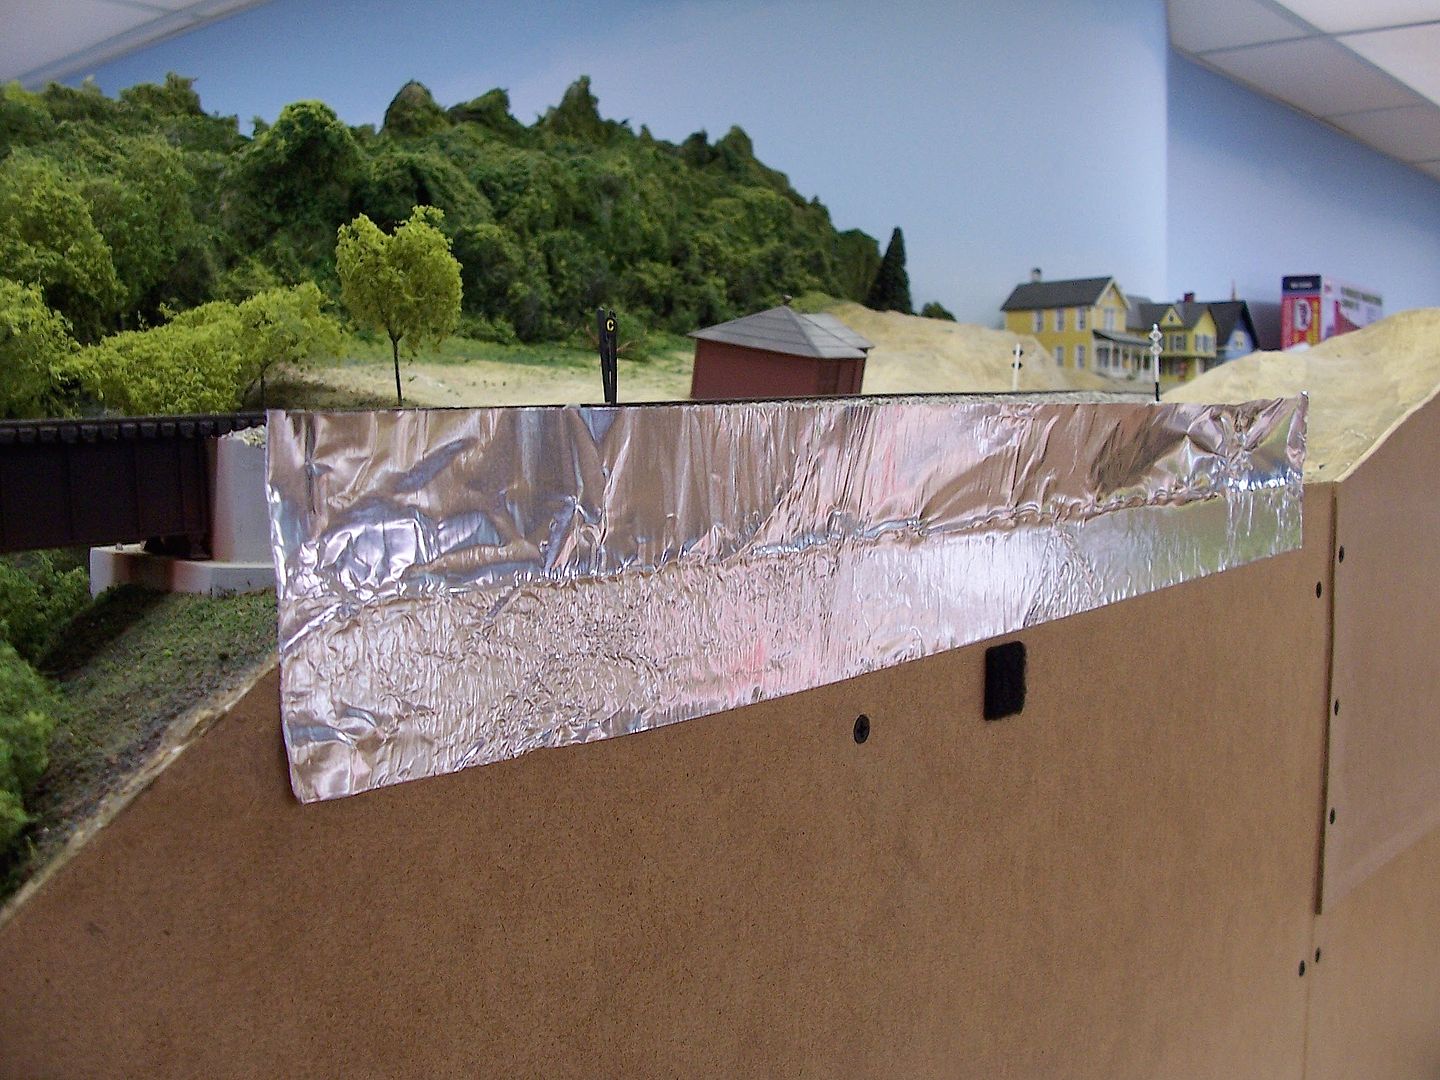
I left it in place when I was adding the wet water and the diluted glue, and for a full week after that, while the material hardened.
I later went over much of the areas shown, adding diluted India ink to make the material look more like rock, rather than plaster, but I think that the layout room’s fluoresce
Junipers 1 by wp8thsub, on Flickr
I use a lot of natural rock talus on my layout. The same 50/50 diluted white glue that works on ballast will secure it, but I utilize several applications to ensure it soaks in sufficiently.

West Wall Sunflowers 2 by wp8thsub, on Flickr
Once the talus is dry, dry brush the same paint that colors the adjacent plaster (or foam or…) rocks to blend the talus with the rest of the scenery.
Incline rip-rap material is Arizona Rock & Mineral, applied edge of layout much like Doc Wayne did his. Embankment dam made with strip wood & wax paper sandwich. Good soaking with ‘wet water’, followed by plenty of 50/50 Elmers white glue & water. Stuff is solid, three years now & holding up well.
Regards, Peter
Pour a first ‘rung’ of the talus, letting it fall naturally at the bottom of the slope. Add full strength glue that won’t be shiny when it sets up. Wait 9-12 hours.
Add another rung of the stuff, letting it fall against what’s already in place. Add more glue.
Repeat until you have your full slope.
Well the matt medium seems to be holding things well (pushed on a large rock) but things are not completly dry yet. Their is a white halo at places but if it stays I can patch in some zip texturing which is the basde ground cover. Glad I made the buildings movable as it is much better than trying to work around them.
Hot glue might work for some of the bigger talus.
It was hard to get rid of the halo around the rock but multiple applications of zip toned it down to acceptable. Think the reason it happened is I was down to the last dregs of matt. New bottle on my list of things to pick up.
Talus slopes form and change from the top of slope downwards. This method should produce the most realistic looking slope. Technically the talus slope reaches its natural angle of repose but remember it’s made up of random sized rock so is not usually a consistent angle. Man made aggregate piles form natural and consistent slopes. Talus generally does not. Bigger pieces roll lower down the slope than smaller stuff so you will want to start with larger sized granules at the bottom or first “rung” mixing in more and more of the smaller stuff as you create the slope upwards. Along the top edge where the rockfall source meets the slope you’ll have highest proportion of small granule studded occasionally with a much larger rock that sticks in position higher up the slope because of the impact force. Occasional larger rocks are also commonly found scattered apparently randomly down many talus slopes.
Oh and you’ll want your slope to be slightly concave top to bottom due to the way the toe of the slope holds up the total weight. Getting the curves right is the tricky part. The slope will often look convex from side to side depending on the shape of the source of the rockfall. The general shape will follow the contour of the top of the slope where it piles against the mountain or hill but top to bottom it should dip slightly.
And yes, I’ve walked a lot of scree slopes. A favourite descent technique is scree jumping (as a boy I called it galumphing) which can be as fast as running but safer if you kn
Back to the OP’s question, I agree with Brent. Just use undiluted white glue.
Don’t waste matte medium on this project.