What type of material was used for grade crossings in urban areas in the 1950’s?
Wood, concrete, asphalt?
Any suggestions as to who makes decent grade crossings or do you make your own?
Rich
What type of material was used for grade crossings in urban areas in the 1950’s?
Wood, concrete, asphalt?
Any suggestions as to who makes decent grade crossings or do you make your own?
Rich
As I remember in St. Louis they were wood treated with creosote much the same look as railroad ties. They were usually very loose and clackety as we road over them in the car.
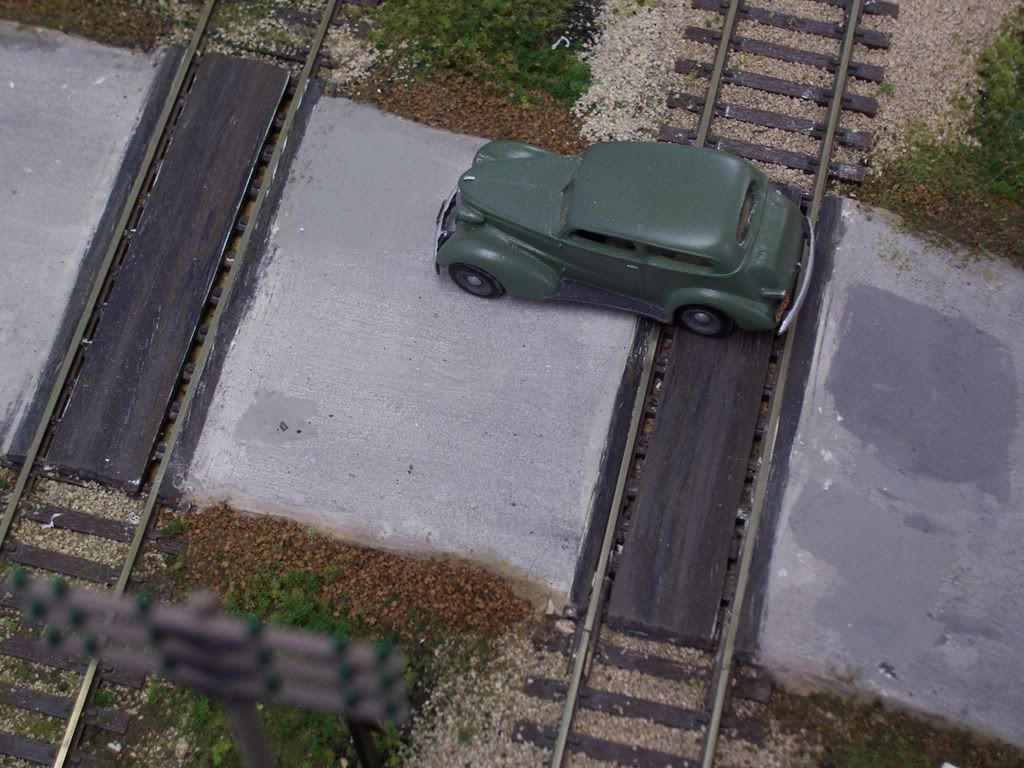
Santa Fe standard planked grade crossing:
 crossing1 by Donald Schmitt, on Flickr
Here is an interesting crossing I havent’ seen modeled much. Ir’s made of rail. The MKT standard plan is dated 1928, but I’ve seen similar crossings on other railroads as late as the 1970’s.
 crossing 2 by Donald Schmitt, on Flickr
I remember some wood crossings with asphalt overlays, but they may have been in the 1960’s.
Where I live the first ones were wood planks secured to the top of the ties. Blair Line makes both straight and curved wooden ones.They show the bolts but need to be weathered.
After the wood it was asphault and in a couple of instances I’ve seen what looks like hard rubber ones, but no cement in my area.
I’ve used Durhams Water Putty, and Joint compound to which I add color. Haven’t used styrene yet…
Bob
Hi,
As I recall, the crossings in the '50s (in Chicagoland) were a mixed bag. The older ones were obviously wood (heavy planks), but with heavy traffic they often worked loose. I recall replacements were often concrete (possibly asphalt - depending on the street material), and later on steel plates were installed.
I think for the time period, I would use the wood planks for lesser used crossings, and concrete/asphalt for the busy ones.
Hi Rich,
As I recall, growing up in Chicago, the late 40’s and early 50’s most all railroad crossings in the city were either wood plank,4 by 8’s bolted to the ties with heavy duty bolts and washers a little higher than the rails, or brick, at the same height as the rails…In the case of south Ashland ave. which were all brick, due to the fact that Ashland ave had street car tracks on both sides of the street north and south,and I recall you always knew a streetcar was coming, for they were very noisy. I remember my Dad running the rails for they were same height as the street, a lot quieter, if you could stay on them. They started using asphalt in the very late 50s but not all streets.
Cheers,
Frank
I appreciate all of the replies. Sure sounds like wood planks are the way to go and that is what I will do.
Thanks to everyone.
Rich
BLMA makes some decent grade crossings in concrete, rubber and wood.
I made my own plank crossings using strip styrene. My track is Atlas code 83, so I simply used strips which were .080" thick. Five pieces at .125" wide work quite well, but I also did some using a variety of widths that left the flangeways a little narrower. Both methods result in an assembly which fits between the moulded-on spike heads
Before cutting the strips to length, I dragged a razor saw along both wide faces (if you’re using square stock, do all four faces - saves having to worry about which side faces up [swg] ), then bevelled the top of both ends of all strips. Working on a sheet of glass, I used lacquer thinner to cement the strips together, then painted them with a brush using PollyScale paint - black and brown, applied “wet” at the same time. As soon as the paint had dried, I used lacquer thinner to cement the assembly directly to the Atlas ties. If you’re using ME or other brands of track, you may have to use contact cement or ca, as not all plastic ties can be glued with the thinner.
If your track isn’t yet ballasted, either apply some before installing the crossing or paint the spaces between the ties with dark paint, as the overly-wide flangeways will reveal that area upon close inspection.
For the approaches on either side, I also used strip styrene, prepared in a similar manner, cementing the shim piece (about .030" thick for my track) directly to the ties and butted-up against the spike heads, then adding the visible “plank” - its top should be even with or just below the top of the rail. (The diagram was done for someone using foam roadway, but you can easily substitute plaster or styrene pavement.)
[IMG]http://i23.photobucket.com/albums/b399/doctorwayne/Layout%20room%20tour/Levelcro
Wayne, as always, that is very nice work. I had not thought about small strips of styrene to create the appearance of wood plank. Great idea !
To date, I have been using 1/16" thick bass wood sheets cut to fit inside the rails and between the rails and the roadway.
Rich
Plus they are very enjoyable to make if you choose to scratch build. These are Campbell HOn3 wood ties I picked up at a yard sale. Of course I’m modeling in a western wilderness as opposed to urban, but you get idea.

Thanks for those comments and that photo, Geared Steam.
I’m not much for scratch building, but I have no hesitation about scratch building some grade crossings.
Rich