Boy, I haven’t been on here in a while! Hey everyone!
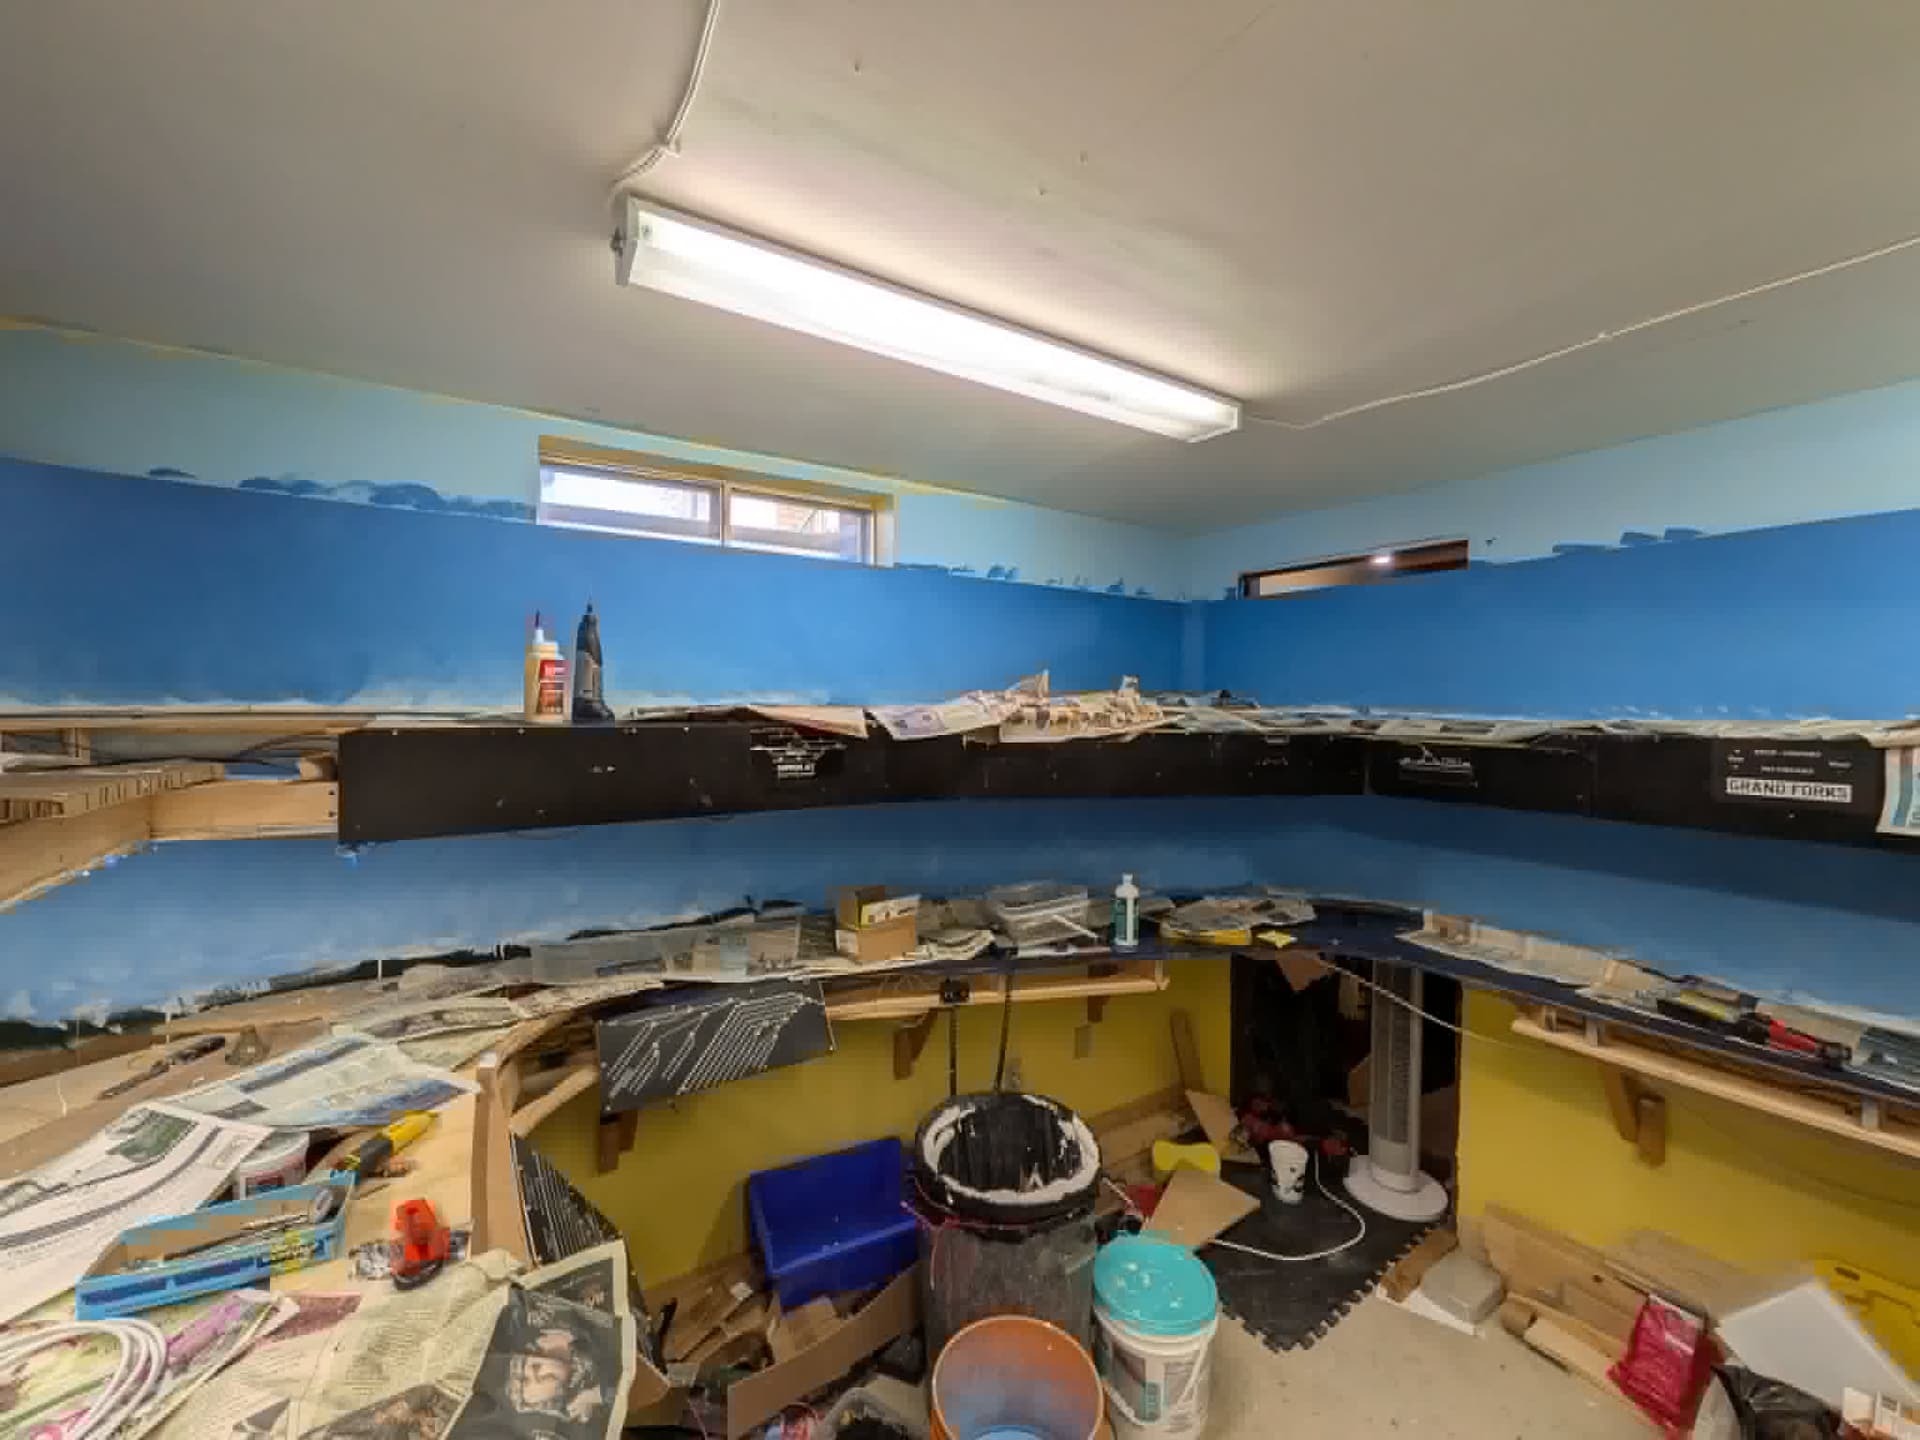
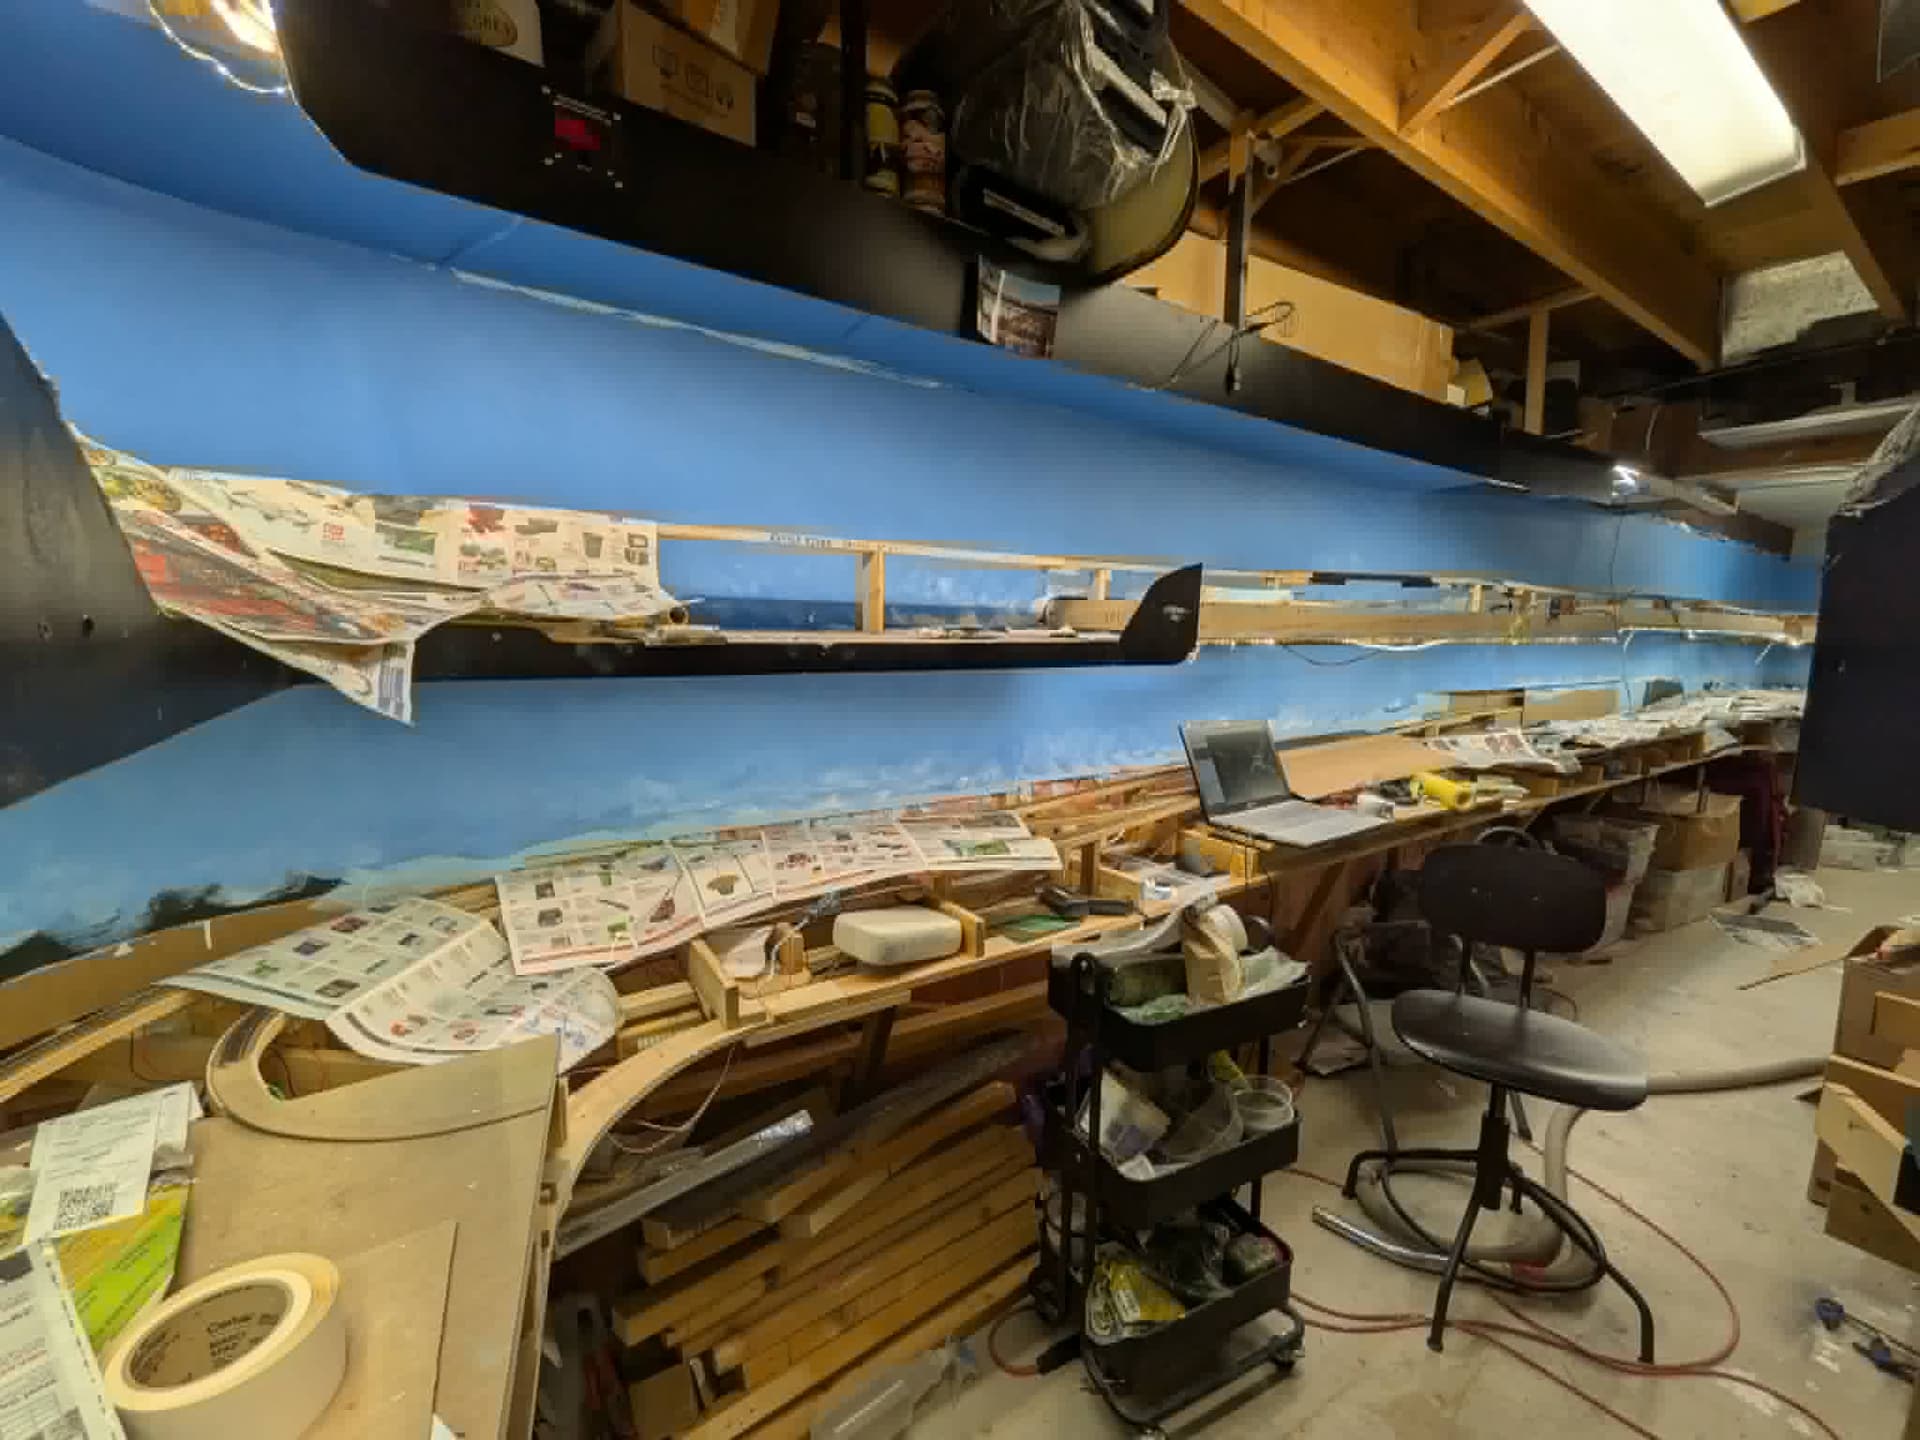
Background: I recently expanded my layout (woo!) and am trying to do the nicest, smoothest backdrops I can. Previously I had done tape and one layer of mud at the joints because I wanted to be able to take them apart and move them with as little chipping and damage as possible. It has come to my attention that I am unlikely to move the backdrops - the ones that I would have reused in the expansion are the wrong height and need to be redone anyway!
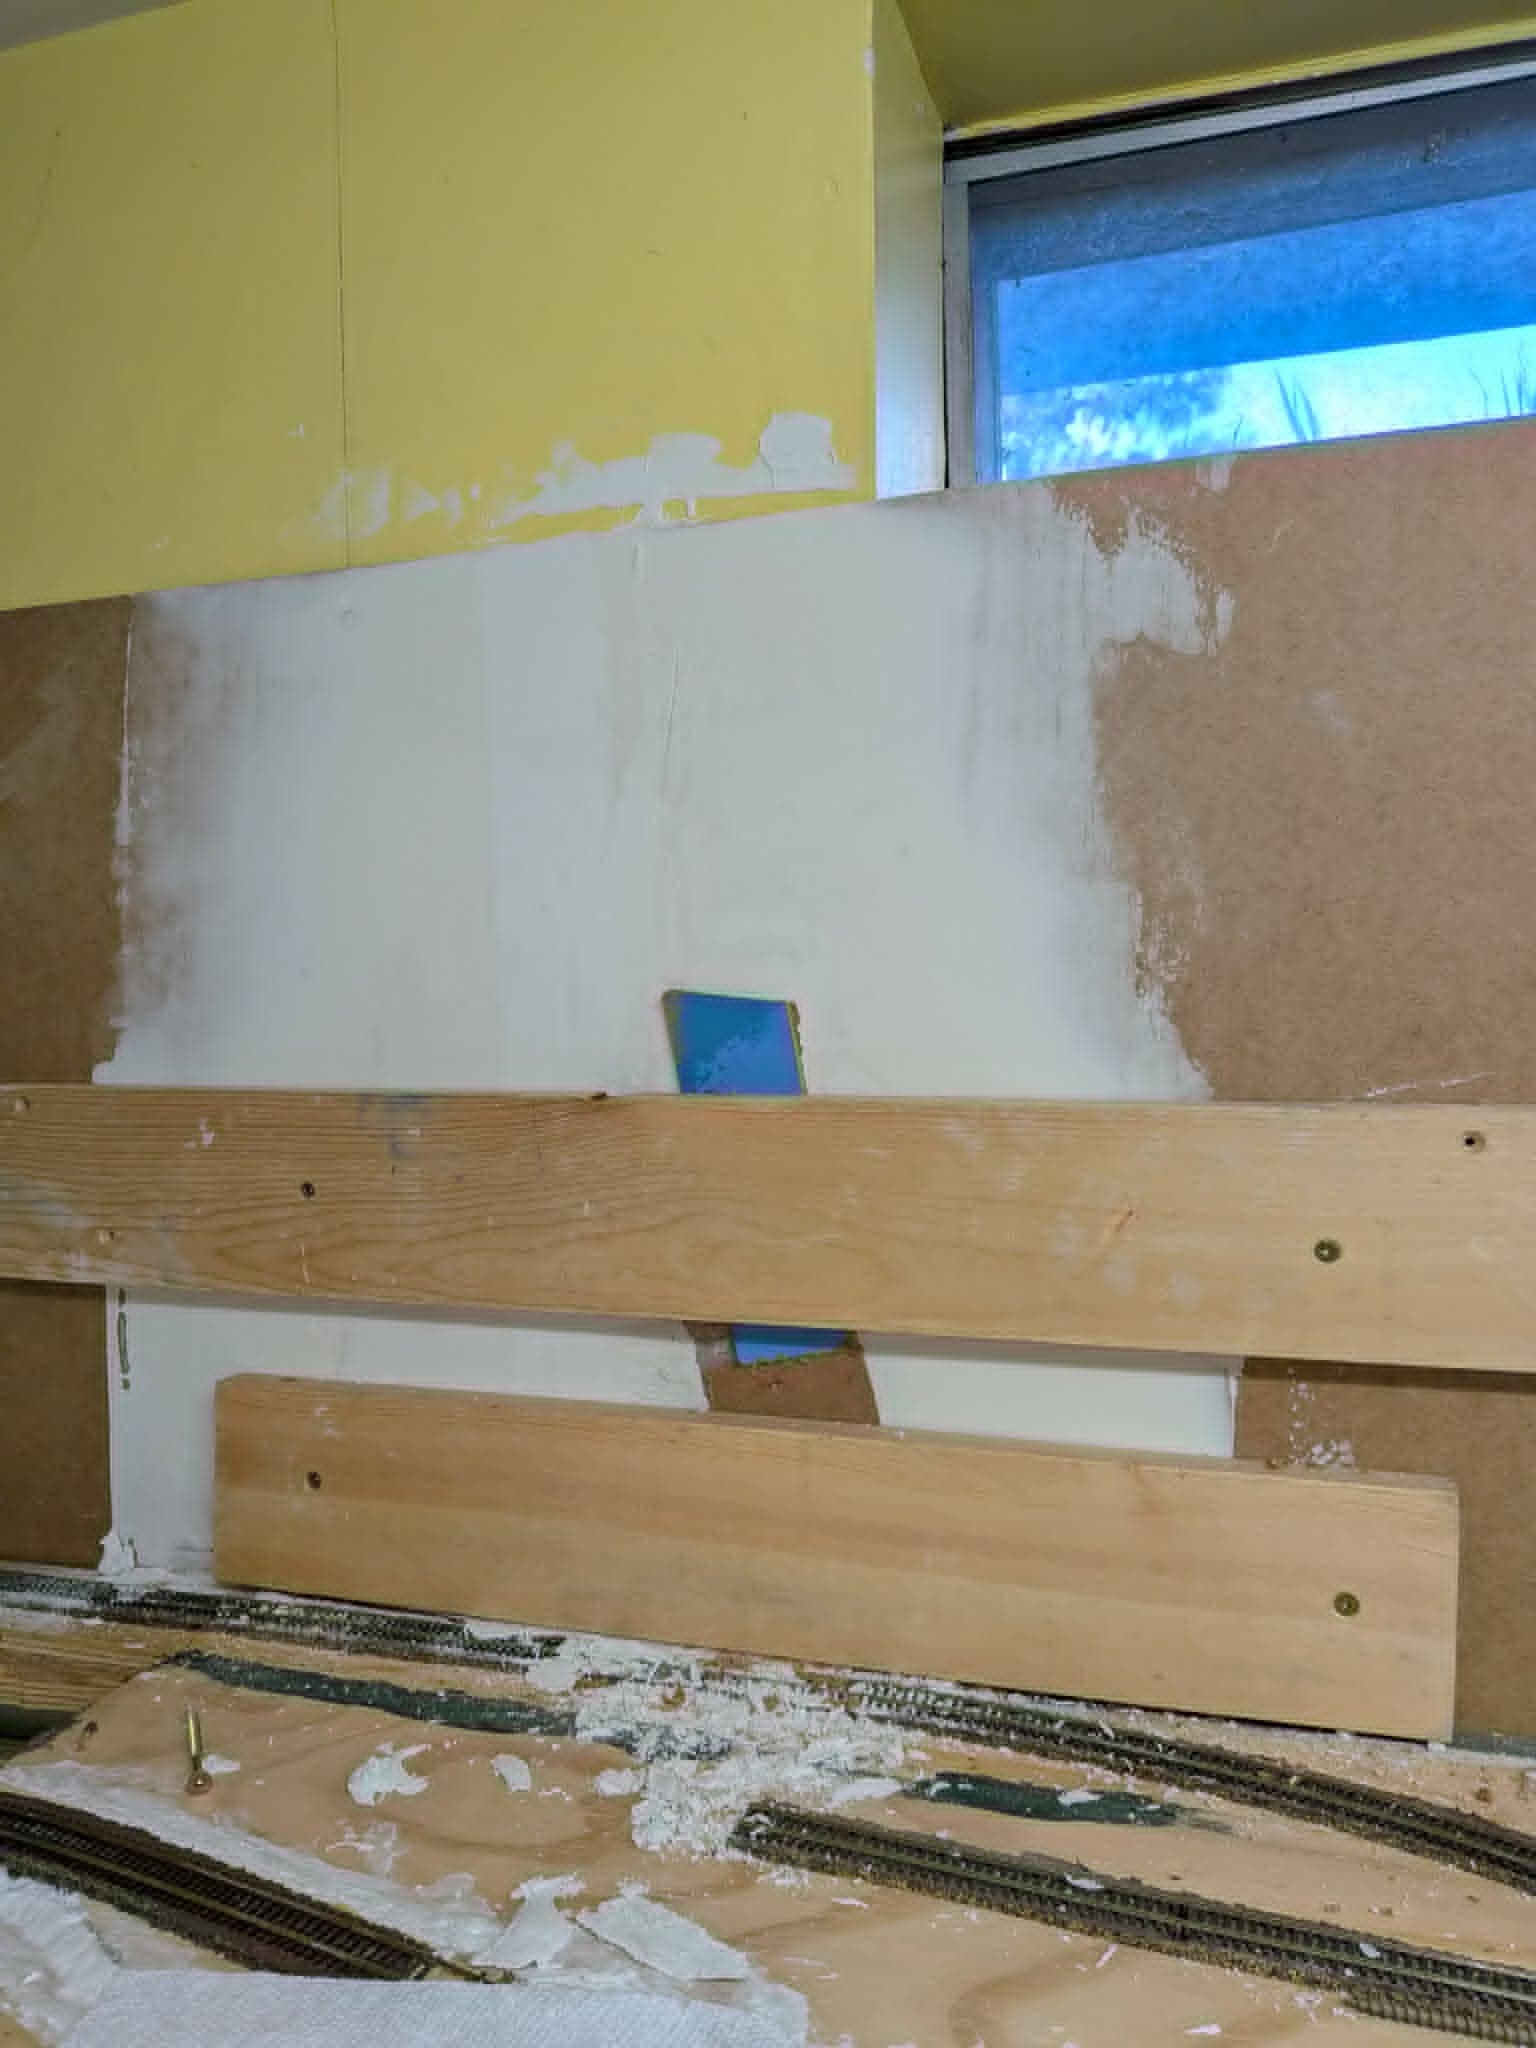
The problem: So now I’m doing this big, luxuriously smooth seams with lots of mud feathered, especially with uneveness because the room isn’t square to begin with and there are some curves involved. What I did not anticipate is that in some places, the hardboard would absorb enough moisture from the mud to expand significantly to the point where it was under stress, and warp out in places more than 1/4".
Solutions? I was planning to do one thin final coat of mud today to get everything really smooth and even, but now I’m thinking about leaving it for a month or so to allow the hardboard to dry and settle. I’m concerned it will remain bulged and be more difficult to make that beautiful, smooth seamless transition that I’m dreaming of. Either that, or if it returns to being flat, it will end up cracking the mud. Any ideas on what I should be doing right now?
Where the worst offender is (with track RIGHT in front), it’s on drywall with no stud behind. I shot some wood glue in behind it through some holes I drilled, and it’s currently some kinda clamped. I’m certainly most concerned about this one.
You’re probably going to have to replace any hardboard that has absorbed water and distorted. My experience with Masonite (and that Homasote stuff made with recycled paper) is that once they have swollen, they cannot be pressed or planed flat again without far more work than it’s worth.
For the record, there is a way you might have used drywall mud with hardboard; I discovered it for myself when stabilizing irreplaceable sections of molding at Rokeby and Soldier’s Fortune in the Hudson Highlands. That is to soak the front and back of the hardboard with liquid wood hardener or equivalent until saturated (and then let it dry or cure), and then apply first a thinned and then a full coat of a good primer like the oil-based Kilz, front back and edges. You can then caulk or feather to your heart’s content…
What kind of mud did you use and how wet was it. I used premixed Dap and it isn’t very wet at all, almost like putty. Putting any mud on thick is asking for trouble, too much moisture will cause issues with hardboard and the mud is likely to crack. Many thin layers is important.
I hope you’re wrong! It doesn’t feel like it’s significantly swollen in terms of sheet thickness, but just didn’t have any room to expand. hoping it comes back.
After I posted this, I was thinking about it - I’ve still got about half the seams left to do. I have been priming the sheets with gesso before using latex paint on them. It occurred to me that it might work if I primed them BEFORE mudding them.
For your method, that process of soaking would be before you installed it, right?
That looks very well done. I assume no problems with cracking, either. The spline roadbed looks super smooth too!
I don’t know if we have the same brands as the US, but I’m using Certainteed easi-fil premixed compound. Similar thickness.
Masonite needs to be painted (sealed) on all 4 surfaces before installing to prevent expansion and contraction. And leave about a 16th inch gap. I would also recommend using enough lumber backing as to not have any unsupported areas more than 12 inches. Horizontal furring strips attached to the normal verticals supports. And a lot of fasteners. I use finish nails slightly countersunk then filled.
I primed the Masonite first, then taped and mudded over the primer. Worked fine.
Edit: You should be able to reuse the warped sheets if you straighten it out using enough lumber backing and fasteners.
Yes, right up through at least the initial step of priming. The wood hardener has the effect of turning the panel into reinforced plastic.
The gesso will have a slightly different effect, making a ‘skin’ around the board to reduce uptake from the wet mud. It may be preferentially absorbed by the back side if applied there, so you might need to test if it causes any effect on fastener holes or ‘end grain’ of joints in the time it takes to dry.
Really, all you need to do is prime where you’ll be putting mud (including the edges the boards) with an oil based primer such as Kilz Original Oil based Primer (HD carries it). Though I’d recommend you bypass using the spray can version and use a brush to apply a heavier coat. A quart should be way more than enough.
Also, I’d use premixed drywall mud for making your patches. If you are using something else, or mixing your own, you may be putting in too much water. Just a thought.
I’m getting along pretty well. I primed the front along the joints where I had yet to mud, and it did make a significant difference to swelling. One section did swell slightly and kink a tiny bit, but nothing like the upper level. I’m glad I took my time mudding so thoroughly and with so many coats, it is so delightfully smooth. If I were to do it again, I would definitely prime both sides ahead of time. I would also more thoroughly brace the hardboard - this is the first area I’ve done a backdrop with drywall behind it and I didn’t know exactly how I would brace it, hoping that it would just sit happily against the drywall behind scenery.