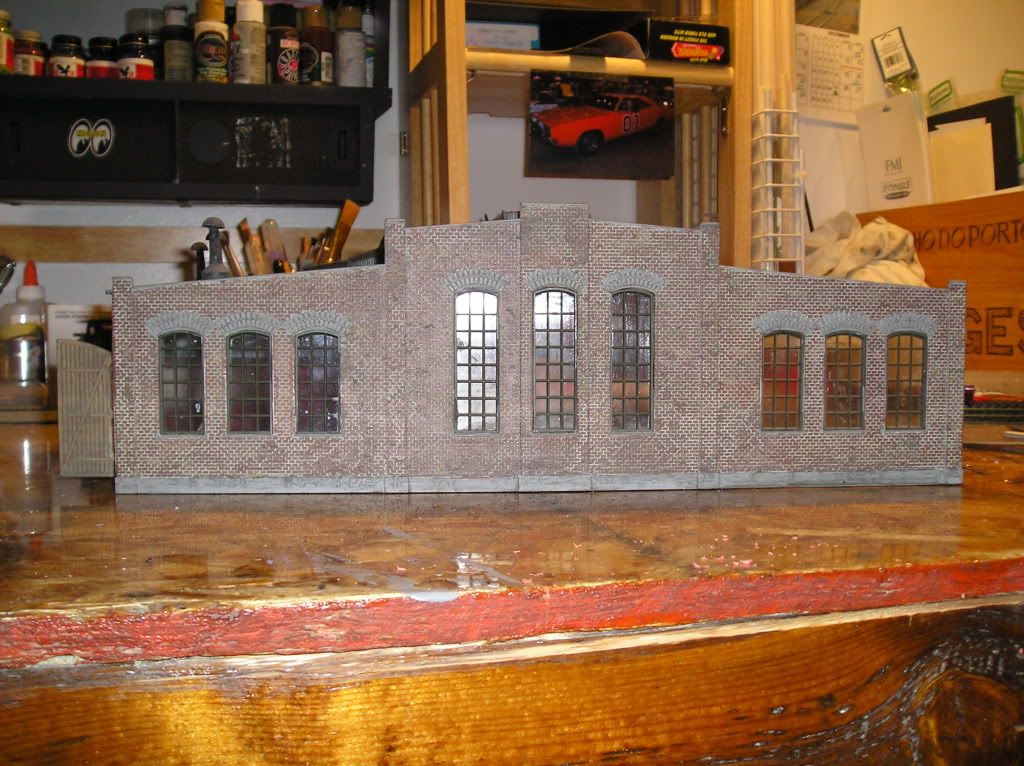
I bought a heljan roundhouse last year and it sat on my shelf until about a month ago. I decided the stalls were too long for what I was going to use it for. This is how it started off.
Notice the concrete base in these pics. It will change in the next pics.
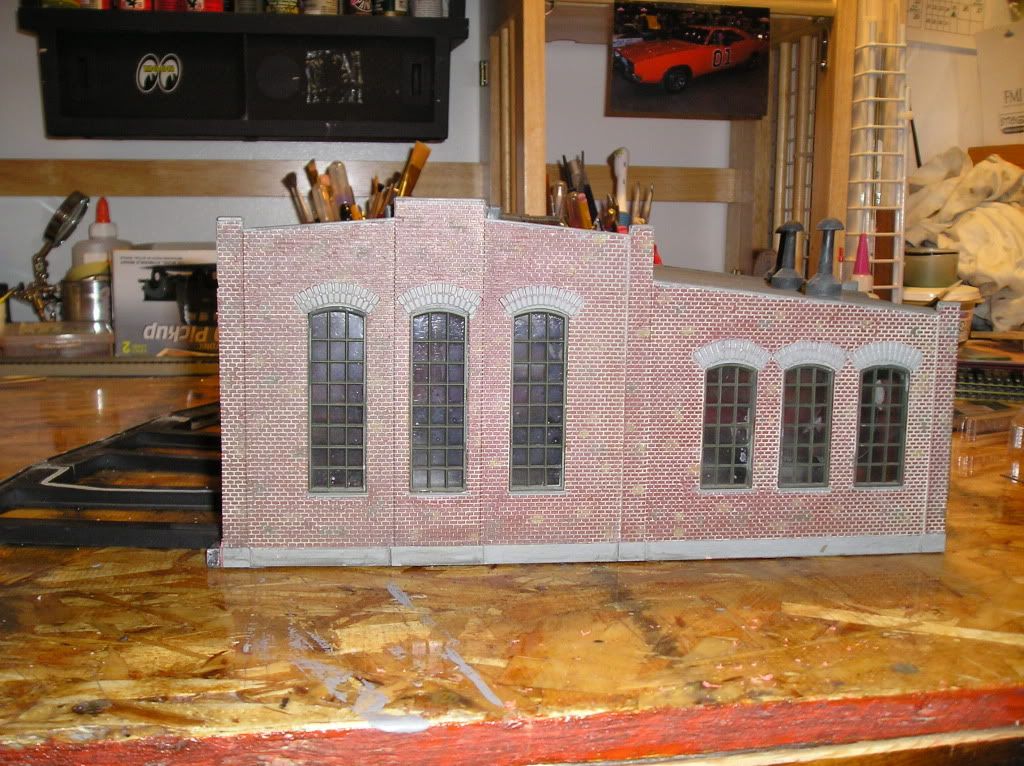
Here I cut down the rear of the stalls.
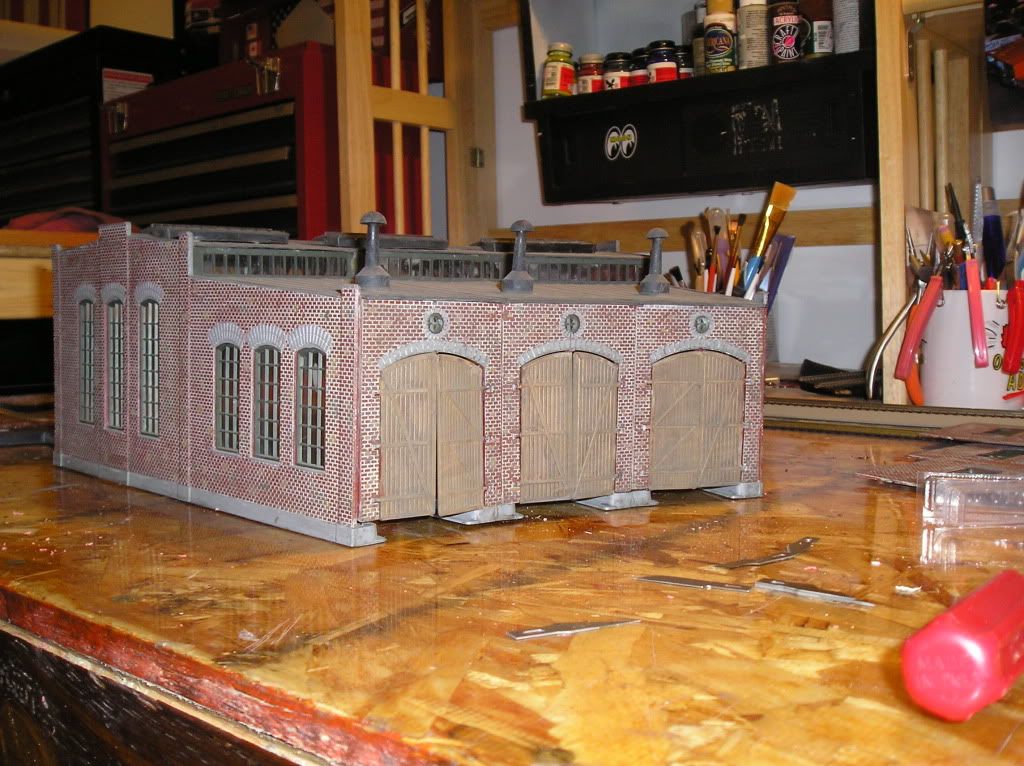
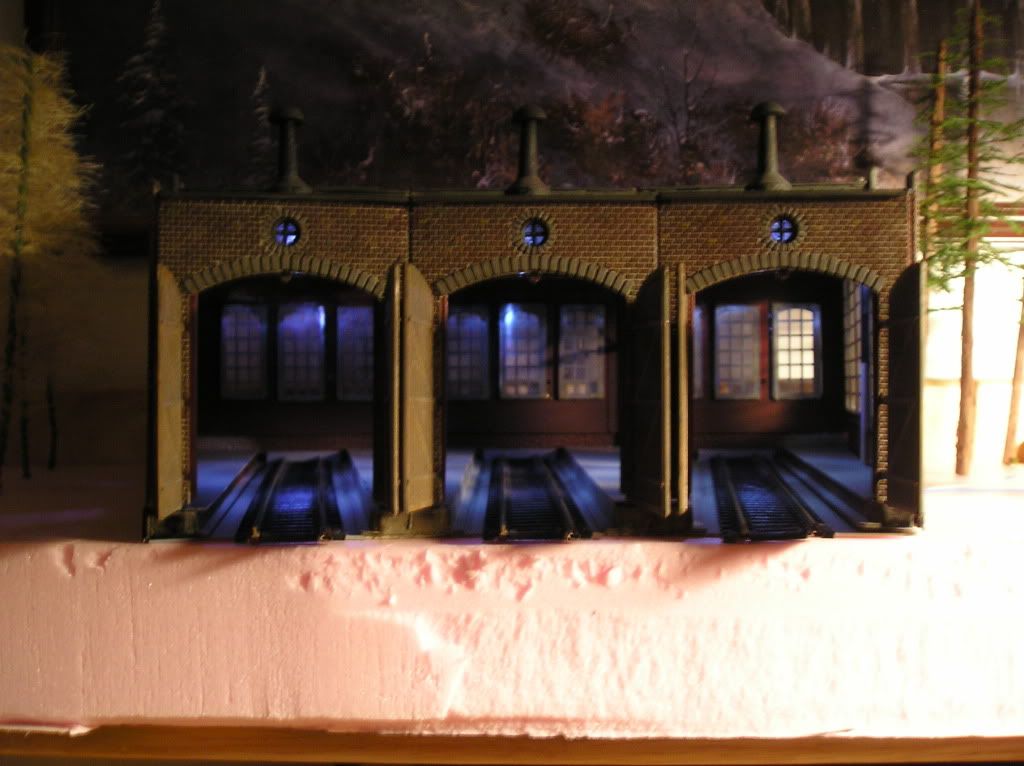
Here is the completed project
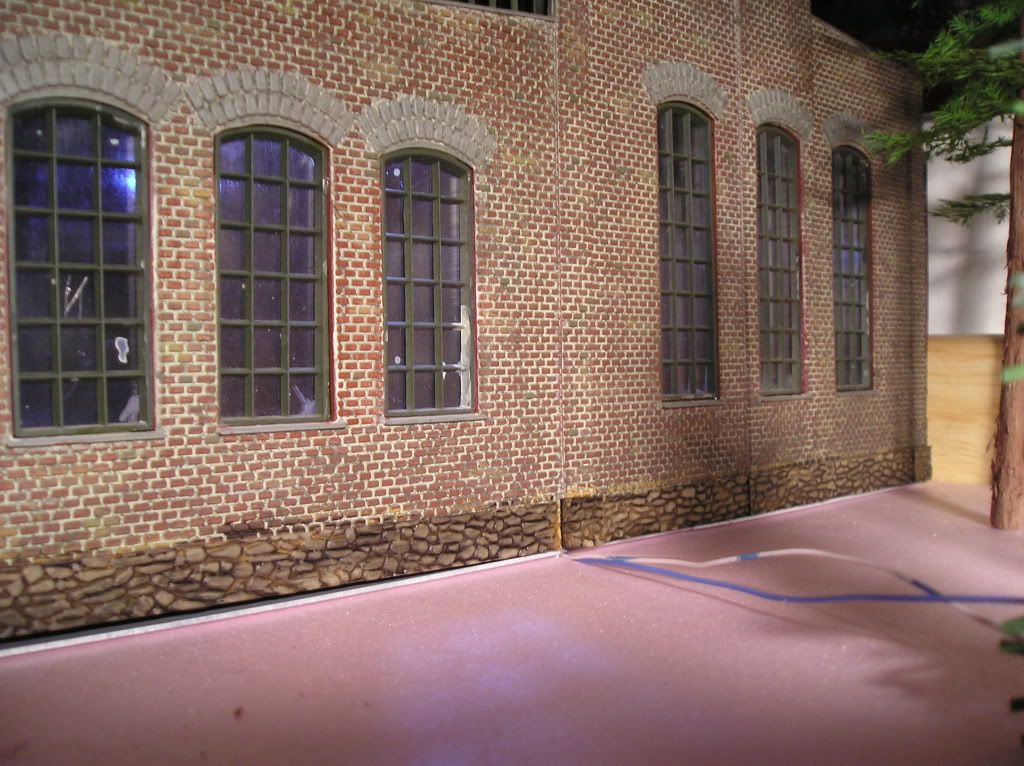
Enjoy. Notice the stone foundation now. grout was reddish brown, over that for the stone was aged concrete and then a wash of black india ink that I let sit for a few seconds then wiped off lightly.
If you are referring to the only green tree there it is a piece of the christmas tree. The pink foam is my holder for the trees I am making. I had heard of people making trees from christmas tree limbs and thought I might try but I don’t think I like the shape of it.
Very nice job; You demonstrate we can “customize” any building and give a better look with easy work.
What’s is funny I am just working on the same model but in Nscale.
My roundhouse has six stall.
To a better look, I have added brick pillings around the back wall, a stone foundation like you and some details inside to hide the join of the wall and the pilaster.
Hole were provided on both side to put doors for the workers and a small repair house is also added completely scratchbuild.
I have begun to work on it last weekend and hope to finish it this week end.
Following a front and a back pictures of my model; I just finish the mortar joins.
I have also modified the roof by erasing the “Heljan details” and will cover them with simulated tar roofing.
Looks good Marc. Where did you get the brick corners from or did you just by a brick styrene sheet and cut your own. I need to do that to mine to hide some stuff in the back.
I also like the walls on the inside gives it a more finished look. I will have to see if I can add that to mine as well. Can’t wait to see it done
Very nice work guys! I think I’ll rip a few of your ideas for my own roundhouse, it’s N so interior is moot besides a wash of paint. I will be lighting it thoroughly of course; I also feel the need to show off my movers & shakers
The brick corners and pillings are made from embossed brick plastic sheet from Slaters.
I cut myself the strip at the same size as the existing pilling; I take mesuration with a caliper.
I glue them on the existing wall, but in fact I have build the whole wall structure on its base before adding the pilaster and stone fondation on this structure. Why?
Because I found it was easier to find where to hide some stuff and join and can see already the look.
On the front wall whith the doors, I also glue small vertical brick pilaster to hide the join and a small stone fondation. The pilaster are 1.5 millimeter by 4 centimeter; big enough to hide the join and small enough to stay “light” on this small existing pilaster.
When the glue for the pilaster covering the corner is completely dry, I engrave the brick join on the corner to have a continuity with the adjacent wall.