I am struggling with the tiny machine screws on the Atlas Switch Control Boxes. Each screw must be installed between two plastic “walls” which prevent inadvertent shorting between two adjacent contacts. The screws are so short that it is not possible to hold a screw between two fingers while inserting it into its hole between the two "walls; then, too, getting a wire wrapped around the screw while inserting it is also quite difficult. I am using the spade terminals sold by Atlas for fitting a screw once it is started. These connectors help quite a bit except for the difficulty of getting the tiny stranded wires on Atlas switch motors into a space terminal. I would think that some kind of tool is available for starting those tiny screws, but I have not found such a tool yet. The insertion of switch motor wires may become easier for me if I become more skillful in slightly tinning them. By the way, I am totally blind from birth; but I have enjoyed this hobby for years through O-27, HO, and now N-scale. I used a row of doorbell buttons for the track switches on my HO layout years ago, but I decided to give a diligent effort to apply the Atlas control boxes. If after much effort I do not make progress in using the Atlas control boxes, I’ll buy a bunch of doorbell buttons for my current layout. These buttons would work if a common wire connects across one screw of each button and to one low-voltage AC terminal; the “center” wire of each Atlas switch motor is connected to a common lead and to the other terminal of that AC power supply, with the remaining screw of each button going to the “straight” or “curve” end of a switch motor. The main advantage of the doorbell buttons is larger screws already installed to receive the wires. However, the proper use of the Atlas Switch control boxes is a much “cleaner” setup because Atlas provides the means to carry power across several of them mount
You might try a piece of thin wall brass tubing, turned or filed on the ID to just hold the edge of the screw and the OD reduced enough to clear the fins, with the screwdriver inserted down the bore. You could if you wanted provide a light spring engagement so pressing down reliably engages the slot but not until you’ve aligned the screw and perhaps even started it into its threads with ‘friction’ (or a little wax if it’s a loose fit)
Another thing to consider would be using Phillips screws as replacement, with a combination of a magnetized bit and a little wax in the ‘cross’ recess. That will tolerate a great deal of misalignment and ‘shock’ lining things up, and be ready if you subsequently change the wiring around.
Something I tried was to pre-form a U-bend in the wire around a shaft just the OD of the threads, the stripped portion just fitting in the ‘recess’. You can feel when this is in and relatively flat and it will not torque up once you twist it to lie flat; start the screw down until it touches and then use needle nose or heavy tweezers to bend the outer legs of the U in as you tighten the screw with the other hand. That should give you all the benefit of a ‘wrap around the screw’ without serious haptic difficulty.
That last is how I did it, when using small solid wire for the connection. I wrapped the wire around the screw, and used the wire to hold the screw in place while using a small screwdriver in my other hand to run it in. Same thing can be done with wires that have spade connectors attached, balance the screw in the spade connector with one hand and use the screwdriver in the other.
–Randy
I dip the tip of the screwdriver in Woodland Scenics “Accent Glue” (or some other “reversible” glue) and let it dry a bit. The screws will stick nicely to the screwdriver until you reach your destination. Phillips screws work better, but you can use the method for single-slot screws if you are careful.
Hello All,
I understand your frustrations.
What I do to hold those tiny screws while setting is I tin the ends of the stranded wire and then bend the tinned wire around the screw.
This helps hold and align those tiny little buggers when setting and helps during removal so they don’t jump around.
Tinning also ensures that all the strands of the wire neatly snuggle down between those raised partitions.
You might not be able to replace the slotted screws to Phillips. As I recall the Atlas screws are and odd size.
Recently I picked up a magnetizer/demagnetizer from MicroMark. Magnetizing the screwdriver helps hold the screws in place while setting.
Another option, that we use in bike shops when working on tiny screws, is putting a dab of light grease on the end of the screwdriver. We use a white lithium grease but you could also try petroleum jelly (Vasoline®).
With a cotton swab and a bit of isopropyl alcohol you can clean the grease from the head.
Hope this helps.
I’ve struggled with this as well. A magnetic screwdriver can hold it if it is strong enough. What I’ve had success doing is holding the screw at the tip of a small needle nosed pliers and giving it a quick turn to set it. That will hold it in place so I can finish with the screw driver. Whatever you do, I would advise putting a plastic box of some kind under your work because inevitable you are going to have one fall to the floor and they have a way of magically disappearing when they happens.
I could be wrong but I think Atlas might have change the size of those screws. I’ve found unused screws which I have saved from past projects won’t go into the slots on newer Atlas devices. Maybe they changed from a standard to a metric size.
I suppose the question here is whether proper twisting and then tinning is easier for the blind than gauging and stripping solid. It’s going to involve some fluxing, perhaps use of solder paste or a product like it, with some care in subsequent heating. It might be easy to do all the binding post connections in solid and arrange connection to stranded away from the Atlas screw connections?
Are they not 3-48x1/8? I see plenty of those available in Phillips with correct head shape.
That is a good point - I was just assuming some way to use a pre-magnetized bit, not do it electrically (or by attaching small permanent high-strength magnets to the bit). I do wonder if stroking the bit a few times with a high-strength magnet wouldn’t do the necessary trick without costing what a demagnetizer from a specialty tool supply house will…
This is a good solution but one that I find works much better on recessed cross point (or hex or Torx) than on small slotted screws – the viscosity of the grease is perhaps the most important thing. I wonder if the dielectric grease for aluminum house wiring has the right stiffness to work well for a short #3. The problem here is that he’ll have to hold the screw by the threads while applying first the grease and then the screwdriver (to get the blade registered with the center of the slot) and this might be a little messier than othe
I picked up one of these at Timonium. I use it all the time for coupler and bolster screws.
I have one of the Gripsters like Henry showed, very handy.
Don’t have one in my modeling tools, but have a Craftsman (I think) on my farm work bench. The blade is split and a collar slides down the shaft to spread the blade sections and hold a slotted screw.
If you use the spade terminals, Atlas are the correct size, but you can find others that will fit at auto parts stores, you can rest the screw in the spade, pinch slightly and it will hold while you place it over the hole and put the screwdriver to work.
Good luck,.
Richard
A screwdriver which fits the screw helps. Also maybe stick a little dab of tape on the screw head and wedge in the screwdriver tip.
Use tweezers with fine point and angled tip instead of your fingers directly. Grip the screw with the tweezers right under the head. That leaves enough thread to get the screw started in the hole. Screwdriver is manipulated as normal. Only your screw holding fingertips are replaced by tweezers. Think of the tweezer tips as tiny fingertips.
Another tip is to turn the screw counterclockwise first, a half turn at most, so that the end of the helix on the screw tip drops into the opening in the female thread where that helix begins before you apply clockwise force. Saves the frustration caused by the screw thread trying to climb out of the female helix until it finds the entry point.
My layout is in a room with hardwood floors. The hardwood seems to be solid, and it feels solid, but every-so-often when I drop one of those screws, the hardwood opens up and swallows the screws. They are never seen again.
I remember the Atlas accessories came with brass screws. A magnetic tip driver won’t be much help. Maybe they are plated steel these days.
Any screw starter that grips the head won’t have room between the plastic insulator fins. You need this type of slotted screw gripper:
This is a set of three but you can find the size you need, probably 3/16" and just buy that one.
Good Luck, Ed
I believe the ones that use fine brass or bronze ‘fingers’ to do the gripping will not foul the fins going on; it’s just that you can’t get the fingers back over the screw head after starting the screw down. You can bend and dress down the little fingers if there is not enough room between the fins and the edge of the head. (You could also chuck the screw up and stone off a little of the head diameter…
In my experience you can get them out by tightening the screw only a bit once you ‘start’ it, then hold the driver stright up and down, rotate the ‘collar’ with the gripping fingers so the fingers are at 45 degrees relative to the ‘exit’ of the box formed by the fins (something you can do by feel if blind) and then slide laterally over the wire and out. (The go back and tighten the screw down normally.)
I’ve been using the small Klein that Ed’s link refers to for around 50 years and it works very good down to a #2 slot screw. Because of its age it doesn’t look the same as the new ones but because it’s a Klein it should work like the older one.
Mel

My Model Railroad
http://melvineperry.blogspot.com/
Bakersfield, California
I’m beginning to realize that aging is not for wimps.
I have not used those old Atlas buttons for a long time, but my memory is that they were prone to sticking in the ON position, thus risking a fried switch machine. One solution is to use a capacitive discharge circuit for those twin-coil machines. The other is to use simple toggles which don’t stick.
But, like I said, I haven’t used them for years. What experience do other modelers have with the newer versions of these buttons? Are they any better than the old ones?
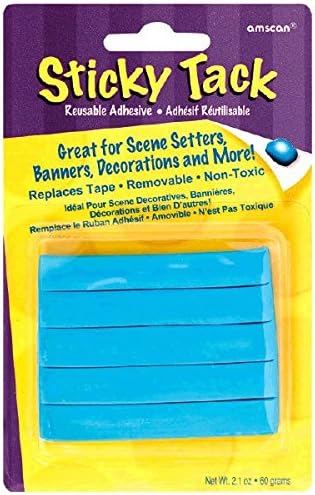
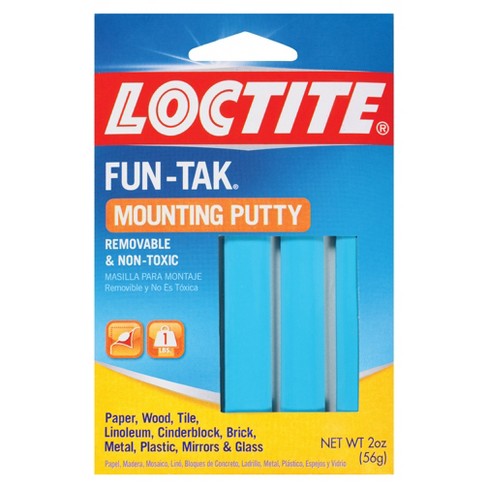
I have in the past use “sticky-tack” that putty that is used to hang posters etc on wall to avoid damage…it never dries up. a small dab between screw head & screwdriver should hold it on long enough to get the screw started
Wow, I was not aware of all these tools and tricks!
My technique for small screws is rather simple. 1) the piece needs to be level in order to have gravity hold the screw on the hole; 2) using a tweezer, I position the screw in the hole; 3) using a screwdriver of the right size, I slowly apply pressure on the screw and slowly engage it in the hole. For really tiny ones, and if my hands are shaky that day, I lean one finger from my left hand on my right hand for greater precision to get the screwdriver head on the screw without displacing it.
So the trick is to level your piece so that gravity can hold your screw at least near the hole. You may have to dismantle the switch from your pannel…
Simon