Anybody got any good suggestions for doing HO-scale rivets? In the past I have used little dots of super glue gel, and it works pretty well, but it leaves something to be desired as far as uniform spacing and size.
to do rivets, you will need an embossing tool…(it’s a tool that looks like a spur with a handle usually found in your mother’s sewing machine stuff)…you also will need very thin styrene plastic…on the back side of the thin styrene, press and roll the embossing tool across it forming indentations in the styrene… turn the styrene over and you will see the “rivets” that the embossing tool left in the plastic…now glue the thin styrene to a thicker piece of styrene and there you have it!..a wall with embossed rivets in it…Chuck[:D]
There are two basic methods:
-
emboss the rivets on a thin (.005) sheet of plastic, and laminate it to a thicker body piece. You use either an indexing machine like NWSL’s “riveter”, or a pouncewheel. The wheel is fast and inaccurate, and the indexer is accurate and SLOW. Both methods are tedious.
-
add lines to the model where you need rivets to go, and then glue rivets where they need to go. This works best on plastic shells and plastic rivets. You can either buy rivets of various sizes from Tichy, or carve them off old Athearn boxcars. Carving and harvesting rivets actually takes no time at all, and gluing lines of rivets onto a car body doesn’t take as much time as it sounds. You basically keep a box of rivets and two paintbrushes handy. Pick the rivets up with a water-moistened paintbrush, add them to where they need to go, and add liquid plastic cement to the rivet witht he other paintbrush.
I’ve used all three methods above, and prefer gluing the rivets on (a trick I picked up from the “Essential Freight Cars” articles in RMC). It’s faster and less frustrating than using the press, and is much more accurate than using the pouncewheels (which actually give you rectangular rivets!)
I built a riveting machine that is somewhat based on the NWSL design, but it uses an adjustable height drop hammer and spring to move the punch. It has an indexable table that is graduated in 1" increments in HO scale. I made it to make 3 different sizes of rivets, and they actually look like rivets! My machine works well on both plastic and brass, the only complaint is that it doesn’t work real well at the edge of a workpiece. I generally trim to size after making rivets now. My cash outlay was minimal, but I did have most of the materials on hand, and have my own lathe, torch, and welders. I got the idea from the June '68 MR, then expanded on it. E-mail me if you want more information on it.
hey guys,
do you have links to pic how these machines look like?
Check the Micro-Mark website www.micromark.com
They carry both the NWSL Riveter and Sensipress, plus the pounce wheels.
As for my creation, it looks a lot like the NWSL Sensipress, just using a drop hammer instead of a handle to move the ram down, and a spring to return it.
The manufacturer Three Brothers make a sheet of thin styrene with rivets embossed on it. IT is intended to be made into a bridge (and it looks like the very devil of a project) but I have used my sheet for a variety of uses, including differing bridge parts and adding rivets to the bottom of a very light gondola where I covered the original cast riveted bottom with a sheet of lead for extra weight.
The old old method – a clock gear on a stick. Just try finding a clock gear these days! But fabric shops sell a tool the people who sew and follow patterns use which is essentially like a clock gear on a stick – it is sort of like a pizza cutter with sharp points regularly spaced. With practice and using a steel straight edge you can get fairly believable rivets in thin plastic and bond paper which you can then soak with shellac to give it heft.
Dave Nelson
Has anyone tried little drops of glue, using a toothpick applicator? I understand these work well; just get the right glue for the material you are riveting.
Here’s the link to the Tichy rivets that Ray mentioned:
http://www.tichytraingroup.com/index.php?page=view_category.php&category=NBW+%26+Rivets&offset=0
Bob
NMRA Life 0543
A NWSL Sensipress is how I do them, in brass and plastic! Plus you can get different tips for different sized rivets!
Micromark.com has 3D decal (!) rivets that you just cut from the master sheet and apply like any other decal to the surface, either before or after paint. The photos on the website look great on bare brass.
I have made rivets out of epoxy glue and was pleased with the result. A little practice on the application and a light sanding after and then paint makes it a good method for making a few.
Micro-Mark has decals that are good for larger jobs.


It’s been 15 years and I wonder what ever happened to Luthier Tom?
Joe
I archer waterslide decal rivets. The come on decal paper and you apply the just like decals. They are 3D and do standout. They also have different spacings and single and double rows to match what you need.
My daughter was 2 when he asked his question, she is now in University and I finally got the time to answer his question. Raising kids is quite time consuming if you do it right.[(-D]
In the past, I’ve used dividers to create rivets (albeit somewhat oversize ones)…

…but nowadays, prefer the rivet decals from Archer or MicroMark.
These, I think, are from Archer, on a scratchbuilt 1932 ARA boxcar…

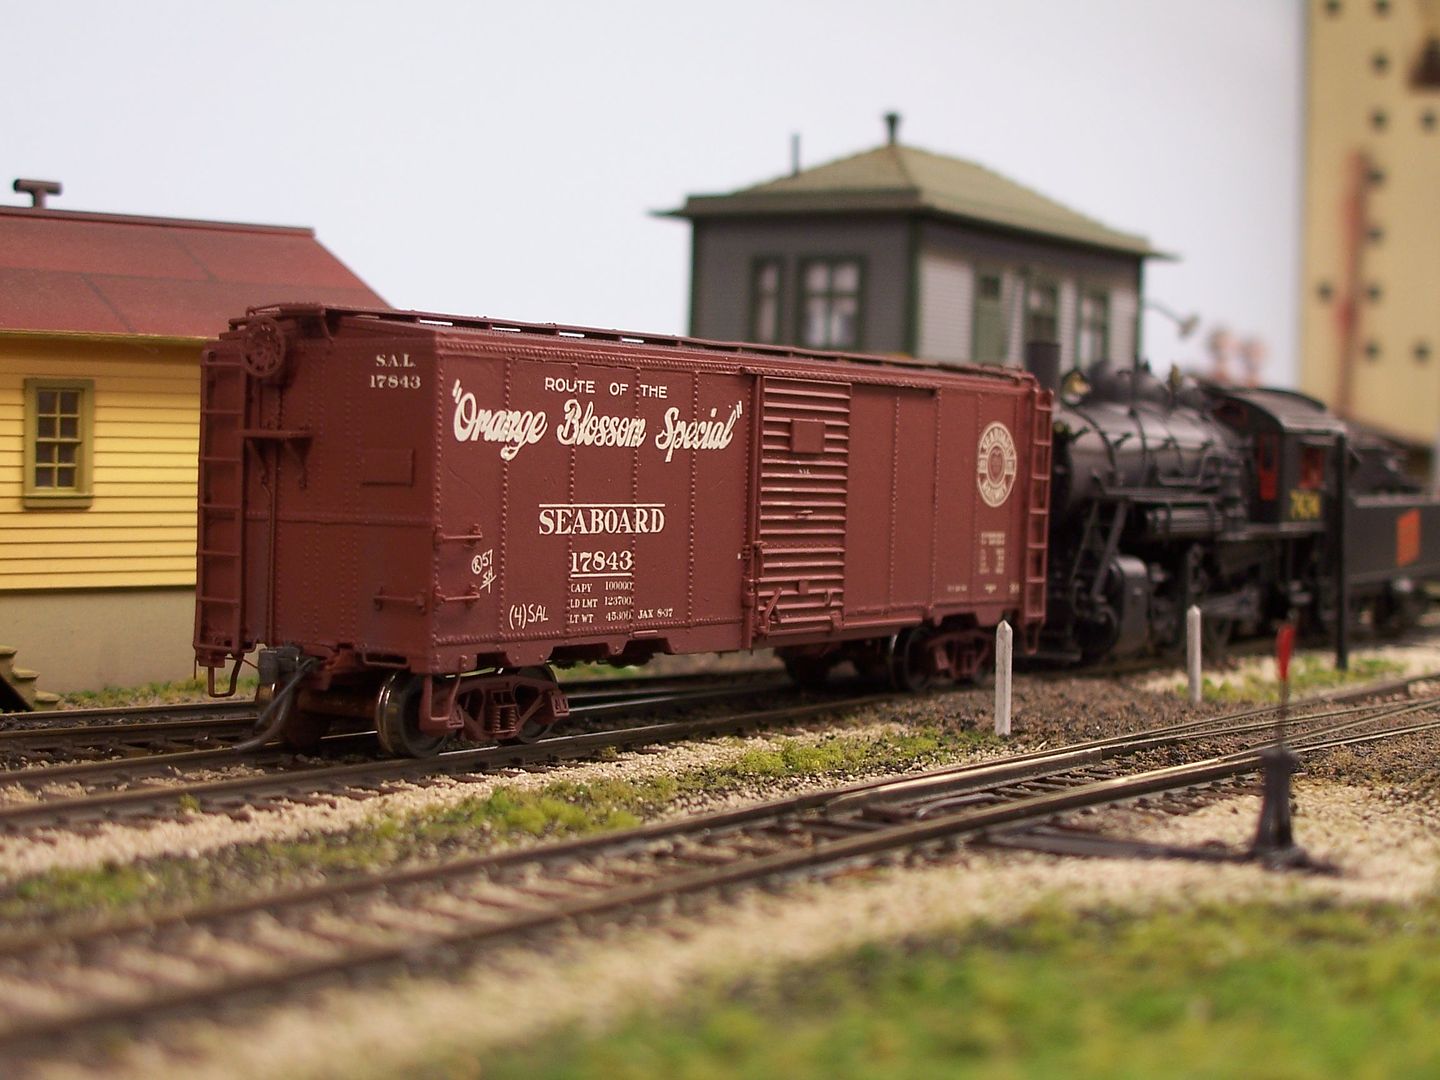
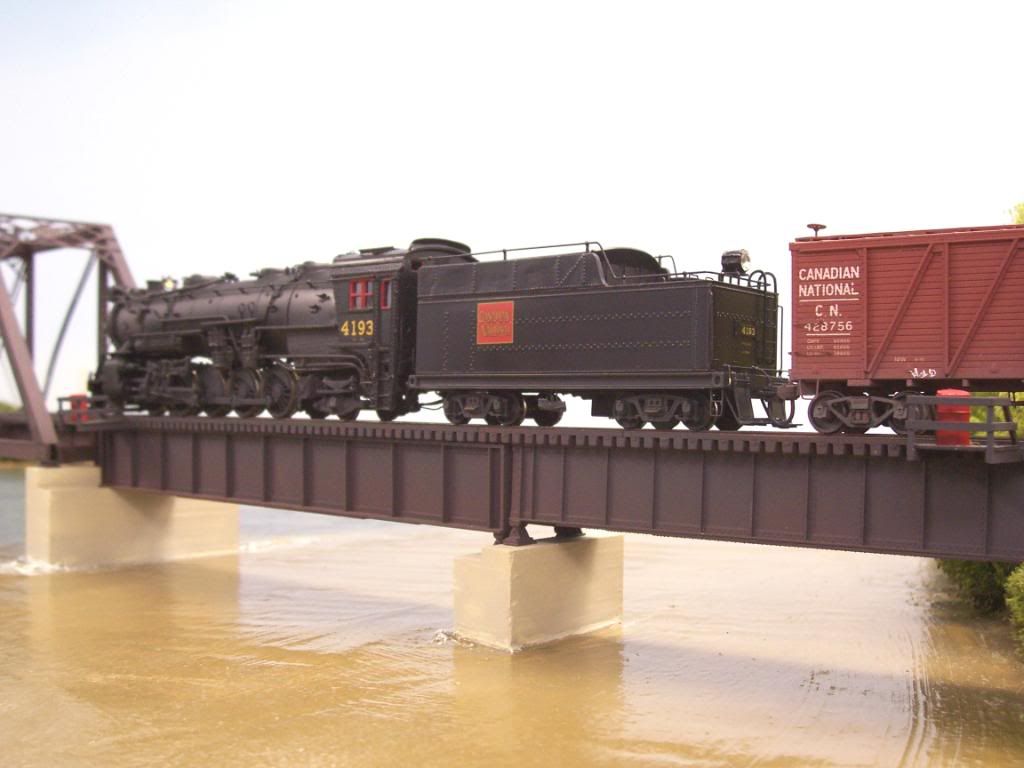
I used the MicroMark ones on these cars, since I had several to build, and they’re cheaper than the Archer ones…
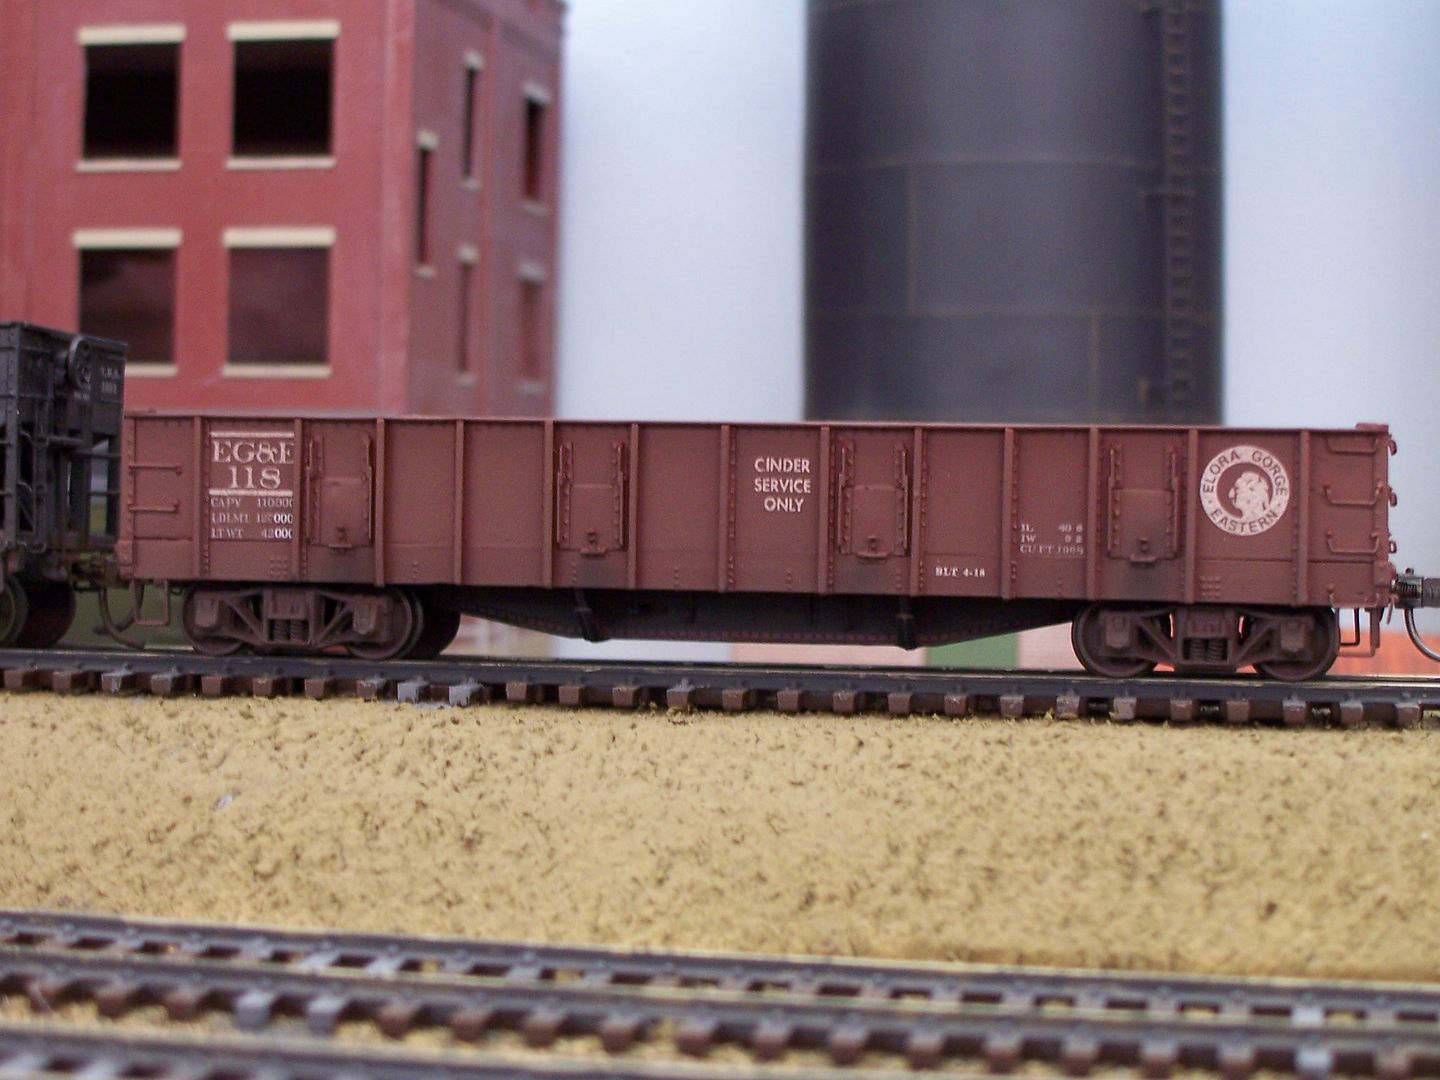
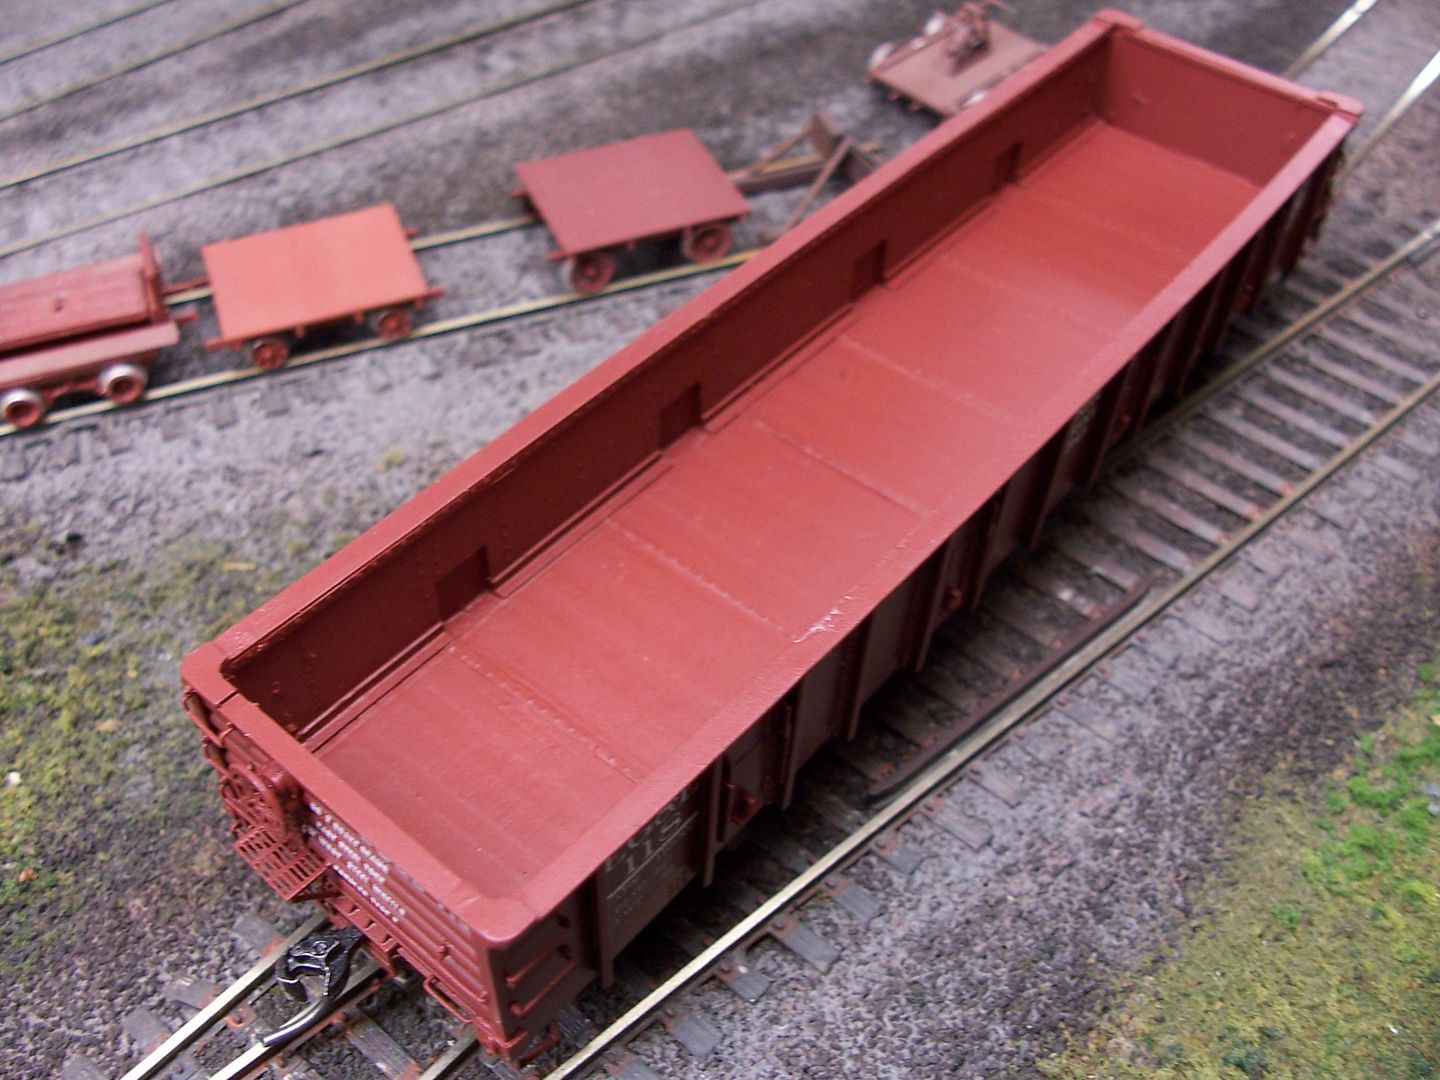

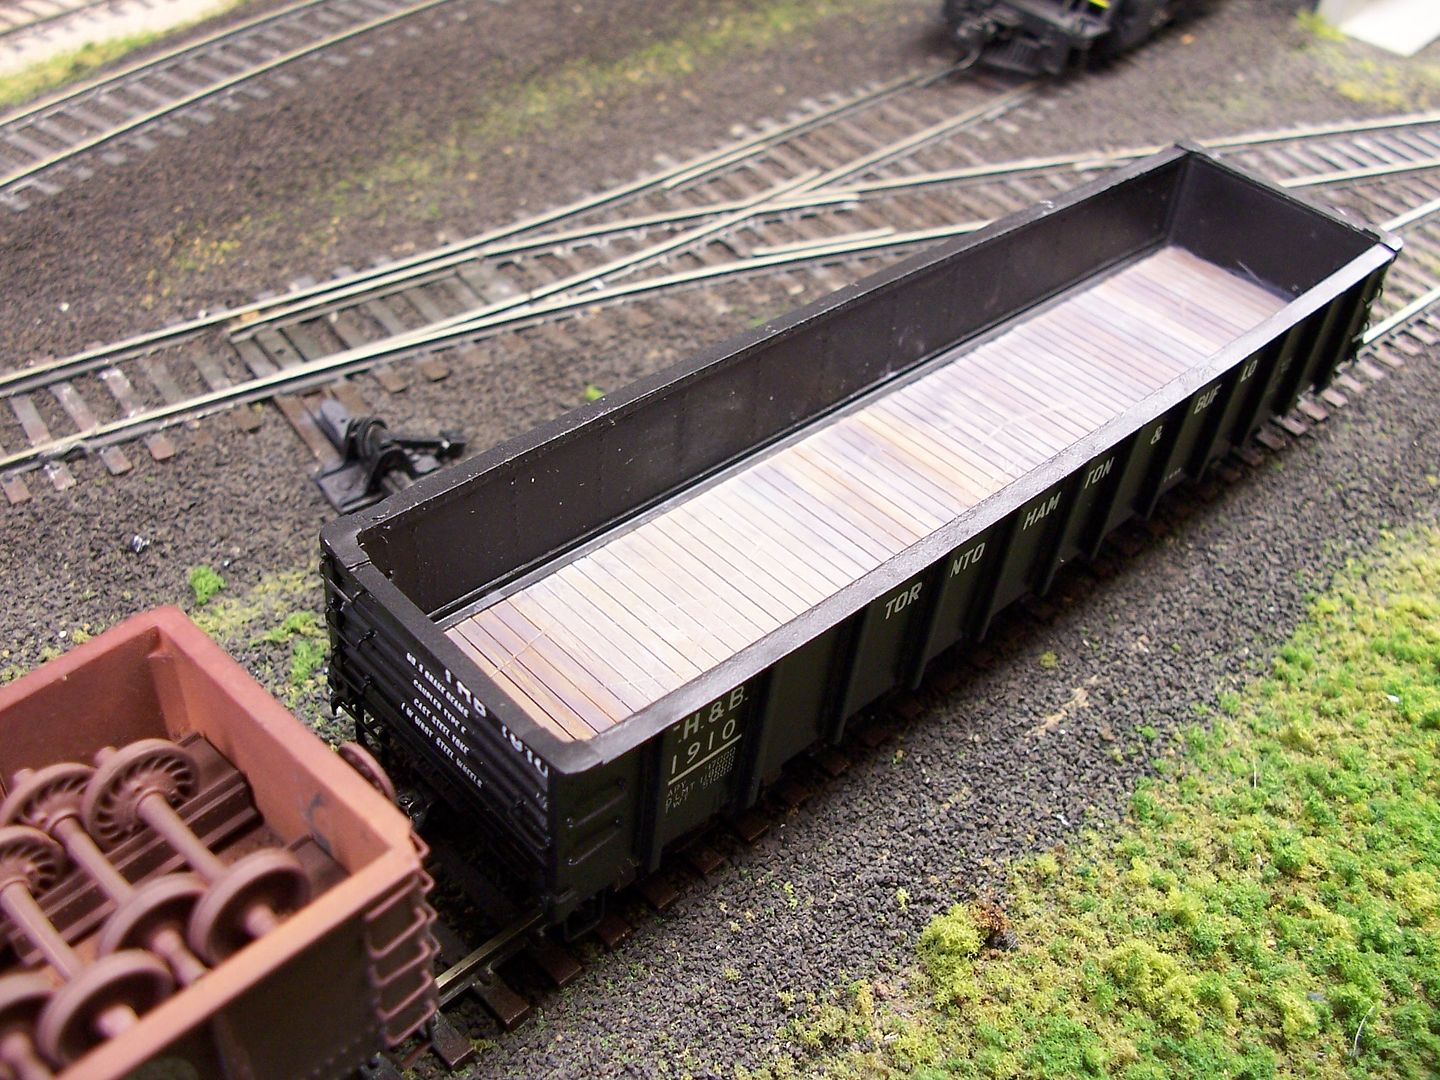
The gondolas have scratchbuilt sides and ends on Tichy flatcars, and while the cinder car also utilises a Tichy flatcar, I used the aluminum tape (seen on the Seaboard car) to re-sheath the “wooden” Tichy floor.
While both brands work well, I prefer the Archer ones, which seem easier to set with Solvaset. The MicroMark ones on the gondolas were set using MEK - a light application done with a very quick pass of the brush. Otherwise, the rivets would be removed.
Wayne