I’m using traditional cookie-cutter 3/4" plywood sub-roadbed. My plan (unless someone offers a better idea) is to continue the cookie-cutter across the gap that will be bridged, then cut out the section of sub-roadbed where the bridge will go and support it with temporary risers to serve as the bridge until I get around to building the real bridge. I figure I’ll go ahead and use the bridge flextrack from the start and build up under it later.
Is this a reasonable plan? Anyone have a better idea?
I have had this 4’ long spline roadbed bridging the gap over my canyon to the floor for years now and it hasn’t sagged a bit. Your plywood should be fine and I would just use regular track until the time comes to put in the bridge structure.

I agree with Brent. Use regular track and build your bridge as a drop in to fit.
Mel
Modeling the early to mid 1950s SP in HO scale since 1951
My Model Railroad
http://melvineperry.blogspot.com/
Bakersfield, California
I’m beginning to realize that aging is not for wimps.
Since al of my bridges so far have been deck girders, I cheated. The subgrade is still there, just cut down to the width of the girder ‘box’ with the top painted flat black. The risers sit on a piece of sub-subroadbed somewhat wider than the sub-roadbed would have been at track level, and are located where the piers have to be. "Finish’ work involves putting detailed girder facing on the aisle side of the narrow sub-roadbed and wrapping masonry pier and abutment structure around the risers.
My technique requires laying open-floor bridge standard track (ties on 14 scale inch centers, with long ties every sixth tie to support walkways) right from the start. The nice part? Once laid, the track doesn’t have to be disturbed - ever.
Those walkways, and their railings, are the last things to put in place.
I will be putting in one ‘different’ bridge later, which will be even easier. Working from a prototype I saw in the wilds of Western Tokyo-to* the bridge will be a concrete spandrel arch on a curve. The track across the concrete deck will be plain Code 83 concrete-tie flex, ballasted. The deck will be fill-top wide sub-roadbed, with the sides trimmed vertical, painted with portland cement. Only the guard rails will be a concession to the situation - and they will actually continue to the far portals of the adjacent tunnels.
*“Wilds?” Tokyo is a provence, not just a city. At the extreme west end it’s more West Virginia than West 34th Street (NY, NY.) Except for the absence of cedars, it’s much like the prototype area I model.)
Chuck (Modeling Central Japan in September, 1964 - with lots of bridges)
I use 1/2" plywood as the layout surface. When I built the layout, I decided to add the bridge later, actually two double truss bridges end-to-end.
What I did was to measure the total span required for the bridges, let’s say 40 inches. I then measured the depth of the bridge piers, let’s say 4 inches. I then built a 1/2" plywood span 40" long and mounted it 4" below the rest of the plywood layout surface to represent the river bed. Then I built a temporary layout surface across the span which I removed when I installed the bridges and formed the river bed.
Hope that makes sense.
Rich
I have a spot where one track had to pass over another and to keep grade from getting even steeper, the clearance was minimal so really I needed a thin support for the track and no under bridge details.
To get the top track to clear tall cars (double stacks and autoracks) on the lower track, I bought at Home Depot a stamped piece of metal that was about 1/16th inch thick and very stout which was about 10 inches long 1 1/2 inches wide to bridge the gap the track had to cross. It has about an inch or so on each side to sit on and had holes in it already soI could screw it into the 1/2 inch subroadbed. The track passes from the cork, over the metal piece and to the other side and tall cars pass under with sufficient clearance.
I’ve going to use a Central Valley girder bridge to put up girders on both sides so it looks proper although I’ll have to leave out the under bridge detail but it should look convincing enough from the sides.
Generally I install a temporary bridge.
I use 1/2" plywood as subroadbed with cork roadbed. For a temp bridge, I either don’t install the subroadbed, or cut it out. Then lay in the cork, leaving it a 1/4" short of the end of the subroadbed at each side of the abyss. I make the temp bridge with thin ply veneer the same thickness as the cork and stiffen it with 1/4" x 1/8" bass stripwood glued on edge along the top sides of the veneer.
The advantage is that at a later time, you can remove the temp bridge while leaving the track crossing the span, then build the permanent bridge under it. I also use the veneer bridges for hidden track where the underpass clearance is critical since it eliminates the thickness of the subroadbed.
Jim
Sometimes I just build the space normally and cut in the bridge later.
That’s what I do. A quick chop, chop, out comes the spline, in goes the bridge.

I think this is the path of least resistance. Except that I’ll probably stick some cardboard under the track rather than wasting 3.5 feet of homosote roadbed.
I’m in a hurry to get this track in as it’s the lead to the helix which I need to test before proceeding.
Thanks all for the suggestions.
In the past, I’ve left the roadbed in place uncut. However, this can create issues if you’ve scenicked the surrounding area. If I do any again, I’ll likely do the cutting of the roadbed before laying track. Then, making sure that they remain accessible, I’ll screw it down at each end so it’s just a matter of unfastening things to remove the temp roadbed. This avoids stressing the surroundings, as well as limiting dust-creating cutting.
You will want to leave a little extra room at each end for you abutments if you prep this way.
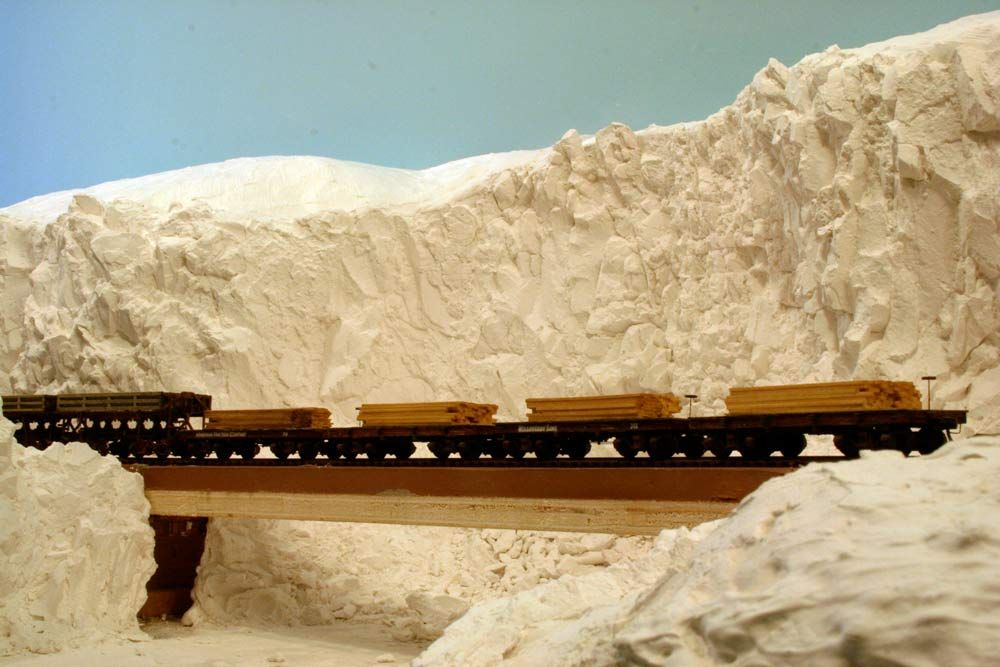
I use the same method that Mike describes above. Here is an example:
Have fun,
Guy
LION took two thin strips of metal, say 1" x the length of your bridge. Use a brake to bend the metal lenghwise about 1/4" inch in. A “V” shape with a 1/4" side and a 3/4" side. Set it across you chasam and lay the track IN it, so that it hold the tracks in place. As you build your finished bridge, just leave the metal and the track in place.
ROAR