I have been lucky and have had no shorts. I painted the shades first and I guess that was enough to insulate them.


That ngineering wire is insulated and reasonably tough. I think a little experimenting will show if it is doable.
I have been lucky and have had no shorts. I painted the shades first and I guess that was enough to insulate them.
That ngineering wire is insulated and reasonably tough. I think a little experimenting will show if it is doable.
Well, the LED’s showed up a couple days ago. These things sure are tiny!
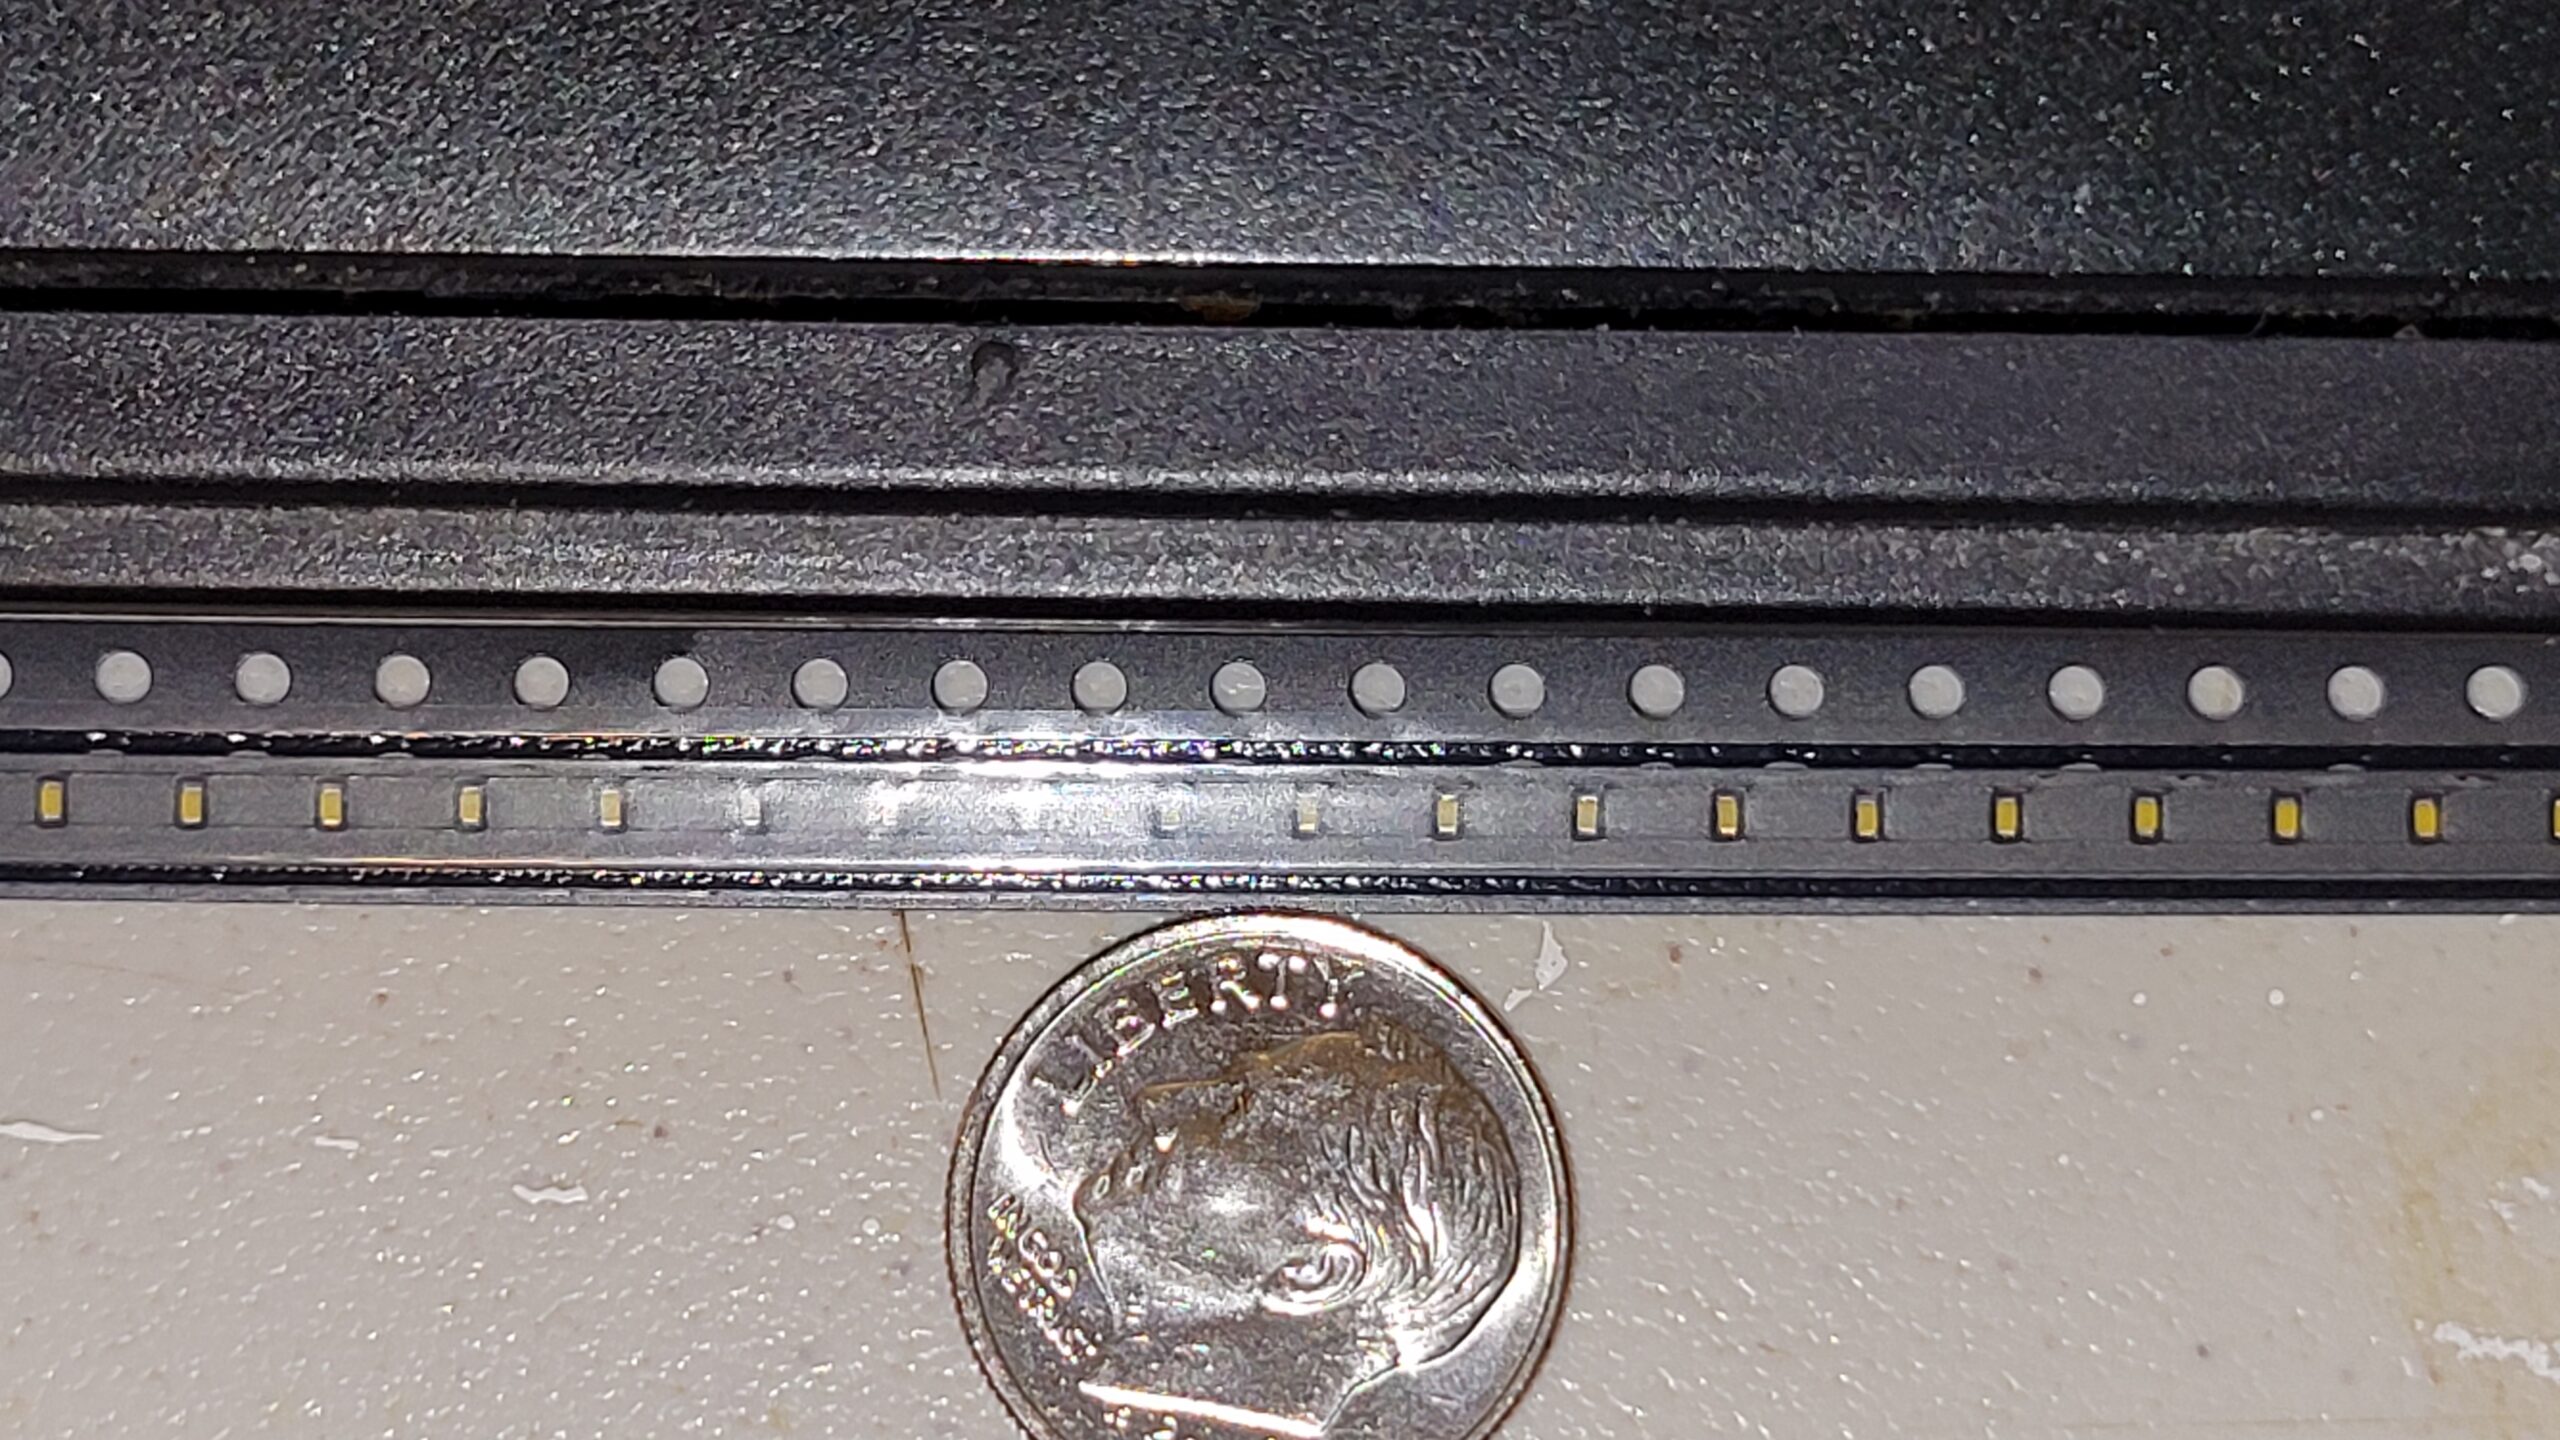
I should have put more thought into this before I ordered these. Since I have to install lampshades, I’m thinking I might order 50 pre-wired LEDs and feed the leads through the shade. Then I’ll cut the leads short and solder them to the transmission wires just above the shades, so they look kinda like the lights here:

Maybe I’ll save these for discrete lights over doorways, inside structures and so forth, where I only have to solder leads to one or two at a time.
One thing’s for sure - I’ll need a soldering iron with a very fine tip!
Mark,
Even for 0402s: I would use the same 1/16" chisel tip I normally use in my soldering iron to solder the wires along the long side of the SMD LED pad. As long as the tip is nice & shiny it will transfer the heat evenly and well. And, with the 1/16" surface area, it will do it quickly. A slight touch @ 650-700oF and it’s soldered.
Tom
I remember every time I needed a light or two, I would get out all the stuff to get going on the production and there was always a learning curve to get through again. I then decided to just sit and do a ton of them all at once and banged them off quickly with a much lower fatality rate.[(-D] I now have a margarine container full of them with 10cm leads on them ready to go.
The pre-wired ones I have looked at always had wire that was much too thick to look good. Of course, it doesn’t matter if it is hidden. Also, remember with these low-power LEDs you can get creative in certain situations and use copper tape and that paint on stuff that will carry enough current.
This was an early experiment where I soldered the wire to copper tape. Once done I painted the copper tape white and it was invisible.

I also ordered many different width rolls of copper tape from China for a fraction of the cost.
Hi Mark,
I have soldered wires to a fair number of 0402 LEDs but ultimately I decided to go with the prewired ones. Doing the soldering wasn’t too difficult but it sure was tedious. I decided that, for the price, the pre-wired LEDs were well worth it.
Having said that, someone mentioned that quite often the wires on the prewired LEDs are too large to fit in many applications. When that happens, soldering your own would seem to be the only way to go.
Dave
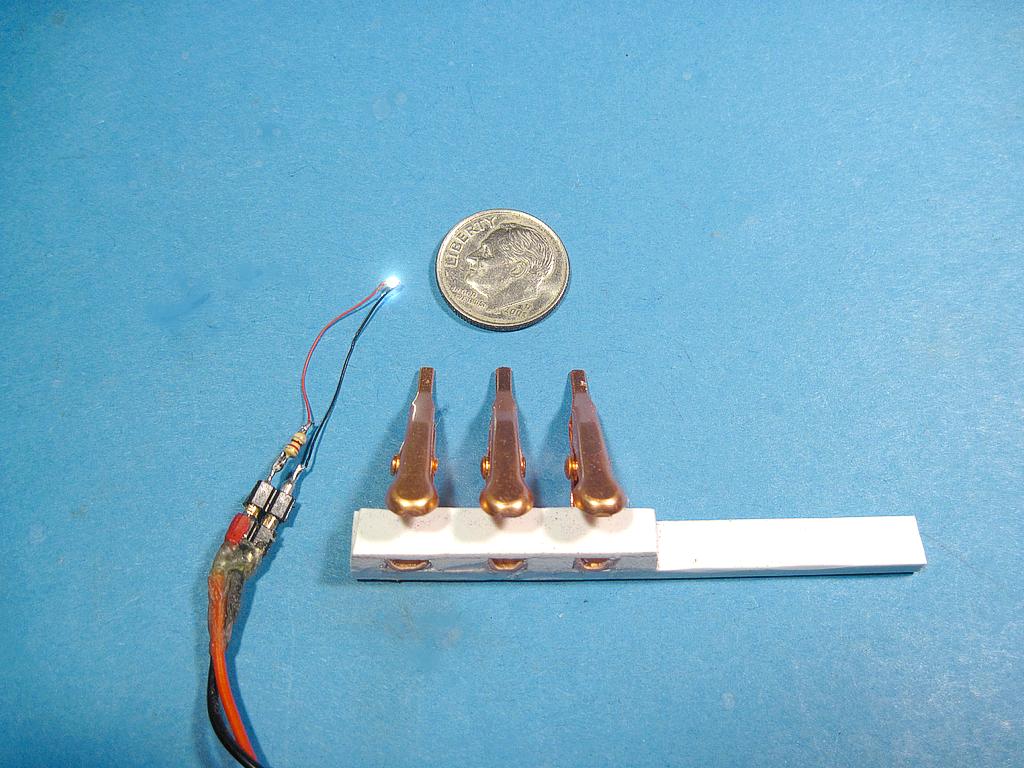
I tried my Mel SMD holder and It worked great!
I soldered two 0402 warm white LEDs and didn’t screw up ether one doing it. That’s a first.
They weren’t easy for Shaky Hands Mel but I did it. The 0603s and 1206s should be much easier.
EDIT:
Better picture, higher LED current, 1ma
Mel

My Model Railroad
http://melvineperry.blogspot.com/
Bakersfield, California
I’m beginning to realize that aging is not for wimps.
You guys are putting me to shame! [:'(]
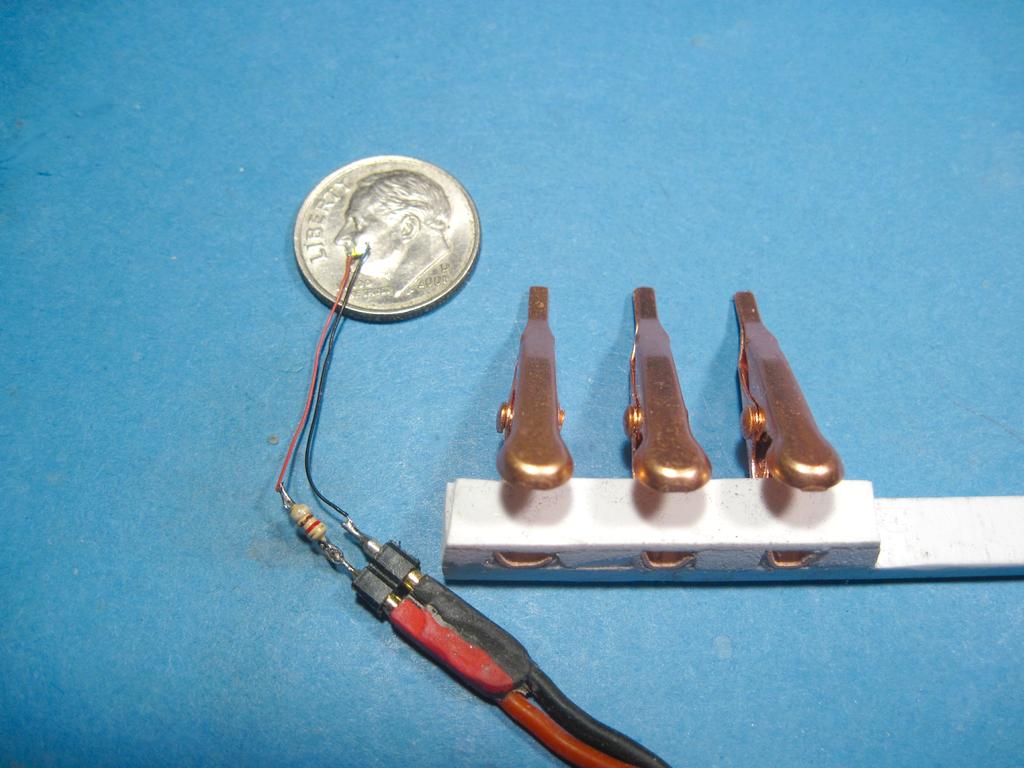
Those little toothless clips work super great!!! I have been soldering wires to some 0402 LEDs this morning and have done 6 successfully only dinging one out of the seven. Actually I didn’t ding one I dropped it and it will never be seen again.
The tiny clips work great for holding the Litz wire, holding the wire is more important for me than the LEDs.
It is very important to tin the LED first, a tiny blob of solder attached to the 0402 LEDs makes tacking the wires simple.
Mel
My Model Railroad http://melvineperry.blogspot.com/
Bakersfield, California
I’m beginning to realize that aging is not for wimps.
Mel,
Wrap some packing tape - sticky-side out - around your four “non-thumb” fingers. Dab the area lightly where you think the LED might be and you should be able to find it in no time…
Tom
I use a lint roller.[:-^][(-D]
Tom
That would work if I had a clean environment and where Mel is working clean isn’t in my vocabulary. My wife hits my hobby room with the vacuum a couple of times per week and the floor is clean for about 10 minutes after she leaves.
I can find larger items like couplers but anything as small as a SMD part is a goner.
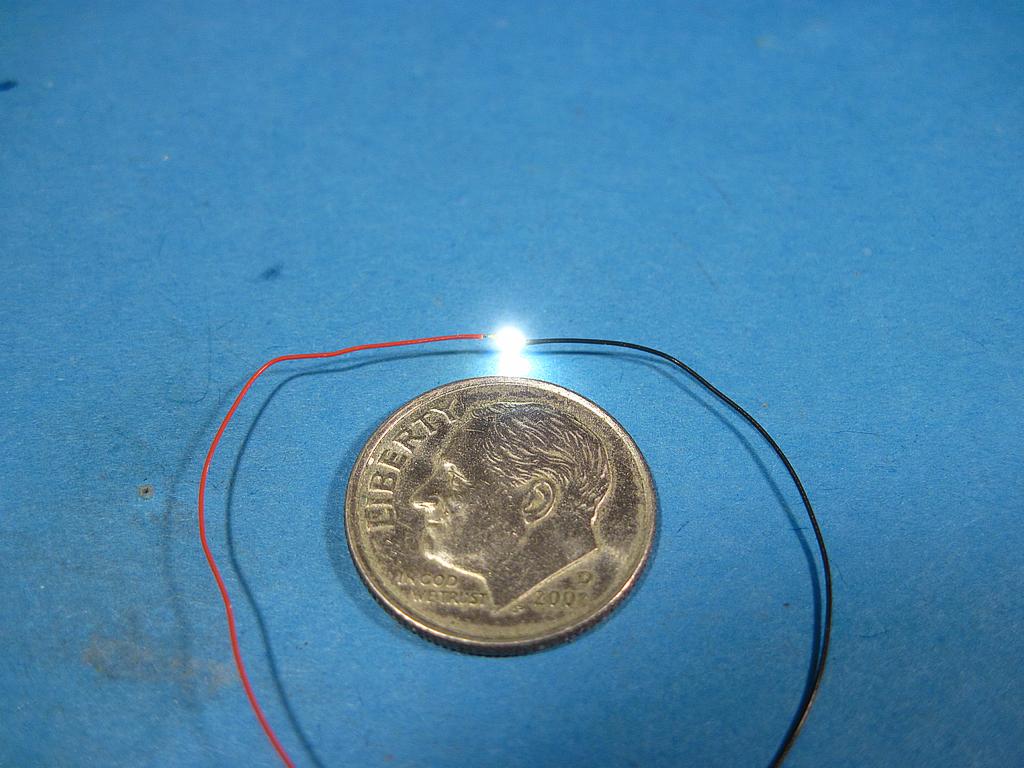
Now if it had wires and couple of milli amps I could find it. This is a 0402 warm white LED with wires and go juice.
Mel
My Model Railroad
http://melvineperry.blogspot.com/
Bakersfield, California
I’m beginning to realize that aging is not for wimps.
Here’s an update an a couple more questions. I received the warm white wired LEDs yesterday, and the Ngineering lampshades today. I’m about ready to try putting together the first lampshades / LEDs.
Question 1: What’s the best way to drill out a hole in the center of the lampshades? (yeah, I know. With a drill!) They’re shaped so that the drill should find the center from the inside, but what’s the best way to hold the shade while drilling? I figured I could use a larger drill to make a dimple in a scrap piece of wood, but how to hold the lampshade so it doesn’t just spin when I drill?
Question 2: The LEDs list a voltage range of 3.0-3.2. Doesn’t list amperage. I can certainly hook up a 3V wall wart, but don’t I need to limit the current?
Sorry if these are dumb questions. Haven’t worked much with LEDs.
I would use an existing power source form your layout and experiment with resistors for the brightness I wanted. I use a 12 volt switching power supply for all of my accessories. To get specific voltages such as 5 volts for my Arduinos I use DC to DC buck converters, 12 volts in and adjust the output to the wanted voltage.
I think you will find the LEDs are much brighter than needed and operating them at very low current. Most of my SMD LEDs are operating at 1ma to 2ma.
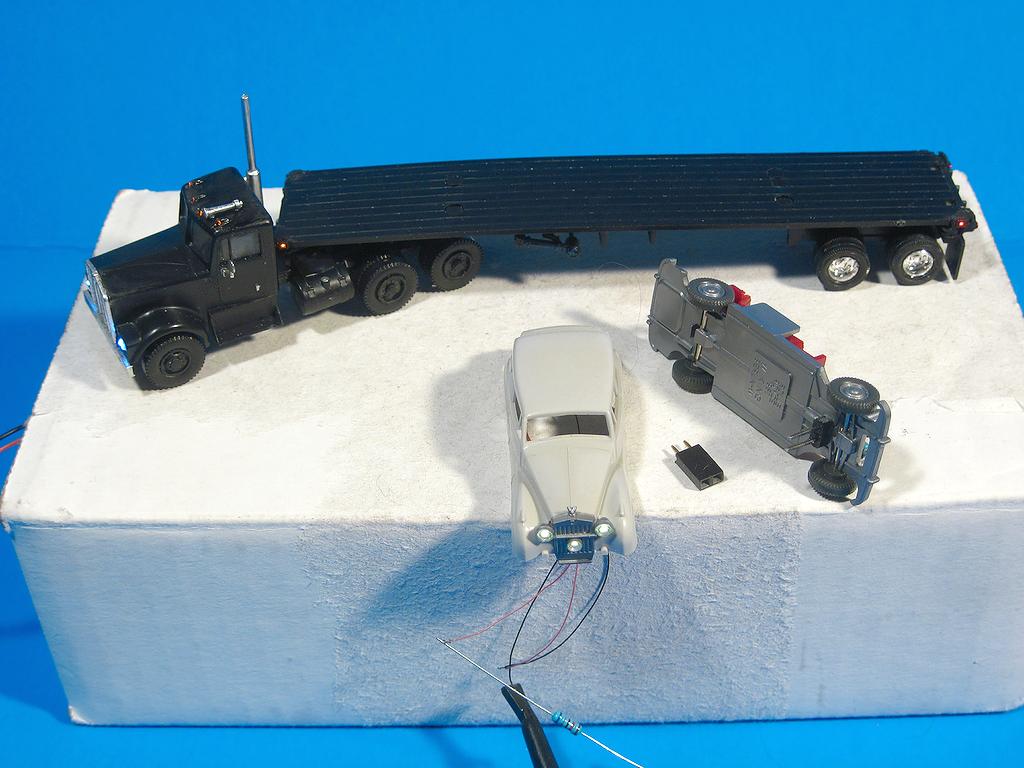
This truck has 12 0402 LEDs and 1 1206 (cab roof ambers on fiber), total current is less than 3ma at 12 volts.
The Rolls draws 1.2ma, 5 0402 LEDs.
EDIT:
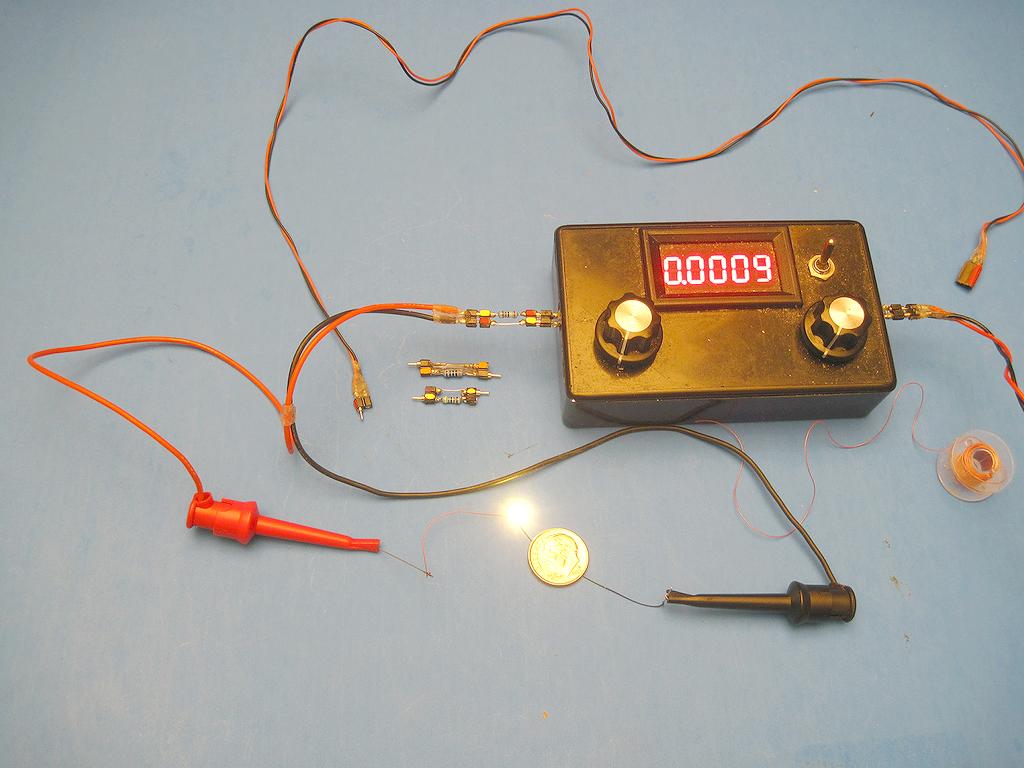
This is a warm white 0402 LED running at 900ųa (.9ma), very bright.
This is the headlights on another Kenworth tractor.
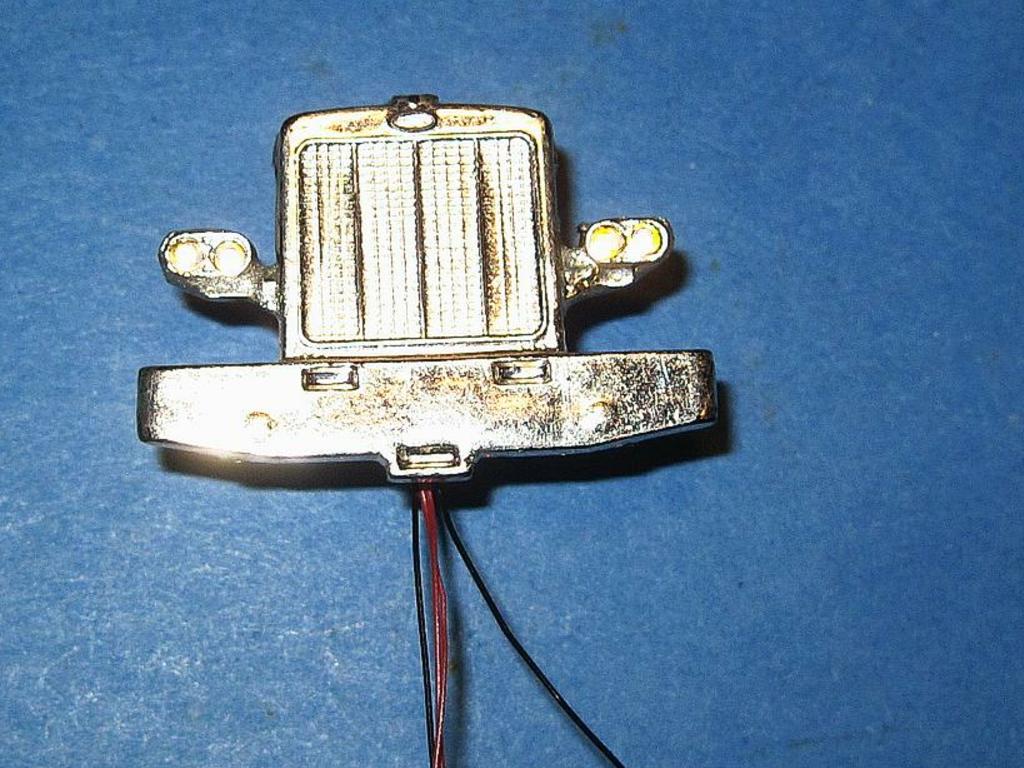
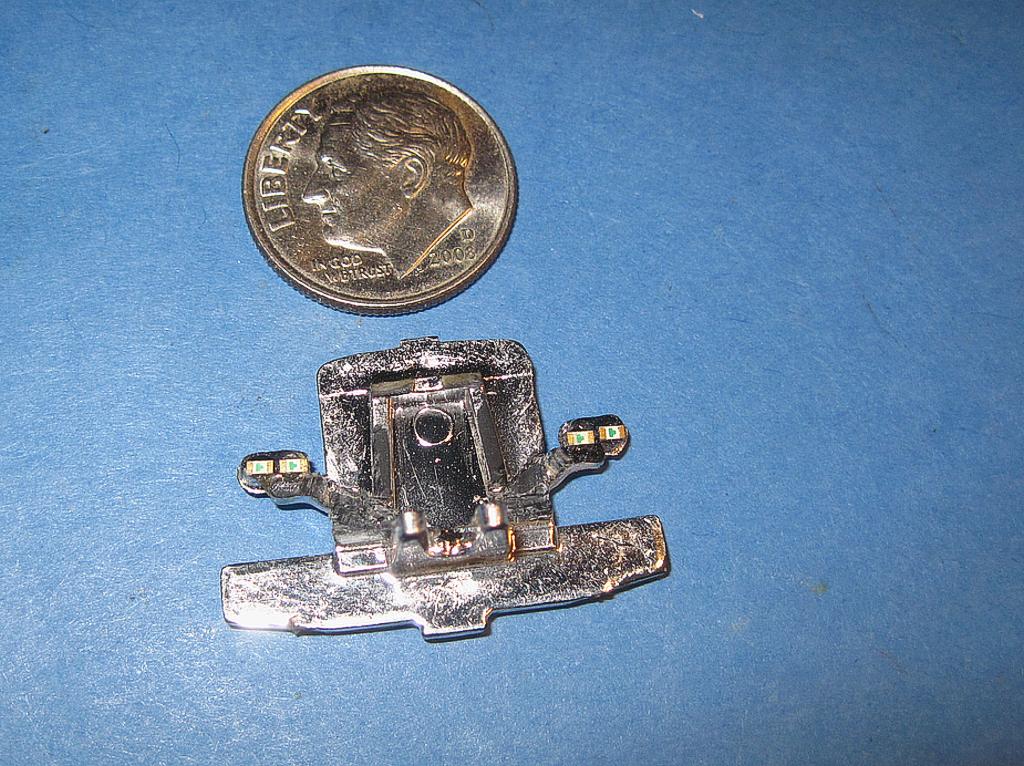
Four 0402 Warm White LED headlights.
Mel
Modeling the early to mid 1950s SP in HO scale since 1951
My Model Railroad
http://melvineperry.blogspot.com/
Bakersfield, California
Aging is no
https://www.ngineering.com/hole_punch.htm
Good Luck, Ed
Duh! Thanks, Ed! I should have checked their website first (worst part is I thought about it, then didn’t [:$]).
Thanks Mel. I thought LEDs were more current driven than voltage. So I guess the 12V won’t hurt them at a low enough amperage. I have a resistance decade box I picked up when converting my roundhouse LEDs from battery to wall wart. That would work, I’m sure. I’ll start at about 1Mohm and work my way down.
Thanks!
I just easily pushed a pin through to make the hole. I pinned them to a piece of cork roadbed and painted them while I was at it.
White on the inside.
Then I flipped them and hit them with the CP green.
Thanks, Brent! That’s very useful! Did you spray or brush paint them? If sprayed, how did you keep them from blowing away?
Mark, I have brushed some and sprayed some. Either way, they are pinned to the piece of cork roadbed and are held well enough to be painted.
I used a finer sewing needle for the escutcheons. Don’t even try to attach them to the shades before threading the wire. Thread the wire through the shade, then the escutcheon. Hang the light and let gravity make the shade slide down onto the LED and then the escutcheon will slide down onto the shade. If need be, you can take a very fine paintbrush and use a dab more paint to glue the escutcheon to the shade at that point.
Another option is to not use an escutcheon and use a dab of paint to plug the hole in the top of the shade, again the paint is enough to hold everything in place once dried. You can’t even tell the escutcheon is not there depending on where the light is hung.
Look at the prototype, when those shades were used inside, more often than not there was no escutcheon used as weather penetration was not a factor. In old photos, you can clearly see light leakage out the top through the hole in the shade.
The first few will seem very finicky indeed and you will break some wire on the first few. You will soon learn how to handle them and things will speed up and go smoothly. I whipped up a ton of them the last time and likely have more than I’ll ever use now, it did not take long.
The first few I had about three or four inches of wire on them, but as I started to install them on various projects I left six to twelve inches of wire and that made things much easier. I would suggest having a lead long enough to reach under the layout, you can cut some off if need be
This rather large light was a C.P. light used in railyards.

My version with a drilled-out bead with a 602 in it.

I use these, about $2.00 apiece from China. I ordered ten last time one failed but the rest have been fine. I can control the brightness with them to a certain extent.

This is an old ad from this side of the big pond. Check China, they may not be much more here, don’t know.
