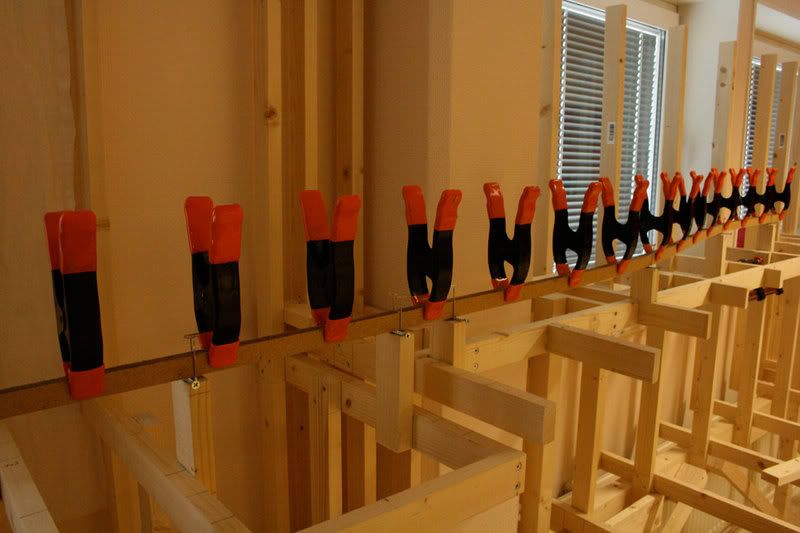
I started building roadbed today, it’s a milestone on my layout. I can’t think of a better method then spline roadbed. I use 7 laminated 1/4" masonite splines, glued together. I have only two splines in the pictures, more will be added as soon the glue is dry. The grade is 2.4% at a s-curve. It’s so easy to build spline roadbed if you do it the right way.
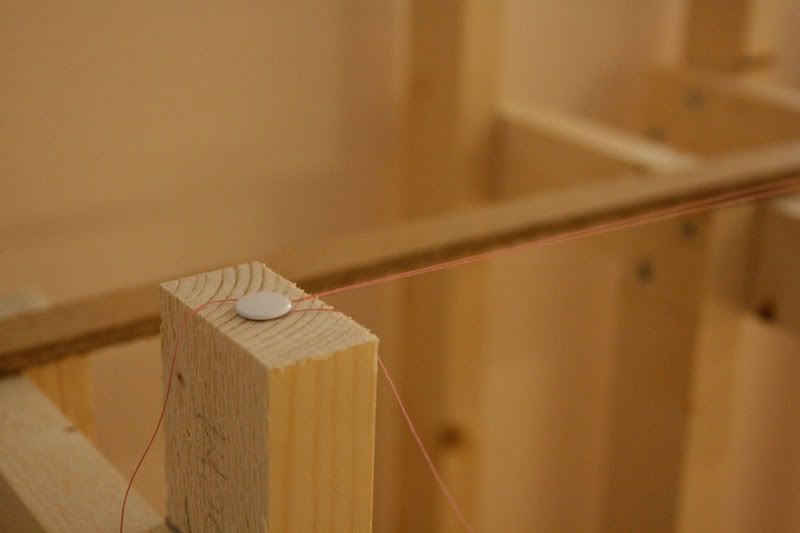
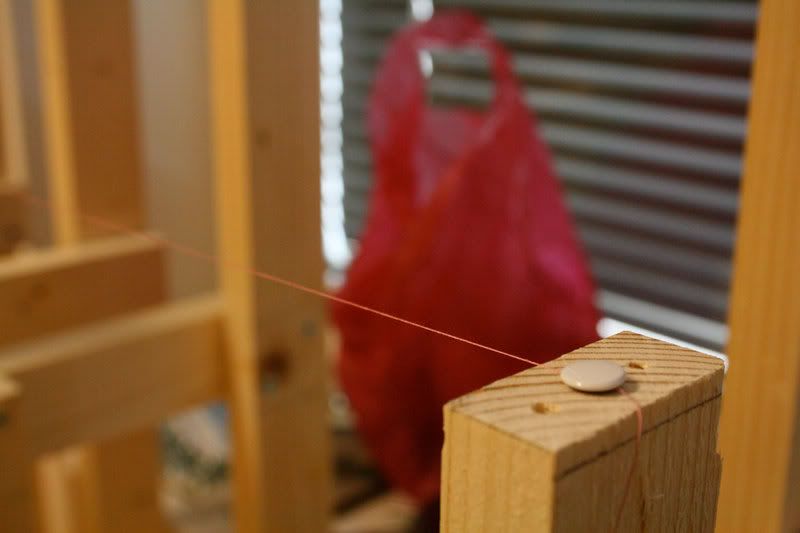
I started to add two risers. I attached a sewing thread from the lowest riser to the highest, around 15 feet from each other. It’s very easy to get the right height of each riser when this is done. The accurance is ± 0.5mm. It’s nearly as good as a lazer and cost you nothing.
Spline is really a great method for building the subroadbed. Although my club doesn’t use the masonite, we prefer pine, the outcome is the same. One suggestion I would like to make is, instead of mounting the spline directly on top of the riser (end grain), I find that building the spline on a horizontal 1x2 attached to the riser gives more flexability and adjustment if needed. The crossmember also adds a mount for any scenery attachment whether cardboard strips, ply wood bases or screening. If you need to have the scenery sloped for an embankment the crossmembers can be cut to the approximate slope and continue scenery attachment. The glueing of the masonite to flat grain instead of end grain will also give a stronger bond. Here’s a few pics of the pine spline
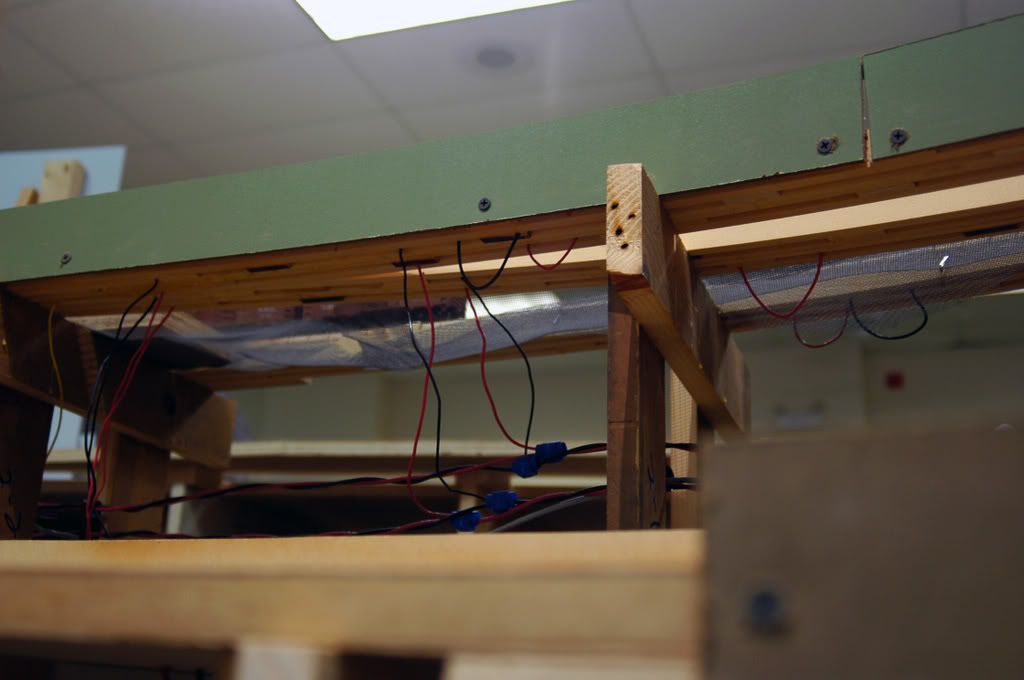
mounting on crossmembers also allows for flexability for any transitions from plywood cookie cutter and bridge abutments.
I have glued 2 more masonite splines today. I know that I can glue 5 at once after the first 2 is dry (for a total of 7). But I like to take it easy and glue 2 at once for more control.
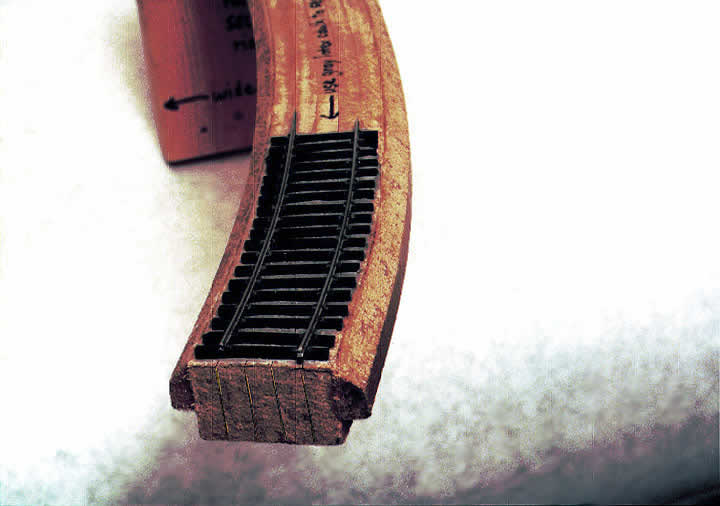
I’m thinking of using some spackle on top when all 7 splines are glued and sand it really smooth with a electrical sander. I will also use the sander to make a 45 degree ballast slope on the 2 outer splines. I will then glue the track directly on the splines with gray latex caulk.
Before installing the outermost pieces, you could bevel the edges first on a table saw. This way most of that awful dust is mostly under the saw. If you need to shape the shoulders in place, use a rasp, file then sand.
If you get real good with the sander, you can even do superelevation so your not shimming the track itself. I can use a belt sander for this, but you need to be extremely caeful with such a tool, they can get away from you and chew out more material than wanted in an instant.
Why not use thicker masonite or 1, 3/4" plywood strips?? is the masonite wide enough to take HO track??? wouldn’t a wider road bed be more practical? Are you going the "rock wall " route on the wall side of the track? what will be the slope on the the opposite wall? , hopefully this will not look like a blasted out rock ledge carved out of the side of a mountain. many questions, the project looks a little daunting but the workmanship is great. I wonder in the photo of that great trestle if the wood supporting it is quite thick enough?? I think it might support a real trestle.
Tatans - have you tried BENDING 1" thick plywood (or even 3/4" for that matter)? it’s none too forgiving.
Electro’s system (and I believe Joe Fugate’s as well) comprises of 7 strips of 1/4" masonite laid on the 1/4" end, for a total thickness of 1.75" after it’s all glued together. HO scale track is just shy of 28mm wide (8ft). Thats 2.8cm, and with a (rough) conversion of 2.54 cm to the inch, the track is just about 1.1 inches wide. That gives 0.357 inch extra on either side, I think that’s 3/8 of an inch… unless my math is very wrong, which it very well could be.
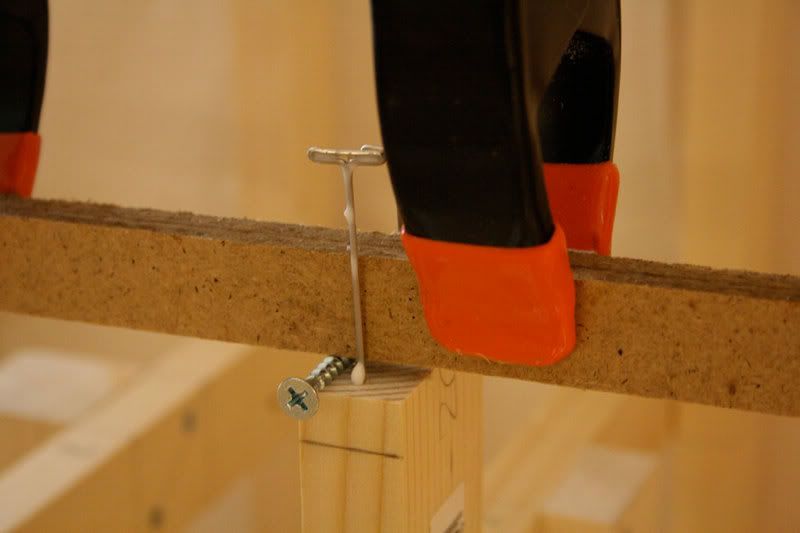
Instead of gluing the spline to the risers, I pre-drilled, countersunk, and then used 1.5" wood screws. As for superelevation, I found that merely fastening the risers with a very slight lean, and then laying the spline sections atop the squared off top of the risers provided all the superelevation I needed…the roadbed was already superelevated when it dried in place atop the risers, and then it just needed to be screwed in for security…not that 7 ply spline is going anywhere. [:-^]
EL, have you considered how to do superelevation if you want it in places. You have some nice sweeping curves that could use a very light touch of it for effect. Or, are you way ahead of me…us? [:D]
SWEET! Nice looking splines… if (hahah) I ever rebuild my layout, splines will be the way I go. Most of my difficulties have been with grade transitions, and spline handles this PERFECTLY!!! Looks great! Keep up the work! What kind of radius can you get with the 1/4" masonite… I was figuring for some tighter turns (e.g. 26" or so) I might have to use 1/8" even…
35" radius is no problem at all. I’m sure you can get smaller radius then that, maybe 30". But I do not know where the limit is before the splines crack. Maybe someone else can answer that question. To use 1/8" is a good solution, just use 14 splines (for HO scale) instead of 7. Grades and curves is the good thing with splines and the reason I use it. You can for example attach the splines to two risers and let the spline itself show you the curve or grade. Then you just ‘fill in’ all other risers. You will get a very nice flowing roadbed with that method.
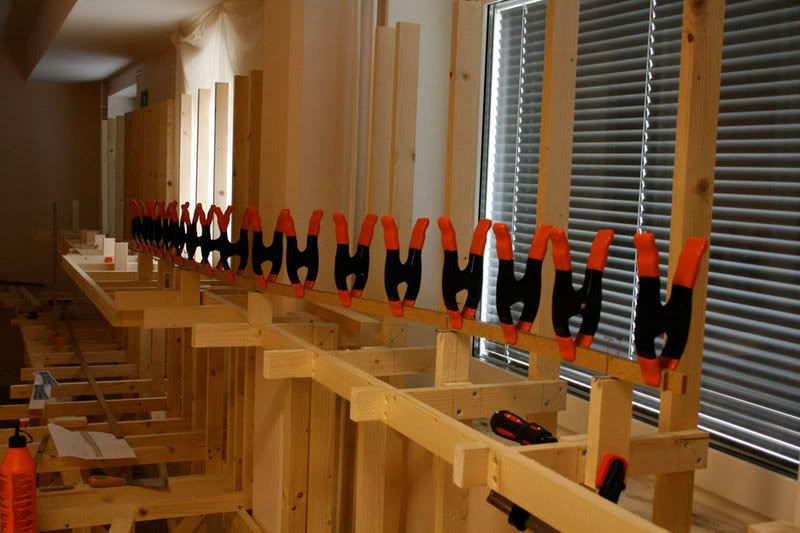
If you want to handlay track use Homasote spline. Gives a dead flat, smooth, spikeable surface for laying track. For radii below 30" you sometimes need a former to start the curve. Attach the splines to each other with drywall screws, no glue required. Just glue the ties to the top and spike away. Two guys and a dozen quick clamps can put down a scale mile or so of roadbed in a hour or two.
To find the tightest radius for the size of the ripped masonite, just bend it until it starts to kink or snap. I feel that 1/4" spline should easily bend down to 12-15" w/o major distortion. A radius like this may be needed for N but why ever in HO.
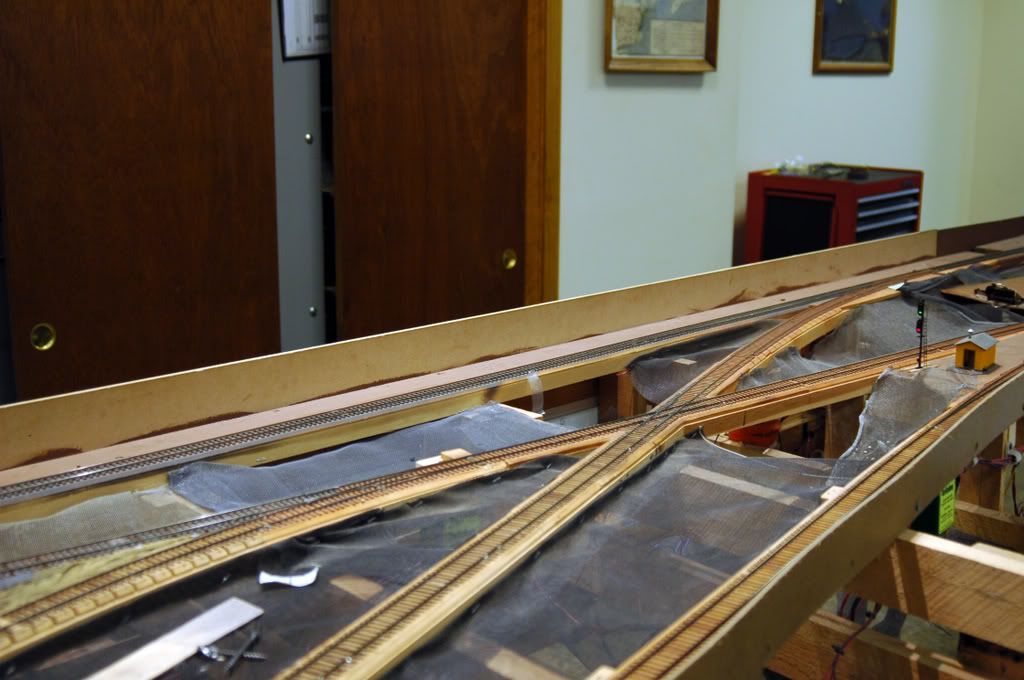
However, I actually form the two outside splines by taking one spline and splitting it at a 45 degree angle on a table saw. This gives me two half-spline I can use to get a nice ballast slope on the roadbed, as you can see from the photo. I also talk more about my spline techniques here on my web site.
Flat areas using plaster wallboard (“sheetrock”)
Electro asked about why I use plaster wallboard for my flat areas like yards or towns. In the 1990s when I was building all my benchwork, the popular material to use was (and still is to some degree) homasote. I priced homasote and it was running at the time some $20 for a 4x8 sheet. Meanwhile, I noticed plaster wallboard was $2 a sheet.
So I talked with an architect friend who is also a model railroader and asked him which material was more stable in the presence of moisture – homasote or plaster wallboard? I know when I scenic a flat area, it gets a lot of moisture on it in the process. And later, room humidity changes can cause things to shift around a bit.
Long story short, plaster wallboard was way cheaper than homasote, and in many ways a more stable product. Both products
Joe, if by wallboard you mean gyproc or sheetrock, I couldn’t agree more. When my wife and I were finishing our basement 17 months ago, I had some bits and pieces of it left over and thought to myself that I wanted a small stashable layout on which to run my J1 back and forth. I had also made a couple of turnouts by then, and wanted this to be a testbed for all my techniques. I felt, intuitively, that the gyproc might do a good job of silencing the tracks, and found that it was precisely the case. Easily takes screws, and since gyproc screws are everywhere and often preferred by modellers, I use that method to secure flex and handlaid turnouts. It was a blast.
You probably have the most experience with the masonite spline. Do you know what the minimun radius that the 1/4" strips will bend to? In my reply, I was only making an educated guess just from experience in using the product for temp guard rails and facia. My experience in spline is with clear pine.