I have been doing some research while waiting on my used Intermountain AC12 to arrive. The Mashima 1833 is the motor mentioned most as a replacement candidate and the Canon CN22 is also mentioned and appears to be a very good choice.
I have ran across the NWSL 2032D-9 as a very good possibility. It replaced the Sagami 20325-9 in the NWSL line up. Dimensionally it looks very good and has the 2mm shafts. It is rated at 3.54oz/in of torque which is pretty high and more than both the Canon and Mashima by a long shot. It has a rpm of 9500. Just wondering if anyone has experience with this NWSL motor?
NWSL motors are “all” excellent, but have you looked at the Kato motors, their standard motor is almost the exact same size as the 20X32 Sagami, I started using them when Sagami’s got so hard to come by a few years back and have been very satisfied with them, plenty of torque.
This motor appears to be a special version of Mabuchi’s FK-180SH. I’ve used the FK-130SH (smaller version of the same motor) in a number of projects, with great results every time. This is one of Mabuchi’s better quality designs, and it runs smoothly and quietly while drawing little current. The low speed control is also excellent. I haven’t used this larger motor, but I would assume it runs just as well as its little brother (I don’t think NWSL would’ve chosen it otherwise).
I need to add the Kato motor to the list of replacement motors. I think I will go ahead and order the NWSL motor and see how that one works out. That will give 4 possible replacement motors. There are some coreless motors I looked into that might work but they gave no more torque than the NWSL motor.
The AC12 showed up today. Thanks to this board I was able to get it apart. Let me say it is a lot easier working on brass locomotives. Hahaha. I don’t know which version I have. I’m going to assume it is the first one. Anyways with the NWSL motor it will have an extra 1000 rpm to help out on the top end plus quite a bit more torque.
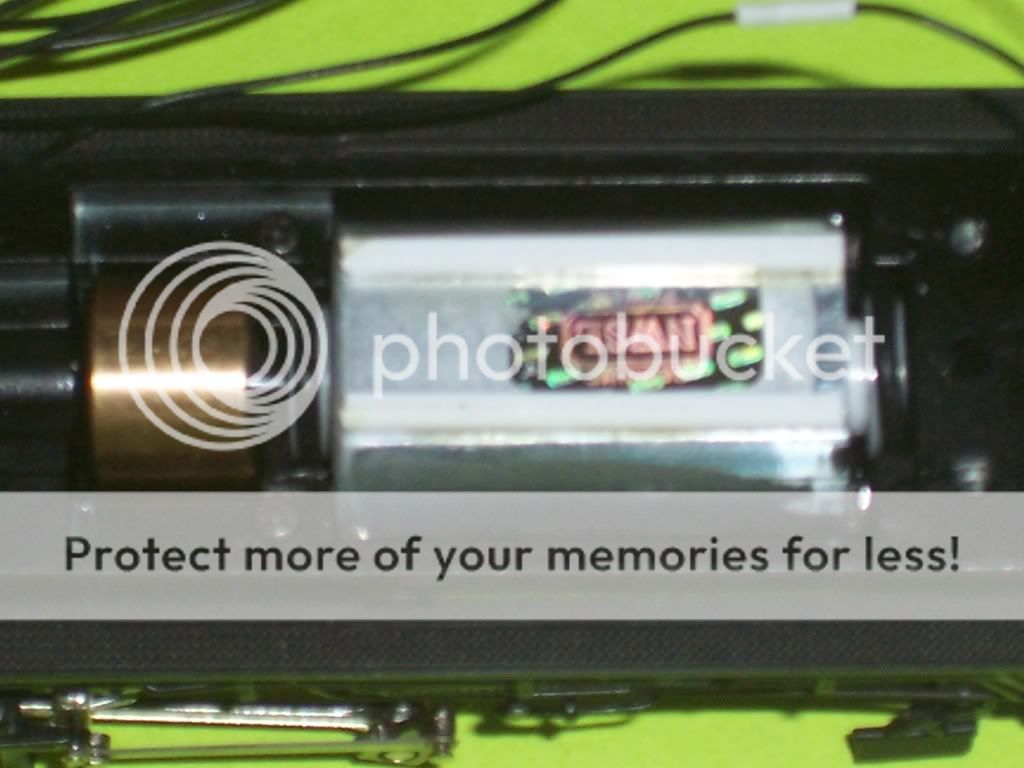
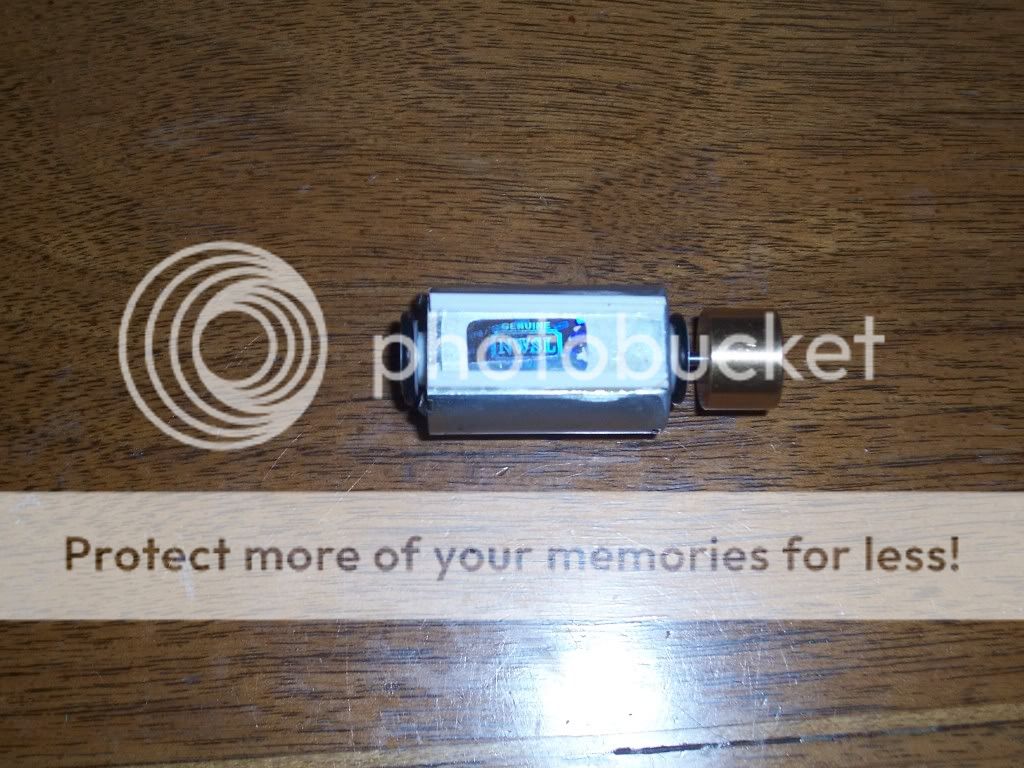
The motor in there has a nice shiny silvery plated motor and not a dull color like those that have been posted. Those front two screws behind the pilot were on the tough side to get out with the front air tank partially in the way. The others were not to bad as I was very careful with the piping.
I was also checking out the Micomark motor and that might be doable but could be to wide. One would have to take some careful measurements.
Frankly, anytime I’ve replaced an old worn-out open-frame motor–or underpowered factory can–in any of my brass locos, I just take the loco down to my LHS, go through the NWSL case, find out which one works, take it home, replace the motor with the NWSL and after turning up the power, find an essentially NEW and very smooth running locomotive begin to go down the tracks.
I swear by NWSL. And so far, they’ve got a motor and size to fit everything I’ve needed.
But unfortunately, it seems from a lot of posts I’ve read about the new Intermountain AC-12, is that they haven’t really learned anything from the FIRST run. Too bad, too–that’s one gorgeous looking locomotive. But after hearing the horror stories, I think I’ll stick with my old Akanes and my Sunset.
Glad to hear we might have helped with the instructions to take the AC12 apart. I hope your model is not the first run but if it is, don’t waste the time and money because you can get a replacement.
If you have the first run AC12, it will have problems with the drivers being loose on the axles. You might check the model to see if the drivers can be moved on the axles before you do a lot of work on it. If they move, it will be a wasted time to change the motor. Normally the first run will fail quickly if you run it on a layout and pull a load. It will either go out of quarter or out of gauge.
I would advise you to get a 2nd run replacement if you believe this is a first run. One other way of checking is to run the model and count if it will double chuff 4 times per rev of the drivers. You may have to increase the CV that controls the chuff, but the first run would chuff four times because it had a 1/48 gear ratio. If you have the top of the boiler off of the model, you can turn the motor and count the
It is the first run as the gear ratio is 48:1. So top speed will be 50-55mph. I checked the drive train and wheels and everything seems OK. There was no binding when i was checking the gear ratio. It turned pretty smoothly. I think someone has worked on it before as the spring was missing where the output shaft from the motor goes into the coupler.
I called Intermountain and ordered some small parts for the AC12. They were very nice and are going to send the parts out for free including the air grills for a F7A I’m working on. I’m going to cut a groove in the weight so I can re-route the two wires that go through a hole in the weight. That way the weight will be free.
Next up will be removing the orange paint color from the LED. I have some Tamiya clear yellow I will then apply to the LED. Then I will re-do the heat sink on the decoder in the tender.
I should have the motor by next Monday at the latest as it shipped today and I will test the physical install and post the results on this board. The decoder in the tender did not have a heat sink. I made one out of some aluminum sheet I had and installed it. I used a small amount of contact cement and glued the heat sink to the speaker. I then put some dielectric grease between the decoder and the heat sink and mounted it. That should take care of any over heat problems with the decoder.
I modified the locomotive weight with new grooves so that the wires that ran through the middle of the weight can be re-routed and the weight freely removed. Next up will be the motor install and then checking on the bronze pickups rubbing excessively against the drive-wheels causing to much friction. That part may have already been fixed by the previous owner.
The “orange” headlight LED fix turned out to be easy as the LED did not need to be replaced as I posted above. I’m really amazed at the level of the detail on the Intermountain AC12. It has to rival the good brass models.
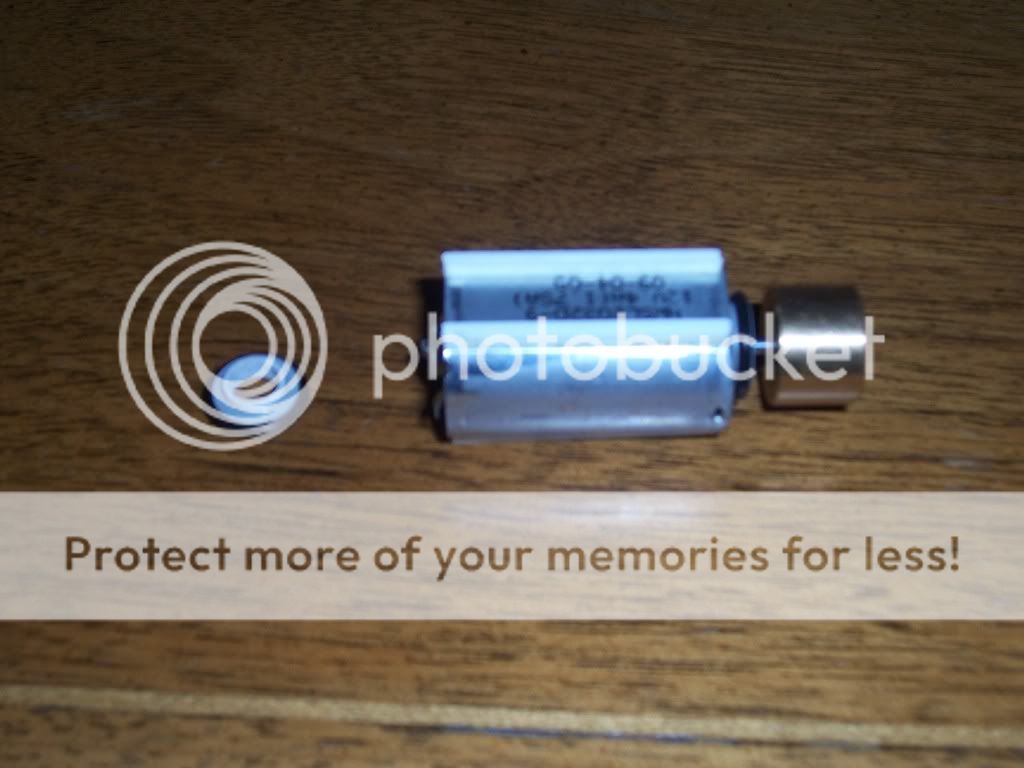
The NWSL 2032 motor came in today. One thing I noticed is the magnet pull on the armature. On the IM mystery motor the armature free wheels pretty much. With the NWSL motor you can feel the magnet pull on the armature and it “notches” as you turn it. The NWSL us slightly smaller than the mystery motor. The flat is .605"/.730". The length is 1.260"/ 1.335". The oval is .795"/.920". So no problem fitting it into the available space.
I will cut off one shaft to almost nothing. The other side with the flywheel will be cut to the proper length. I put the tender on the track and fired it up. I will have to make up one bushing to fit in the new motor using the factory mounts. This will actually work out quite well. The Tsunami sounds great. It was a little loud for my ears so I turned down the volume.
Edit: The IM factory oring mounting bushing works perfectly for the front mount. On the rear mount I have made up a styrene bushing to take up the gap. Turned out real easy to do. I cut off some styrene strips to glue onto the motor to fit on the flat side flat to make up for the difference in thickness.
The IM motor must have some very weak magnets if you don’t feel any cogging when turning the shaft. You don’t want to feel that with a coreless motor, but there should definitely be something there in a standard iron core motor!
Yes, there is quite a difference between the two motors magnet wise. The NWSL motor must have some powerful magnets. It is advertised with a lot more torque than the other motors listed above. Here are some pictures showing the bushing I installed in the factory piece opposite the flywheel end to take up the distance. Also the styrene strips added to the motor case to take up the space in the motor cavity from the slightly shorter NWSL motor. Here are some pictures.
I just ran it with the boiler off for testing. I’m waiting on the driveshaft spring from Intermountain before I put all together. Anyways first results are very good as I only have a test track to run it on. Slow speed is fantastic with no hiccups at all. She just creeps along as I suspected it would with the 48:1 gear ratio. High speed seems respectable as it moves along at a decent enough clip. With the sound off the drive train is quiet until you really rev it off then you can hear some whine.
The LED headlight now looks real good with the modifications mentioned above. Can’t wait to put it all back together as it is a very good looking AC12. If I can find a local DCC layout here in SoCal to run it on I will. As of now I will have right at $250 in it. $215 for the IM Tsunami AC12 and $35 for the motor including shipping for each. The styrene supplies I already had. IMHO Intermountain is very close to a winner with a couple of changes as noted on the various forums including this one. I’m also impressed with the NWSL motor. I may use it on other conversions if there is room.
I was reading on another forum where someone replaced their 2nd run AC12 with the Kato motor. Apparently it ran just fine for a while but the motor started to heat up and slowed down. Maybe it is the higher gear ratio of the 2nd run. It could also be that the way the design is the motor is almost completely enclosed with very little opportunity for warm air to escape.
By default with the NWSL motor being thinner there is air space all around the motor. As shown in the pictures I installed a couple of styrene strips to make up the difference in distance. I also opened up the weight a little to compensate for the different location of the pickup wires. By doing this it might allow for the warm air to escape out of the motor compartment and keep things a little cooler. One could also drill a couple of holes in the weight to allow air to escape out the top. I have attached a picture showing where I cut away on the weight. This is done on both sides.
One more thing I have noticed and I don’t know how it compares to the other Intermountain AC12’s. Anyways I have the controller setup for 28 steps. I noticed that even on step one that the NWSL motor will spin the drive wheels when I hold back the locomotive. That thing puts out some torque. I need to check some of my brass models that I have converted to can motors and see how that compares.
It’s likely that your other can motor powered brass models don’t have as much torque as that Cab Forward with the new NWSL motor. NWSL lists it as having 3.54 oz-in of torque, which is more than 75% more powerful than a Mashima 1833 or a Pittman DC-71!
" which is more than 75% more powerful than a Mashima 1833 or a Pittman DC-71!"
I have a Westside Southern Pacific 4-10-2 on the way that I just purchased on that un-named auction web-site. I’m going to put a Tsunami and a can motor in it and will have to give the NWSL 2032 motor some serious consideration. That thing is impressive. I will also look into some of the coreless motors with exotic magnets once I see how big of a motor I can fit in it.
UPDATE: Okay I finally got to run the AC12 on a larger layout for a period of time. I ran it for a good 20 minutes on a flat layout with no grades and pulling a nice string of cars with loads. The motor did just fine and I could not feel any heat where the motor is located. However the tender did have some warmth to it but nothing that bad. I did add a heat sink to the decoder to help. Some have opened the hatches to let out the hot air. The top speed was acceptable for a freight unit. We ran it on step 80 as that looked to be a good realistic speed for the layout I was on. I would say at wide open throttle maybe 40-45mph for top speed.
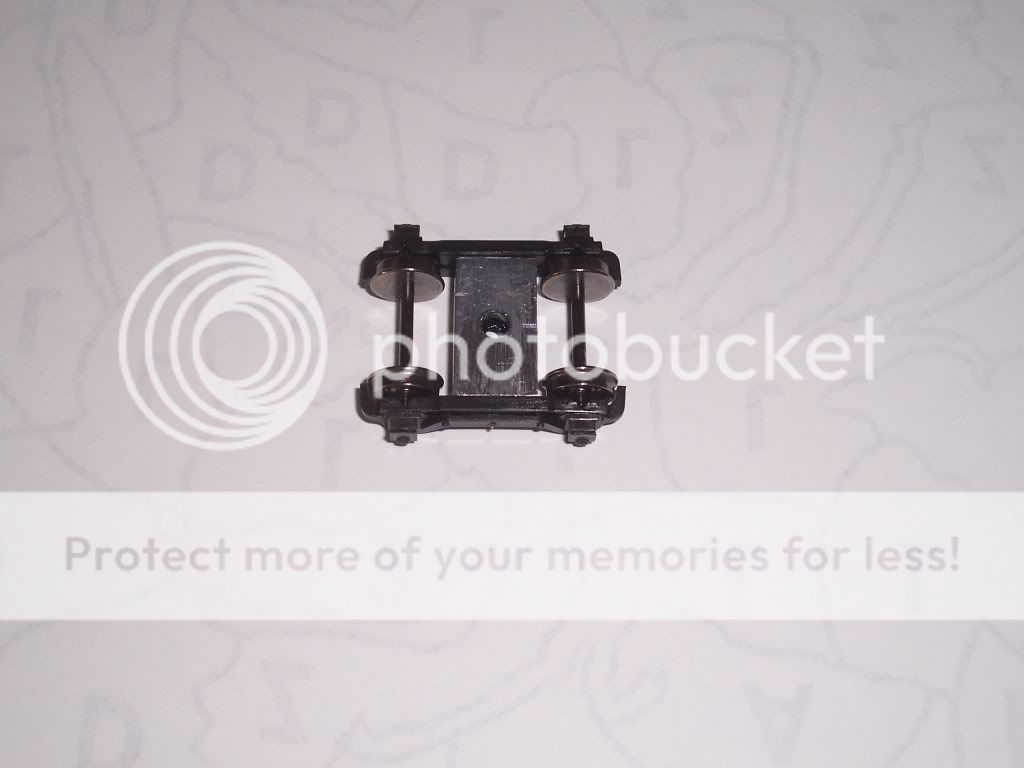
One problem that did occur was with the front truck. I had to slow it down some coming out of a curve onto a switch or the truck was likely to jump the track. This has been mentioned as a problem with the first run on AC12s and fixed on the 2nd run. I’m going to add some lead weight to it and see how that works. I have had to do that with some brass models as well.
I have added some weight to the front truck to solve that problem. I was wondering what the best way to attach the weight would be. Anyways my solution was to pin it in place from the side. I used .020" brass wire as a pin inserted from each side. I have attached a picture before painting to show what I have done. By the way I have a .120" slot on the bottom of the weight to make sure there is clearance for the screw head. Also a hole in the center of the weight so that the screw can be inserted.
Hopefully this will solve the front wheel tracking problem. By the way the wheels were out of gauge to the inside. That did not help matters. I put the wheels into gauge. The picture is looking at the bottom of the truck. Also make sure the washer is in place on the truck before permanently adding the weight.