I am testing out various surface materials to model a semi-arid to arid bit of HO scenery. I have painted the area with a gritty primer in a sandstone color. I will be adding sparce vegetation.
Therefore I need realistic looking sand/dirt in between to apply on top of the painted gritty primer.
I tested some sandstone-finish paint product that can be applied with a spatual or small trowel. It can go on either very thinly (one grain depth) or can be built up very nicely as ridges etc. However, the grains are human sized…that is, they should be 1/87th as big as they are.
I next got some nice fine 70 grit silica (used for sandblasting among other things…I mean it is the really fine grit, not coarse grit sandblasting material). It is a good color and size, and not dusty. However, I am afraid that I may not get it to adhere properly and it might continue to work loose and cause havoc with the locos.
Any ideas? How about if I apply it over a smear of full strength white glue, vacuum up the excess and then seal it with a matte sealer? Or should I stay away from very fine grit real sand/silica? When I look at it in my hand and look at my locos, it seems counterintuitive.
Sift and Run it over a magnet several times to remove all the black sand (iron oxide related particels) in it. Even if it gets glued down really good, some will eventually work loose. The magnetic properties of it will eventually find their way into/onto the magnetic parts of locomotive motors.
It is heavy. I used it on one module and didn’t think anything about it. The module was heavy anyway. Then I did a foam module that was reall nice and light weight. I started adding sand for scenery and realized the container of the sand I was planning on using (about 8 pounds worth) was heavier than the whole module. I switched to the woodland scenics light rock materials. The module still weighs less than 4 lbs. total. The old module weighs about 15 lbs and I am guessing about 1/2 of that is just the sand.
And yes real sand does look too big, but not as much as I thought it would. It is only when I (or anyone else) stands there and really analyzes the scene that the sand grains suddenly looks like small grapefruit.
Yes it will work. My HO scale sand is actualy pond silt. #16 sieve scales out to be about 1 1/2
inch stone. I use that for ballast on yard tracks and roads.
Run a magnet through it first, Put on a thick coat of sand colored paint(latex not oil based),sprinkle the fine sand on it and give it a misting with water with a couple drops of soap in it, Then mix white glue with water 50/50 or more glue than water if you want your sand to look damp then give it a good soaking with the water/glue mix and let dry.
The thing about silica sand is it will float on water so make sure its in the wet paint and just mist the soapy water the finer the better. While its still wet soak the glue/water real good or you will just end up with a thin crust.
If your sand is dusty you can rinse it and dry it first. Silica dust is your enemy. You could look for a masonary supplier and ask for a couple pounds of FINE WASHED MASON SAND. That would bring you close to scale desert sand.
Besides the sifting and the magnet, throw it in the microwave and blast it for a few seconds to make sure that anything that could possibly grow is totally dead.
My only comment about sand is be careful if you get your own. I am modeling in Michigan and obtained a larger bucket fro the lake Michigan shore line. Now this bucket sat in the basement for sometime covered. It was installed for a lake bottom and beach area. I went down the basement a few days later to see it moving. It seems the sand fleas lived in the closed container and now became alive in the fresh air. i ended up fumgating the house and removing the sand. I understand that you have to bake it to remove this problem, but i have never tried it.
I use sifted decomposed granite quite a bit, and like it a lot. It can be warmer in color than sand, but I often use it as a first scenery material, then add ground foam over.
I believe David Barrow uses sifted masonry sand for ballast and some ground cover.
I found a good source of sand in those tubes that Wally World sells for those of us that live in cold climates. A couple of seasons and that burlap tube starts to rip and tear. I pour out the sand into an old kitty litter bucket. For finer sand, look in the crafts sectioat Wally World.
Real sand and real dirt sifted and then baked in an oven to sterilize.
A microwave may not work unless there is sufficient moisture. For example, ants walking around in a microwave are not bothered, but ants in moist sand would be thoroughly cooked. I would assume that mold spores, fleas and microbes that originated inside of an animals digestive system would also be unaffected by a microwave. I really don’t want any of those on my layout.
I tried commercial playground/craft sand a couple places, but wasn’t happy with the result. It was just too fine and uniform to look natural. Perhaps it will work in a setting where you expect to see uniform crushed, milled, selected size aggregate, like a quarry, but it really doesn’t even look right as driveway rock.
I dug up about a quart of sand and concrete chips from a soft spot on my dad’s concrete driveway, and use that all the time. I “sift” it with my fingertips during application. I’ll paint an area with buck a bottle Walmart acrylics, usually half paint, half water, then sprinkle the sand as desired. Follow that with a pass with the dustbuster to pull loose grains. A one inch dry paint brush will loosen weakly adhered grains before the dustbuster pass.
The driveway spall looks much more realistic, because it’s all different sizes, like what you find laying around unimproved areas. The commercial sand now only gets used when I need to flesh out the driveway spall over a wide area. I spread the whole container’s worth out on cookie sheets and baked it at 350 for 15-20 minutes, no problems at all with unwanted lifeforms on the layout.
actually the heat isnt wat kills em its the microwave RADIATION that destroys the cells so unless the organisms are shielded with something strong (like metal) they die. much more efficient then an oven
Hmmm. Somehow I cannot imagine my wife permitting me to try out this particular experiment.
Lorell Joiner the late great O scale modeler used sand on his layout – of course he was working in O so the size problem was less pronounced. His statement was that the sand had to be thoroughly cemented in place because you have to keep it out of mechanisms and other moving parts. Obviously using sand to model sand makes little sense but it is the right size for smallish rocks and pebbles.
I use the beige sand-art sand from Wal-Mart. It costs between 2 two and three bucks a bottle. Two of the bottles will almost fill a regular size Pringles can.
The sand that I have is actually the finest grade of silica used for sandblasting. The grit is #70 so it is very fine and prototypical. However, I just could not bring myself to use something so fine, even though it seemed to stick well on undiluted white glue. And when I added a sealer, the pale yellow colour disappeared an it looked just like the particle board surface of the layout anyway.
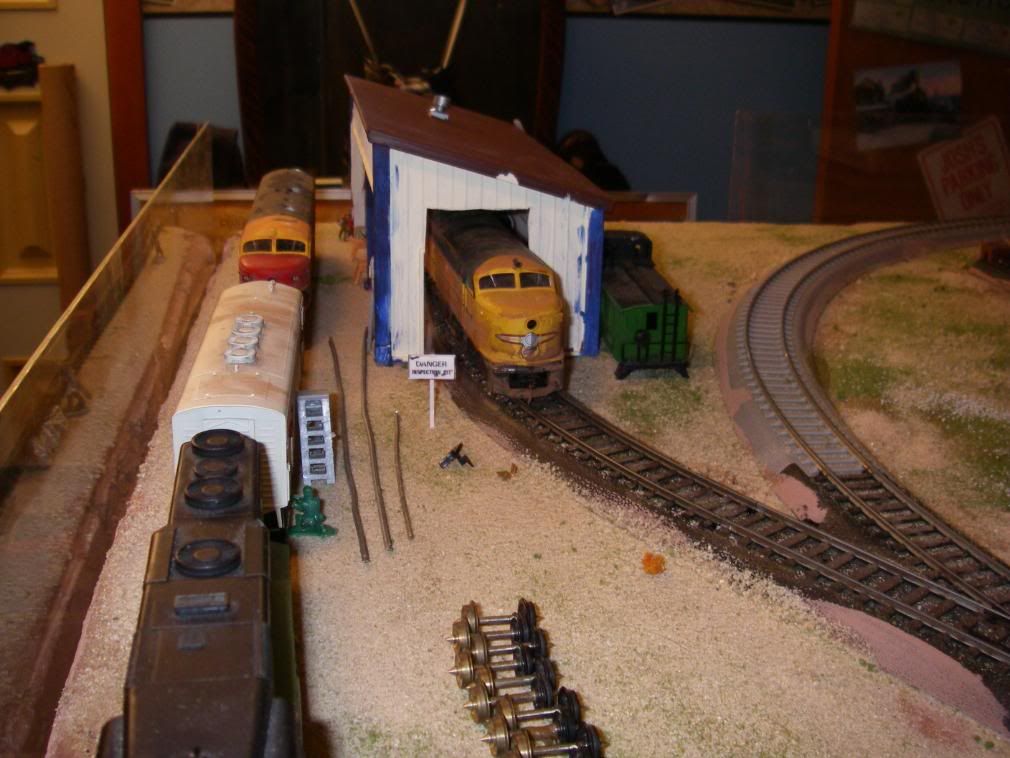
Instead I went with this product:
When test smeared with a putty knife the grains seemed too large; but when smoothed over with the little black spreader, the surface smoothes out very nicely. This is the effect I wanted, like a smooth sandy surface.
I adheres very well. I had prepainted the board with sandstone-tinted gritty undercoat designed for the product, but i don’t think I need have bothered. The product is on there very securely as far as I can tell. I may add a coat of matte to take off some lustre, but it is not too bad as is, and I am planning to add a bit of WS bunch grass all over.
But another nice feature is that this stuff is sculptable, and works well when piled up and worked into ridges that can be left rough or smoothed as one wishes. It also works well to fill in gaps.
Once I fugure out where I want some trackside structures, utility poles and fencing I am going to go around with a second coat adding hills, rises and ridges.
I have just done test boards in these techniques, but next I am going to apply this stuff at the base of the buttes and strata structures I have created out of 1/8", 1/4" and 3/4" particle board (Medite).
For a microwave oven to heat all material placed in it requires something to transfer the thermal heat from the hot spots created by the electromagnetic radiation. Moisture in foods (water, oils, fats) is what transfers that thermal heat to the areas in the oven that are not “hot.” In a conventional oven, the air transfers the heat (the air in a microwave oven is not hot).
How about this: Notice the difference between splattered food in a conventional oven and in an uncleaned microwave oven. You clean a conventional oven to remove the charcoal and ash. You clean a microwave oven to remove the molds growing on the uncooked foods clinging to the liner.
Conventional ovens are sterile. Microwave ovens are not. Therefore, you can not kill microorganisms in a microwave without a material to absorb and then transfer the heat and you cannot kill an ant in one unless you hold it still in one of the hot spots inside the oven.
From the article I read from the link supplied, above, by steinjr, I gather that dry items can be sterilized when subjected to microwaves for very long periods of times-- equivalent to the time in a conventional oven, but my own microwave is never on for more than ten minutes, and it is never used for relatively dry items.